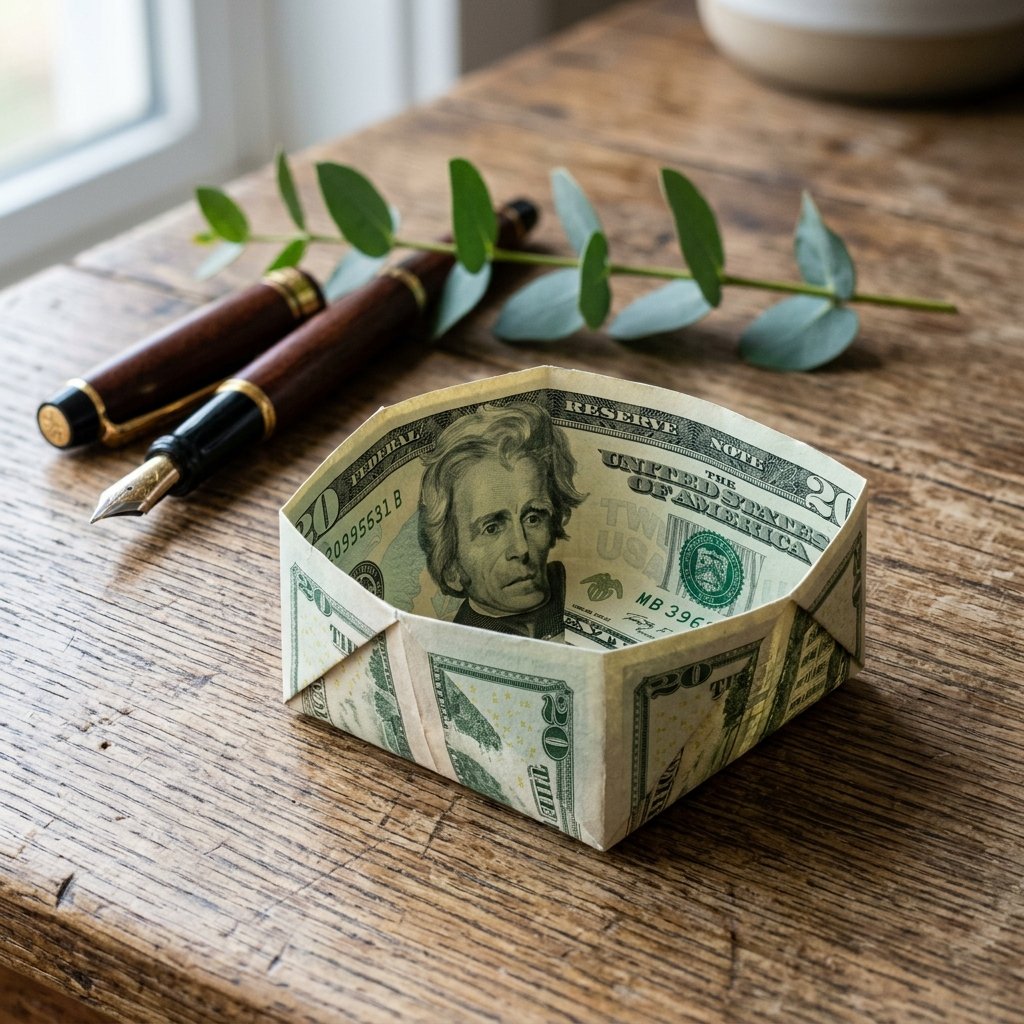

Let’s be honest: handing someone a plain white envelope with a few bills inside feels a bit like giving a gift-wrapped apology. It lacks the ‘soul’ of a hand-picked present. But what if you could transform that same cold, hard cash into a miniature work of art? As a frugal DIYer, you know that the value of a gift isn’t just the number printed on the paper—it’s the effort behind the presentation. Enter the Money Origami Basket. This clever, ruggedly elegant fold takes exactly 0 dollars in extra materials but adds 100% more impact to your graduation, wedding, or birthday contribution. Whether you are a crafty parent looking to impress or a budget-savvy wedding guest, this guide will show you how to master the crease and turn a simple transaction into a lasting memory.
The Psychology of the Fold: Why Origami Beats an Envelope
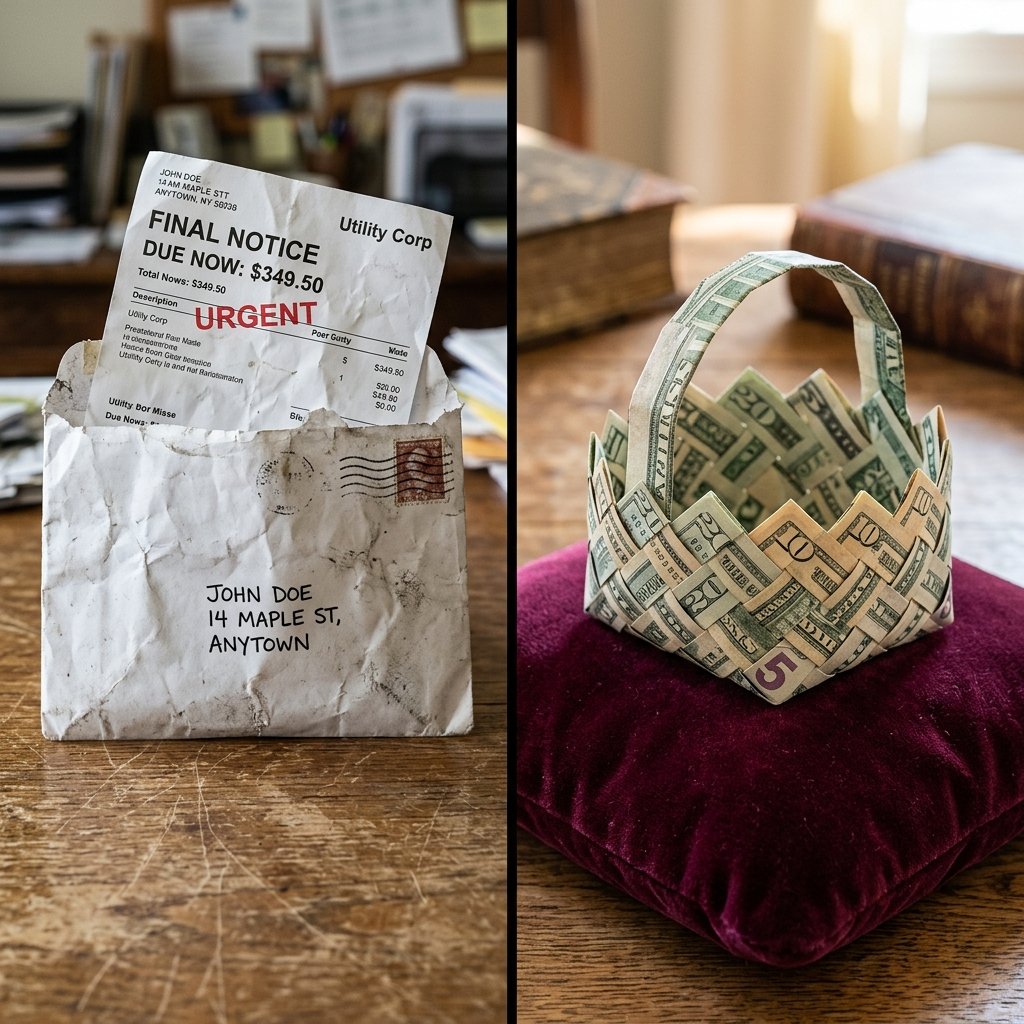
In a world of digital transfers and generic gift cards, the physical act of folding paper carries a weight that money alone cannot buy. When you take the time to learn a complex fold like the basket, you are signaling to the recipient that they are worth your most precious resource: time. From a budget-savvy perspective, money origami allows you to give a smaller denomination while making it feel like a grander gesture. A $10 bill folded into a basket often feels more ‘premium’ than a $20 bill shoved hastily into a card.
“The beauty of money origami is that it proves you didn’t just stop at the ATM on the way to the party; you sat down, focused, and created something unique for the person you care about.”
By using your hands to shape the gift, you bridge the gap between ‘practical’ and ‘personal.’ This is the ultimate trash-to-treasure mindset—taking a common, mass-produced item and giving it bespoke character.
Choosing Your Canvas: The Bill Denomination Matrix

Not all bills are created equal when it comes to the art of folding. The age, crispness, and denomination of the currency play a massive role in the final aesthetic. For a masculine-elegant look, you want bills that are as fresh as possible—straight from the bank teller is ideal. Older, limp bills won’t hold the sharp creases required for the basket’s structural integrity.
| Bill Denomination | Occasion Suitability | Visual ‘Wow’ Factor | Folding Difficulty |
|---|---|---|---|
| $1 Bill | Practice, Kids’ Allowance, Small ‘Good Job’ | Low – Medium | Easy (Paper is often worn) |
| $5 Bill | Teen Birthdays, Small Thank Yous | Medium | Moderate |
| $20 Bill | Graduations, Standard Weddings | High | Moderate (Best balance) |
| $50 – $100 Bill | Milestone Weddings, Golden Anniversaries | Extreme | High (The pressure is on!) |
If you are stuck with a wrinkled bill, a pro-tip from the world of professional crafting is to lightly mist the bill with water and press it with a flat iron on the lowest heat setting. This ‘laundering’ (the legal kind!) ensures your folds are razor-sharp and the basket stands tall without sagging.
The Master Class: Step-by-Step Basket Folding Guide
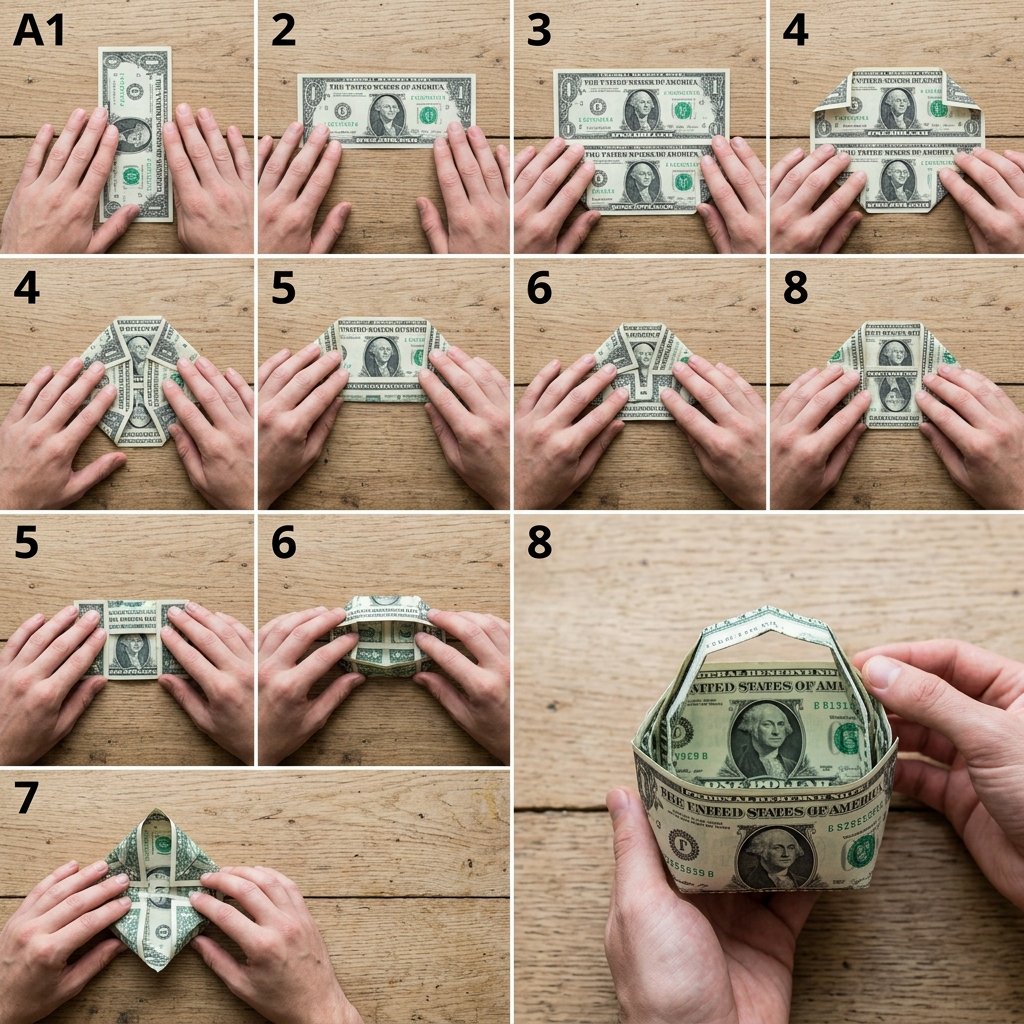
Before you begin, find a flat, hard surface. A kitchen table or a sturdy desk is better than your lap. You want to execute precise valley folds and mountain folds to ensure the basket is symmetrical. Follow these steps carefully:
- The Foundation: Lay the bill horizontally. Fold it in half lengthwise to create a center crease, then unfold.
- The Side Walls: Fold the top and bottom edges in to meet the center crease. This creates a long, narrow rectangle.
- The End Tucks: Fold all four corners inward to the center line, forming pointed ends on both the left and right sides.
- The Structural Crease: Fold the pointed ends inward again, creating a shape that looks like a long hexagon.
- The Inversion: This is the ‘magic’ step. Gently pull the center of the bill open while pushing the bottom upward. The sides will begin to stand up, forming the walls of the basket.
- The Handle (Optional): If you are using two bills, you can roll the second bill tightly and tuck it into the side folds to create a sturdy handle.
“Precision is the friend of the frugal crafter. Take 5 seconds longer on each crease to ensure the final product looks like a $100 masterpiece, regardless of the denomination.”
Total time investment: 5 to 10 minutes. Total cost: $0 above the gift amount.
Presentation & Embellishments: The Finishing Touches
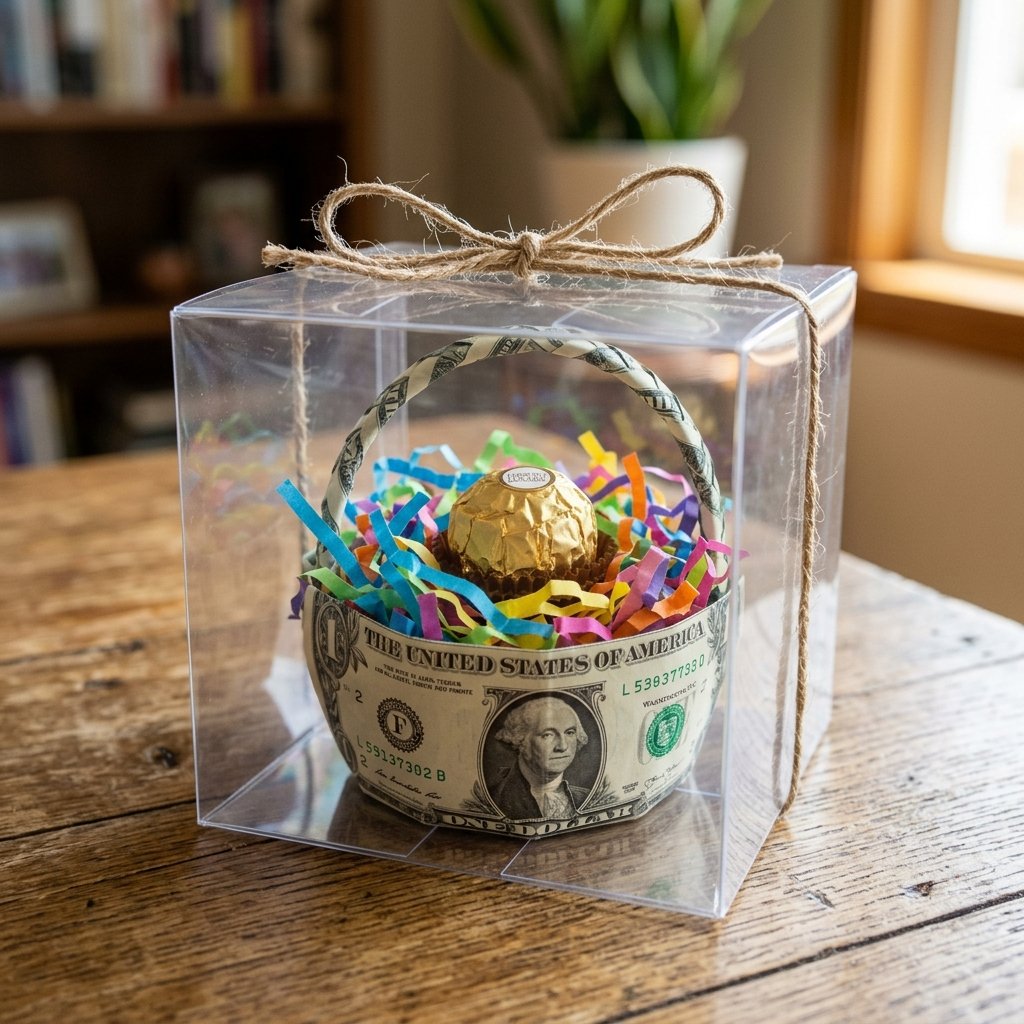
Once your basket is folded, don’t just hand it over bare. As a resourceful creator, you can use household scraps to finish the look. Think of the basket as a vessel for more than just the money itself. You can fill it with small, meaningful items that weigh almost nothing but add immense charm.
- Upcycled Shredded Paper: Use a paper shredder on old colorful magazines to create ‘Easter grass’ style filler for the basket.
- Tiny Treats: A single high-end truffle or a few mints fit perfectly inside a $20 basket.
- The Note: Write a tiny, hand-rolled scroll with a personalized message and tuck it inside.
| Presentation Style | Materials Needed | Estimated Extra Cost |
|---|---|---|
| The Minimalist | Just the Basket | $0.00 |
| The Rustic Look | Twine & Dried Lavender | <$0.50 |
| The Celebration | Confetti & Small Candy | <$1.00 |
This is where your Dollar Tree Interior Designer skills shine. A small piece of clear cellophane and a scrap of ribbon can make this origami basket look like it came from a high-end boutique.
Troubleshooting: How to Fix a ‘Floppy’ Basket
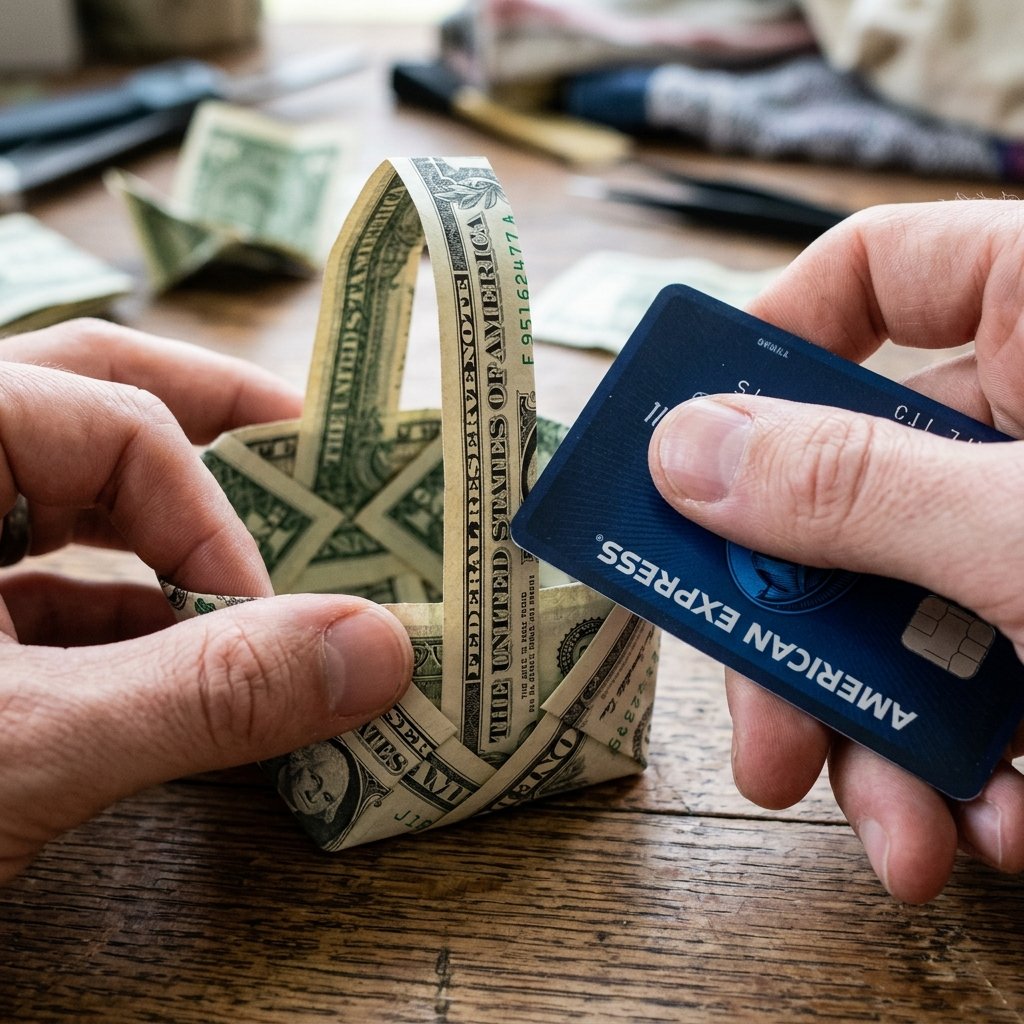
If your basket feels a bit unstable, don’t panic. This usually happens if the creases weren’t pressed firmly enough or the bill is too soft. Here are the handy parent fixes for a perfect finish:
- The ‘Bone Folder’ Trick: You don’t need a professional bone folder. Use the edge of a metal ruler or even a credit card to run over every fold. This compresses the fibers and locks the shape.
- Hidden Support: If the basket is for a child and needs to survive some handling, a tiny, invisible dot of clear tape or a glue dot inside the corner folds will make it indestructible.
- Double Up: For a larger, more ‘rugged’ basket, fold two bills identically and nest them inside one another. This doubles the thickness and the ‘wow’ factor.
“A craftsman is only as good as his ability to hide his mistakes. If a fold is slightly off, use it as the ‘back’ of the basket and focus on the presentation of the front.”
Conclusion
Folding a money origami basket is more than just a clever gift hack; it is a testament to the idea that thoughtfulness doesn’t have to be expensive. By choosing to spend 10 minutes crafting instead of $5 on a disposable greeting card, you’ve created a gift that will be talked about long after the cash is spent. You’ve taken the practical and made it elegant. So, the next time you find yourself reaching for a plain envelope, stop. Grab a crisp bill, find a flat surface, and start folding. Your reputation as the most creative and resourceful gift-giver in the room is just a few creases away.

Makenzie is the founder and lead writer at MoneyHackTips.com — a personal finance blog dedicated to delivering street-smart financial wisdom for real people on real budgets. With 300+ published articles covering everything from debt management to investing fundamentals, Makenzie’s mission is to make every dollar work harder. When not writing about money hacks, Makenzie is testing frugal living strategies, optimizing side hustles, and helping readers build financial freedom from scratch.