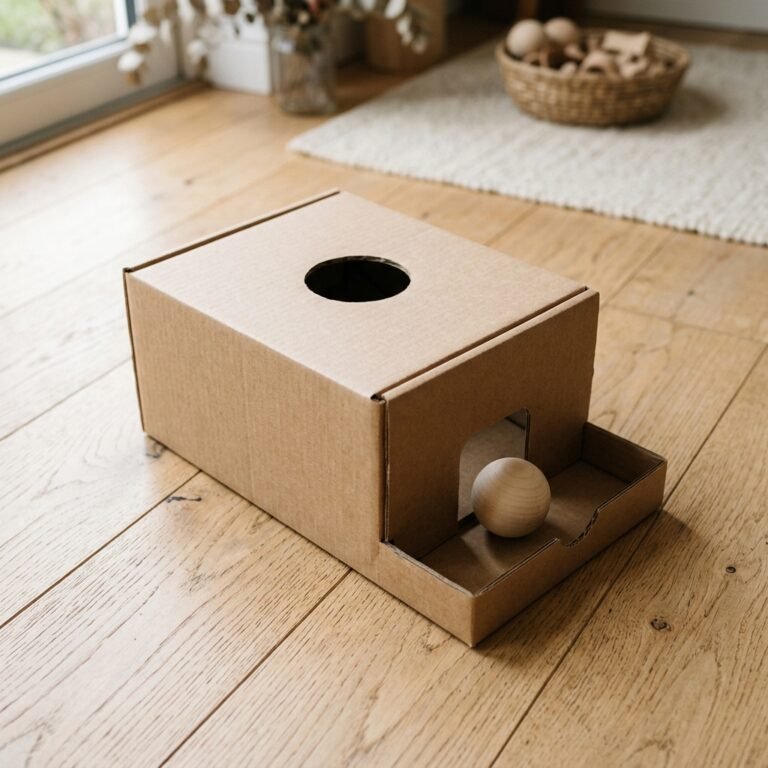

The Magic of the Humble Brown Box
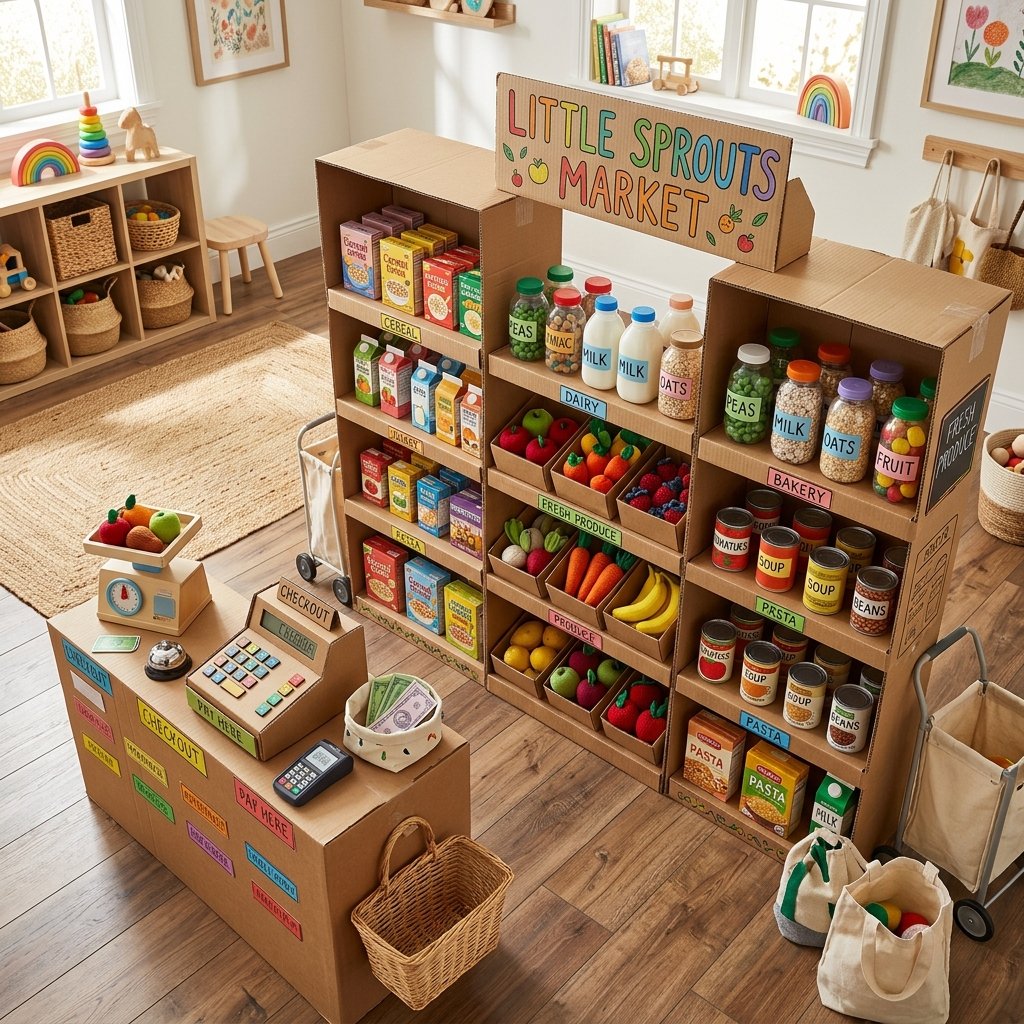
We have all been there: you spend $50 on a flashing, beeping plastic toy only for your toddler to spend the entire afternoon playing with the shipping box it arrived in. As a resourceful DIYer, it is time to lean into that instinct. We are not just talking about a box with a hole cut in it; we are talking about a fully engineered, multi-tiered grocery store shelving system built entirely from upcycled materials. This project is the ultimate ‘trash-to-treasure’ win. It costs zero dollars, keeps the little ones engaged for hours of open-ended play, and teaches them about organization, commerce, and sustainability. By the time we are done, you will have a play center that looks like a boutique market but costs less than a cup of coffee. Let’s grab our utility knives and get to work on this rugged, practical masterpiece.
The Master Plan: Sourcing Your ‘Lumber’ and Materials
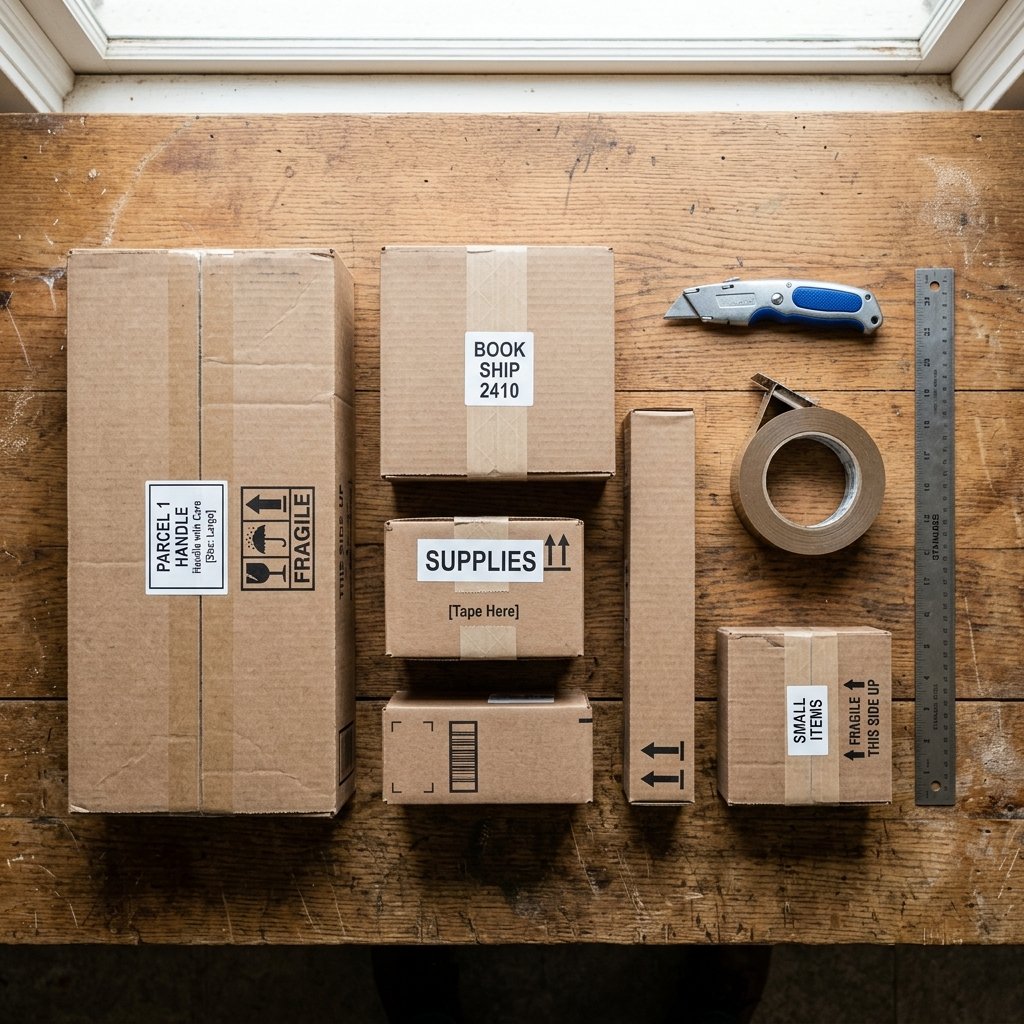
In the world of zero-budget upcycling, your local recycling bin or the back of a grocery store is your hardware store. To build a sturdy supermarket, you need to be picky about your cardboard. Look for double-walled corrugated cardboard for the main frame—this stuff is the ‘2×4’ of the crafting world. It provides the structural integrity needed to withstand a toddler’s ‘enthusiastic’ restocking sessions.
Essential Inventory for a Zero-Dollar Build
Before you start cutting, gather these scavenged essentials. Remember, the goal is to spend $0, so look in your junk drawers and pantry first.
| Material | Purpose | Cost |
|---|---|---|
| Large Shipping Boxes | Main Frame & Outer Walls | $0.00 |
| Cereal/Cracker Boxes | Shelf Dividers & Reinforcements | $0.00 |
| Packing Tape/Hot Glue | Assembly & Joints | $0.00 (Existing Stash) |
| Utility Knife/Box Cutter | Precision Cutting | $0.00 (Toolbox) |
| Marker/Leftover Paint | Signage & Aesthetics | $0.00 |
Safety First: Always perform the heavy cutting away from children. Use a fresh blade in your utility knife to ensure clean, effortless cuts that won’t tear the cardboard fibers.
Engineering 101: Building a Rugged Structural Frame

A grocery store is only as good as its stability. We are going to use a ‘T-Frame’ construction method to ensure these shelves don’t buckle under the weight of plastic fruit and wooden milk cartons. Start by selecting your largest box—this will be the ‘Main Aisle.’ If you have a tall wardrobe box, you are in luck; otherwise, you can tape two large shipping boxes together using a heavy-duty overlap joint.
Step-by-Step Frame Assembly
- Reinforce the Base: Cut a piece of cardboard the exact size of the bottom of your main box. Glue it inside the bottom to create a double-thick floor.
- The Side Supports: If your box is flimsy, cut 4-inch wide strips of cardboard, fold them into ‘L’ shapes, and glue them into the four vertical corners of the box. This acts as internal ‘studs.’
- The Back Wall: Ensure the back of the store is a solid piece of cardboard. If your box has flaps, tape them shut securely with cross-hatch taping for maximum rigidity.
By reinforcing the corners and the base, you create a structure that can survive being dragged across the living room floor. This is practical, masculine-elegant engineering at its finest—simple, strong, and effective.
The Shelving System: Creating Load-Bearing Aisles
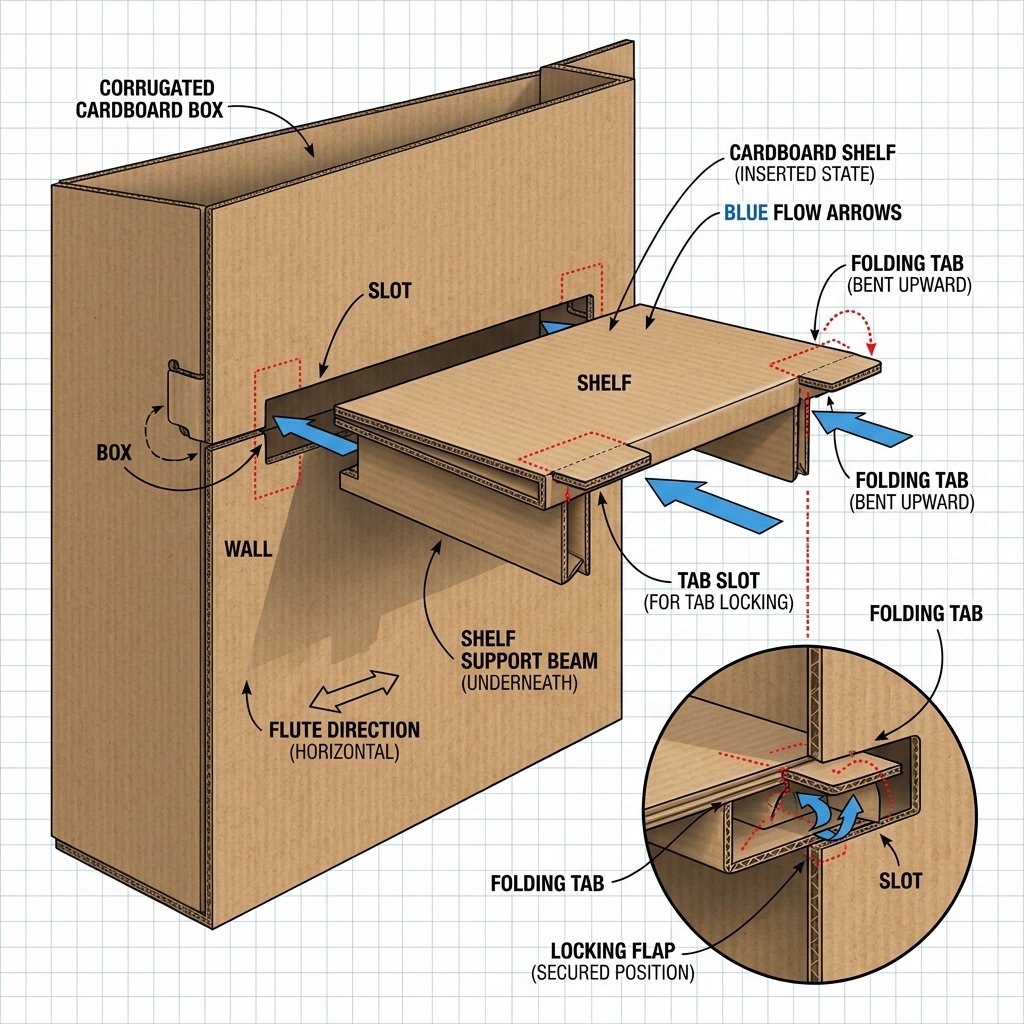
Now comes the clever part: the shelves. We want these to look like real grocery aisles. Instead of just taping flat pieces of cardboard inside, we will use a tab-and-slot method. This is a crafty-expert secret that provides a much cleaner look and higher weight capacity.
How to Install the Shelves
- Measure and Mark: Decide on the height of your aisles. 10 inches is usually perfect for toddler-sized items.
- The Slot Cut: On the side walls of your main frame, cut horizontal slits that are the exact width of your shelf cardboard.
- The Tabbed Shelf: Cut your shelf piece 2 inches wider than the box. Create 1-inch ‘tabs’ on either side by scoring and folding the ends.
- The Insertion: Slide the tabs through the slots from the inside out. Fold the tabs down on the exterior of the box and secure them with tape.
| Shelf Level | Recommended Items | Weight Capacity |
|---|---|---|
| Bottom Shelf | Heavy Items (Juice jugs, Canned goods) | High |
| Middle Shelf | Boxed Goods (Cereal, Pasta) | Medium |
| Top Shelf | Light Items (Bread, Produce) | Low |
This ‘floating’ look is sleek and modern, mimicking high-end retail displays while remaining 100% upcycled.
The Aesthetic Overhaul: From Trash to Boutique Store
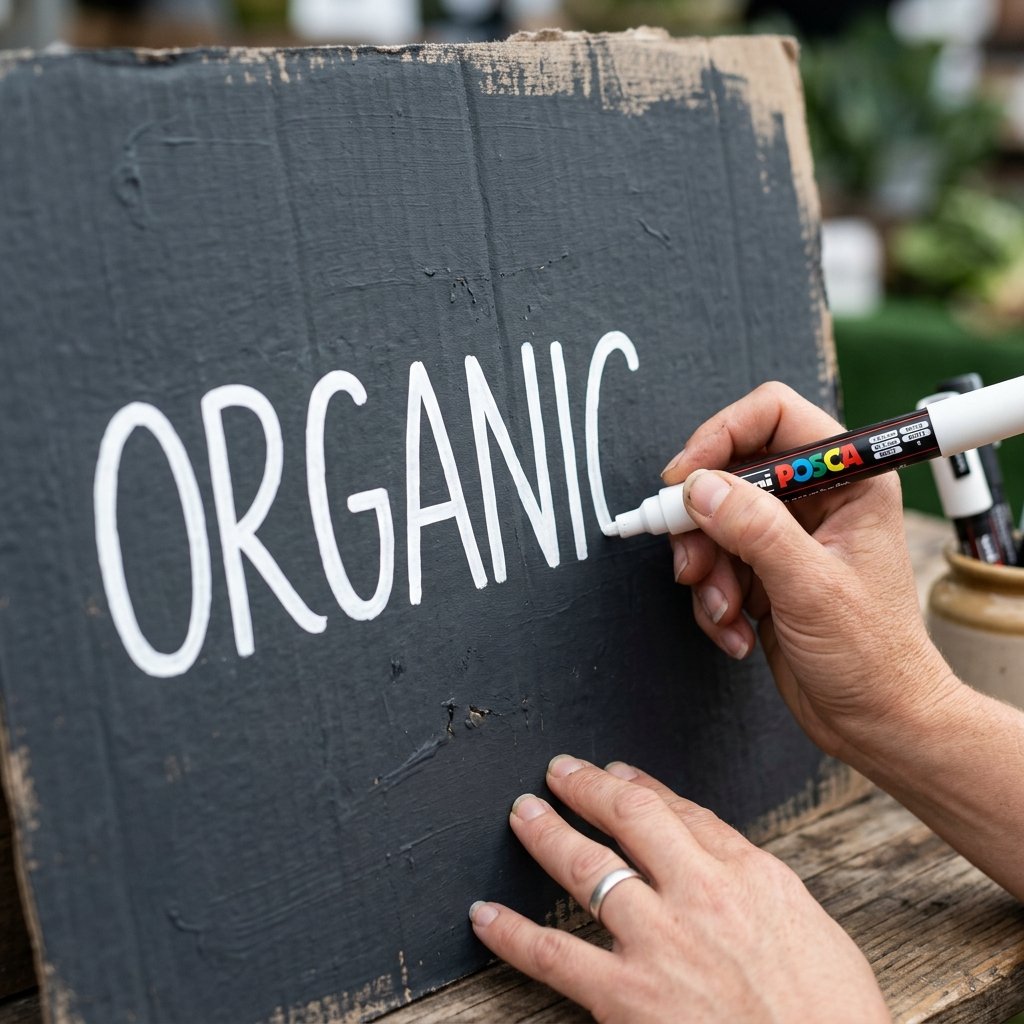
A pile of brown boxes is a construction site; a painted, labeled structure is a destination. You don’t need expensive supplies to make this look like a Pottery Barn Kids dupe. Use what you have in the garage or the kitchen junk drawer.
Clever Finishing Touches
- The ‘Baking Soda’ Paint Trick: If you have leftover house paint, mix in a little baking soda. It creates a matte, ceramic-like texture that hides the ‘cardboard’ look and gives it a sophisticated, rugged finish.
- Contact Paper Accents: Have a scrap of marble or wood-grain contact paper? Apply it to the top shelf to create a ‘premium’ counter look.
- Hand-Drawn Signage: Use a black permanent marker to create clean, minimalist signs. Think ‘Organic Produce,’ ‘Fresh Bakery,’ and ‘Daily Deals.’
Pro-Tip: Use a white paint pen or even a piece of chalk (if you prime the area with black paint) to create a ‘Chalkboard Menu’ on the side of the store. It allows your toddler to ‘update’ the prices daily!
Stocking the Aisles: DIY Play Food for Zero Dollars
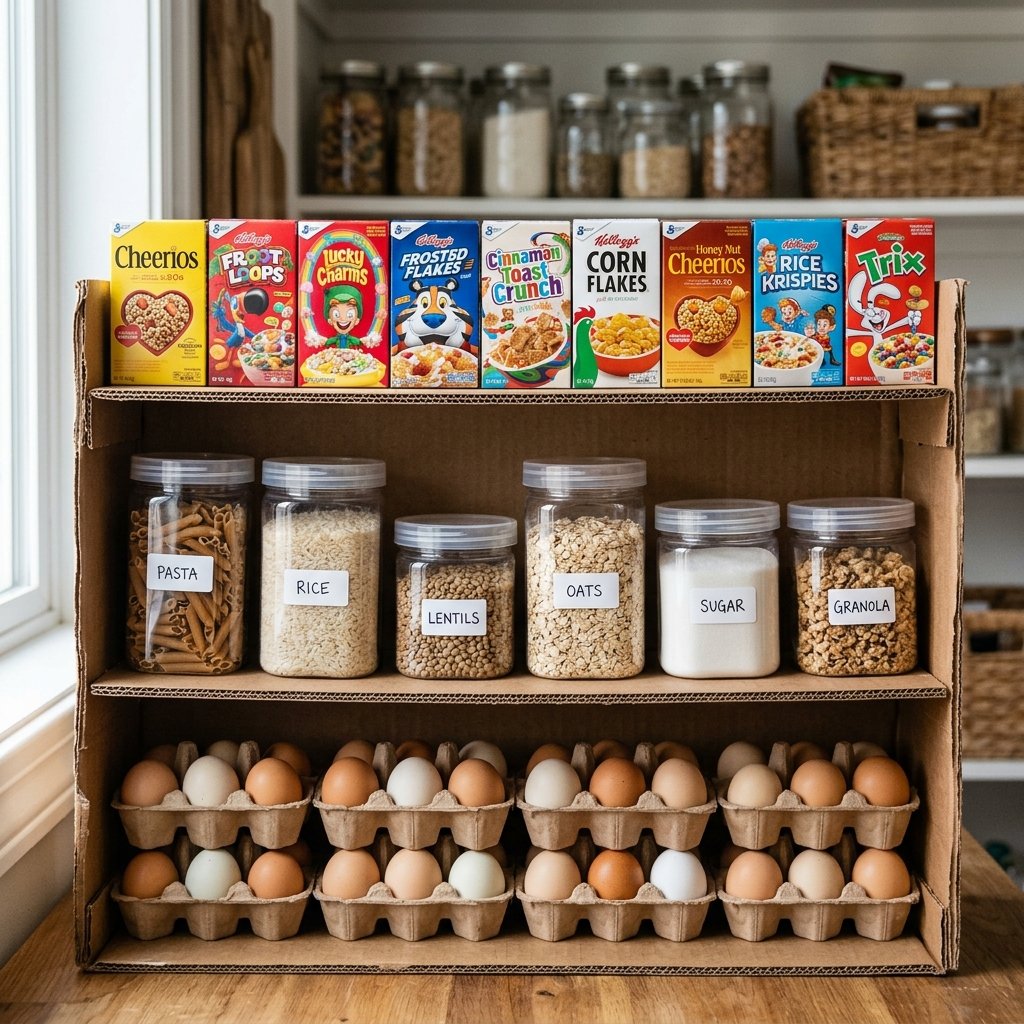
What is a store without inventory? Instead of buying plastic food sets, we are going to upcycle your actual grocery waste. This is where the resourceful and clever parent shines. Not only is this free, but it also helps toddlers recognize the real-world items they see in your pantry.
The Upcycled Inventory List
- Miniature Cereal Boxes: Save your single-serve cereal boxes. Tape the tops shut and wrap them in clear packing tape to make them ‘toddler-proof’ and shiny.
- Spice Jars: Thoroughly wash empty plastic spice jars. Fill them with a few dried beans or beads (secure the lid with super glue!) to create sensory ‘shakers’ that act as play spices.
- Egg Cartons: Cut a standard egg carton in half to make ‘half-dozen’ sets. You can make ‘eggs’ out of crumpled white paper or old ping pong balls.
- Milk Jugs: Small 12oz juice or milk bottles are the perfect size for little hands. Rinse them well and leave the labels on for a realistic feel.
By using real packaging, you are creating a high-fidelity play experience that keeps them engaged because it looks ‘just like Mommy and Daddy’s stuff.’
The Checkout Experience: Interactive Cardboard Gadgets
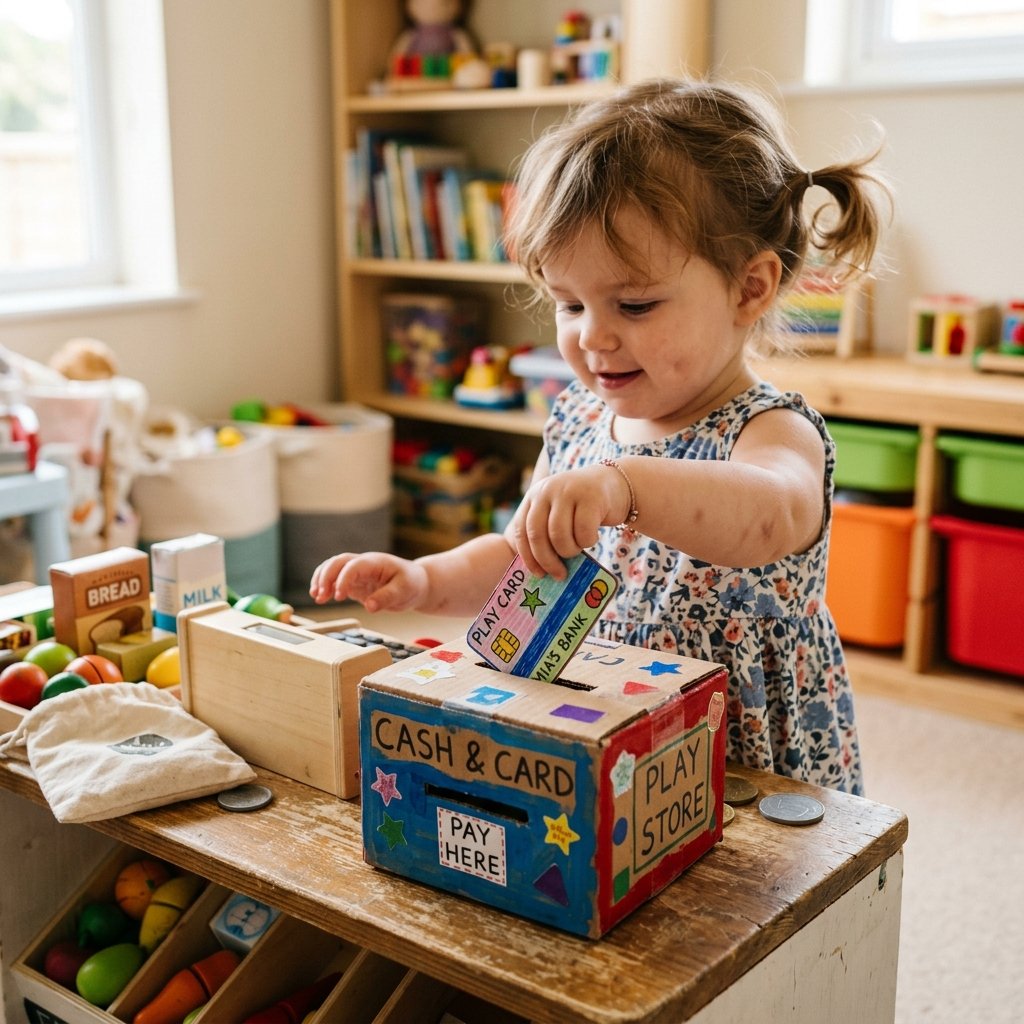
The ‘hook’ that keeps a toddler busy for hours is the checkout process. We need a register and a scanner. You can build a sophisticated-looking credit card reader in about 10 minutes.
The 5-Minute Cardboard Register
- Find a small, flat box (like a jewelry box or a tech accessory box).
- Cut a thin slit in the side—this is your ‘Credit Card Swipe.’
- Glue a calculator (from the dollar store or an old defunct one) to the top for the buttons.
- Cut a ‘Credit Card’ out of a scrap of heavy cardboard and let your child decorate it.
For the ‘Scanner,’ use an old cardboard tube (from paper towels). Attach it to the main store with a piece of yarn. Your toddler can now ‘beep’ every item as it passes through the checkout. This adds a layer of tactile interaction that simple shelving lacks.
Conclusion
The Ultimate Parenting Win
Building this DIY cardboard grocery store is more than just a craft project; it is an exercise in resourceful parenting. For zero dollars and a few hours of your time, you have created a durable, educational, and incredibly fun play space that rivals any store-bought plastic alternative. You’ve taught your child that creativity isn’t bought—it’s built. Now, sit back with a well-deserved coffee while your little entrepreneur stocks the shelves, rings up the groceries, and stays busy for the rest of the afternoon. You’ve mastered the art of the trash-to-treasure transformation. Happy building!

Makenzie is the founder and lead writer at MoneyHackTips.com — a personal finance blog dedicated to delivering street-smart financial wisdom for real people on real budgets. With 300+ published articles covering everything from debt management to investing fundamentals, Makenzie’s mission is to make every dollar work harder. When not writing about money hacks, Makenzie is testing frugal living strategies, optimizing side hustles, and helping readers build financial freedom from scratch.