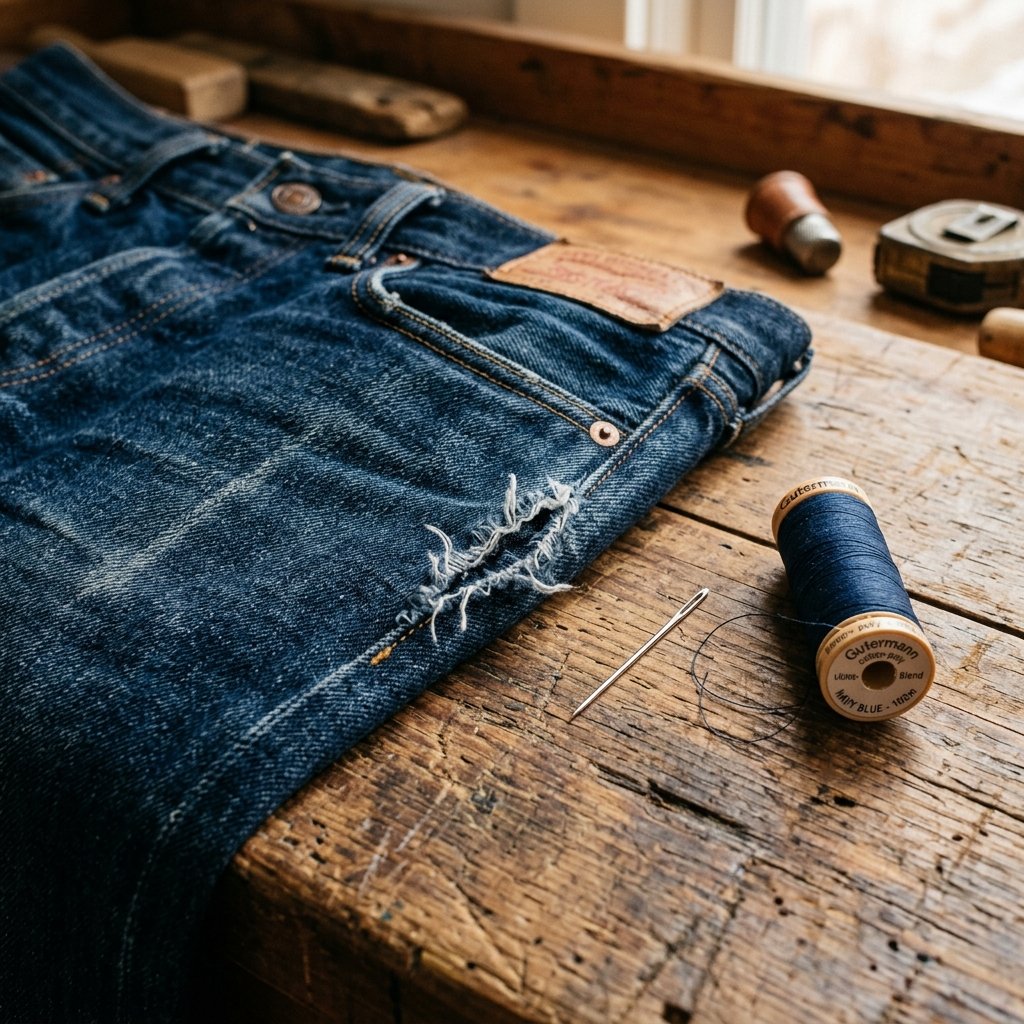

The Art of the Invisible Save
We have all been there: you are reaching for your coffee or stepping into your favorite pair of trousers when you hear that heart-sinking rrrrip. A popped seam is more than just a wardrobe malfunction; it is a direct assault on your wallet and your schedule. But before you toss those expensive chinos into the ‘donate’ pile or spend $25 at a professional tailor, let me let you in on a secret. You do not need a bulky sewing machine or a degree in fashion design to fix this. In fact, with a simple needle, a bit of thread, and exactly 180 seconds, you can perform a repair so seamless it looks like it came straight from the factory. This is the ultimate skill for the frugal minimalist—a way to extend the life of your garments indefinitely while keeping your hard-earned cash where it belongs: in your pocket.
The Minimalist Mending Kit: Tools for the Modern MacGyver
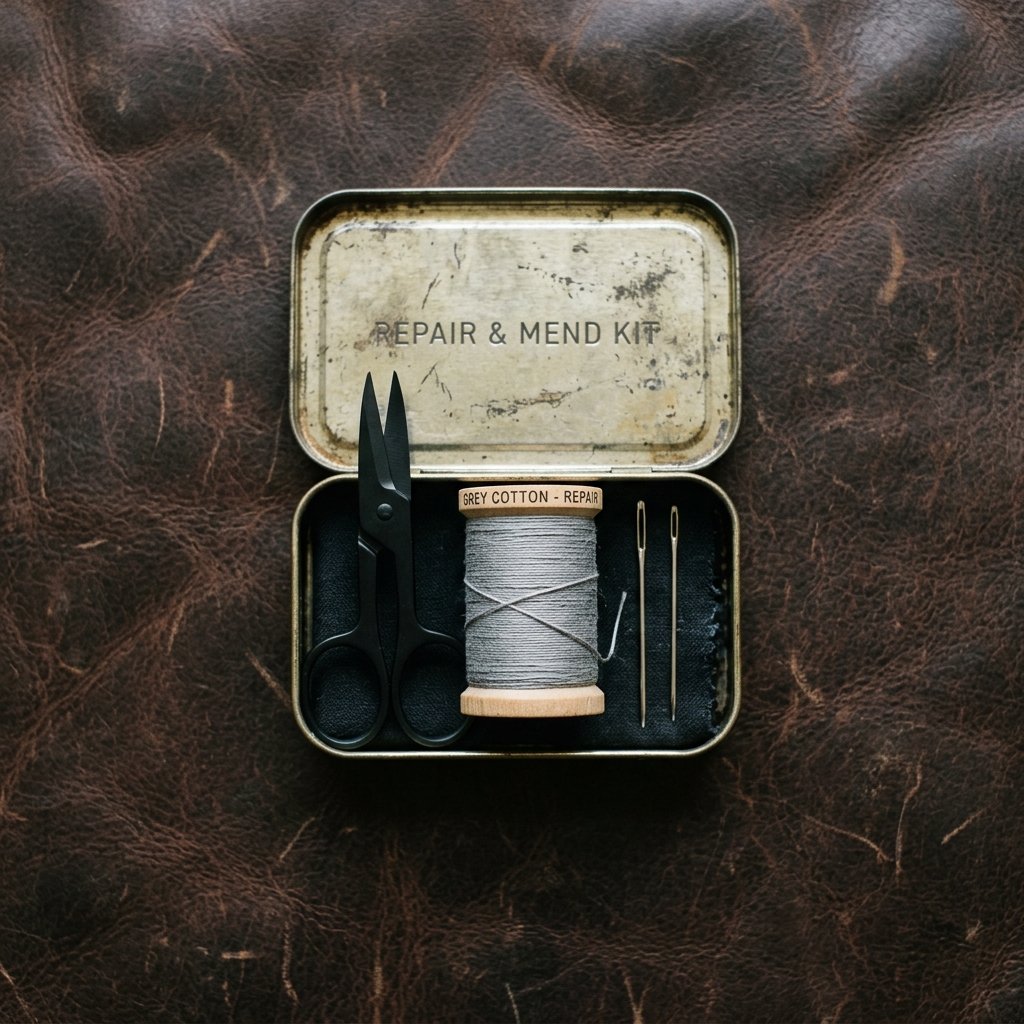
You don’t need a craft room to be a master of mending. A truly resourceful DIYer knows that the best repairs come from a streamlined kit that can fit in a mint tin. To achieve a professional-grade invisible mend, you only need three core components. Forget the fancy gadgets; we are going back to basics with high-quality essentials.
Essential Supplies and Their Costs
When you compare the cost of these basic supplies to the price of replacing a single pair of high-end jeans or a designer dress, the math is undeniable. You are looking at a 95% savings over the long term.
| Item | Purpose | Estimated Cost |
|---|---|---|
| All-Purpose Polyester Thread | Strength and flexibility for most fabrics | $1.50 |
| Sharp Hand-Sewing Needles | Precision piercing without snagging | $2.00 (pack) |
| Small Embroidery Scissors | Clean cuts to prevent fraying | $5.00 |
| Total Investment | Lifetime of repairs | $8.50 |
“The goal isn’t just to fix the hole; it’s to restore the integrity of the garment so it’s stronger than it was before the break.”
Anatomy of a Rip: Assessing the Damage

Is it a Seam or a Tear?
Before you start stitching, you must diagnose the ‘wound.’ A seam rip occurs when the original thread holding two pieces of fabric together snaps. This is the easiest fix because the fabric itself is usually intact. A tear, however, is a rip through the actual fibers of the cloth. For today’s 3-minute masterclass, we are focusing on the seam rip—the most common casualty of daily wear and tear.
| Damage Type | Identification | Optimal Stitch Solution |
|---|---|---|
| Popped Seam | Thread is broken, fabric edges are clean | Ladder Stitch (Invisible) |
| Frayed Hole | Fabric fibers are missing or shredded | Darning or Patching |
| Stress Tear | Small rip near a pocket or button | Backstitch Reinforcement |
Check the stress points. If the seam popped at the seat of your pants or under the armpit, you’ll want to use a double-threaded needle for extra durability. This ensures that your 3-minute fix doesn’t become a 1-minute failure the next time you sit down.
The 3-Minute Masterclass: Executing the Ladder Stitch
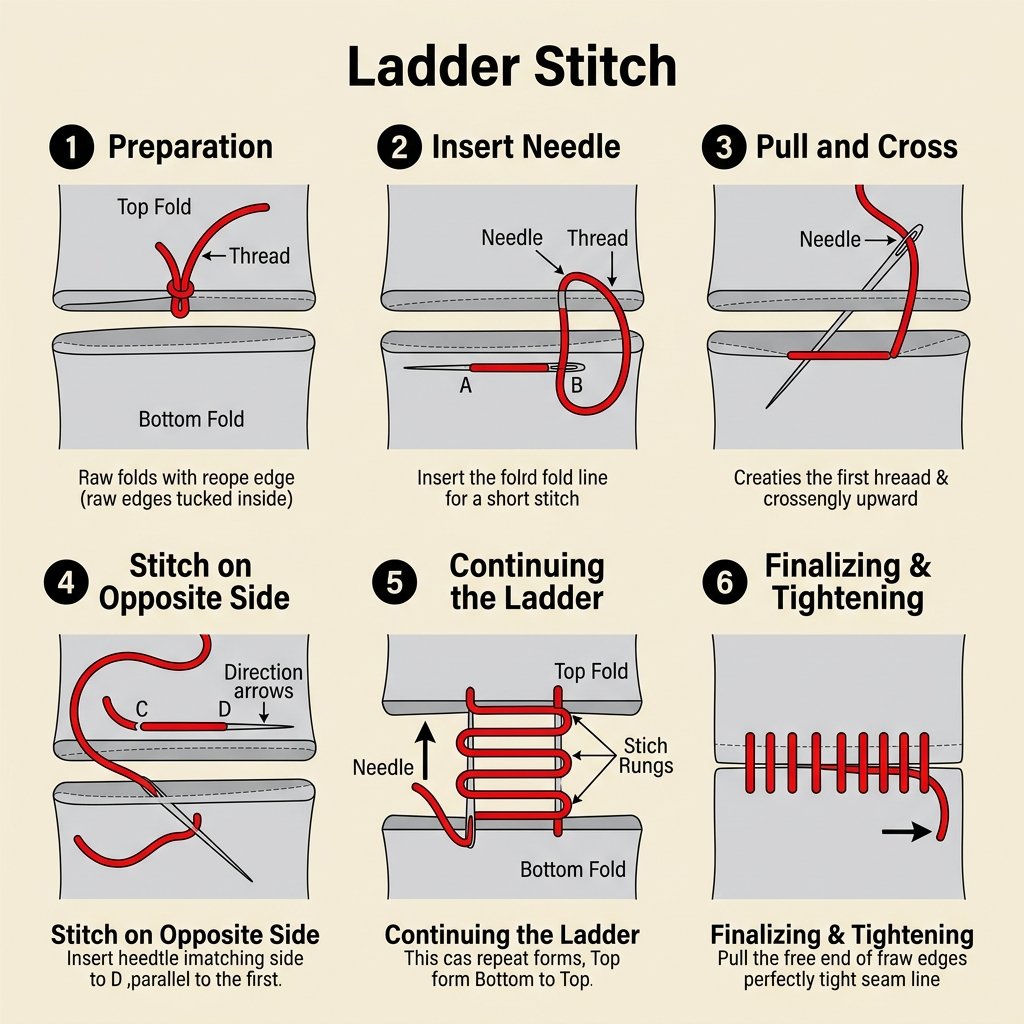
The Ladder Stitch (also known as the Slip Stitch) is the holy grail of hand-sewing. It allows you to join two pieces of fabric from the ‘right side’ (the outside) while keeping the thread completely hidden inside the fold. Follow these steps with precision.
- Anchor Your Thread: Knot the end of your thread and insert the needle from the inside of the seam, popping out right where the rip begins.
- The First ‘Rung’: Cross over to the opposite side of the rip. Insert the needle into the very edge of the fold and slide it forward about 1/8th of an inch before pulling it out.
- The Bridge: Cross back to the first side. Again, insert the needle into the fold, slide it forward 1/8th of an inch, and pull through.
- The Ladder Effect: Repeat this back-and-forth motion. You will see parallel lines of thread that look like the rungs of a ladder. Do not pull tight yet!
- The Magic Pull: Once you have covered the length of the rip, gently pull the thread taut. Watch as the two edges zip together and the thread disappears entirely.
“Keep your stitches small and consistent. The smaller the ‘rung,’ the stronger and more invisible the finished seam will be.”
Pro Tips for a Rugged, Masculine-Elegant Finish
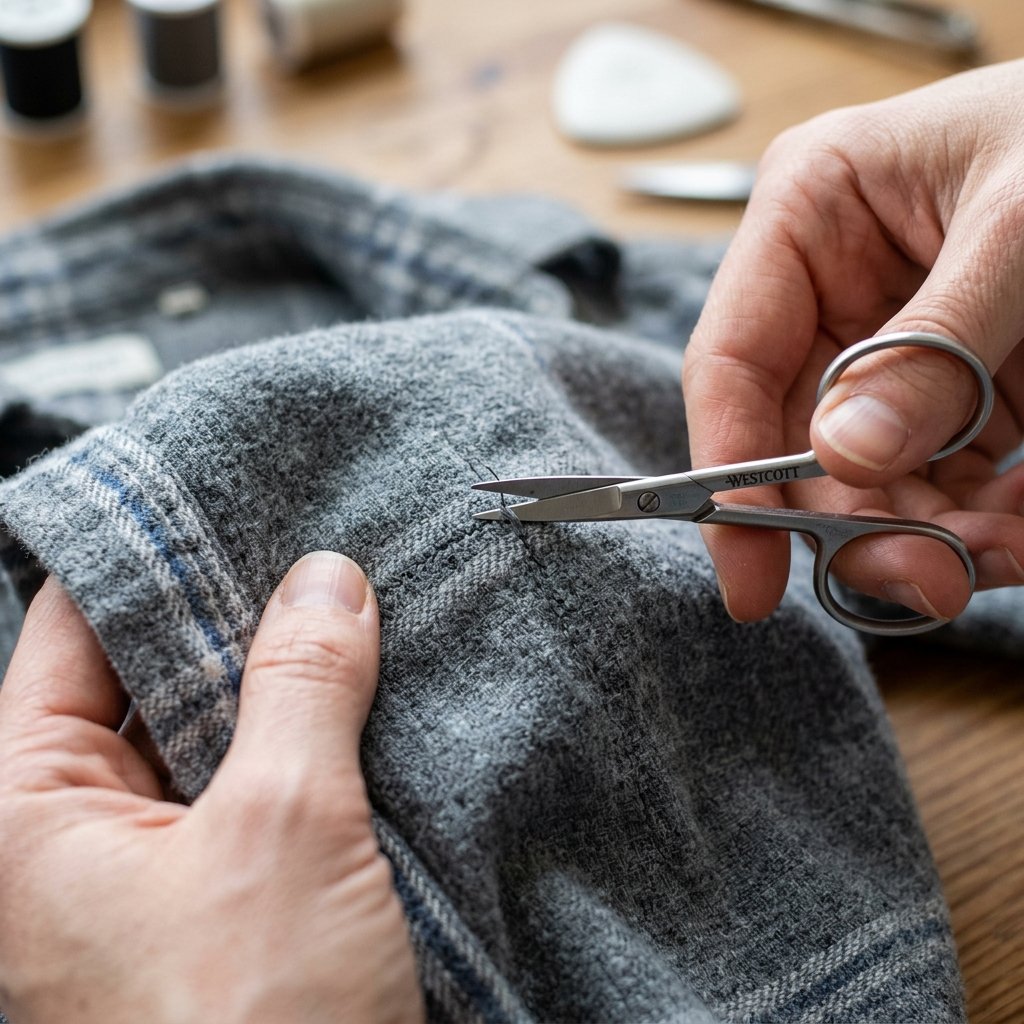
To ensure your repair stands up to the rigors of an active lifestyle, you need to think like a tailor. It is not just about closing the gap; it is about the finish. A sloppy knot will itch or unravel, while a professional finish remains unnoticed.
Thread Selection Guide
Matching your thread color is vital, but matching the weight is the secret of the pros. Using heavy-duty upholstery thread on a silk shirt will cause puckering, while thin embroidery floss on denim will snap instantly.
| Fabric Type | Recommended Thread | Needle Size |
|---|---|---|
| Denim / Canvas | Heavy Duty Polyester | Size 16/100 (Large Eye) |
| Cotton T-Shirts | All-Purpose Polyester | Size 11/75 (Universal) |
| Dress Shirts / Silk | Fine Cotton or Silk Thread | Size 9/65 (Slim) |
Always finish your stitch by ‘burying’ the knot. Pass the needle back into the seam, travel an inch away from the repair, pull it through, and snip the thread close to the fabric. The tail will disappear inside the garment, leaving zero visible loose ends.
Conclusion
Mastering Your Domain, One Stitch at a Time
By learning to mend a torn seam in 3 minutes flat, you have done more than just save a shirt; you have reclaimed a bit of self-reliance in a throwaway culture. This simple, crafty expertise transforms you from a consumer into a caretaker of your own style. Whether you are prepping for a big meeting, fixing a child’s play clothes, or keeping your rugged outdoor gear in top shape, the invisible ladder stitch is your go-to tool for a frugal, stylish life. Remember: mending is not a sign of lack; it is a sign of respect for your belongings and your budget. Now, go check your closet—there is likely a ‘treasure’ in there just waiting for three minutes of your time.

Makenzie is the founder and lead writer at MoneyHackTips.com — a personal finance blog dedicated to delivering street-smart financial wisdom for real people on real budgets. With 300+ published articles covering everything from debt management to investing fundamentals, Makenzie’s mission is to make every dollar work harder. When not writing about money hacks, Makenzie is testing frugal living strategies, optimizing side hustles, and helping readers build financial freedom from scratch.