
The Heartbreak of the Moth Hole (And How to Beat It)
Picture this: the first crisp, chilly day of autumn has finally arrived. You reach into the back of your closet to pull out your absolute favorite, incredibly soft, perfectly broken-in cashmere sweater. You hold it up to the light, anticipating that rugged, masculine-elegant comfort, and there it is. A hole. A tiny, infuriating, perfectly round moth hole right on the front. For a brief, tragic moment, you consider tossing it in the rag bin or relegating it to yard-work duty. But wait! Before you chuck a garment that would cost $150 to $300 to replace, let’s tap into some serious resourceful magic.
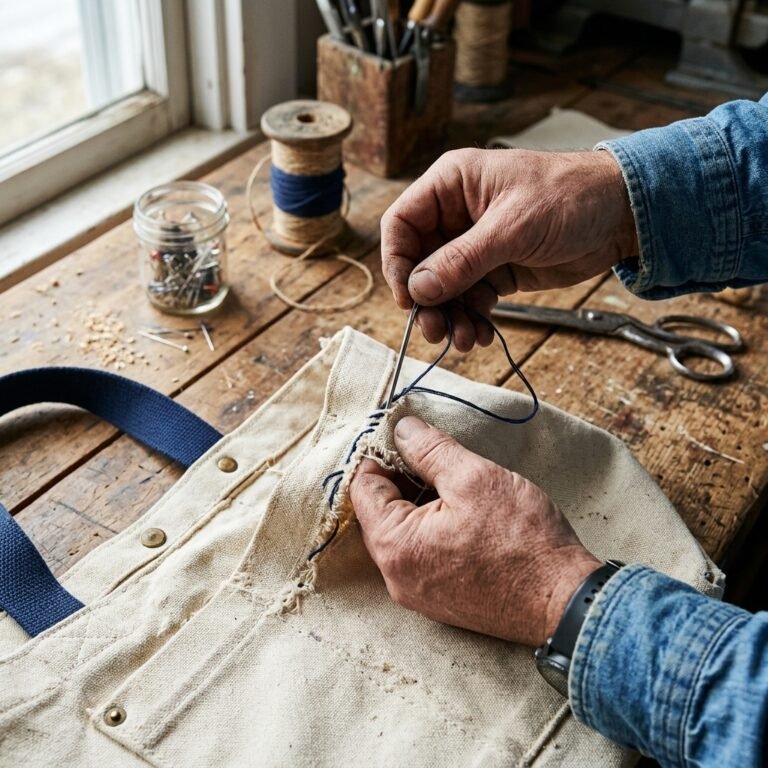
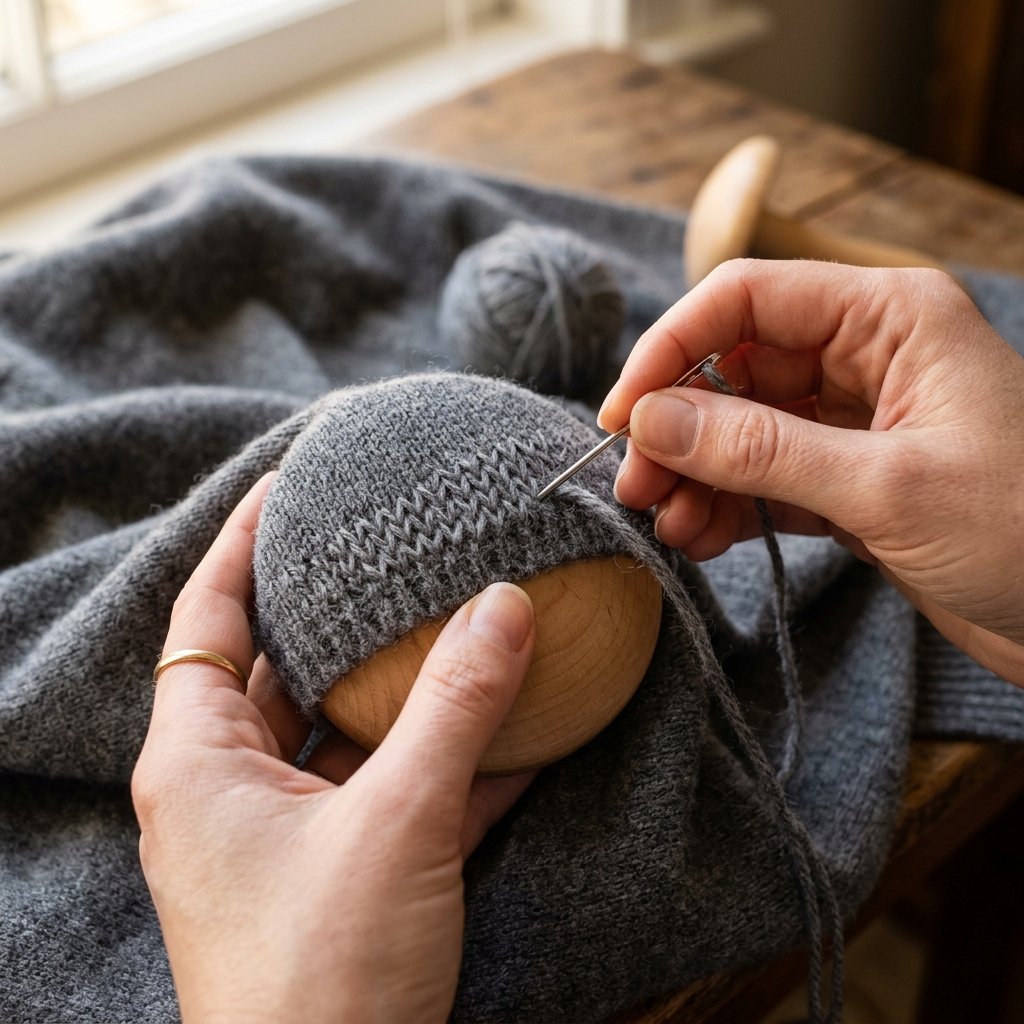
Welcome to the ultimate frugal DIYer’s guide to invisible mending. Today, we are going to master the Duplicate Stitch, also known in tailoring circles as Swiss Darning. This isn’t your average, clunky, Frankenstein-style patch job. This is a clever, budget-savvy technique that literally rebuilds the knit fabric, stitch by stitch, so perfectly that no one will ever know it was damaged. Whether you are a handy parent trying to save your kid’s favorite winter gear or a crafty upcycler looking to flip thrift store finds, this Grandma-approved secret will save you hundreds of dollars and give you the immense satisfaction of fixing something with your own two hands.
The Frugal Mender’s Mantra: We don’t throw away quality; we invest 20 minutes of our time to make it last another twenty years.
Grab your needle, find a comfortable chair with good lighting, and let’s get ready to turn that trash-bound tragedy into a triumphant treasure!
Section 1: The Frugal Mender’s Toolkit & Budget Breakdown
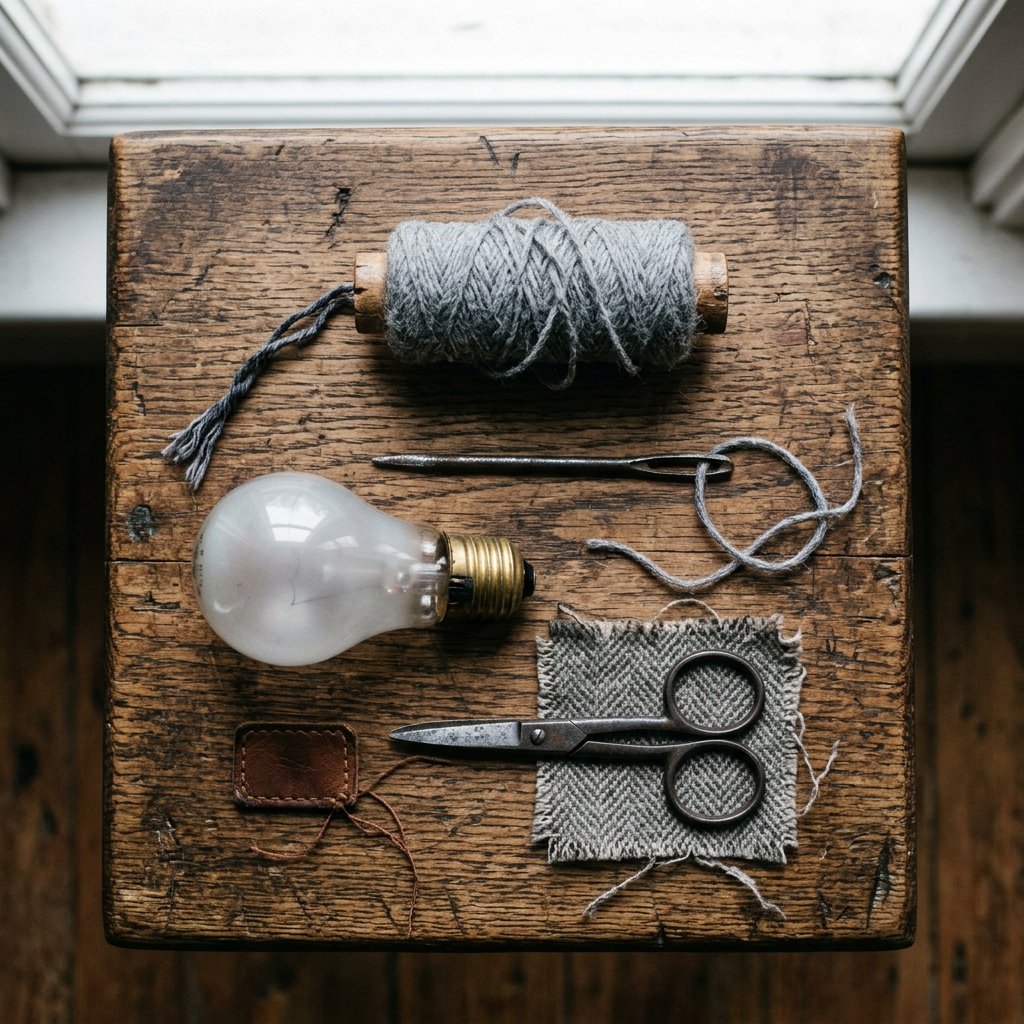
The beauty of the duplicate stitch is that it requires almost zero financial investment. You don’t need a sewing machine, you don’t need expensive tailoring tools, and you certainly don’t need to pay a professional re-weaver. All you need are a few simple items you likely already have rolling around in a junk drawer or a basic sewing kit.
What You Need (And Clever Substitutes)
- A Blunt Tapestry Needle: You want a needle with a blunt tip (often called a darning needle). A sharp sewing needle will split the delicate cashmere fibers, making your job infinitely harder.
- Matching Yarn: This is the most crucial part of invisible mending. If you can’t find an exact match at a craft store, use the crafty expert’s secret: harvest it from the sweater itself! Carefully snip a length of yarn from an inside side seam or the inside of the hem where it will never be seen.
- A Darning Mushroom: This provides a convex, firm surface to stretch the fabric over, ensuring your tension is correct. Budget-Savvy Hack: Don’t have a wooden darning mushroom? Use a tennis ball, a smooth lemon, or even a classic incandescent lightbulb!
- Good Lighting & Magnification: Cashmere stitches are tiny. Sit by a bright window or use a strong headlamp. If you have reading glasses, now is the time to wear them.
| Mending Method | Estimated Cost | Time Required | Visibility of Repair |
|---|---|---|---|
| Professional Reweaving | $75 – $125 | 2 – 4 Weeks | 100% Invisible |
| Store-Bought Iron-on Patch | $5 – $10 | 5 Minutes | Highly Visible (Ugly) |
| Basic Thread Whipstitch | $0.00 | 10 Minutes | Visible Puckering |
| DIY Duplicate Stitch | $0.00 | 30 – 45 Minutes | 95% – 100% Invisible |
Section 2: Anatomy of the Knit & Prepping the Canvas
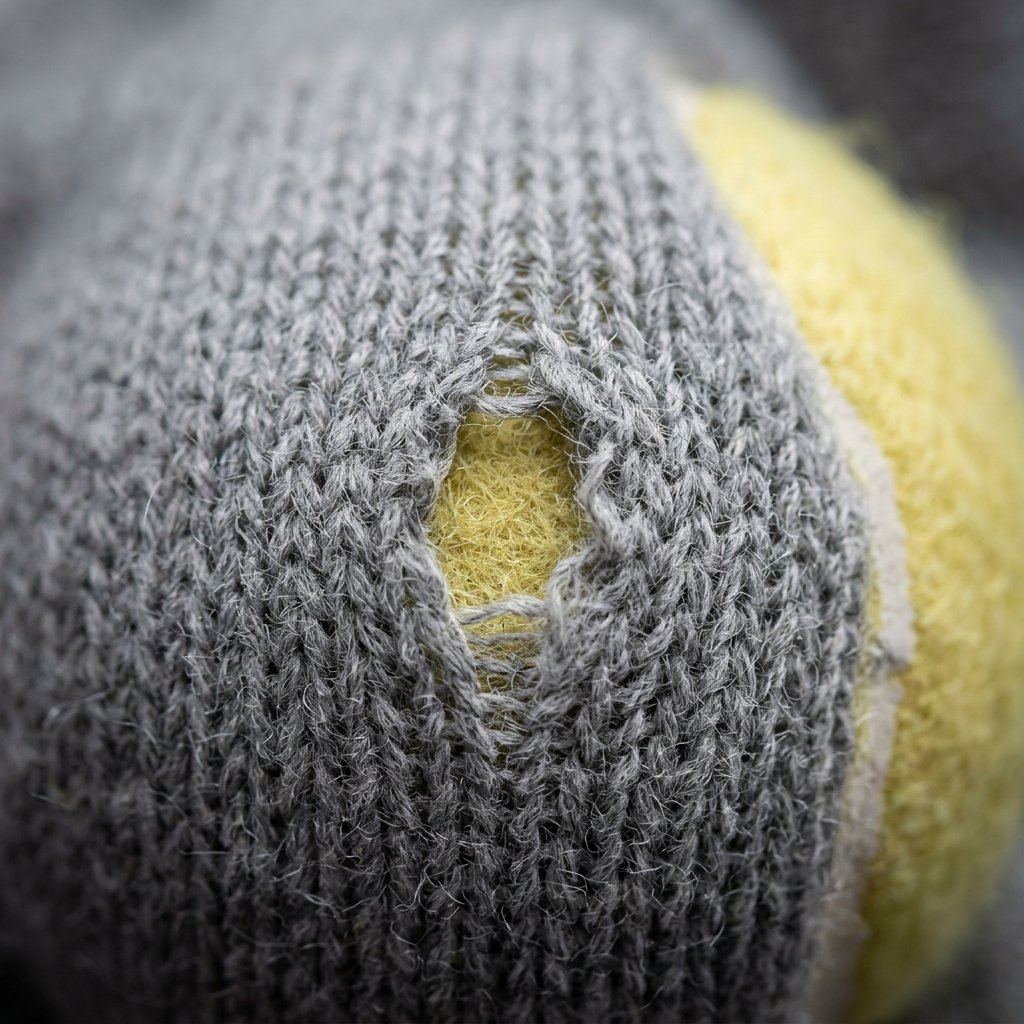
Before we start stabbing a needle into our beloved sweater, we need to understand the architecture of the fabric. Cashmere sweaters are typically stockinette stitch. If you look closely at the right side of the fabric, you will see columns of tiny “V” shapes stacked on top of each other. The duplicate stitch is exactly what it sounds like: we are going to use our needle and thread to trace over the existing, unbroken “V”s around the hole, and then create new “V”s suspended over the empty space to fill the gap.
Step-by-Step Preparation
- Assess the Damage: Gently stretch the area around the hole. Moths often chew the fibers thin before creating a full hole. You need to identify the “healthy” stitches surrounding the damage.
- Trim the Fuzz: Take a small, sharp pair of scissors and carefully snip away any frayed, fuzzy, or half-chewed fibers hanging in the middle of the hole. You want clean edges to work with.
- Mount the Sweater: Slide your darning mushroom (or tennis ball/lightbulb) inside the sweater, positioning it directly under the hole. Pull the fabric taut enough to see the individual stitches clearly, but do not stretch it so much that the hole distorts and widens. Secure the fabric around the base of your object with a rubber band if needed.
Safety Note: When using a glass lightbulb as a darning egg, handle it with care and do not squeeze it tightly. A shattered bulb will ruin your sweater and your day!
| Damage Type | Best Mending Technique | Difficulty Level |
|---|---|---|
| Tiny Pinhole (1-2 stitches) | Simple Duplicate Stitch | Beginner |
| Medium Hole (Dime-sized) | Swiss Darning / Woven Base + Duplicate | Intermediate |
| Large Blowout (Elbow/Heel) | Traditional Woven Darn or Visible Patch | Advanced |
Section 3: The Duplicate Stitch Masterclass
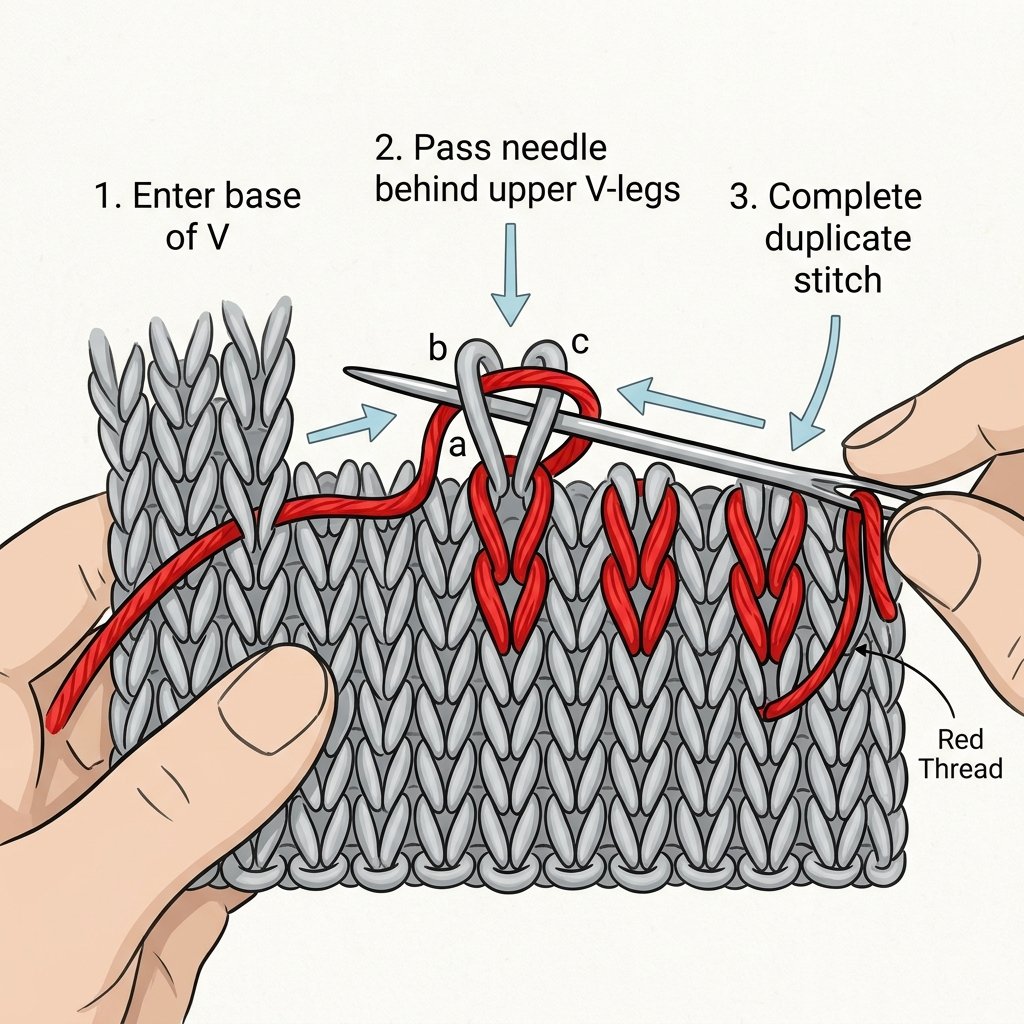
This is where the magic happens. By following the path of the original yarn, we will seamlessly blend our repair into the garment. Take a deep breath; it requires patience, but the rhythm is incredibly meditative and satisfying once you get the hang of it.
Executing the Perfect Invisible Mend
- Thread and Anchor: Thread your blunt tapestry needle with about 18 inches of your matching yarn. Start about three rows below the hole and two columns to the right. Insert the needle from the inside (wrong side) of the sweater to the outside (right side) at the base of a healthy “V”. Leave a 3-inch tail on the inside to weave in later.
- Trace the First Leg: Look at the “V” directly above where your yarn just came out. Slide your needle horizontally behind the two legs of that upper “V” (going from right to left). Pull the yarn through gently.
- Complete the ‘V’: Insert your needle back into the exact same hole where you originally started. You have just completed your first duplicate stitch! It should sit perfectly on top of the old stitch.
- Move Up and Over: Bring your needle up at the base of the next “V” to the left, and repeat the process. You want to create a foundation row of duplicate stitches just below the hole to anchor your work.
- Bridging the Gap: When you reach the actual hole, you will no longer have a fabric “V” to trace over. Instead, you will catch the loose loops at the bottom edge of the hole, stretch your yarn across the empty space, and catch the corresponding loops at the top edge of the hole. You are creating a ladder of yarn across the void.
- Duplicate Over the Ladder: Once you have built your horizontal ladder across the hole, you will turn around and duplicate stitch vertically over your new ladder threads, creating brand new “V”s out of thin air.
- Anchor and Finish: Continue duplicate stitching for a few rows above the hole into the healthy fabric. Push the needle to the inside of the sweater, and weave the loose ends through the purl bumps on the back to secure them. Never tie a knot! Knots will feel hard against the skin and can cause the delicate cashmere to tear.
Section 4: Blending In: Tension, Texture, and Blocking
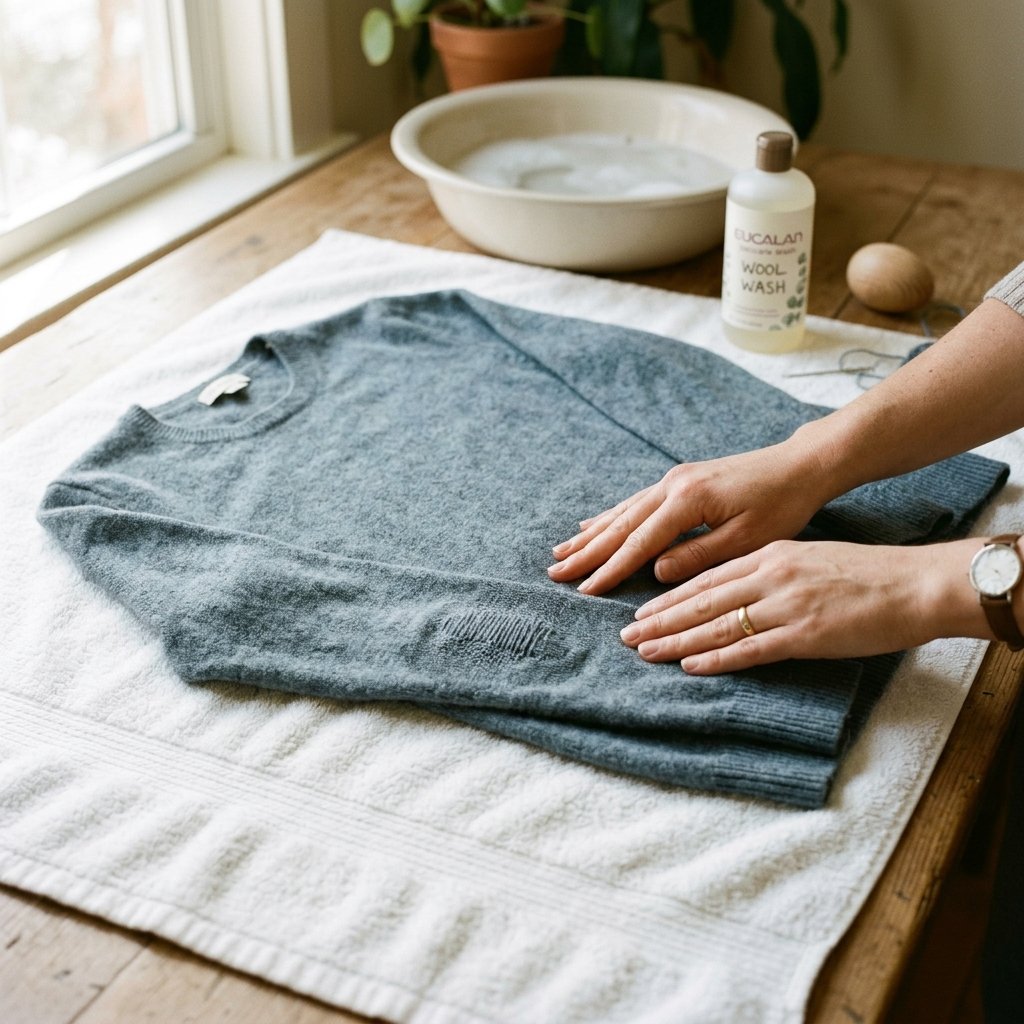
You’ve successfully closed the hole, but the job isn’t quite finished. The difference between an amateur patch and a master-tailor’s invisible mend comes down to the finishing touches: tension control and blocking.
Mastering Tension
If your duplicate stitches are too tight, the fabric will pucker, and the repaired area will look like a dimple. If the stitches are too loose, they will look sloppy and catch on things. As you pull each stitch through, use the tip of your needle to gently arrange the yarn so it perfectly matches the size and plumpness of the surrounding original stitches. It takes a bit of a crafty expert’s eye, but adjusting as you go saves headaches later.
The Magic of Blocking
Blocking is the ultimate secret weapon for any knitter or frugal mender. Once your repair is complete, the new stitches might look a little stiff or slightly irregular. Blocking relaxes the fibers and forces them to meld together seamlessly.
- Step 1: Fill a basin with lukewarm water and a drop of gentle wool wash (or baby shampoo).
- Step 2: Submerge the mended area and let it soak for 10 minutes.
- Step 3: Gently press the water out between two clean towels. Never wring or twist cashmere!
- Step 4: Lay the sweater flat on a dry towel. Use your fingers to gently pat and shape the mended area so the stitches align perfectly. Let it air dry completely. Once dry, the mend will practically vanish into the fabric.
Section 5: Rugged Maintenance: Moth Prevention & Cashmere Care
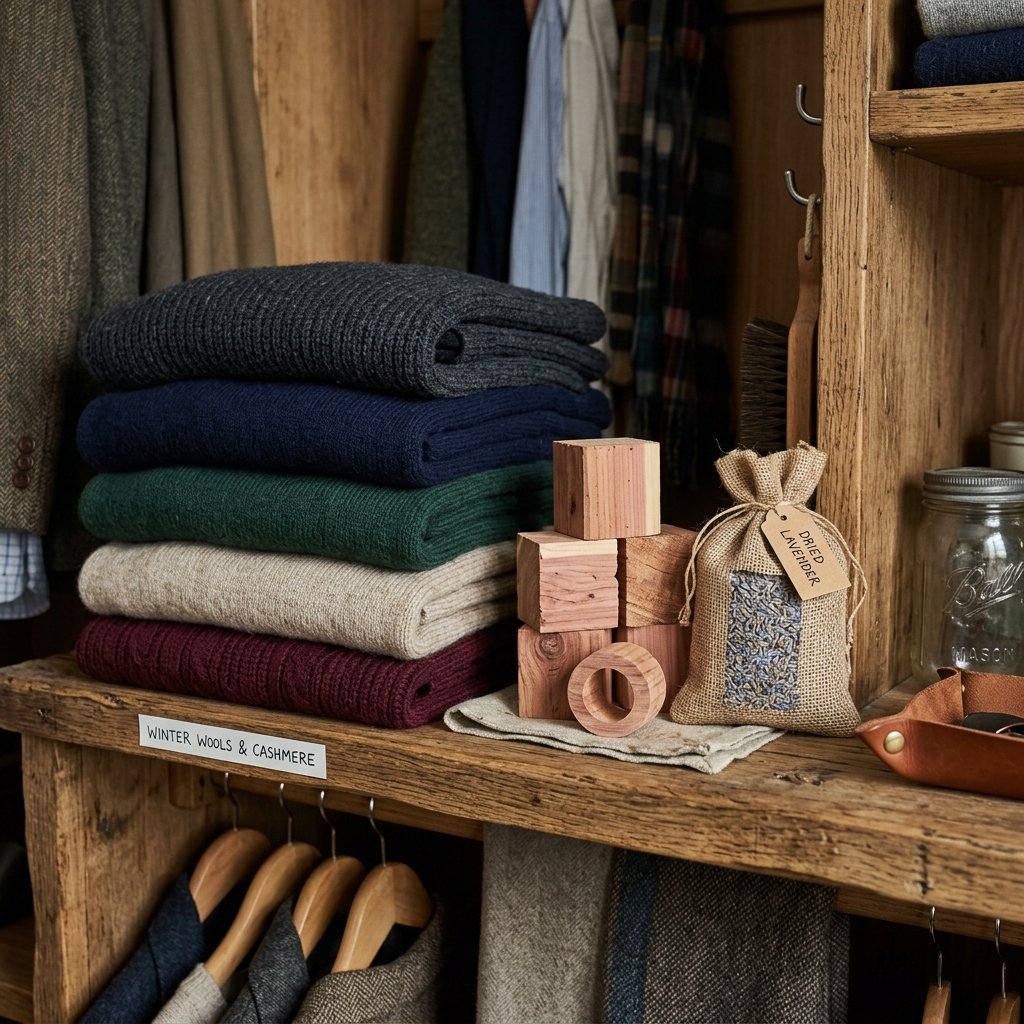
Congratulations! You’ve just saved your favorite sweater and kept your hard-earned money in your wallet. But as any resourceful, handy parent knows, an ounce of prevention is worth a pound of cure. Now that you’ve defeated the moth hole, it’s time to ensure those little fabric-eating pests never return.
Budget-Savvy Moth Warfare
Moths are attracted to the microscopic oils, skin cells, and food particles left on worn clothing. Even if a sweater looks clean to you, it’s a buffet to a moth larva. Here is your rugged, practical guide to garment protection:
| Prevention Method | How to Execute It | Effectiveness |
|---|---|---|
| The Deep Freeze | Place the sweater in a sealed Ziploc bag. Freeze for 48 hours, thaw for 24, then freeze again for 48 hours to kill eggs. | 100% (Kills existing pests) |
| Cedar & Lavender | Place natural cedar blocks or dried lavender sachets in your drawers. Sand the cedar lightly every year to refresh the oils. | Good (Deters adult moths) |
| Clean Storage | Always wash cashmere before storing it for the summer. Store in breathable cotton garment bags, never plastic. | Excellent (Removes food source) |
Pro Tip: Skip the expensive, chemical-laden mothballs. They smell terrible and are toxic. A $3 block of natural cedar from the hardware store, combined with a strict policy of only storing freshly washed knits, will protect your wardrobe for a lifetime.
By treating your garments with respect, learning the lost art of hand-mending, and employing some clever storage hacks, you are building a wardrobe that is sustainable, economical, and uniquely yours. Wear that mended sweater with pride—it’s not damaged; it’s customized!
Conclusion
Wear Your Mends Like a Badge of Honor
There is a profound, almost rebellious joy in refusing to throw things away. In a world obsessed with fast fashion and disposable goods, choosing to sit down with a needle, some matching yarn, and a bit of patience is a testament to resourcefulness. You have successfully taken a garment destined for the trash and breathed new life into it using the duplicate stitch. Not only did you save $150, but you also learned a timeless, practical skill that you can pass down to your kids or use to rescue future thrift-store finds.
The next time you spot a hole in your favorite gear, don’t panic. You are now equipped with the crafty-expert knowledge of Swiss darning. Embrace the process, enjoy the meditative rhythm of the needle, and wear your invisibly mended cashmere with the rugged pride of a true frugal DIYer. Happy mending!

Makenzie is the founder and lead writer at MoneyHackTips.com — a personal finance blog dedicated to delivering street-smart financial wisdom for real people on real budgets. With 300+ published articles covering everything from debt management to investing fundamentals, Makenzie’s mission is to make every dollar work harder. When not writing about money hacks, Makenzie is testing frugal living strategies, optimizing side hustles, and helping readers build financial freedom from scratch.