
Mastering the Art of the Thrifted Find
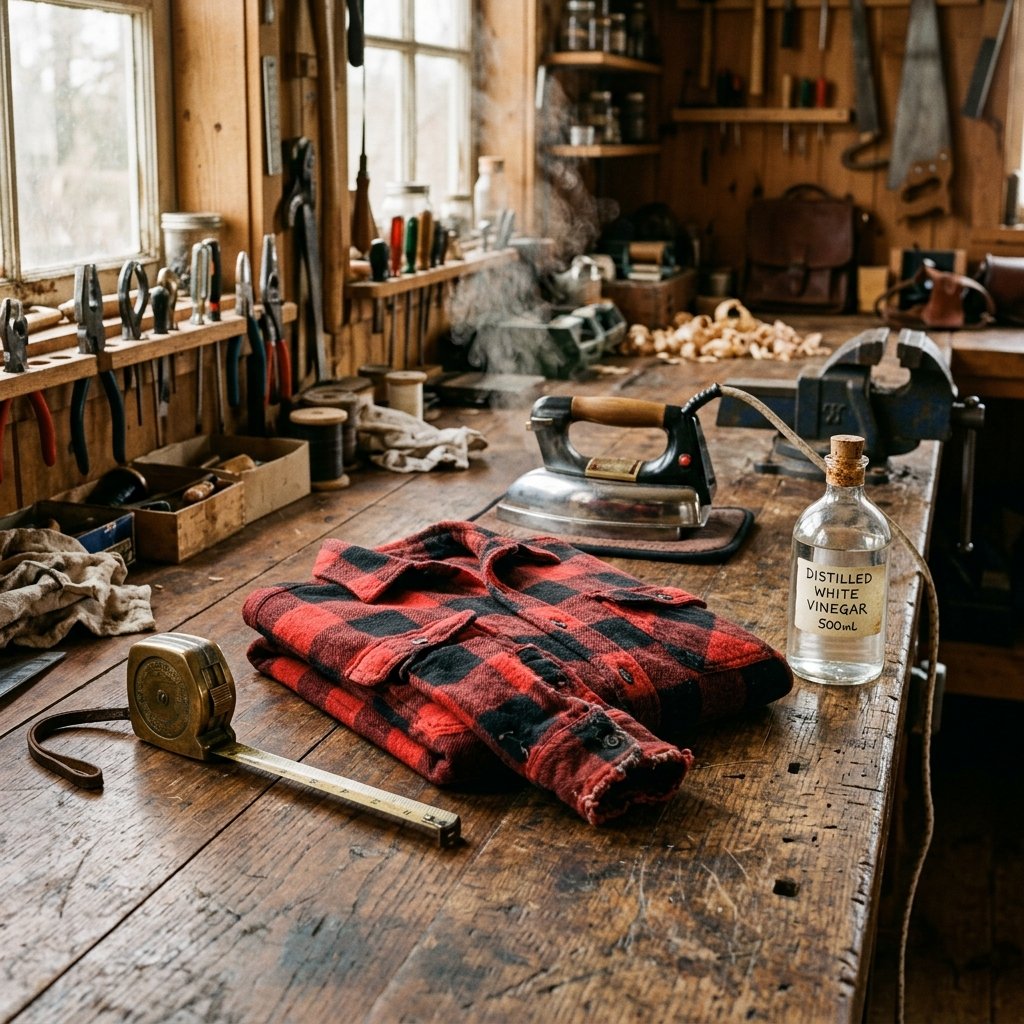
Thrifting is more than just a way to save money; it is a tactical hunt for quality materials and timeless style. However, the most common roadblock for the frugal DIYer is the ‘perfect’ flannel that happens to be two sizes too large and as stiff as a board. Most people walk away from these $4 or $5 treasures, but with a bit of resourceful chemistry, you can transform that ‘tent’ into a custom-fitted, heirloom-quality garment. The secret lies not in expensive tailoring, but in a humble pantry staple: white distilled vinegar. This guide will walk you through the precise method of using acidity and thermal energy to manipulate cotton fibers, ensuring your thrifted workhorse fits like it was made for you.
The Chemistry of Comfort: Why Vinegar is Your Best Tool
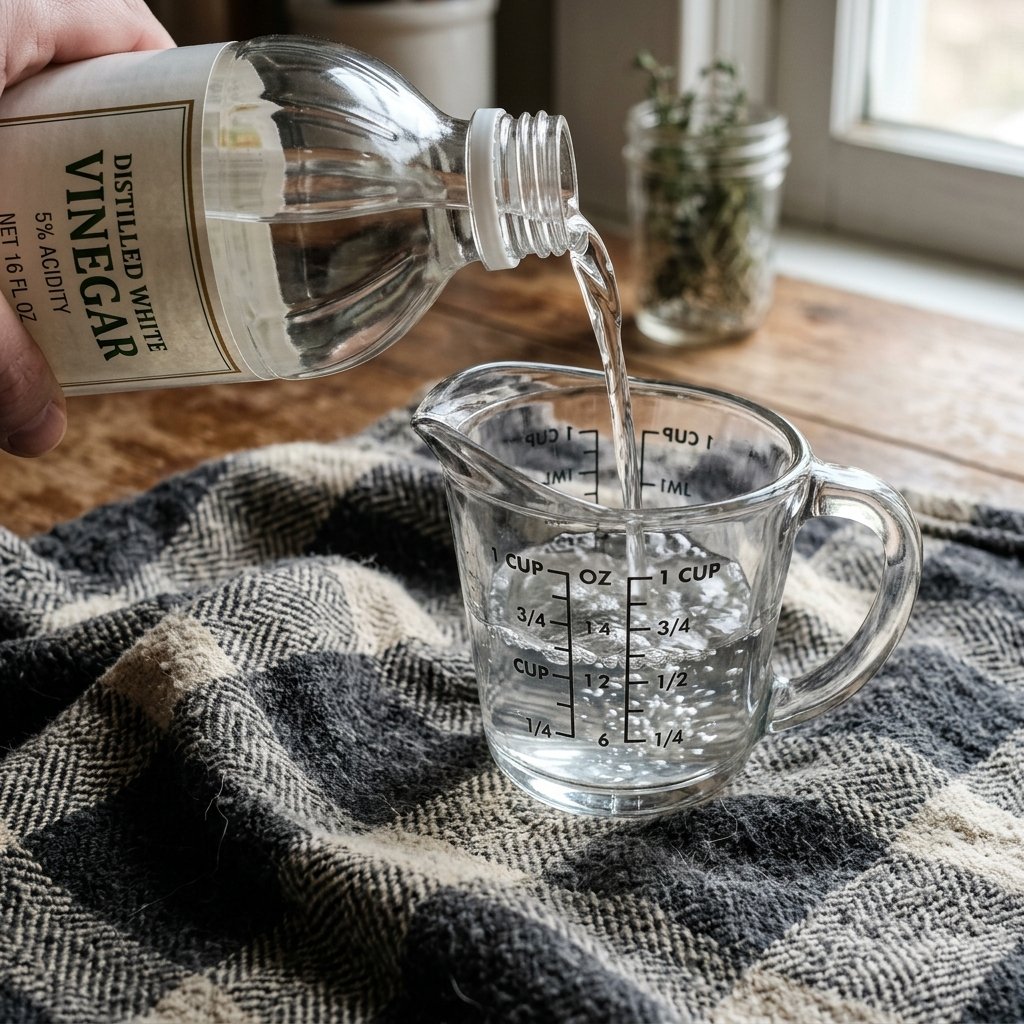
To the untrained eye, vinegar is just for salad dressing. To the crafty expert, it is a fabric-modifying powerhouse. When dealing with 100% cotton or high-cotton blend flannels, the fibers are often coated in ‘sizing’ or have become rigid from years of improper washing with harsh detergents. Vinegar acts as a natural surfactant and acidifier.
The Dual Action of Acetic Acid
- Breaking Down Residue: It dissolves the alkaline buildup from cheap detergents that makes old flannel feel scratchy.
- Fiber Relaxation: It prepares the cotton lattice to accept heat-driven shrinkage more uniformly, preventing the dreaded ‘warped’ hem.
By using vinegar in a controlled environment, we are essentially ‘resetting’ the fabric’s memory, allowing us to shrink it to a desired size while simultaneously achieving a soft, brushed texture that rivals high-end $100 boutique shirts.
| Material | Estimated Cost | Purpose |
|---|---|---|
| White Distilled Vinegar | $1.50 | Softening and fiber prep |
| Hot Water | $0.05 | Thermal shrinkage catalyst |
| Thrifted Flannel | $3.00 – $7.00 | The base garment |
| High-Heat Dryer | $0.50 | Setting the new size |
The Master Protocol: Controlled Shrinkage and Deep Softening
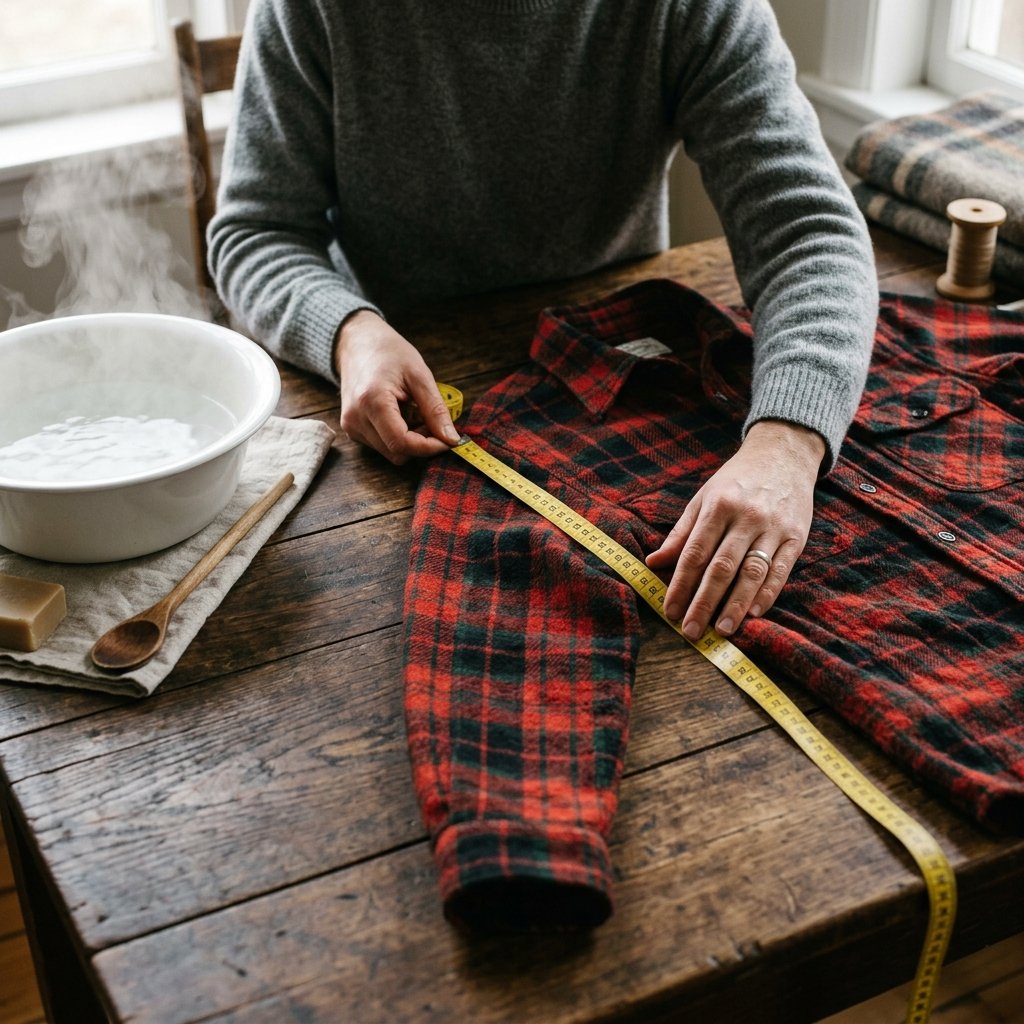
Success in this endeavor requires a balance of aggression and precision. You want to shrink the garment enough to fit, but not so much that the sleeves end at your elbows. Follow this formula for the best results.
The Shrinkage Formula: For a one-size reduction, use 1 cup of vinegar and a 40-minute high-heat cycle. For a two-size reduction, use a 20-minute pre-soak in near-boiling water followed by the vinegar wash.
Step-by-Step Execution
- The Pre-Measure: Lay the shirt flat and measure the chest width and sleeve length. This is your baseline.
- The Vinegar Soak: Fill a basin with hot water and 2 cups of vinegar. Submerge the shirt for 30 minutes. This ensures the acidity penetrates the core of the fibers.
- The High-Heat Wash: Place the shirt in the washing machine on the ‘Heavy Duty’ or ‘Sanitize’ setting. Add 1 cup of vinegar to the fabric softener dispenser. Do not use detergent yet.
- The Tactical Dry: This is where the magic happens. Move the shirt to the dryer on the highest heat setting. Check the fit every 15 minutes. Once the desired size is reached, switch the heat to ‘Low’ or ‘Air Dry’ to finish the softening process.
Beyond the Wash: Hand-Stitched Refinements for the Perfect Fit
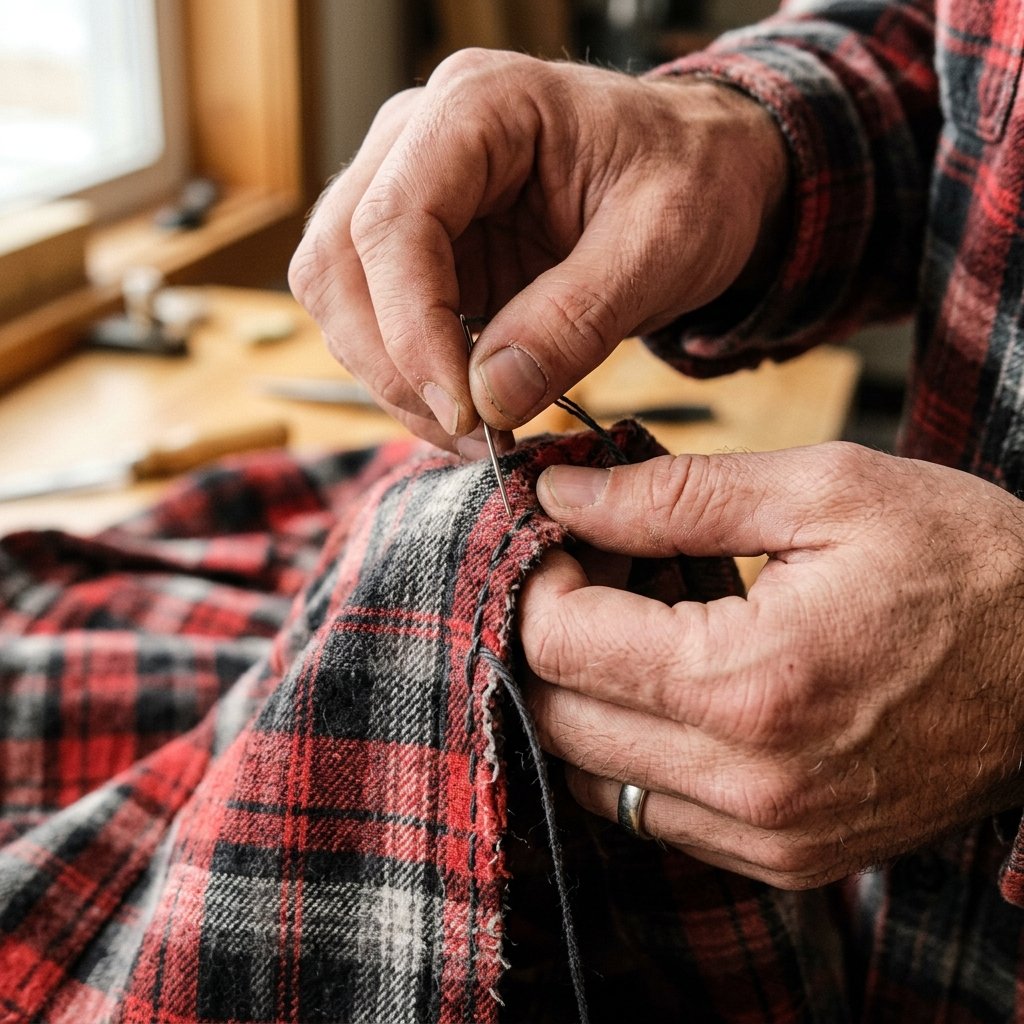
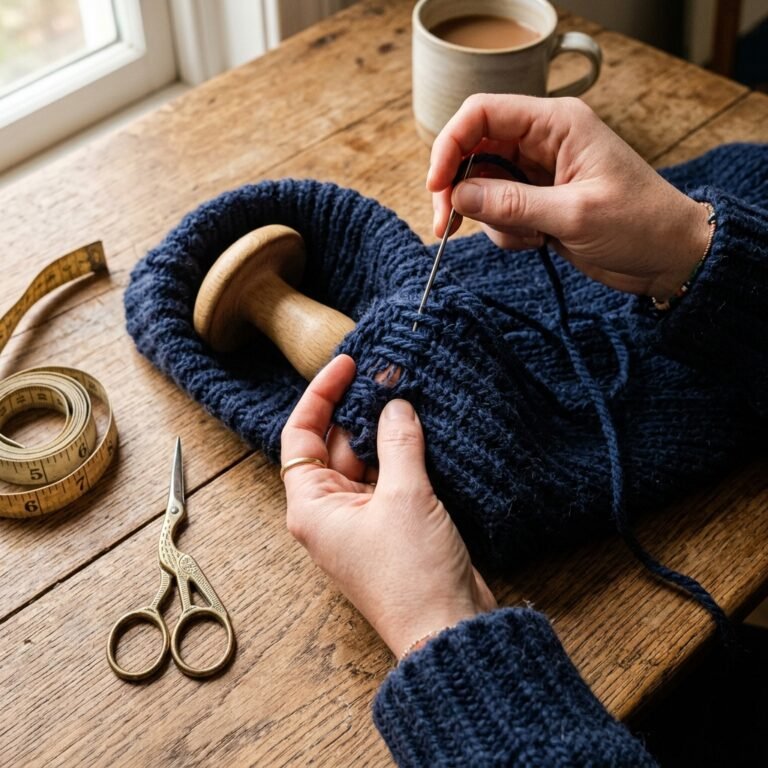
Sometimes, the vinegar hack gets the body right, but the cuffs or the hem still feel a bit ‘off.’ As a handy upcycler, you don’t need a sewing machine to finish the job. A simple ladder stitch or a basic hand-hem can provide that bespoke look.
Problem vs. Tailoring Solution
| Issue | Hand-Sewing Fix | Difficulty |
|---|---|---|
| Sleeves Too Long | Hand-rolled cuff with tacking stitch | Easy |
| Boxy Waistline | Adding rear darts with a backstitch | Moderate |
| Loose Buttons | Cross-stitch reinforcement | Very Easy |
Mending Mantra: Measure twice, stitch once, and always use a thread that matches the darkest color in the plaid pattern for invisible results.
If the shirt is still slightly too wide in the torso after shrinking, you can ‘pinch’ the fabric at the side seams and use a backstitch to take it in by 1/2 inch. This rugged, hand-made approach adds character and ensures the garment contours to your frame perfectly.
The Economic Breakdown: Professional Tailoring vs. The DIY Hack
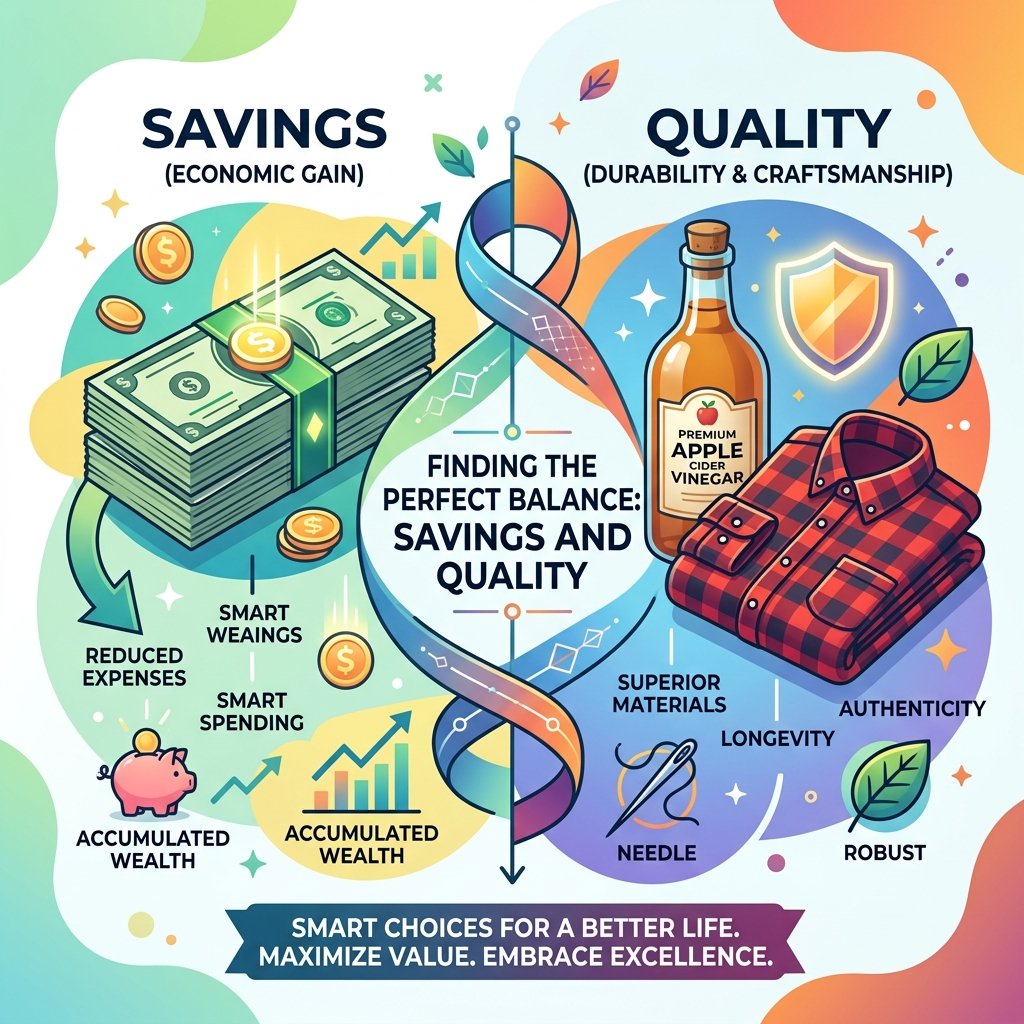
Why spend a fortune when you can achieve better results at home? The following table illustrates the massive savings you’ll enjoy by adopting this crafty, resourceful mindset.
| Service/Item | Professional Cost | DIY Vinegar Hack Cost | Savings |
|---|---|---|---|
| New Designer Flannel | $85.00 | $5.00 | $80.00 |
| Professional Tailoring (Sides) | $25.00 | $0.00 | $25.00 |
| Commercial Fabric Softener | $7.00 | $1.50 | $5.50 |
| Total Investment | $117.00 | $6.50 | $110.50 (94% Off) |
By choosing the DIY path, you aren’t just saving $110; you are gaining a skill. This level of resourcefulness is what separates the average consumer from the master crafter. You are taking a discarded item and, through a bit of ‘mad science’ and elbow grease, creating a custom piece of apparel that fits your body and your budget perfectly.
Conclusion
The Reward of Resourcefulness
The secret vinegar hack is more than just a laundry tip; it is a testament to the power of the frugal mindset. You’ve taken an oversized, scratchy thrift store find and, for less than the price of a cup of coffee, transformed it into a soft, perfectly fitted staple of your wardrobe. Whether you’re heading out for a rugged weekend of camping or styling a masculine-elegant look for a casual dinner, your ‘new’ flannel carries the pride of your own handiwork. Keep hunting, keep crafting, and never underestimate the potential of a $5 shirt and a splash of vinegar. Your wallet—and your wardrobe—will thank you.

Makenzie is the founder and lead writer at MoneyHackTips.com — a personal finance blog dedicated to delivering street-smart financial wisdom for real people on real budgets. With 300+ published articles covering everything from debt management to investing fundamentals, Makenzie’s mission is to make every dollar work harder. When not writing about money hacks, Makenzie is testing frugal living strategies, optimizing side hustles, and helping readers build financial freedom from scratch.