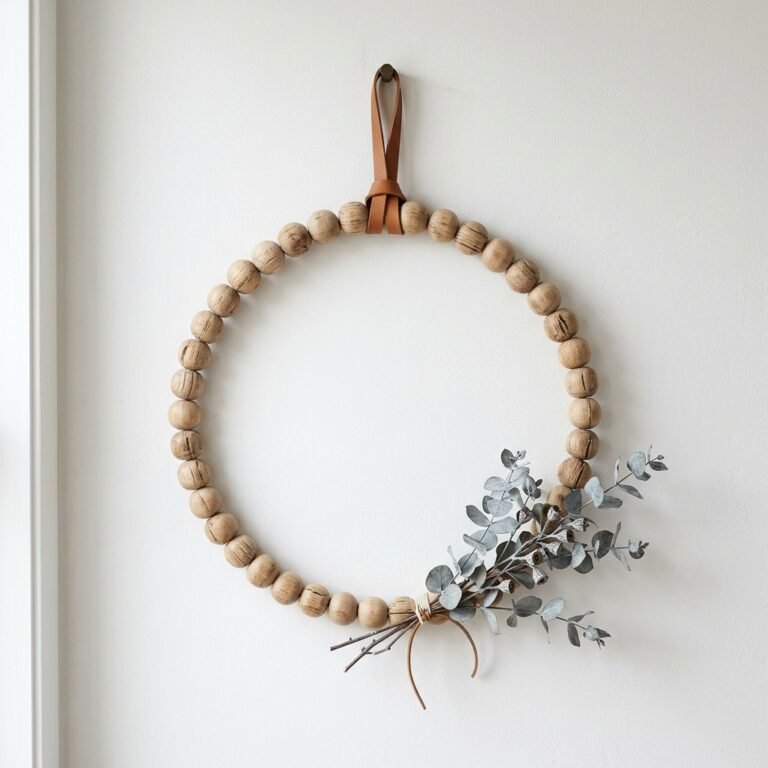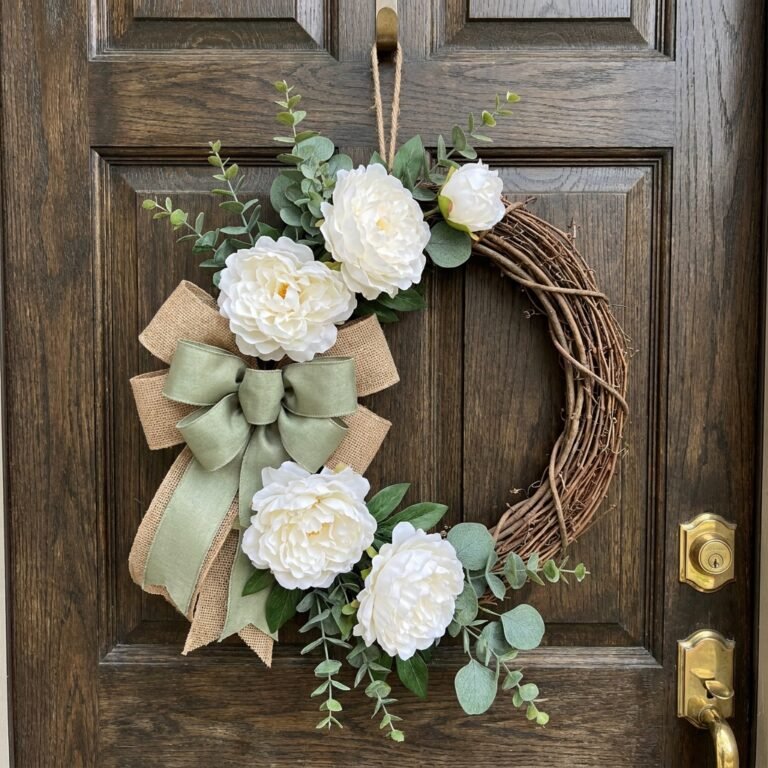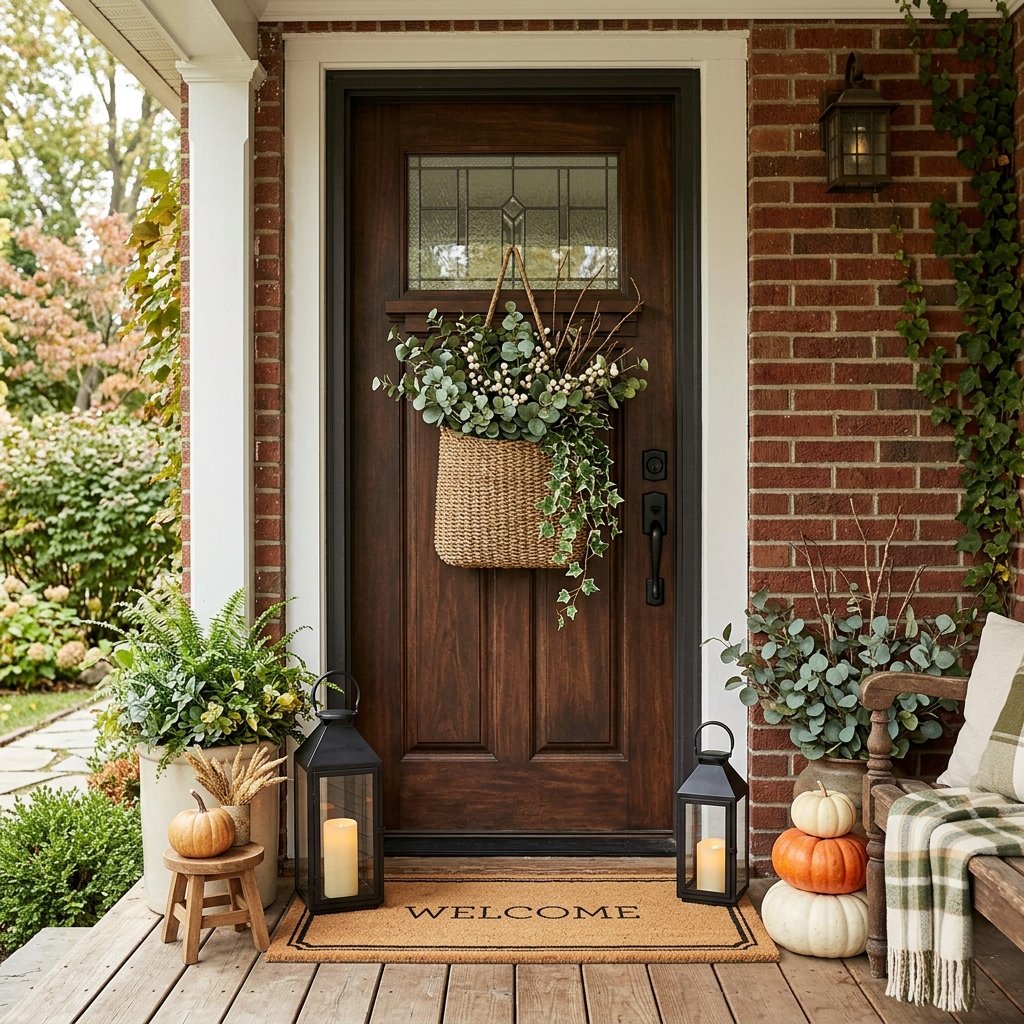

Let us face a hard truth: traditional round floral wreaths are becoming incredibly expensive, and frankly, a bit predictable. If you have ever walked into a high-end home decor store and scoffed at a $120 price tag for some twigs and faux leaves glued to a grapevine circle, you are in the right place. Welcome to the ultimate frugal DIYer’s guide to porch perfection. Today, we are going to ditch the traditional wreath and craft a stunning, ruggedly elegant DIY Dollar Tree Front Door Basket Wreath that looks like it came straight out of a designer catalog—all for under $10.
As handy upcyclers and crafty gift-givers, we know that true style is not about how much money you spend; it is about how resourcefully creative you can be. The hanging door basket is the perfect masculine-elegant alternative to the standard wreath. It offers volume, texture, and a unique architectural element to your front door that commands attention. Best of all? It takes less than 30 minutes to assemble, requires zero advanced crafting skills, and can be easily swapped out for every season. Grab your wire cutters and your trusty hot glue gun, because we are about to turn basic Dollar Tree supplies into a neighborhood showstopper.
The Anatomy of a High-End Dupe: Why Basket Wreaths Reign Supreme
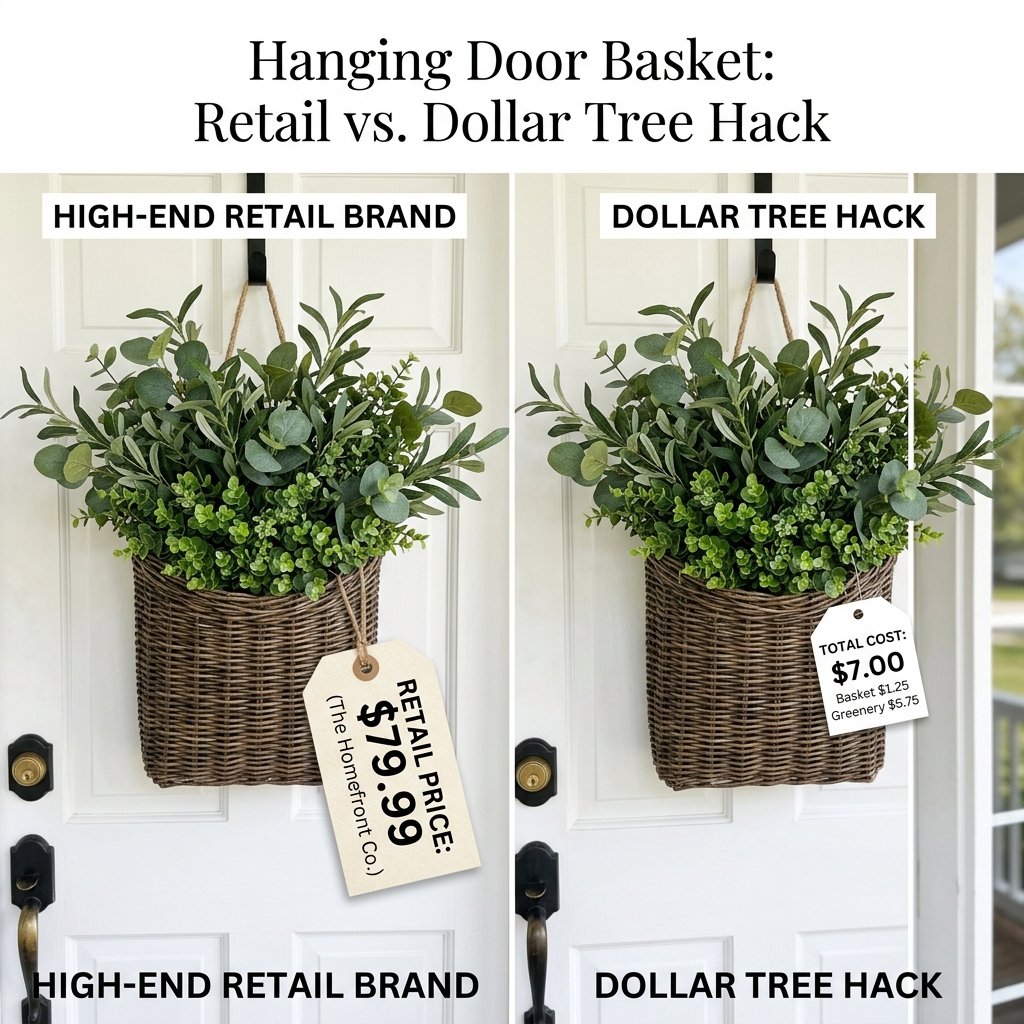
There is a reason high-end retailers are leaning heavily into hanging door baskets. They offer a structured, slightly rustic, and incredibly versatile vessel for seasonal botanicals. Unlike a traditional round wreath, which requires meticulous balancing and shaping to look full, a basket naturally holds your florals in a lush, overflowing arrangement. It is practical, it is sturdy, and it gives off a welcoming, lived-in vibe.
Breaking Down the Budget
When we talk about being budget-savvy, we need to look at the numbers. A comparable woven hanging basket with faux greenery from a premium retailer will easily drain your wallet. By sourcing our foundation from the local dollar store and employing a few clever crafting techniques, we achieve the exact same aesthetic for pennies on the dollar.
“Why buy when you can build, and why spend when you can source? A true crafter sees not what an item is, but what it has the potential to become.”
| Decor Element | High-End Retail Cost | Our Frugal DIY Cost |
|---|---|---|
| Woven Hanging Basket | $35.00 | $1.25 |
| Faux Greenery & Stems | $45.00 | $5.00 |
| Floral Foam & Zip Ties | $10.00 | $1.25 |
| Ribbon / Leather Accent | $15.00 | $1.25 |
| Total Investment | $105.00 | $8.75 (Over 90% Savings!) |
This is not just about saving money; it is about the immense satisfaction of taking raw, inexpensive materials and engineering something beautiful and durable.
The Ultimate Frugal Supply Run: What to Grab at Dollar Tree
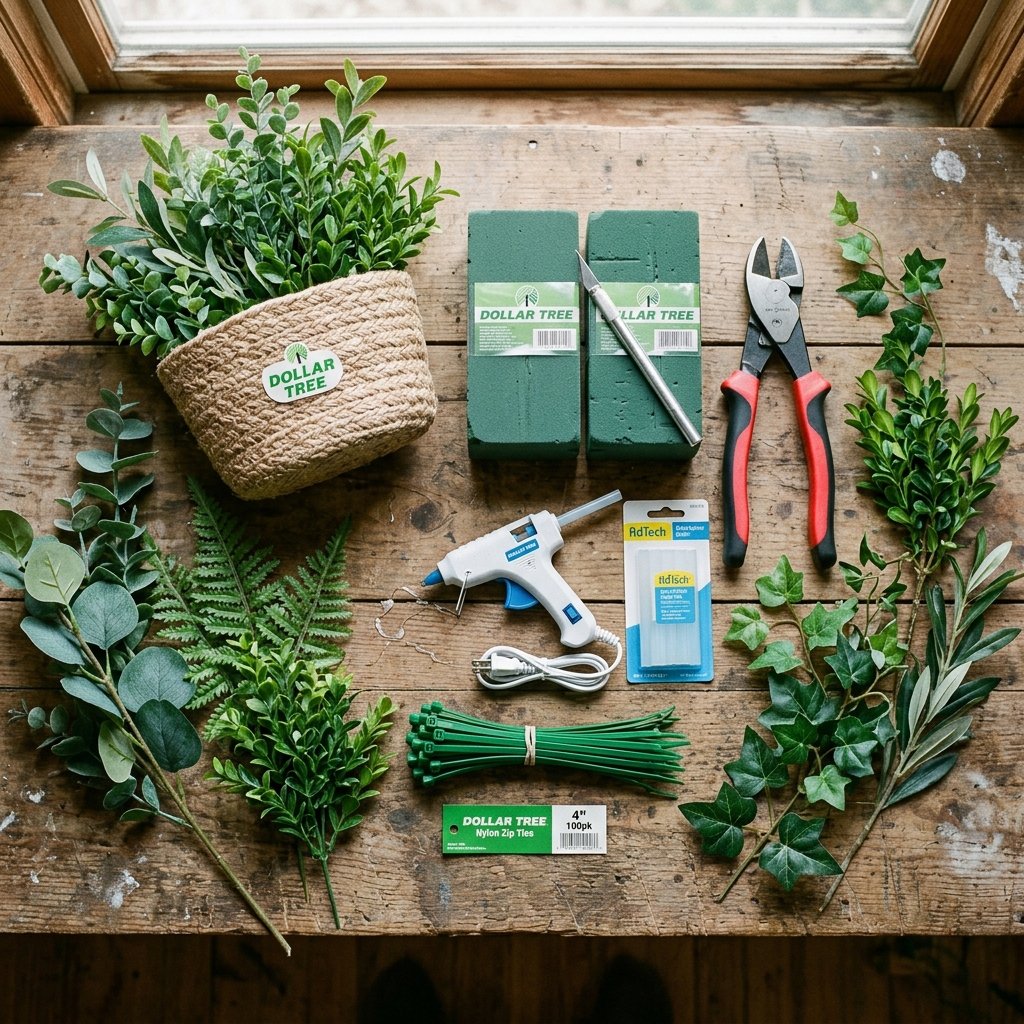
Your local Dollar Tree is a treasure trove if you know exactly what to look for. To build this rugged and elegant door basket, you need to bypass the pre-made, flimsy decor section and head straight for the organizational and floral aisles. Here is your master shopping list.
Core Materials Needed:
- The Basket: Look for the half-wall woven baskets (often found in the home organization or faux floral section). They are flat on one side, allowing them to lay perfectly flush against your door.
- Floral Foam: Grab a two-pack of the dry floral foam blocks. Do not get the wet foam meant for real flowers; you want the dense, dry foam for stability.
- Faux Florals & Greenery: This is where you customize. For a timeless, transitional look, grab 2 sprigs of eucalyptus, 1 sprig of dark green fern or ivy, and 1 sprig of neutral filler (like white berries or cotton stems).
- Zip Ties: A crafter’s best friend. These will secure the foam without relying solely on glue.
- Burlap or Faux Leather Ribbon: For a masculine, tailored finish, skip the shiny satin and opt for textured burlap or a faux leather strap to create a hanging loop.
Tools from Your Workbench:
- Heavy-duty wire cutters (never use your good sewing scissors on floral wire!)
- A high-temp hot glue gun
- Clear matte spray paint (optional, for weatherproofing)
Safety Note: High-temp hot glue can cause severe burns, and snipping thick floral wire can send metal flying. Always wear safety glasses when cutting wire, and keep a bowl of ice water nearby just in case of a glue mishap.
Prepping Your Basket: The Foundation of Durability
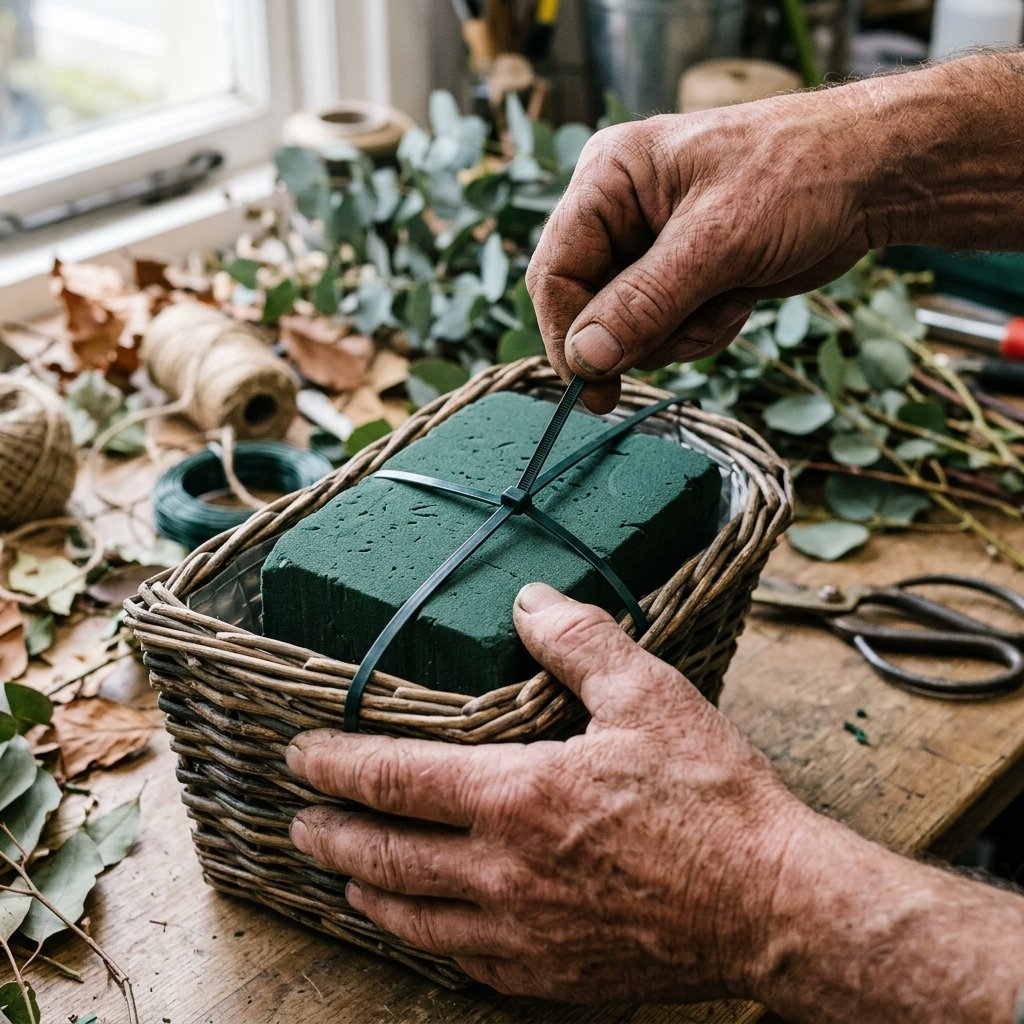
A common mistake novice crafters make is simply tossing flowers into a basket and hanging it up. The first gust of wind will scatter your beautiful dollar store botanicals across the front lawn. To make this look like a $100 piece, we must build a rock-solid foundation.
Step-by-Step Basket Reinforcement:
- Assess the Weave: Dollar store baskets can sometimes have loose ends. Take your hot glue gun and tack down any rogue pieces of wicker or plastic woven material to ensure the basket is structurally sound.
- Size the Foam: Take your dry floral foam block and press it gently into the bottom of the basket to create an indentation. Use an old serrated knife to cut the foam along those lines so it fits snugly into the bottom cavity.
- Secure the Base: Apply a generous amount of hot glue to the bottom of the foam block and press it firmly into the basket. For rugged, heavy-duty security (especially if you live in a windy area), thread a zip tie through the back weave of the basket, over the foam block, and out the other side. Pull it tight to lock the foam in place.
- Add Weight (Optional): If your door slams frequently, drop a few heavy washers or flat stones into the bottom of the basket before gluing the foam. This lowers the center of gravity and prevents the basket from swinging wildly.
By taking these extra 5 minutes to engineer the base, you are guaranteeing that your arrangement stays pristine through rain, wind, and the daily impact of the front door opening and closing.
The Art of the Arrangement: Building Volume and Texture
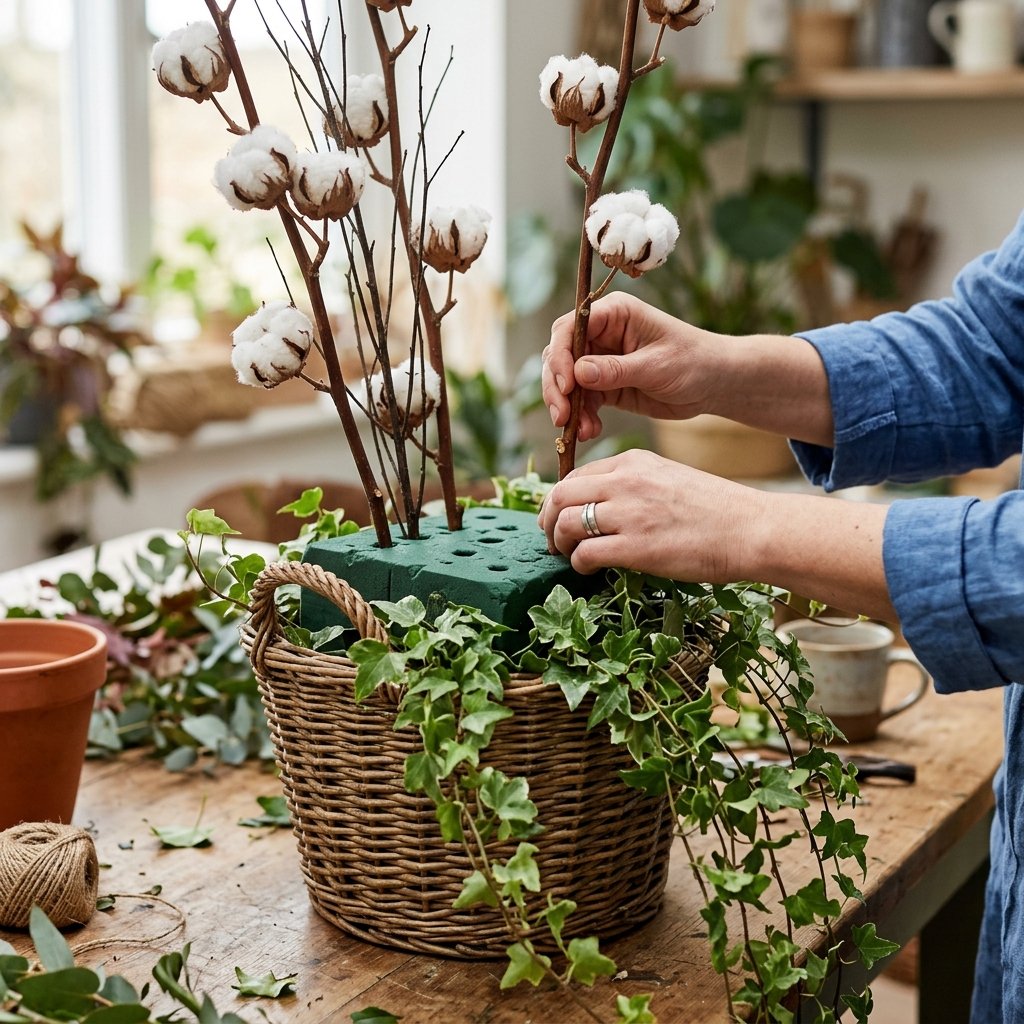
Now comes the creative part. To avoid the sparse, cheap look that often plagues budget crafts, we are going to use a professional floral design technique adapted for our basket: The Thriller, Filler, and Spiller method. This guarantees a lush, expensive-looking profile.
The Layering Technique
Before you start jabbing stems into the foam, take your wire cutters and separate your Dollar Tree floral bushes into individual stems. This gives you maximum control over placement.
| Layer Role | Placement in Basket | Ideal Dollar Tree Florals |
|---|---|---|
| The Spiller | Front edges, cascading downwards | Trailing ivy, weeping willow, or long ferns |
| The Filler | Middle section, creating bulk | Eucalyptus, dusty miller, broad leaves |
| The Thriller | Center back, standing tall | Cotton stems, tall wheat, faux lavender, berries |
Step-by-Step Assembly:
- Plant the Spillers: Begin by inserting your trailing greenery into the front edge of the floral foam, angling them slightly downward so they drape elegantly over the lip of the basket.
- Build the Fillers: Next, take your eucalyptus or broad-leaf greenery and insert them into the middle of the foam. Angle them outward to create width. You want to completely hide the rim of the basket and the floral foam from view.
- Stand the Thrillers: Finally, place your tallest, most striking elements in the back row, standing upright against the flat back of the basket. This draws the eye upward and gives the piece impressive height.
- The Shake Test: Once arranged, give the basket a gentle shake. If anything wobbles, pull it out, add a dab of hot glue to the tip of the stem, and reinsert it into the foam.
For a truly masculine-elegant touch, forage a few real, dried twigs or birch branches from your yard and intersperse them among the faux greenery. Mixing real, rugged elements with faux florals instantly elevates the perceived value of the arrangement.
Customizing for the Seasons: A Year-Round Porch Hack
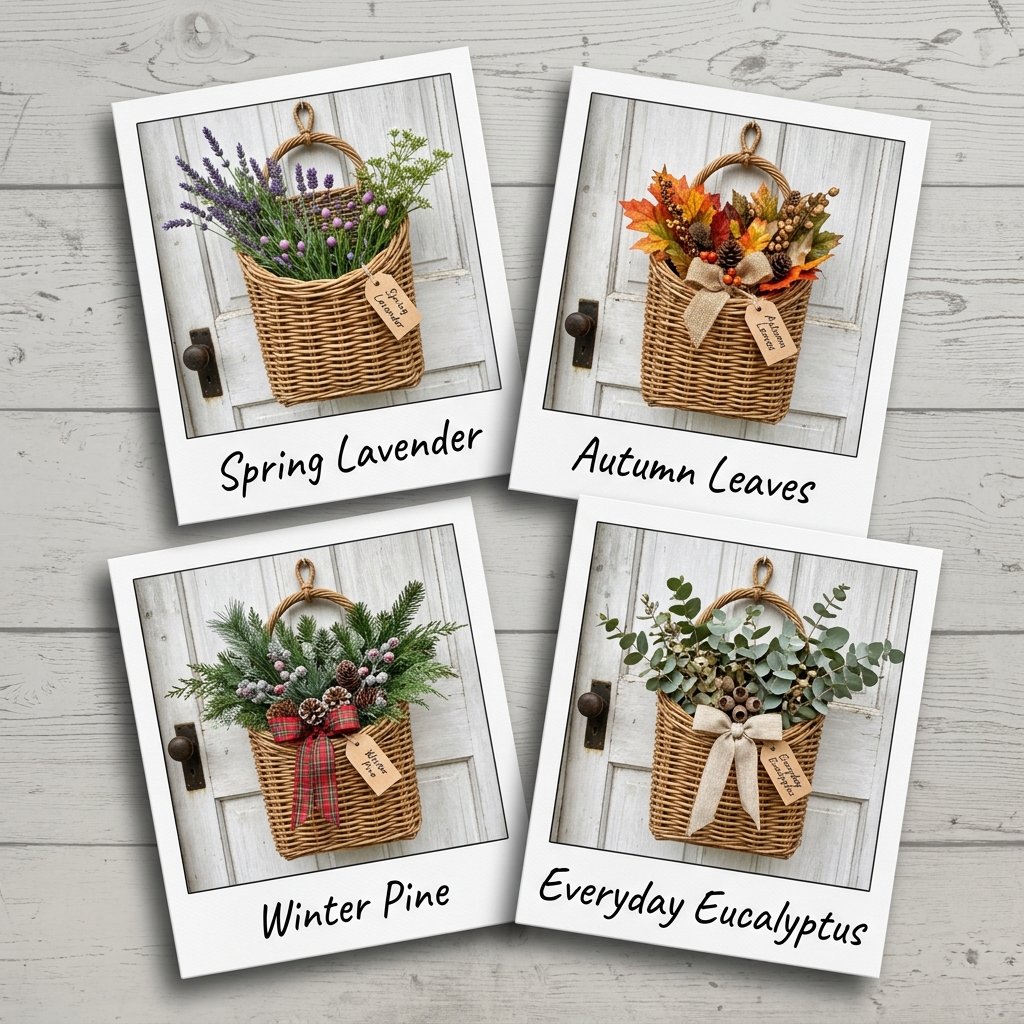
One of the greatest advantages of the basket wreath over a glued-down traditional wreath is its versatility. If you want to be incredibly budget-savvy, do not glue your stems into the foam! By leaving them dry-fitted (pushed deeply into the foam but not glued), you have created a permanent, reusable vessel for year-round porch decor.
Seasonal Swaps on a Dime:
- Spring/Summer: Swap out dark greenery for bright ferns, faux lemons, or vibrant lavender sprigs. Tie a crisp linen ribbon to the handle.
- Autumn Harvest: Remove the bright greens and insert faux maple leaves, miniature foam pumpkins on sticks, and dried wheat. Change the hanging loop to a thick, rustic burlap.
- Winter Cabin: Fill the basket with frosted pine branches, faux red berries, and real pinecones collected from your yard. A strip of plaid flannel or dark faux leather makes the perfect rugged winter hanger.
By investing $1.25 in a new seasonal floral pick every few months, your front door will always look fresh and festive without the need to store four massive, bulky round wreaths in your garage or attic. It is the ultimate space-saving, money-saving hack for the practical homeowner.
Hanging and Weatherproofing Your Masterpiece

You have crafted a masterpiece; now you need to display it proudly without ruining your front door or letting the elements destroy your hard work. Practicality is just as important as aesthetics.
The Zero-Damage Hanging Method
Avoid nailing directly into your door. Instead, use a heavy-duty outdoor Command Hook. Because the back of our dollar store basket is flat, it will sit perfectly against the door. If you prefer an over-the-door metal hanger, here is a clever handyman trick: glue a small strip of felt to the back of the metal hanger and the back of the basket. This prevents the metal and wicker from scratching your door’s paint when the wind blows.
Weatherproofing Dollar Tree Decor
Dollar Tree florals are not inherently UV-resistant. If your front door gets direct afternoon sun, those vibrant greens will fade to a sad, pale blue within a month. To protect your investment, take the finished basket outside and give the florals a light, even coat of UV-resistant clear matte acrylic spray. This acts as a sunscreen for your faux plants and helps repel morning dew or light rain. It costs about $5 a can, but one can will last you through dozens of DIY projects.
“A true craftsman doesn’t just build for beauty; they build for longevity. Protect your work, and your work will protect your wallet.”
With your basket securely hung and weatherproofed, take a step back to the curb. You have just added massive curb appeal to your home, showcasing a rugged, elegant, and highly customized piece of decor that looks like a million bucks, but cost less than a fast-food lunch.
Conclusion
Ditching the traditional, overpriced round wreath for a stunning DIY Dollar Tree Front Door Basket is the ultimate flex for the frugal DIYer. Not only have you saved yourself upwards of $100, but you have also crafted a versatile, masculine-elegant piece of home decor that can evolve with the seasons. You utilized clever upcycling techniques, engineered a durable foundation, and applied professional floral design principles to materials that cost mere pocket change.
This project proves that a beautiful home does not require a massive budget—it just requires a bit of resourcefulness, a hot glue gun, and the willingness to see the potential in everyday dollar store items. So, the next time you are tempted to drop a small fortune on seasonal porch decor, remember this guide. Head to the dollar store, grab your supplies, and build something you can be proud of. Happy crafting, and enjoy your beautiful, budget-savvy porch makeover!

Makenzie is the founder and lead writer at MoneyHackTips.com — a personal finance blog dedicated to delivering street-smart financial wisdom for real people on real budgets. With 300+ published articles covering everything from debt management to investing fundamentals, Makenzie’s mission is to make every dollar work harder. When not writing about money hacks, Makenzie is testing frugal living strategies, optimizing side hustles, and helping readers build financial freedom from scratch.