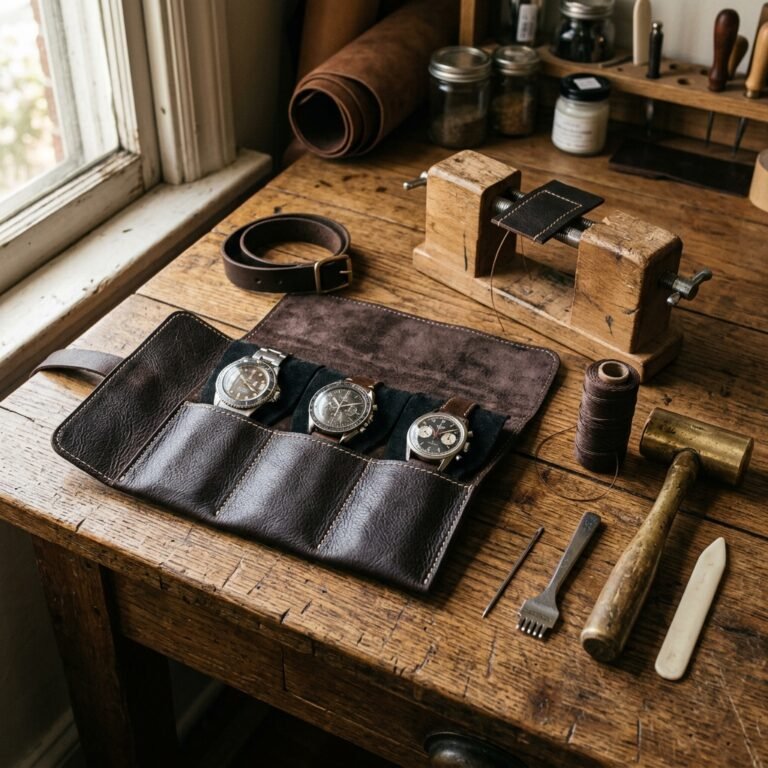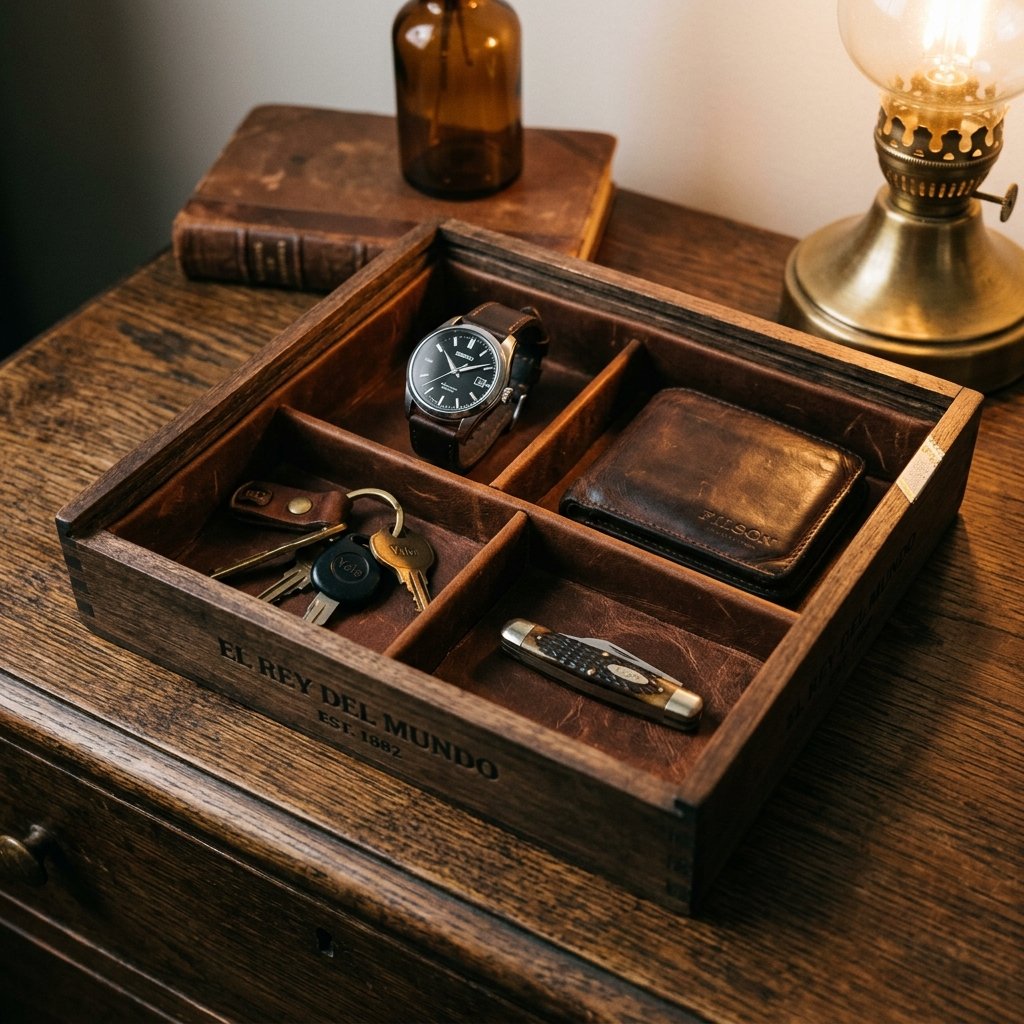

Let us talk about the dreaded ‘dump zone.’ If you live with a man, you likely know exactly what I am talking about. It is that designated spot on the kitchen counter, the entryway table, or the bedroom dresser where he unloads his pockets at the end of the day. A chaotic mountain of loose change, a bulky wallet, a heavy set of keys, a pocket knife, chapstick, and a rogue receipt or two. It is messy, it scratches the furniture, and inevitably, he spends 10 minutes every morning frantically searching for his missing car keys.
Enter the valet tray: the ultimate handsome, masculine organization solution. A good valet tray acts as a designated home for his Everyday Carry (EDC) items. But if you have browsed high-end men’s boutiques or leather goods stores lately, you know that a quality valet tray can easily set you back anywhere from $50 to $150. For a frugal DIYer and clever gift-giver, that price tag is completely unnecessary.
Today, we are diving into the ultimate trash-to-treasure upcycle. We are going to take an old, discarded cigar box—which you can often score for under $5 or even 100% free—and transform it into a gorgeous, bespoke DIY valet tray. With a little bit of sanding, some clever dollar-store hacks, and a touch of rugged elegance, you will create an heirloom-quality gift that he will actually be proud to use every single day. Whether you are crafting for Father’s Day, a birthday, an anniversary, or just to reclaim your kitchen counter, this resourceful project is budget-savvy perfection.
The Hunt: Sourcing a High-Quality Cigar Box for Pennies
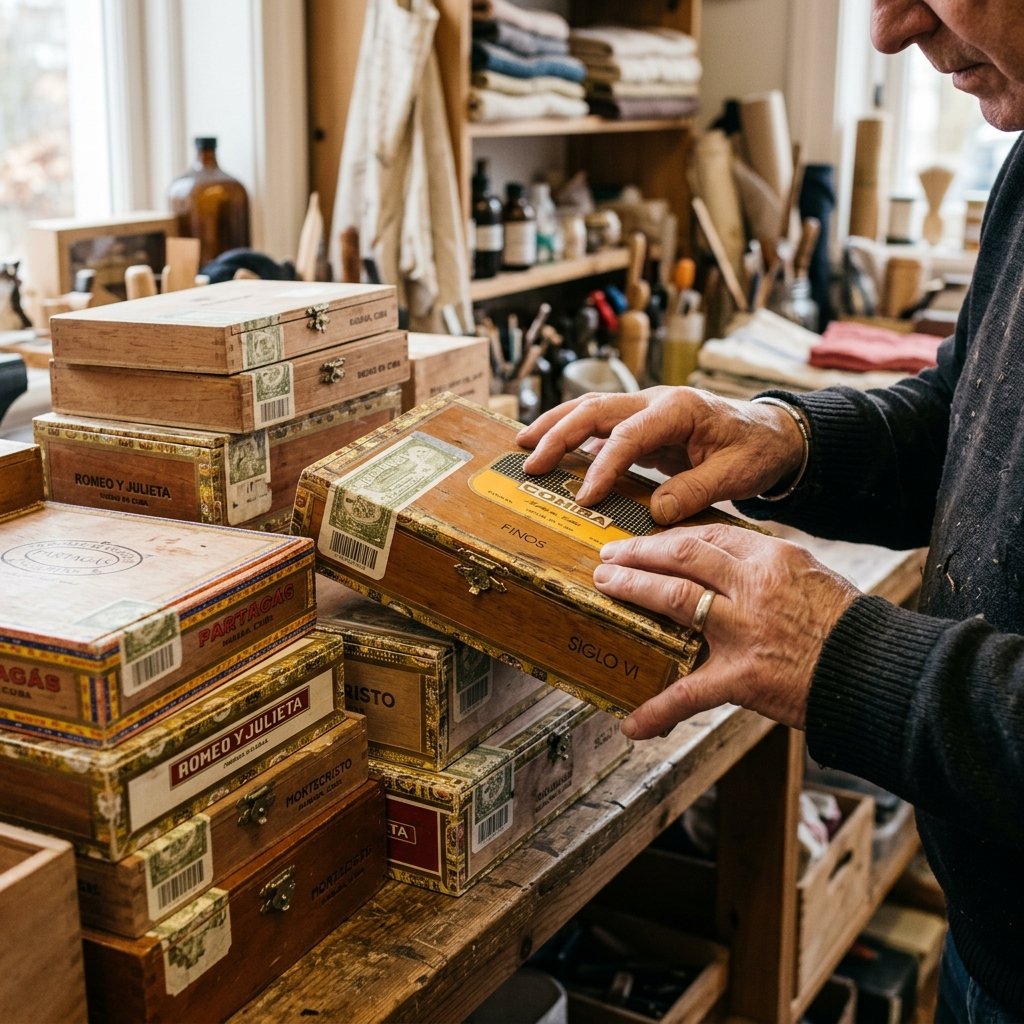
The foundation of this entire project rests on finding the right box. You do not need to be a cigar aficionado to get your hands on a beautiful wooden cigar box. In fact, most local cigar lounges, smoke shops, and even high-end liquor stores have a towering stack of empty boxes in the back room. Because these shops cycle through inventory quickly, they often sell their empty boxes for a nominal fee—usually between $2 and $5—or sometimes give them away for free to friendly crafters who ask nicely.
What to Look For in the Perfect Box
Not all cigar boxes are created equal. When you are digging through the stack, you need to keep your eyes peeled for specific traits that make for a durable, elegant valet tray.
- Material: Look for solid wood or thick plywood. Many premium cigars come in beautiful Spanish cedar boxes. Avoid the heavy cardboard boxes; while they look nice, they do not hold up to sanding or staining.
- Hardware: Inspect the hinges and the clasp. A box with sturdy brass hinges is a massive bonus and saves you from having to buy replacement hardware.
- Dimensions: Size matters for a valet tray. You want a box that is at least 8×10 inches with a depth of about 1.5 to 2.5 inches. Anything shallower, and his keys will spill over; anything deeper, and it feels too much like a treasure chest rather than an accessible tray.
- Lid vs. No Lid: Most traditional valet trays are open-top. You can choose a box with a beautiful lid to keep dust off his gear, or you can plan to carefully remove the lid entirely to create a classic tray silhouette.
| Box Material Type | Pros for Upcycling | Cons for Upcycling | Best For |
|---|---|---|---|
| Solid Spanish Cedar | Incredible natural smell, beautiful wood grain, takes stain beautifully. | Can be slightly harder to find, sometimes costs a few dollars more. | High-end, heirloom-quality rustic valet trays. |
| Paper-Wrapped Wood | Very sturdy, often features beautiful vintage graphics. | Requires heavy sanding or chemical stripping to remove the paper if you want a bare wood look. | Eclectic, vintage-style trays where you keep the original artwork. |
| Heavy Cardboard | Usually free, very lightweight. | Cannot be sanded or stained. Must be painted or wrapped in fabric/leather. | Budget-friendly, fabric-wrapped modern trays. |
“The thrill of the frugal hunt is half the fun. Don’t be afraid to walk into a cigar shop and tell them exactly what you are crafting. Store owners love seeing their packaging upcycled rather than thrown in the dumpster, and they might just pull their most beautiful empty box from the back room just for you.”
Stripping It Down: Prepping the Wood for a Handsome Finish
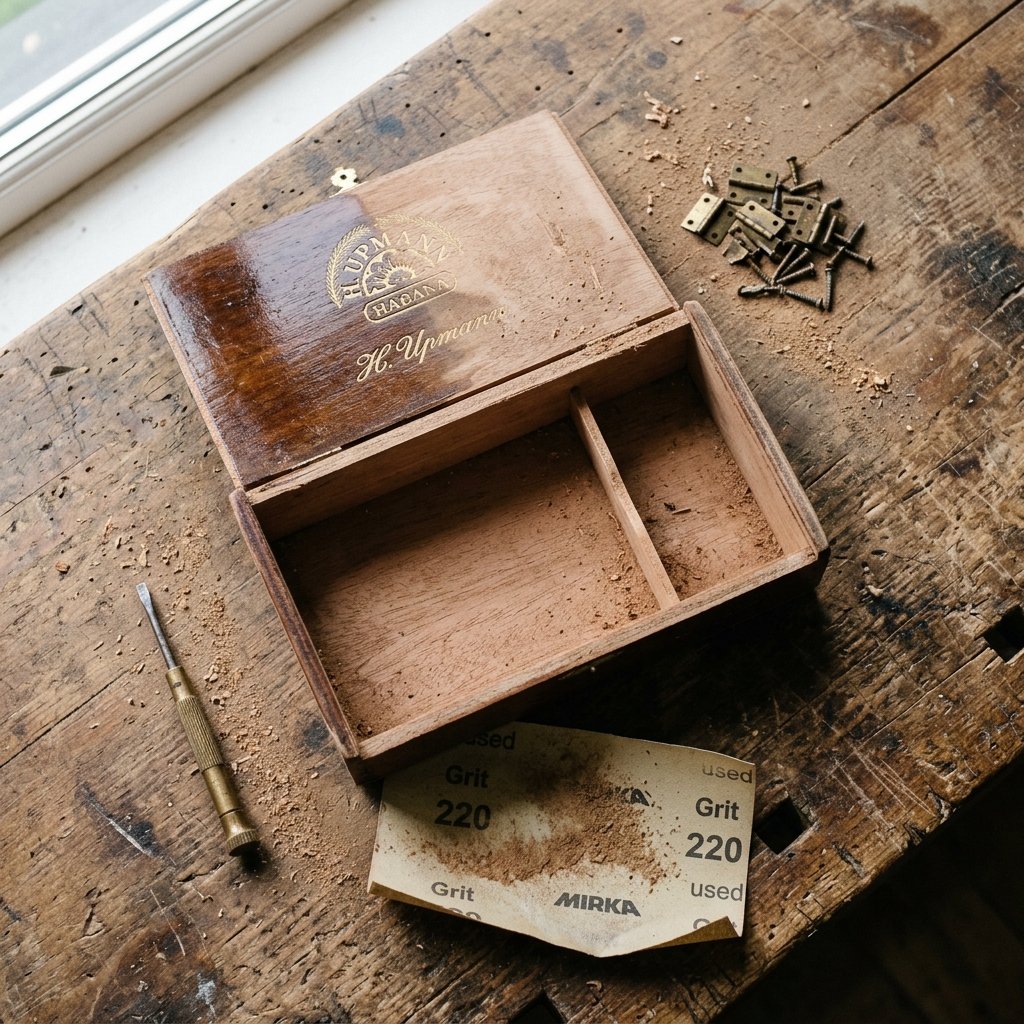
Once you have secured your treasure, it is time to prep the canvas. This is where the magic of upcycling truly happens. A cigar box straight from the store is covered in tax stamps, warning labels, and brand stickers. To elevate this from a ‘craft project’ to a ’boutique men’s accessory,’ we need to put in some elbow grease.
Step 1: Hardware Removal
Grab a tiny precision screwdriver (the kind you use for eyeglasses works perfectly) and carefully unscrew the hinges and the front clasp. Place all these microscopic screws and brass bits into a small dish so you do not lose them. If you are opting for an open-top tray, you can discard the lid, but save those hinges for a future project!
Step 2: Tackling the Paper Labels
If your box has paper labels that you want to remove, do not just start scraping—you will gouge the soft wood. Instead, use a damp cloth soaked in hot water and a few drops of dish soap. Lay the damp cloth over the label for 10 to 15 minutes to soften the adhesive. Once softened, use an old credit card or a plastic putty knife to gently scrape the paper away. For stubborn adhesive residue, a quick wipe with some rubbing alcohol or Goo Gone will do the trick.
Step 3: The Secret to a Luxury Finish is Sanding
Now comes the most crucial step. Sanding is what separates a cheap DIY from a professional-looking piece. Start with a medium 120-grit sandpaper to remove the original clear coat, stray glue, and rough edges. Always sand with the grain of the wood. Once the surface is uniform, switch to a fine 220-grit sandpaper. Lightly sand the entire box until it feels as smooth as glass.
| Prep Tool / Material | Budget-Savvy Alternative | Estimated Cost |
|---|---|---|
| Precision Screwdriver Set | Dollar Tree Eyeglass Repair Kit | $1.25 |
| Commercial Adhesive Remover | Hot soapy water or Lemon Essential Oil | $0.00 (Pantry staple) |
| Sanding Blocks (120 & 220 grit) | Dollar Store nail files / emery boards for tight corners | $1.25 |
Engineering the Layout: Custom Dividers for His EDC Gear
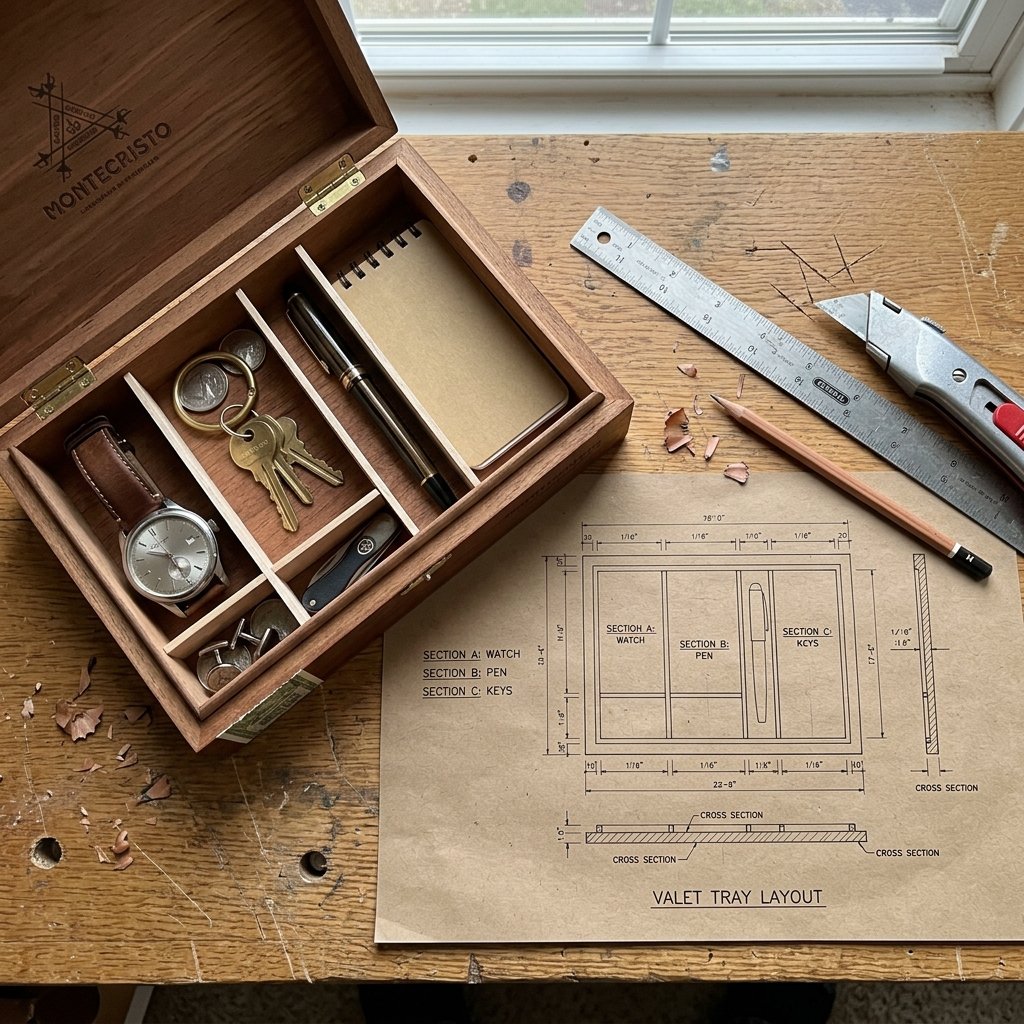
A true valet tray does not just hold items; it organizes them. Creating custom compartments is what makes this gift incredibly thoughtful. You are tailoring this specifically to the things he carries every day. Does he wear a large smartwatch? Does he carry a bulky tactical pocket knife? Does he need a specific slot for his wedding ring and loose coins? Let’s build the architecture.
Measuring His Gear
Play detective for a moment. When he is not looking, take a ruler to his daily items. A standard bifold wallet usually requires a space of about 4×5 inches. A modern smartphone needs at least 3.5×7 inches. A watch compartment looks best when it is about 3×3 inches.
Creating Budget-Friendly Dividers
You do not need fancy woodworking tools to create interior dividers. Here are three incredibly frugal, clever ways to build your compartments:
- Balsa Wood or Basswood Sheets: Available at any craft store for about $3. This wood is so soft you can cut it with a heavy-duty utility knife and a metal ruler. No saw required!
- Repurposed Wooden Yardsticks: Head to your local hardware store. Wooden yardsticks cost about $1.50 each. They are the perfect thickness and height for tray dividers, and the printed numbers add a cool, industrial, vintage vibe if left unpainted.
- Dollar Tree Tumbling Tower Blocks: For smaller dividers (like a ring or coin catch), glue together miniature wooden tumbling tower blocks (the dollar-store version of Jenga). They make incredibly sturdy, chunky dividers.
Assembly and Gluing
Once you have cut your dividers to size, dry-fit them inside the box to ensure everything looks balanced. Use a high-quality wood glue applied with a toothpick or a small brush to secure the dividers in place. Wipe away any excess glue immediately with a damp Q-tip, as dried wood glue will not absorb wood stain later.
“Pro Crafting Tip: If you are worried about your dividers shifting while the glue dries, use small pieces of blue painter’s tape to hold them at perfect 90-degree angles. Let the glue cure for a full 24 hours before moving on to staining.”
Stains, Waxes, and Hardware: Elevating the Aesthetics
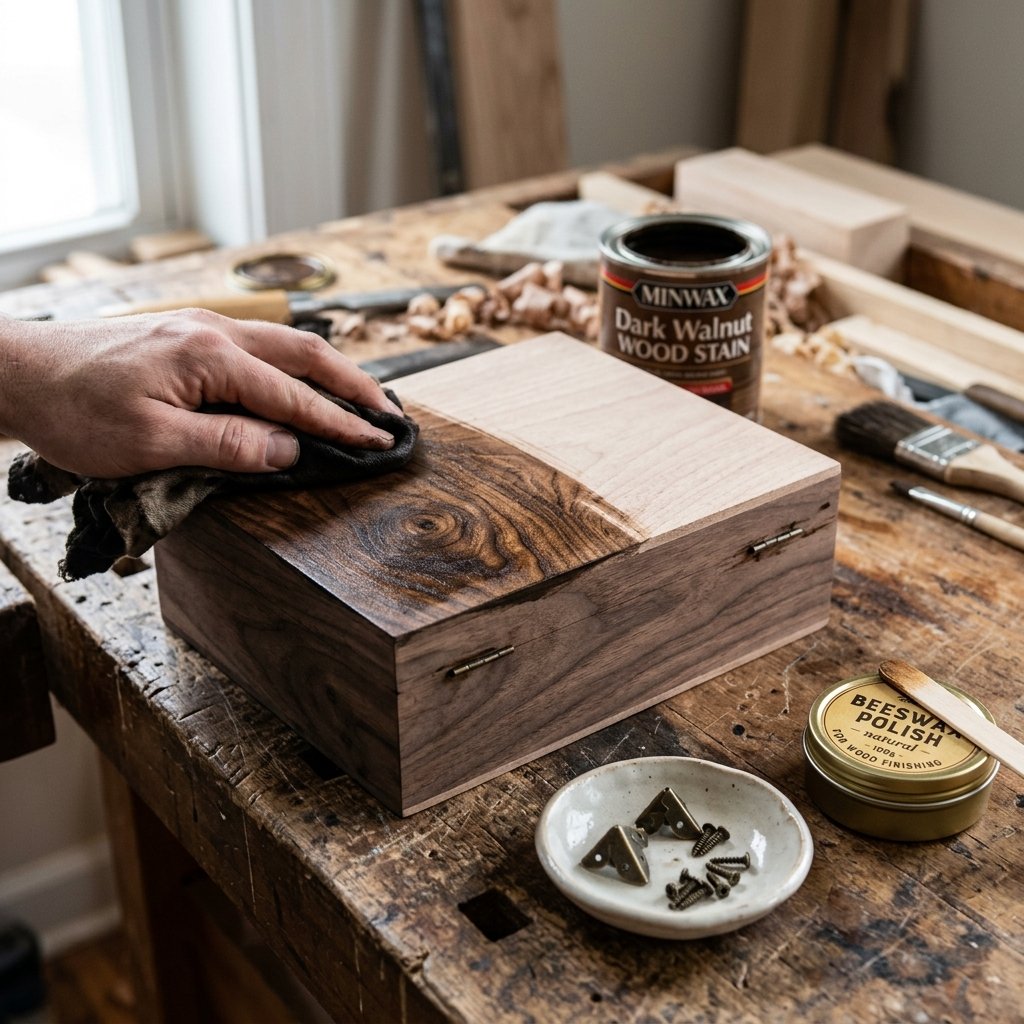
With the structure complete, it is time to give this tray a rugged, masculine makeover. Raw wood is nice, but a rich, deep stain makes the cigar box look like it was purchased at a high-end leather goods shop.
Choosing the Right Finish
For a classic, masculine look, opt for wood stains in shades like Dark Walnut, Espresso, or Gunstock. If you are working indoors and want to avoid harsh chemical fumes, water-based stains or even a strong DIY coffee/tea stain are fantastic, budget-friendly alternatives.
Apply the stain using a clean, lint-free rag (cut up an old, stained t-shirt for a free option!). Rub the stain into the wood, let it sit for 3 to 5 minutes, and then wipe off the excess. The longer you leave it, the darker it gets. Once the stain is completely dry, seal the wood to protect it from moisture and daily wear and tear. A natural beeswax wood polish or a simple wipe-on polyurethane works beautifully.
Adding Rugged Hardware Accents
This is where your crafty-expert skills shine. Adding small hardware details takes the tray from ‘homemade’ to ‘handcrafted.’ Consider these affordable upgrades:
- Brass Corner Protectors: You can buy a pack of vintage-style brass box corners online for under $5. Tap them onto the four outside corners of your tray for an instant steamer-trunk aesthetic.
- Leather Pull Tabs: If you kept the lid on your cigar box, cut a small 1-inch strip from an old leather belt or thrifted purse. Secure it to the front of the lid with a brass thumb tack to act as a rustic lifting handle.
- Felt Feet: To ensure the rough wooden bottom of the tray does not scratch his nightstand or dresser, adhere four small felt pads to the bottom corners.
| Upgrade Item | Boutique Price | DIY Upcycle Cost |
|---|---|---|
| Dark Walnut Finish | Included in $75 tray | $0.00 (Leftover stain/Coffee) |
| Brass Corner Hardware | $15 upgrade | $3.00 (Craft store pack) |
| Furniture Protection | $5 specialty pads | $1.25 (Dollar Tree felt sheet) |
The Gentleman’s Touch: Adding a Luxurious Protective Lining

We are in the home stretch! The final touch is lining the bottom of the compartments. This is not just for looks; a soft lining protects the glass face of his watch, prevents his phone screen from scratching, and muffles the annoying sound of loose coins hitting a hard wooden surface.
Selecting Your Lining Material
You have several fantastic, frugal options here that scream luxury:
- Faux Leather or Suede: You can buy a small ‘fat quarter’ of faux leather at the craft store for about $4, or better yet, cut up an old, damaged leather jacket or purse from the thrift store.
- Adhesive Cork Shelf Liner: Dollar Tree sells rolls of adhesive cork liner. It is incredibly easy to cut and gives the tray a cool, modern, earthy vibe.
- Thick Craft Felt: A classic choice. Dark green, burgundy, or charcoal gray felt mimics the look of a high-end poker table or a vintage jewelry box.
The Cardboard Template Trick
Do not try to measure and cut your fabric directly; it almost always results in frayed, uneven edges. Instead, use the ‘Cardboard Template Trick.’ Measure the inside of your compartments and cut pieces of thin cardboard (like a cereal box) to fit exactly inside each section. Then, wrap your chosen fabric or leather around the cardboard piece, gluing it tightly to the back like you are wrapping a tiny present. Finally, glue the entire fabric-wrapped cardboard insert down into the compartment. This guarantees perfectly crisp, clean, professional edges every single time.
“Safety & Cleanliness Note: If you are using spray adhesive to attach your lining, always do so outside or in a highly ventilated area. Overspray can make your beautiful wood finish sticky, so spray your fabric away from the box, wait 30 seconds for it to get tacky, and then press it into place.”
The Presentation: Gifting the Ultimate EDC Organizer
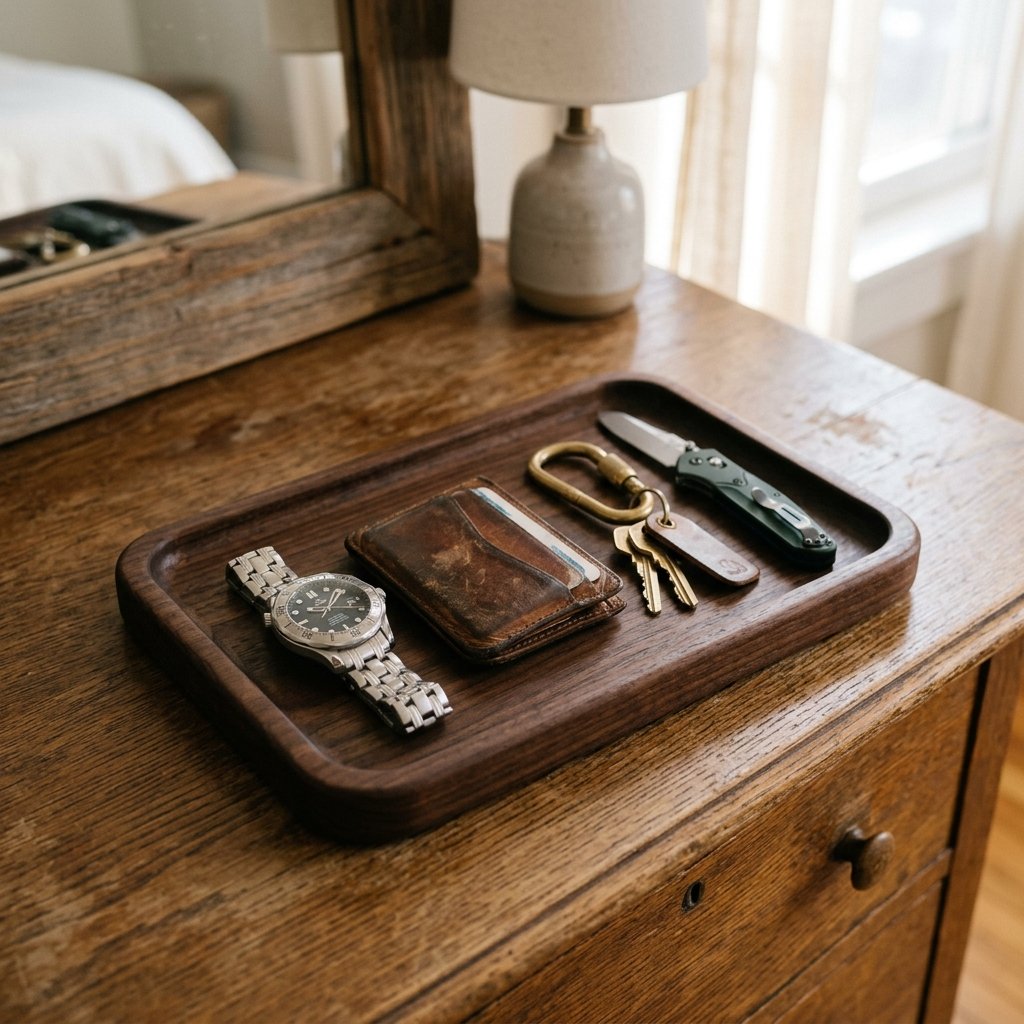
Your gorgeous DIY cigar box valet tray is complete! You have successfully turned a piece of discarded packaging into a rugged, customized, heirloom-quality organizer for a fraction of the retail cost. But the presentation is just as important as the project itself.
When you gift this to him, do not just hand him an empty box. Take a few minutes to ‘stage’ the tray. Place his watch in the designated square. Drop his keys into the catch-all corner. Slide his wallet into the largest slot. Seeing his own everyday items perfectly organized in a tray built specifically for them will instantly show him the thought, care, and practical genius that went into this gift.
This is more than just a frugal craft; it is a daily luxury. Every time he empties his pockets after a long day, and every morning when he knows exactly where his keys are, he will appreciate your resourceful creativity.
Conclusion
Upcycling is not just about saving money—though keeping $100 in your pocket is a massive win. It is about looking at the overlooked, seeing the potential in a simple cigar box, and using your hands to create something functional, beautiful, and deeply personal. By combining a little bit of elbow grease, some budget-savvy materials, and a lot of love, you have crafted a masculine masterpiece that solves a daily annoyance.
So, the next time you see an empty wooden box destined for the trash, grab it. With a vision and a few basic supplies, you possess the power to turn absolute trash into an everyday treasure. Happy crafting, and here is to reclaiming your kitchen counters from the dreaded pocket-dump zone!

Makenzie is the founder and lead writer at MoneyHackTips.com — a personal finance blog dedicated to delivering street-smart financial wisdom for real people on real budgets. With 300+ published articles covering everything from debt management to investing fundamentals, Makenzie’s mission is to make every dollar work harder. When not writing about money hacks, Makenzie is testing frugal living strategies, optimizing side hustles, and helping readers build financial freedom from scratch.