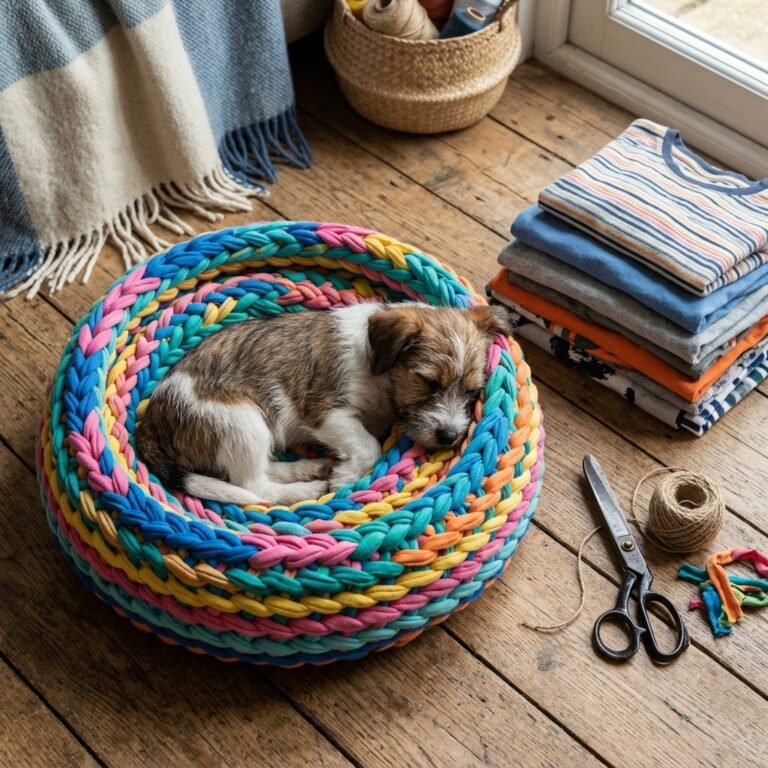

The Problem with Modern Plastic Cases
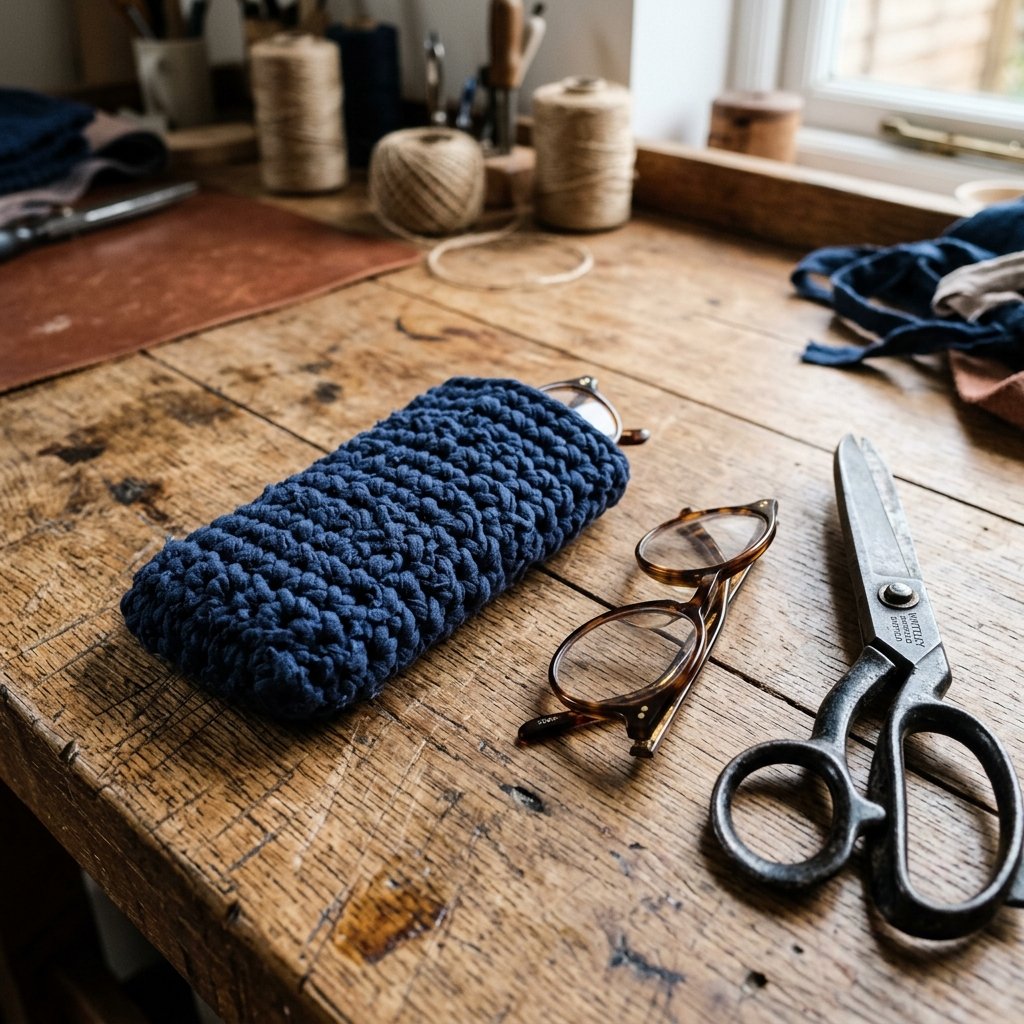
We have all been there: you buy a pair of glasses, and they come with a bulky, brittle plastic case that cracks the first time it hits the floor. Or worse, you’re stuck with those flimsy microfiber pouches that offer about as much protection as a wet paper towel. As a frugal DIYer, you know there is a better way. Why spend $15 or $20 on a synthetic, mass-produced case when you can create a rugged, masculine-elegant sleeve using nothing but a retired cotton T-shirt? This project isn’t just about saving money; it’s about resourceful creativity. We are going to take that old, soft jersey fabric and transform it into ‘Tarn’—T-shirt yarn—to weave or sew a protective home for your eyewear that is as durable as it is stylish. This is the ultimate zero-budget upgrade for the practical maker.
The Gear: Materials and Cost Breakdown

Before we dive into the ‘how-to’, let’s look at why this project is a game-changer for your wallet. Most of these items are already sitting in your rag bin or junk drawer. By upcycling, you are effectively keeping textiles out of the landfill while creating a bespoke accessory.
| Material | Source | Estimated Cost |
|---|---|---|
| Old Cotton T-Shirt | Closet/Rag Bin | $0.00 |
| Heavy-Duty Fabric Shears | Household Tool Kit | $0.00 |
| Large Eye Needle or Crochet Hook | Craft Kit | $0.00 |
| Leather Scrap (Optional Button) | Old Belt/Wallet | $0.00 |
| Total Project Cost | N/A | $0.00 |
When you compare this to the $12.99 average price of a mid-tier protective sleeve, you are looking at a 100% savings. Plus, the cotton jersey is naturally non-abrasive, meaning it won’t scratch your lenses like some cheap synthetic liners might.
Harvesting the ‘Tarn’: How to Make T-Shirt Yarn
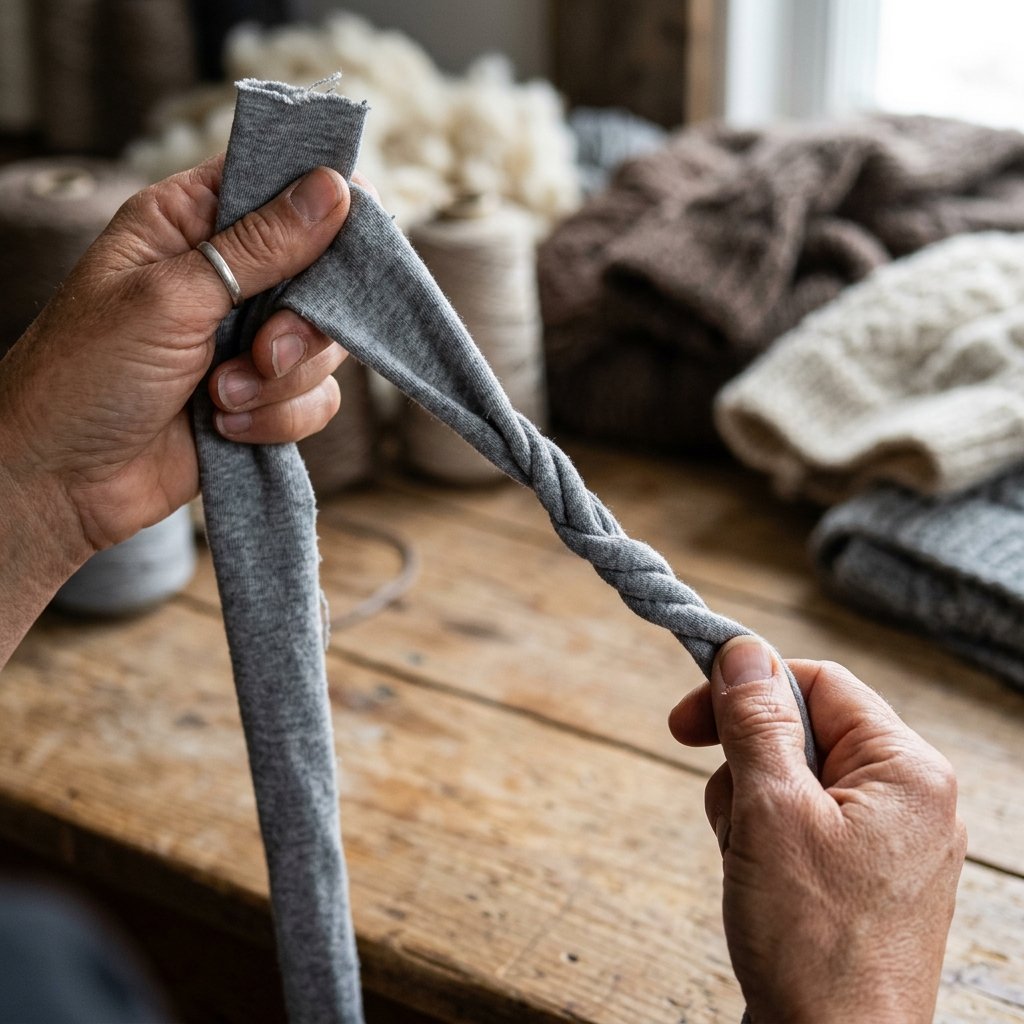
The secret to this project is the yarn itself. We aren’t just cutting strips; we are creating a continuous strand of ‘Tarn’ that has a unique, tubular stretch. This provides the rugged padding necessary to protect your lenses from impacts.
The Continuous Cut Method
- Lay your T-shirt flat and cut off the bottom hem and the top section (from the armpits up). You should be left with a large fabric tube.
- Cut slits into the tube about 1 inch apart, leaving about 2 inches uncut at the top edge.
- Open the uncut section and cut diagonally across the bridges to create one long, continuous strand.
- The Magic Step: Pull the strand taut. The jersey fabric will curl inward, hiding the raw edges and creating a durable, rounded cord.
The tighter you pull the cotton jersey, the more it curls. This ‘tubular’ effect is what gives your eyeglasses sleeve its professional, store-bought look without the store-bought price tag.
Constructing the Rugged Sleeve

Now that you have your yarn, it is time to build. You don’t need a sewing machine for this; a simple hand-stitch or a basic crochet technique will suffice. We want a tight, dense weave to ensure maximum protection.
The No-Sew ‘Tarn’ Braid Technique
If you aren’t a fan of sewing, you can use a simple finger-knitting technique to create a thick, protective mat of fabric. Alternatively, follow these steps for a tailored hand-sewn approach:
- Measure your glasses. A standard sleeve should be roughly 7 inches long and 3.5 inches wide.
- Coil the T-shirt yarn in a flat oval, stitching the edges together with a simple whip stitch using a thinner thread or a single strand of the yarn.
- Once the base is formed, continue ‘spiraling’ the yarn upward to create the walls of the sleeve.
- Keep your stitches tight! A dense weave ensures that dust and grit stay away from your lenses.
Pro Tip: Use a contrasting thread color (like white on navy) for a ‘sashiko’ inspired look that adds a touch of masculine elegance to your craft.
The Finishing Touches: Hardware and Patina
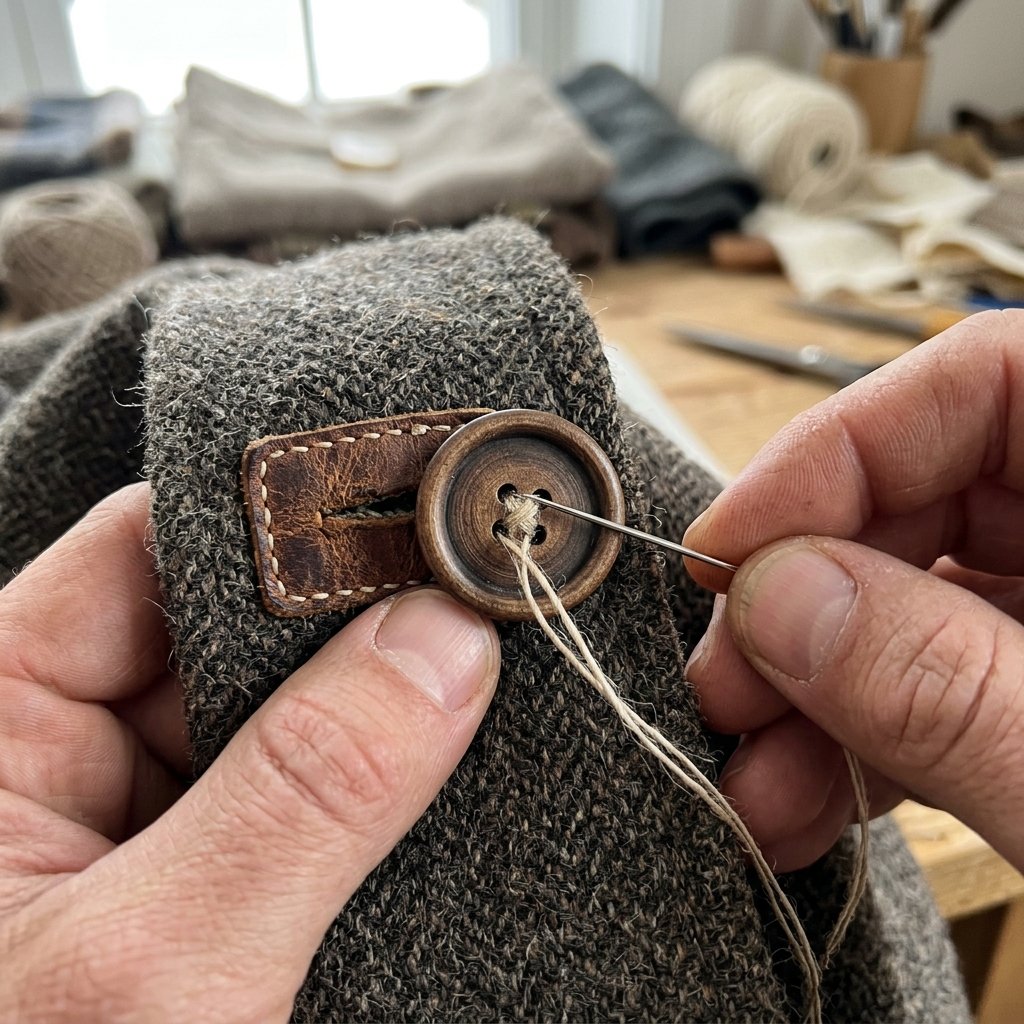
A project is only as good as its finish. To take this from ‘rag’ to ‘rugged’, we need to add a bit of hardware. This is where you can raid your old belts or discarded bags for leather accents.
Adding a Secure Closure
- Cut a small tab from an old leather belt or a scrap of faux-leather.
- Punch a hole in the leather and sew it onto the top lip of the sleeve.
- Attach a wooden button or even a metal nut (for a truly industrial look) to the body of the sleeve.
- Loop a small piece of yarn around the button to keep the sleeve securely closed in your bag or pocket.
This extra 5 minutes of work transforms the project into a gift-worthy item. It looks intentional, sophisticated, and entirely custom.
DIY vs. Store-Bought: Why Upcycling Wins
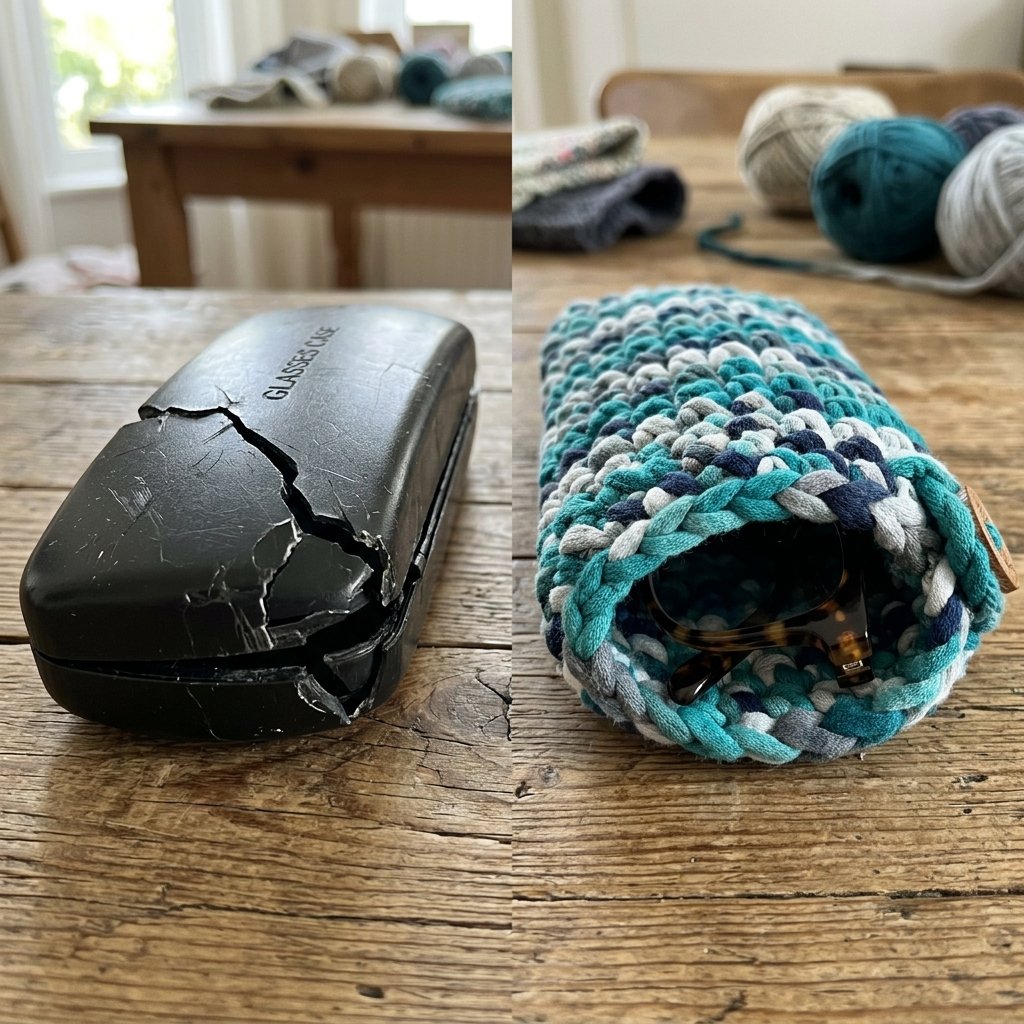
Still not convinced? Let’s look at the durability and practicality of your new upcycled sleeve versus the ‘cheap’ alternatives you find at the checkout counter.
| Feature | DIY Upcycled Sleeve | Cheap Store-Bought Case |
|---|---|---|
| Impact Protection | High (Multi-layered cotton) | Low (Thin plastic) |
| Longevity | Washable & Repairable | Disposable if cracked |
| Custom Fit | Bespoke to your frames | One size fits none |
| Environmental Impact | Zero Waste | High (Plastic manufacturing) |
| Style Factor | Unique & Handcrafted | Generic/Boring |
The DIY sleeve is 100% machine washable. If it gets dirty, just toss it in with your laundry. Try doing that with a cardboard-lined store-bought case!
Conclusion
Mastering the Art of the Upcycle
By turning an old T-shirt into a functional eyeglasses sleeve, you’ve proven that style and protection don’t have to cost a dime. This project is a testament to the resourceful spirit of the modern maker. Whether you’re crafting this for yourself or as a thoughtful, rugged gift for a friend, you are choosing quality over convenience. Stop buying cheap, breakable cases and start looking at your ‘trash’ with new eyes. Your glasses—and your wallet—will thank you. Happy crafting!

Makenzie is the founder and lead writer at MoneyHackTips.com — a personal finance blog dedicated to delivering street-smart financial wisdom for real people on real budgets. With 300+ published articles covering everything from debt management to investing fundamentals, Makenzie’s mission is to make every dollar work harder. When not writing about money hacks, Makenzie is testing frugal living strategies, optimizing side hustles, and helping readers build financial freedom from scratch.