
The Secret to a High-End Backyard on a Budget
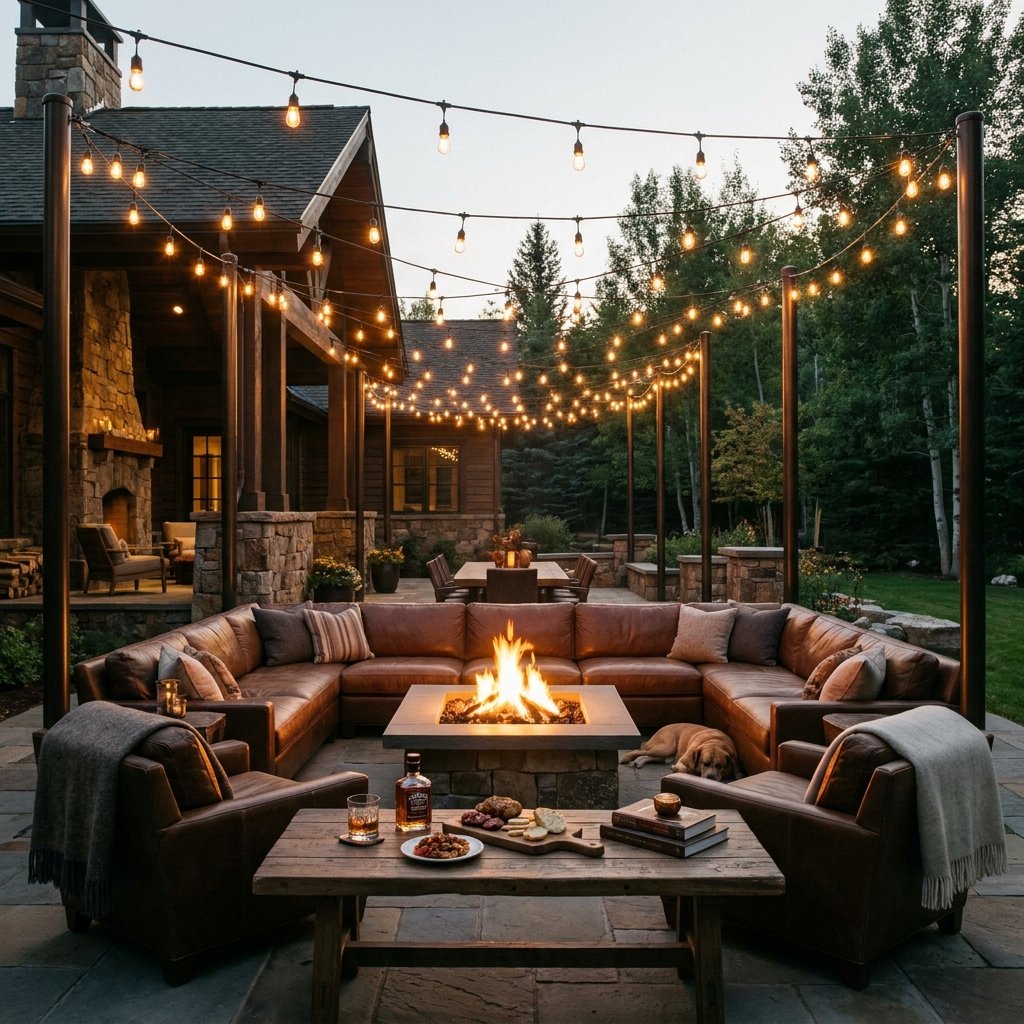
We have all seen those stunning Pinterest-worthy backyards where warm Edison bulbs drape elegantly over a fire pit or a rustic dining table. Then, we look at the price tag of commercial light poles—often ranging from $50 to $150 per pole—and the dream feels out of reach. But what if I told you that with a little bit of rugged ingenuity and a trip to the local dollar store, you could build a set of sturdy, stylish, and permanent-feeling light poles for a fraction of that cost? This isn’t just about saving money; it is about the satisfaction of a shrewd, resourcefully-creative project that looks like it cost a fortune. By combining basic hardware store staples with clever dollar store finds, we are going to transform your outdoor space into a sanctuary. Whether you are a frugal DIYer looking to host the ultimate summer BBQ or a budget bride planning a backyard reception, this guide will show you how to master the ‘Trash-to-Treasure’ transition with masculine-elegant flair.
The Budget Blueprint: Dollar Store vs. High-End Retail
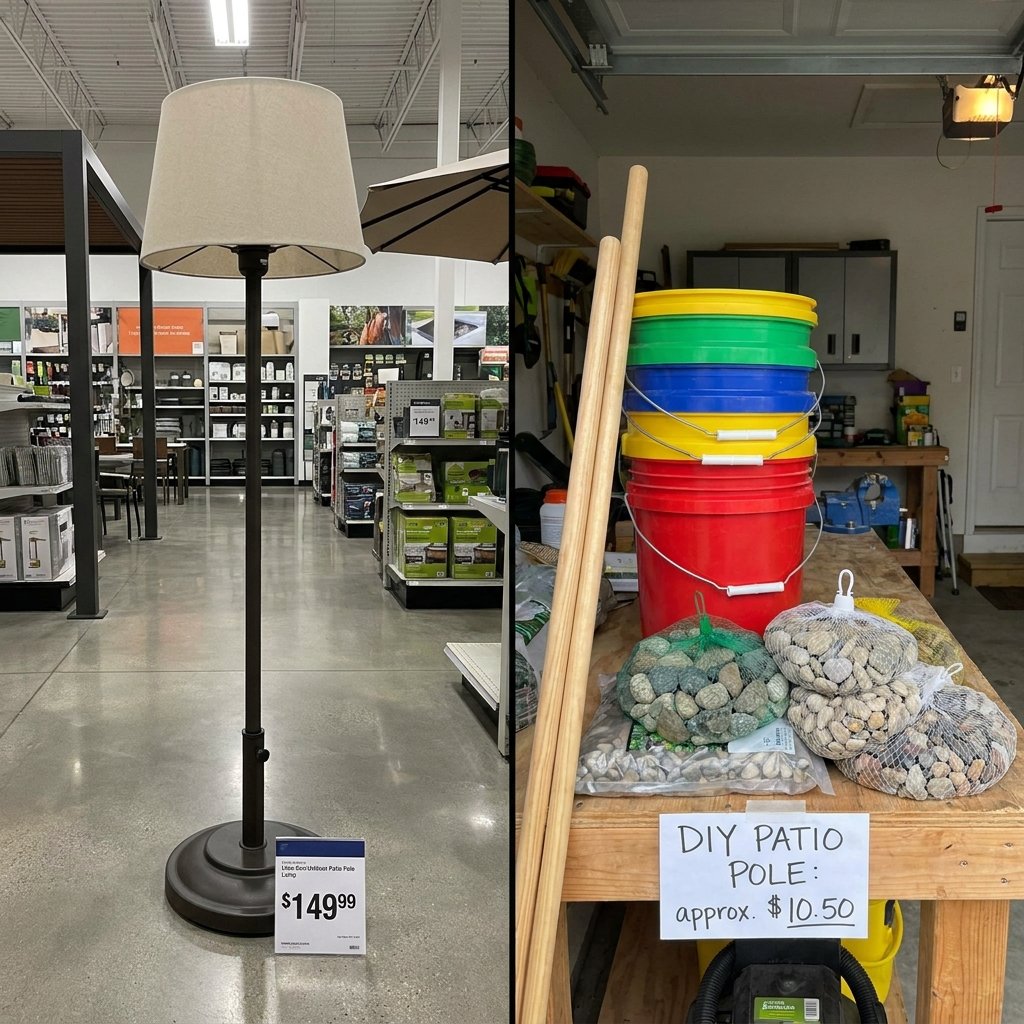
Before we pick up a single tool, let’s look at the numbers. A typical professional installation of outdoor lighting poles involves heavy-duty steel or specialized lumber, often requiring a contractor. Our approach uses the ‘Sleeve and Anchor’ method, utilizing $1.25 items to create a foundation that is both portable and incredibly stable.
| Item Description | Retail Store Price | DIY Dollar Store Price |
|---|---|---|
| Heavy Duty Planter/Base | $45.00 | $1.25 |
| 8ft Metal/Wood Pole | $25.00 | $3.75 (3x Broom Handles) |
| Concrete Mix (per pole) | $10.00 | $5.50 |
| Decorative Fill/Topping | $15.00 | $2.50 (River Rocks) |
| Total Per Pole | $95.00 | $13.00 |
By following this blueprint, you are looking at a saving of over 85%. The key is in the finishing. We aren’t just sticking a stick in a bucket; we are using texture-mimicking paint and strategic weights to ensure these poles withstand wind and weather while looking like custom-forged ironwork.
Phase 1: Gathering Your Rugged Materials
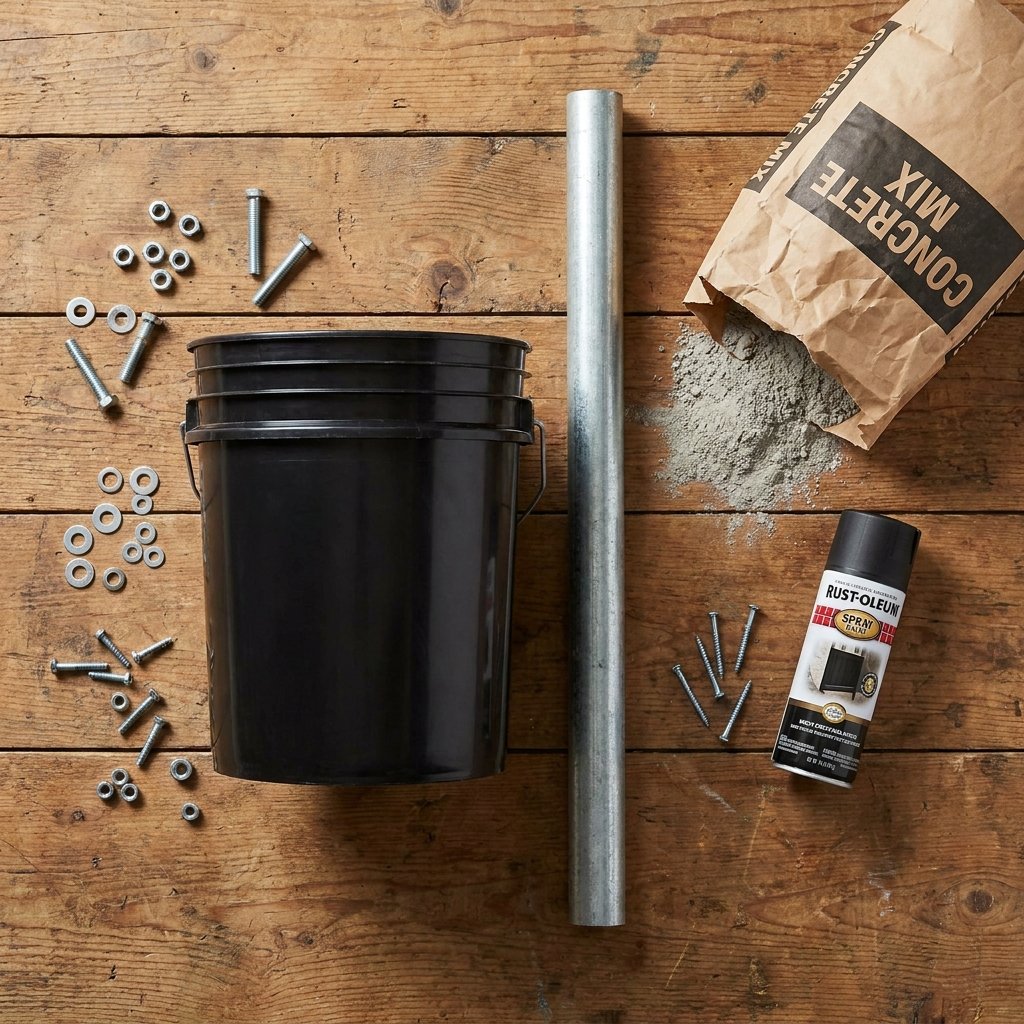
The Shopping List
Head to your local dollar store and the nearest home improvement center. Here is exactly what you need to hunt for to ensure structural integrity and aesthetic appeal:
- Dollar Store Buckets (2-3 gallons): These will serve as your concrete molds. Look for the sturdiest plastic available.
- Broom or Mop Handles (Metal): Grab three for each pole if you want extra height, or one heavy-duty wooden handle.
- Quick-Set Concrete: Available at any hardware store for around $6 a bag. One bag usually covers two poles.
- PVC Pipe Scraps: A 1-foot section of PVC that is slightly wider than your pole handle. This acts as a ‘sleeve’ so you can remove the poles for winter storage.
- Spray Paint: Look for ‘Oil Rubbed Bronze’ or ‘Matte Black’ to give the plastic and metal a high-end, forged look.
- Hardware: Eye-bolts and nuts to secure the lights at the top.
Pro Tip: Always check the ‘Seasonal’ aisle at the dollar store first. Sometimes they carry plastic planters that are even more decorative than the standard utility buckets, saving you a step in the aesthetic phase!
Phase 2: The Foundation—Anchoring for Stability
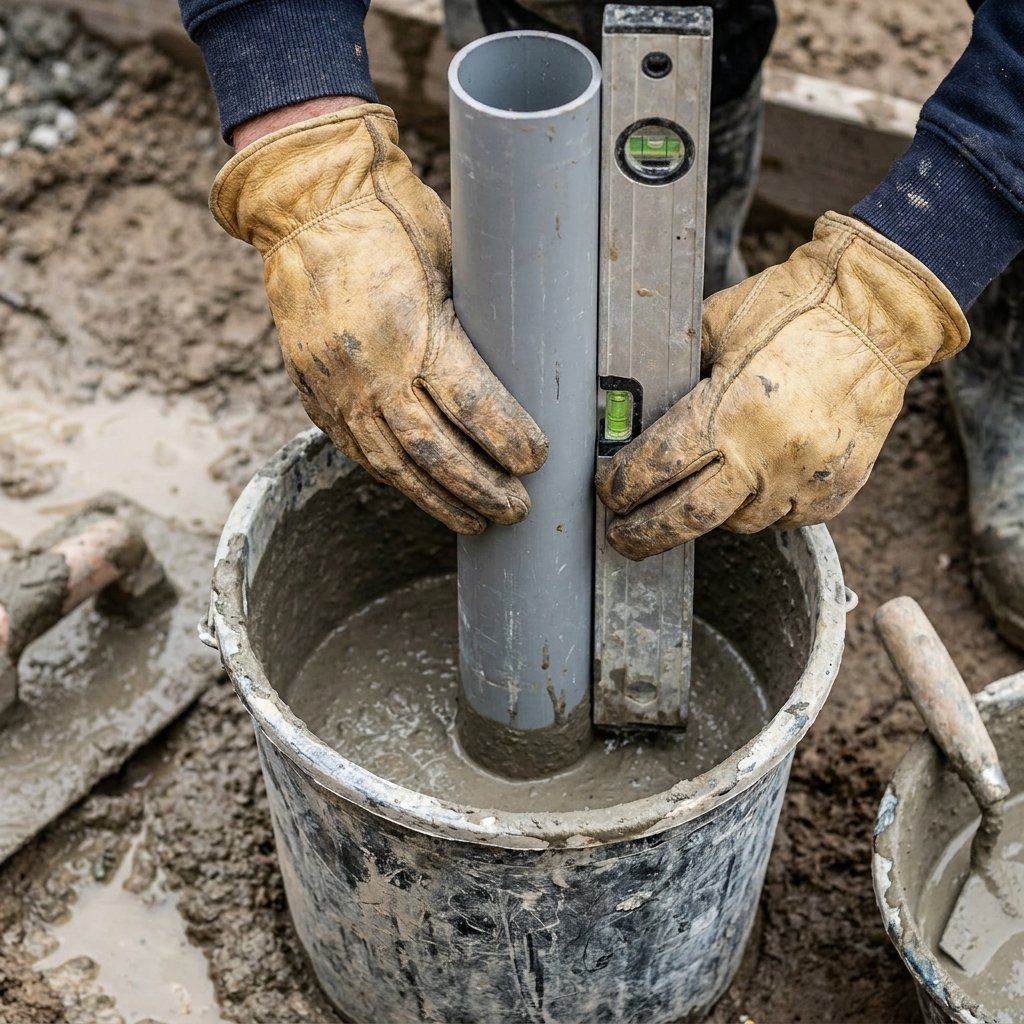
The biggest failure of DIY light poles is ‘The Lean.’ If your base isn’t heavy enough or the pole isn’t centered, the tension of the string lights will pull them inward. We are going to solve this using the Sleeve Method.
- Prepare the Sleeve: Cut your PVC pipe into 10-inch sections. Duct tape the bottom of the PVC so no concrete gets inside the tube.
- Mix the Concrete: In a separate container, mix your quick-set concrete to a peanut butter consistency. Do not make it too watery, or it will lose strength.
- The Pour: Fill your dollar store bucket about 3/4 full with the wet concrete.
- Setting the Sleeve: Push the PVC sleeve directly into the center of the concrete. Use a level to ensure it is perfectly vertical.
- Wait Time: Allow this to cure for at least 24 to 48 hours. This is the most critical step for a rugged, long-lasting base.
Safety Note: When working with dry concrete mix, always wear a mask and gloves. The fine dust can be an irritant to your lungs and skin. Work in a well-ventilated outdoor area.
Phase 3: Crafting the ‘High-End’ Pole
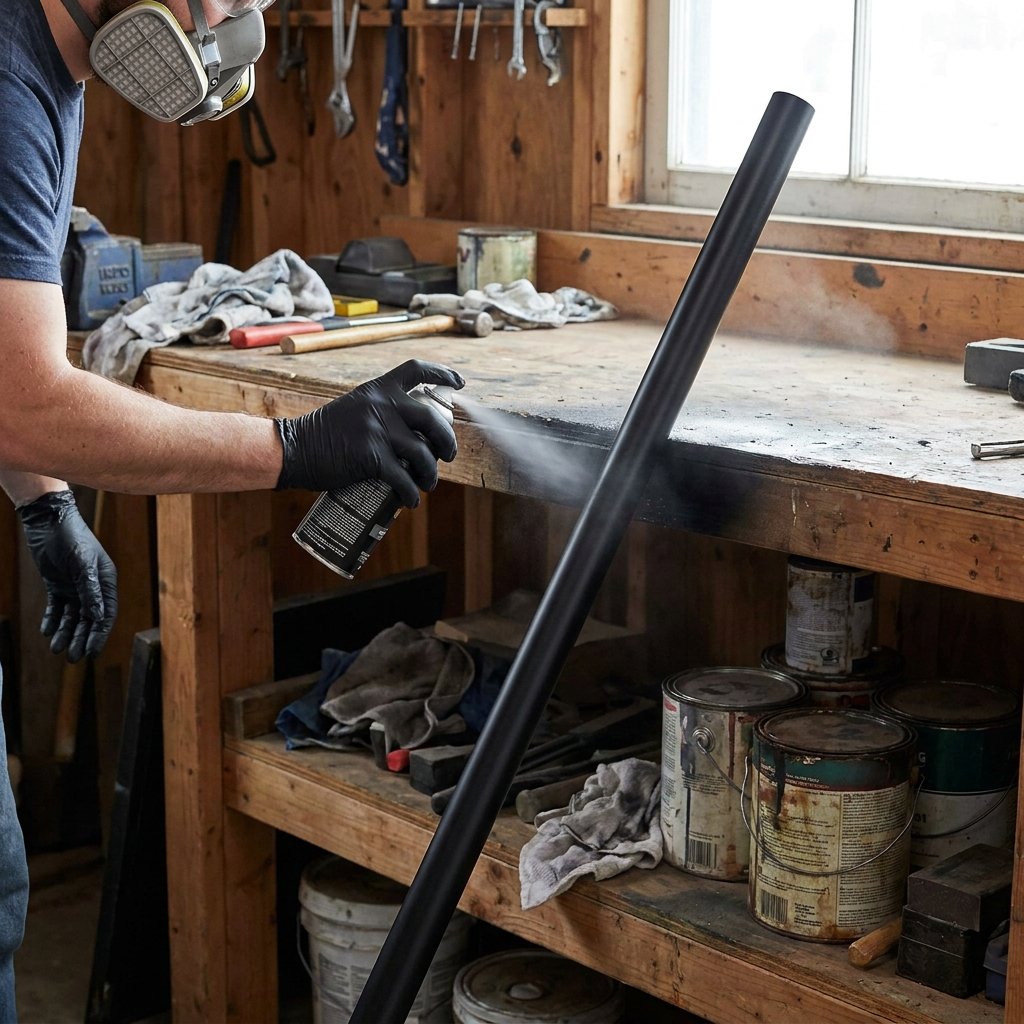
Turning Plastic into Metal
Now that the base is curing, it’s time to make those cheap broom handles look like designer hardware. If you are using multiple handles to get height, you can join them by using a wooden dowel inside the hollow metal tubes and securing them with a small screw.
- Sanding: Lightly sand the metal handles and the plastic buckets. This creates ‘tooth’ for the paint to grab onto, preventing peeling.
- The Eye-Bolt: Drill a hole through the top of your pole and insert an eye-bolt. Secure it with a nut. This is where your lights will clip in.
- The Paint Trick: Use the Baking Soda Paint Trick for the buckets. Mix a little baking soda into your acrylic or spray paint to create a faux-stone or terracotta texture.
- Color Choice: Apply two thin coats of matte black or dark bronze. This hides the ‘dollar store’ origins instantly.
By the time you are done, the pole will have a masculine-elegant finish that mimics heavy wrought iron without the weight or the cost.
Phase 4: Assembly and Tension Management
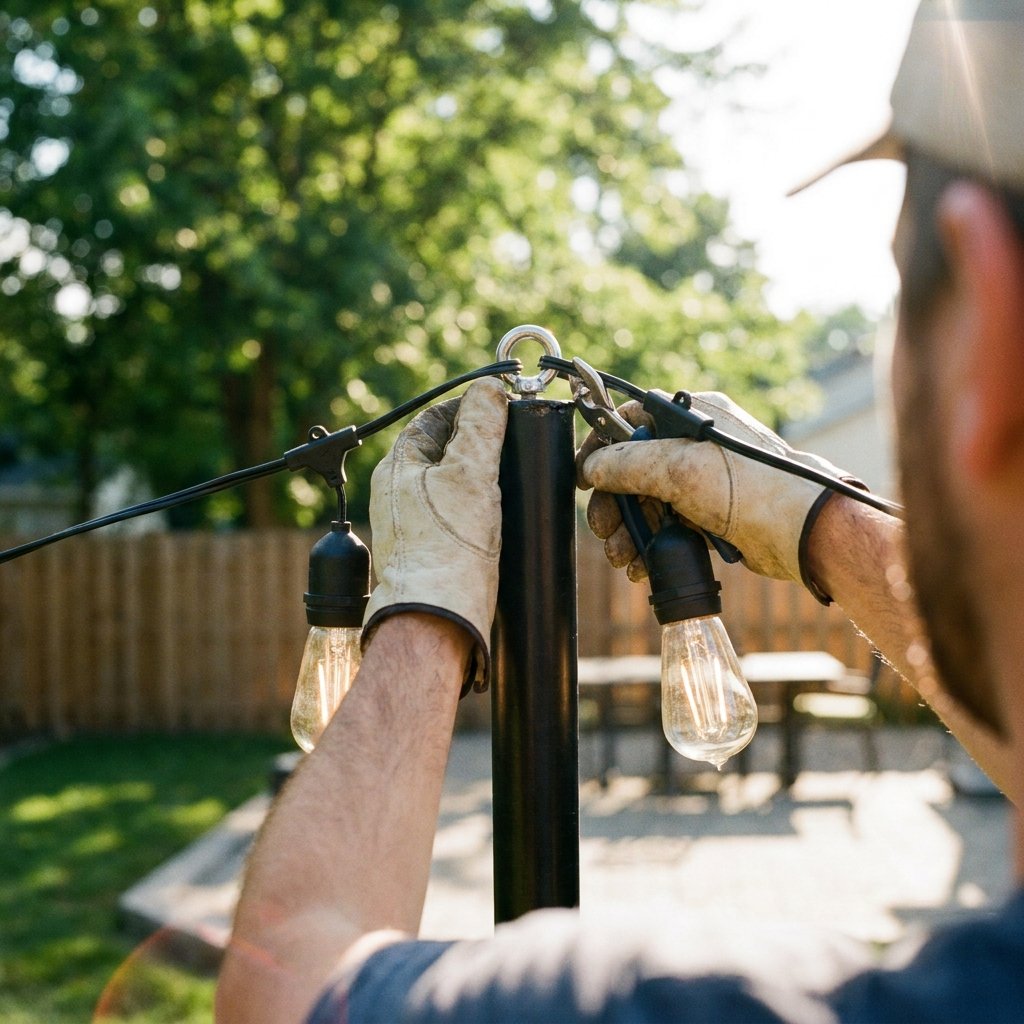
Once everything is dry, it’s time for the ‘Instant Transformation.’ Slide your finished poles into the PVC sleeves in the bases. Because we used a sleeve, you can easily pull the poles out if a storm is coming or for winter storage.
The Art of the ‘Swag’
Don’t pull your lights guitar-string tight. You want a gentle curve, known as a ‘swag.’ This reduces the tension on your DIY poles and looks much more sophisticated. Follow these steps for a professional hang:
- Weight the Base: Before hanging lights, fill the top of the bucket (over the concrete) with dollar store river rocks or pea gravel. This adds a decorative finish and extra weight.
- Clip the Lights: Use carabiners or ‘S’ hooks to attach the string lights to the eye-bolts. This makes it easy to take them down if you need to change a bulb.
- The Zig-Zag Pattern: For the best coverage, run your lights in a ‘W’ or ‘Z’ pattern across your space rather than just a perimeter square.
| Tension Level | Visual Effect | Structural Stress |
|---|---|---|
| Tight/Straight | Modern/Industrial | High (Risk of tipping) |
| Moderate Swag | Classic/Elegant | Low (Recommended) |
| Deep Loop | Bohemian/Whimsical | Minimal |
Mastering the Finishing Touches

To truly hide the ‘DIY’ nature of the project, we need to focus on the details. A plain bucket with rocks is fine, but we can do better for $2.50 more.
The Living Base
Instead of just rocks, leave 2 inches of space at the top of your bucket. Fill it with potting soil and plant trailing ivy or bright marigolds. The greenery will spill over the sides of the bucket, completely obscuring the plastic and making the poles look like custom-built planters. This is a favorite trick for budget brides who need aisle markers that double as lighting.
Cord Management
Run your extension cords along the bottom of fences or bury them in a shallow trench (if rated for direct burial) to keep the look clean and professional. Use a $5 outdoor timer so your backyard ‘glows up’ automatically at sunset without you lifting a finger.
Conclusion
Enjoy Your Five-Star Backyard Retreat
By spending a Saturday afternoon and roughly $30 to $50 total, you have achieved what most people spend hundreds on. You’ve used resourceful, clever techniques to solve the problem of outdoor ambiance without breaking the bank. These DIY Dollar Store patio string light poles are more than just a craft; they are a testament to what a budget-savvy mindset can accomplish. Now, it’s time to fire up the grill, invite the neighbors over, and enjoy the warm, sophisticated glow of your new outdoor sanctuary. Remember: you don’t need a massive budget to have a beautiful home; you just need a little grit, a few dollar store buckets, and the drive to create something great. Happy building!

Makenzie is the founder and lead writer at MoneyHackTips.com — a personal finance blog dedicated to delivering street-smart financial wisdom for real people on real budgets. With 300+ published articles covering everything from debt management to investing fundamentals, Makenzie’s mission is to make every dollar work harder. When not writing about money hacks, Makenzie is testing frugal living strategies, optimizing side hustles, and helping readers build financial freedom from scratch.