
The Gourmet Secret Every Budget Crafter Needs
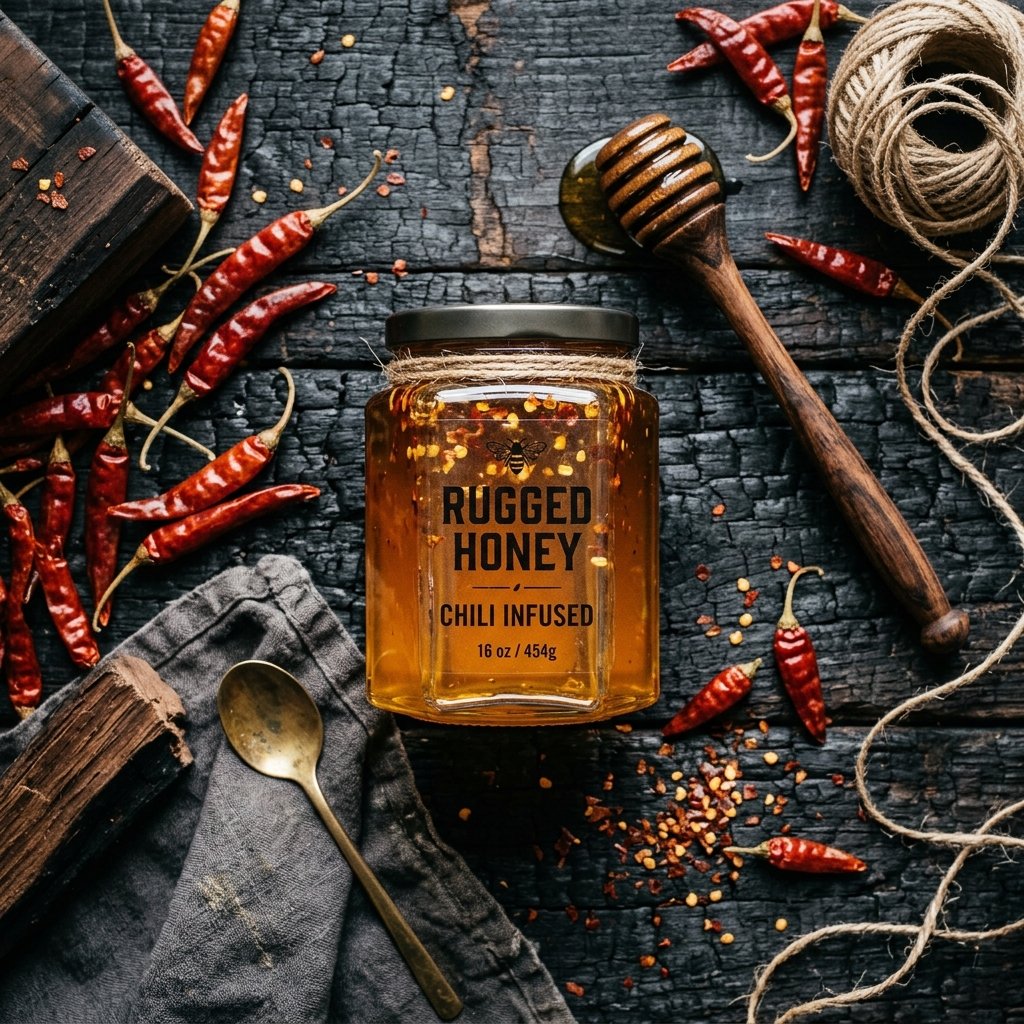
Let’s talk about the ‘hot honey’ phenomenon. If you’ve stepped into a boutique grocery store or a trendy pizza joint lately, you’ve seen those small, sleek bottles retailing for anywhere between $12 and $18. It’s delicious, sure, but as a resourceful DIYer, your internal alarm should be going off. Why pay a 400% markup for two basic ingredients? Today, we are reclaiming the kitchen as our workshop. We’re going to craft a masculine-elegant, high-end Hot Honey that looks like it belongs in a professional chef’s arsenal but costs you less than a cup of coffee per jar.
This isn’t just a recipe; it’s a strategy. Whether you’re looking for the perfect Father’s Day token, a rugged groomsman gift, or a ‘just because’ surprise for a spice-loving friend, this Hot Honey hits the sweet spot of being practical, impressive, and incredibly budget-savvy. We’re going to dive into the chemistry of infusion, the art of cheap but chic packaging, and the secret variations that will make your gift the talk of the next backyard BBQ.
The Economics of Infusion: DIY vs. Store-Bought
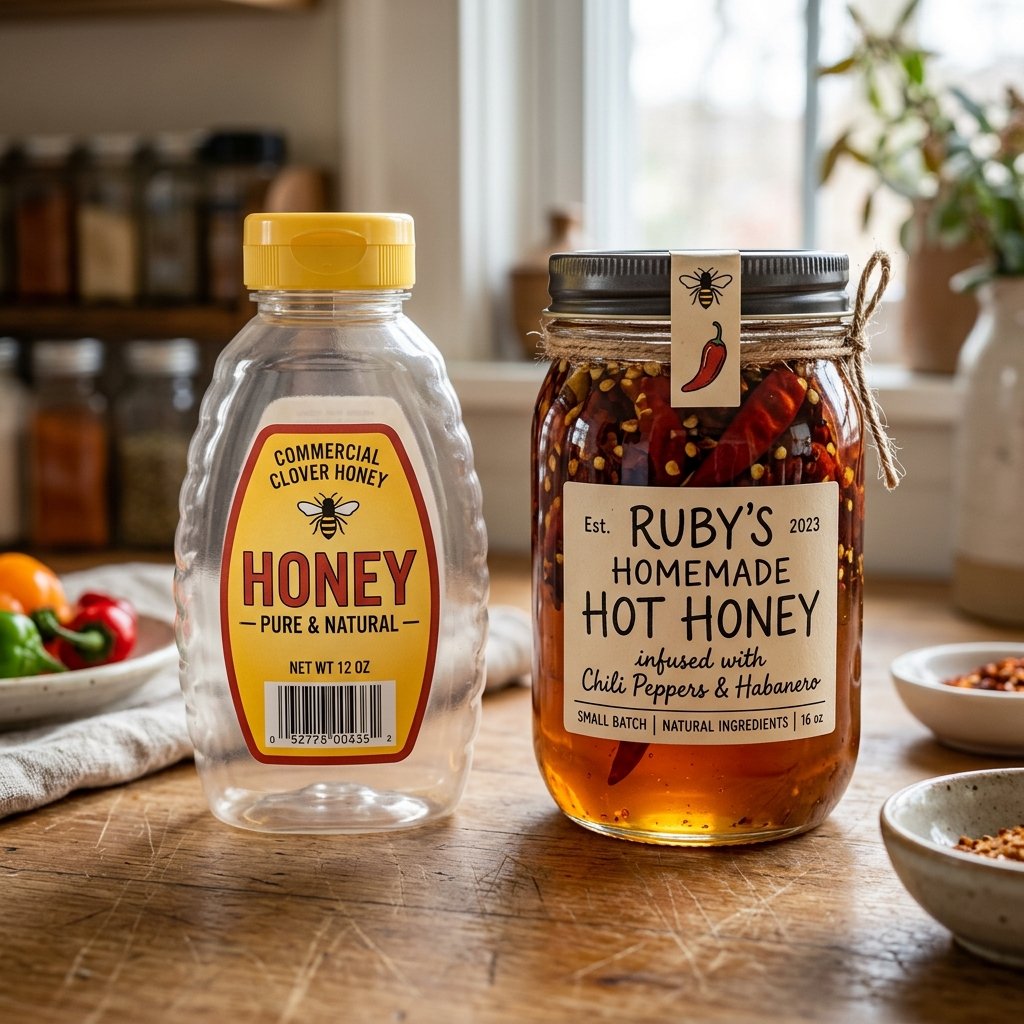
Before we get our hands sticky, let’s look at the cold, hard numbers. As a crafty expert, you know that luxury is often just a matter of presentation and a little bit of patience. By sourcing your honey in bulk and using dried pantry staples for the heat, the savings are astronomical.
| Item | Store-Bought Brand | DIY Master Batch |
|---|---|---|
| Cost per Ounce | $1.50 – $2.25 | $0.35 – $0.50 |
| Customization | None (Standard) | Unlimited (Bourbon, Garlic, Smoke) |
| Packaging Quality | Plastic Squeeze Bottle | Glass Jar with Custom Label |
| Total Gift Value | $15.00 | $3.50 (Material Cost) |
By making this yourself, you are saving over 75% compared to retail prices. That’s more money in your pocket for your next project, while still delivering a gift that feels substantial and thoughtful. We are aiming for that Pottery Barn aesthetic on a Dollar Tree budget.
The Ingredient Arsenal: Sourcing for Quality and Savings
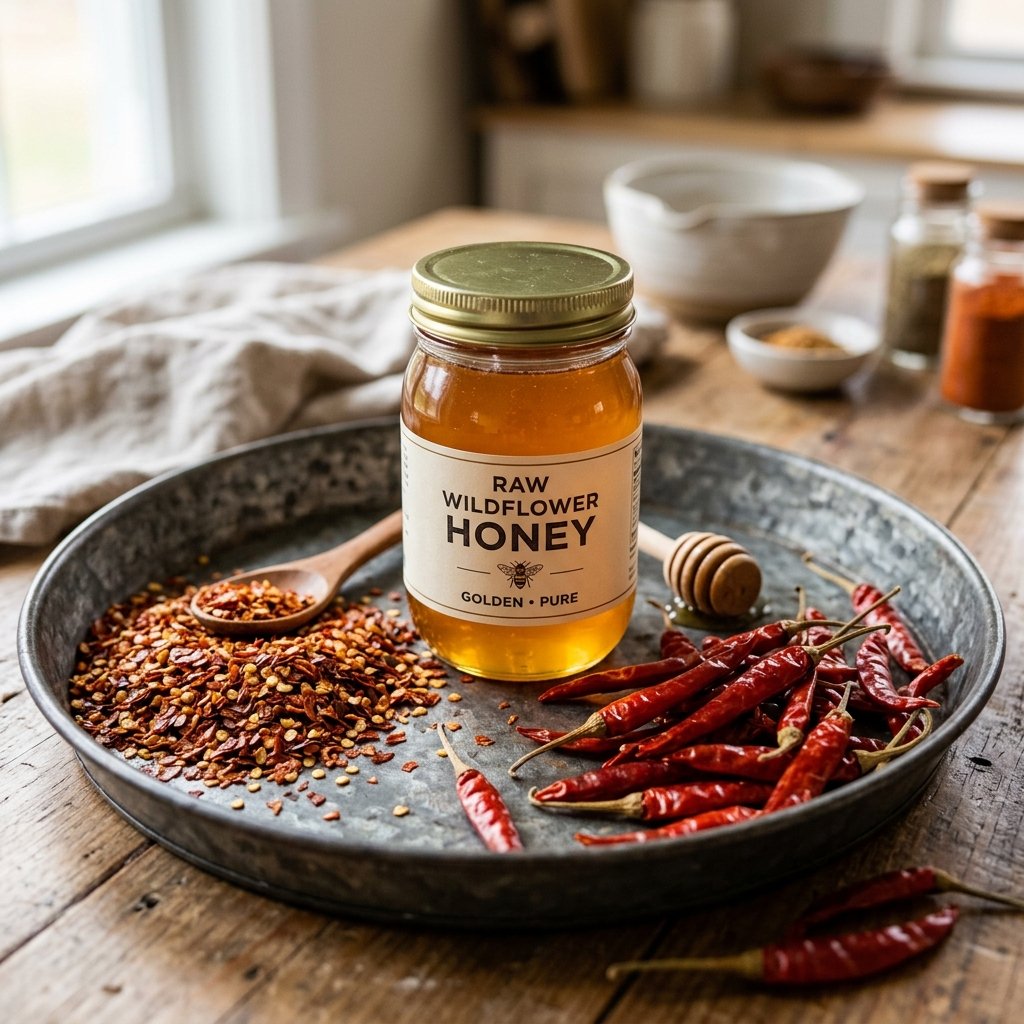
The Honey Base
You don’t need the $30 Manuka honey for this. In fact, a good, mid-range clover or wildflower honey works best because its flavor profile is neutral enough to let the peppers shine. Buy your honey in the 32oz or 64oz jugs from warehouse clubs or the bottom shelf of the grocery store to keep your costs at $0.25 per ounce or less.
The Heat Profile
This is where you get to be the ‘crafty expert.’ You have three main options for heat, depending on who you are gifting this to:
- Crushed Red Pepper Flakes: The most budget-friendly option. Provides a consistent, manageable heat.
- Dried Whole Chilies (Arbol or Bird’s Eye): Gives the jar a rugged, professional look. High visual impact.
- Fresh Habanero: For the ‘Chili-Heads.’ Provides a fruity, intense heat but requires a slightly different infusion method to ensure shelf stability.
Frugal Guru Tip: If you use fresh peppers, you must strain them out or ensure the honey is heated sufficiently to remove moisture, preventing spoilage. Dried peppers are the safest bet for long-term shelf life.
The Master Recipe: Step-by-Step Precision
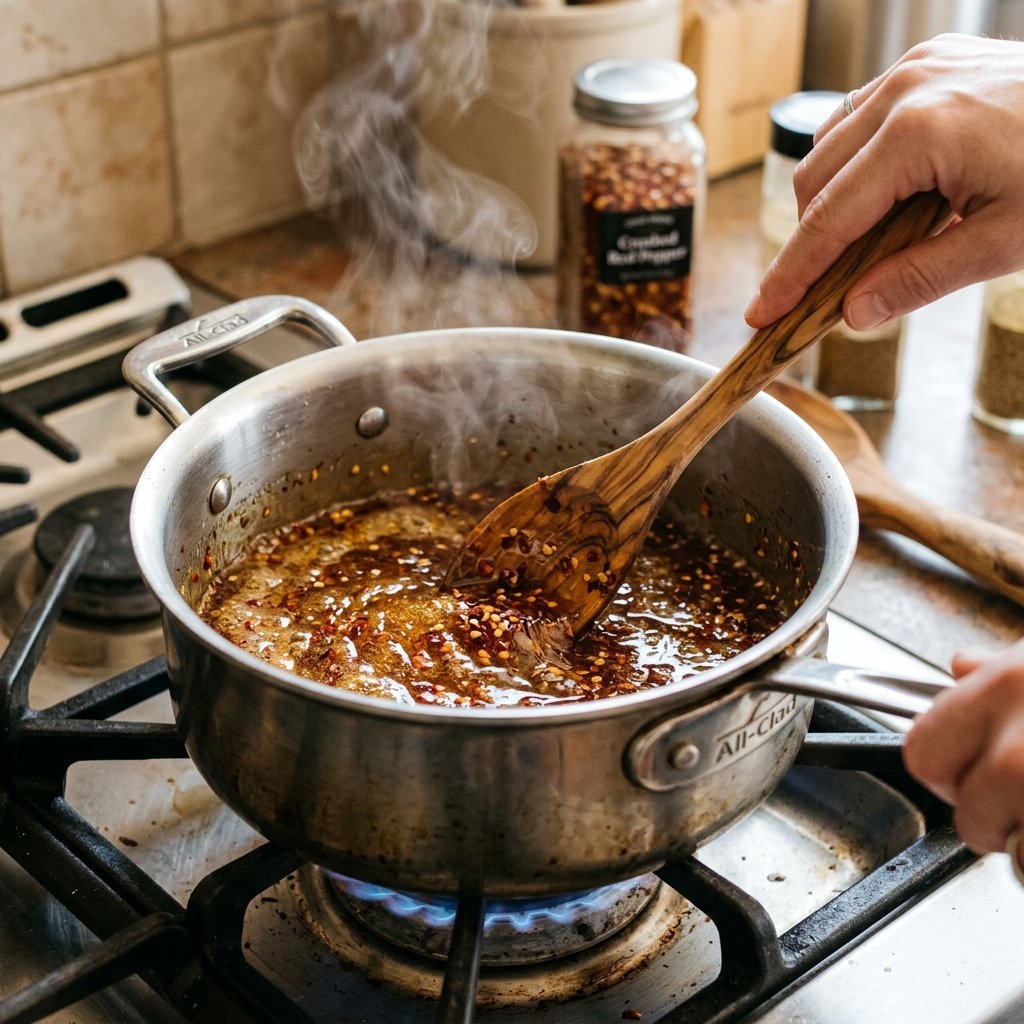
The ‘Fire & Gold’ Infusion Process
Follow these steps to ensure a perfect, clear infusion that isn’t cloudy or overly bitter. We are going for a 5-minute active prep time.
- The Ratio: For every 1 cup of honey, use 1 to 2 tablespoons of dried pepper flakes. If you want it ‘rugged-hot,’ go for 3 tablespoons.
- The Gentle Heat: Pour your honey into a small saucepan over low heat. Do not boil. Boiling honey destroys the delicate floral notes and can lead to crystallization. We want it just warm enough to be thin (around 110°F to 120°F).
- The Infusion: Stir in your peppers and a splash of apple cider vinegar (about 1 teaspoon per cup). The vinegar is the ‘secret sauce’—it cuts the sweetness and adds a sophisticated tang that mimics high-end brands.
- The Steep: Let the mixture sit on the lowest possible heat for 10 minutes. Taste it at the 5-minute mark. If it’s spicy enough, remove it from the heat.
- The Strain (Optional): If your recipient likes a clean look, pour the warm honey through a fine-mesh strainer. For a more crafty, rustic look, leave the flakes in.
| Step | Action | Pro Tip |
|---|---|---|
| 1. Warm | Low heat only | Avoid bubbles at all costs! |
| 2. Spice | Add peppers/vinegar | Use a dash of salt to pop the flavor. |
| 3. Steep | 10-15 Minutes | Longer steep = deeper burn. |
| 4. Jar | Pour while warm | Leave 1/2 inch of headspace. |
Advanced Flavor Profiles for the ‘Foodie Guy’
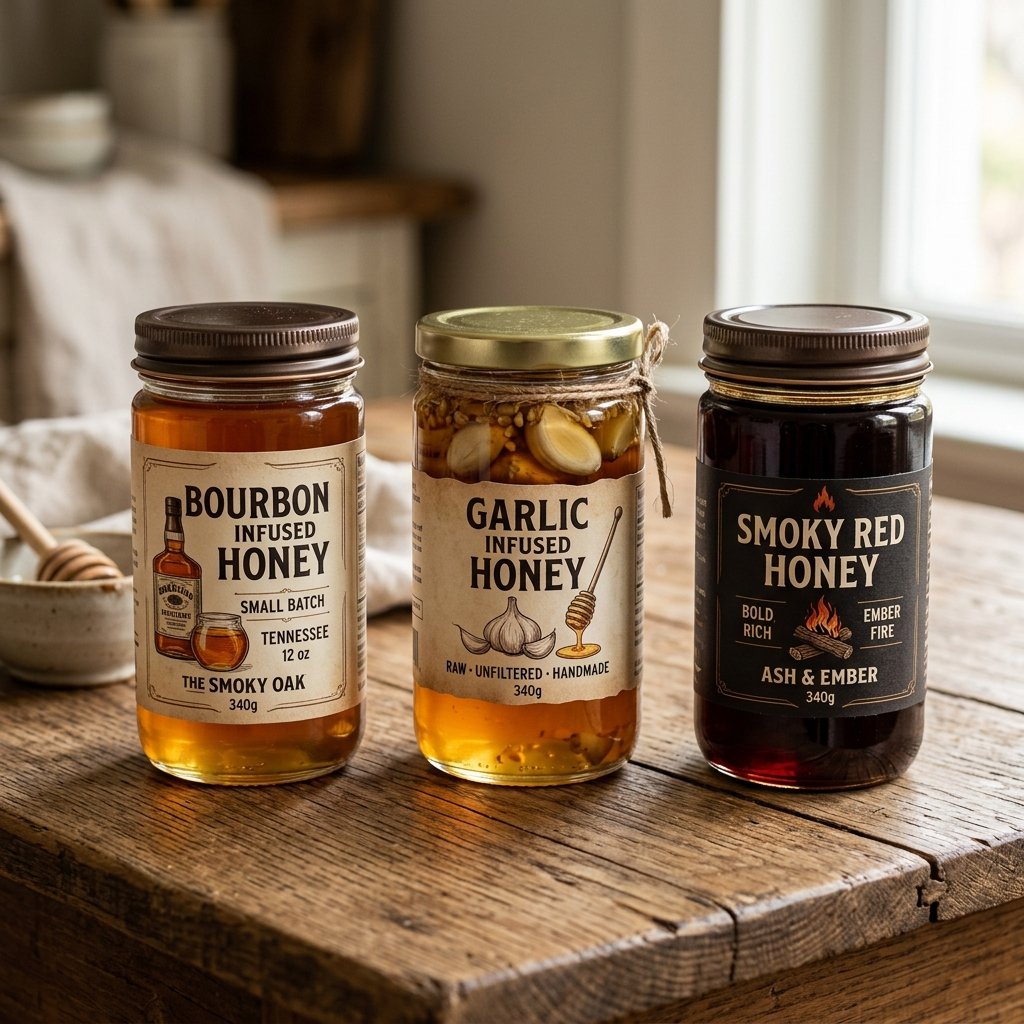
The ‘Smoky Woodsman’ Variation
Add 1/2 teaspoon of liquid smoke or use smoked paprika and dried chipotle peppers. This version is incredible on grilled steak or ribs. It gives that ‘rugged, campfire’ vibe that men love.
The ‘Distillery’ Variation
Stir in 1 tablespoon of good bourbon after you take the honey off the heat. The alcohol will mostly evaporate, leaving behind notes of oak and vanilla. This is the ultimate gift for a whiskey enthusiast.
The ‘Garlic Press’ Variation
Add two smashed cloves of fresh garlic to the infusion process. Remove them before jarring. This creates a savory-sweet condiment that is 100% addictive on fried chicken.
Safety Note: When infusing with fresh garlic, always store the finished product in the refrigerator if you aren’t straining the garlic out, as low-acid environments like honey can carry a risk of botulism with fresh produce over long periods.
Masculine-Elegant Packaging: The $1.00 Makeover
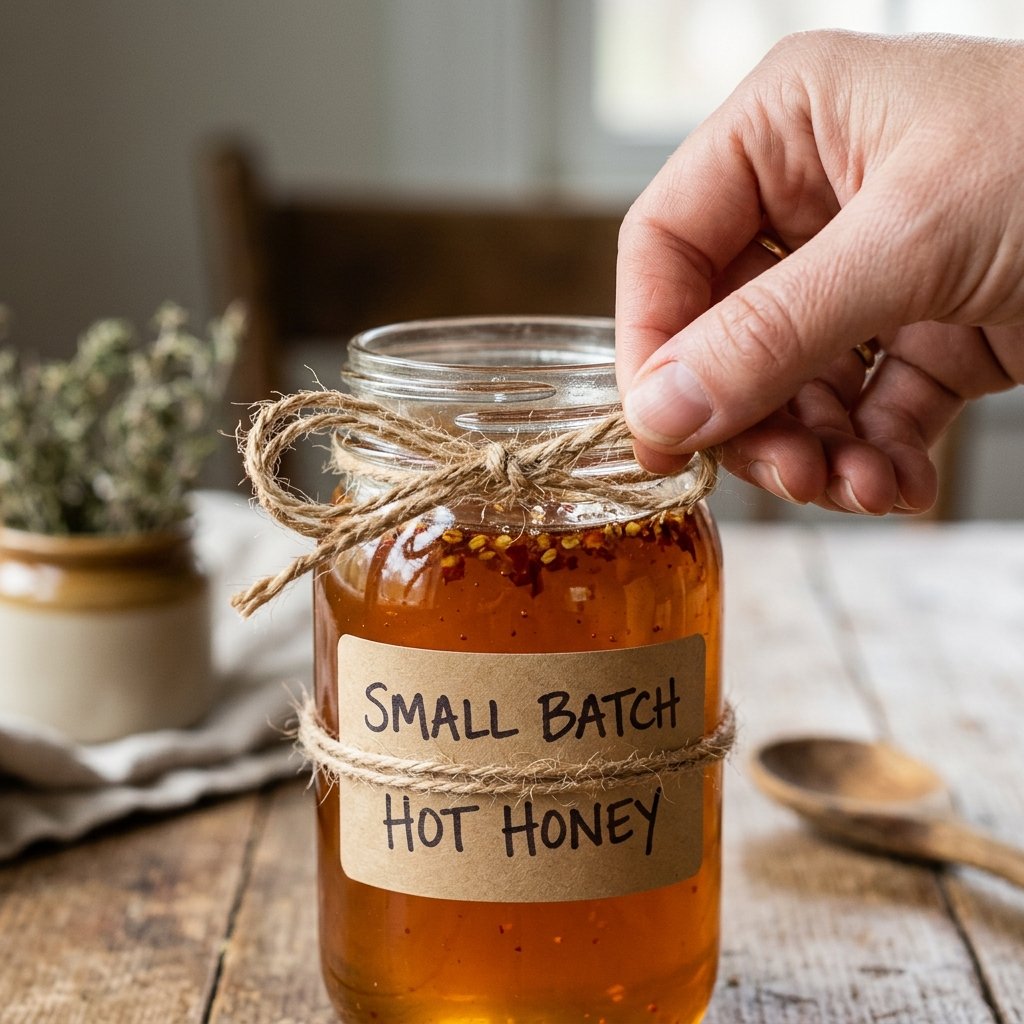
A gift is only as good as its presentation. We are going to avoid the ‘craft store explosion’ look and aim for something practical and high-end.
The Jar Choice
Scout your local thrift stores or ‘Dollar Tree’ for hex-shaped jars or small Mason jars. Even better? Upcycle small jam or mustard jars. Soak them in hot soapy water to remove labels, and use a bit of olive oil to scrub away any adhesive residue.
The Labeling
Don’t just write on the glass. Use brown kraft paper or a piece of a brown paper grocery bag. Cut it into a clean rectangle and use a black fine-liner to write ‘Batch No. 01: Hot Honey’ or ‘Artisan Chili Infusion.’ It looks rugged, masculine, and expensive.
The Finishing Touches
- Twine: Wrap black or natural jute twine around the neck of the jar 3 times and tie a sturdy knot.
- The ‘Seal’: If you have a wax seal kit, use black or dark red wax on the top of the lid. If not, a simple strip of black electrical tape or washi tape over the lid seam adds a ‘tamper-evident’ professional look.
- The Dipper: Tie a small wooden honey dipper (often found in packs of 5 for $2.00) to the side of the jar.
The Foodie Guy’s Usage Guide (Include This with the Gift!)
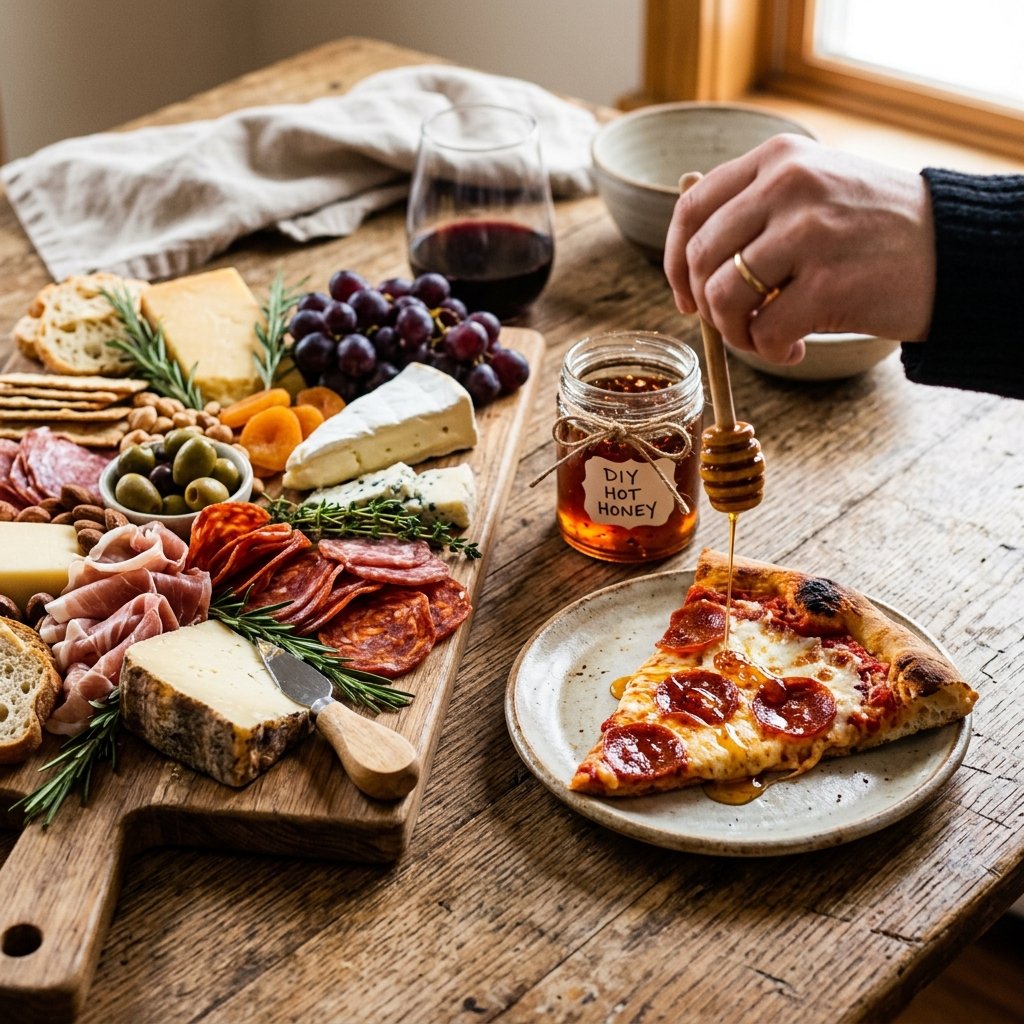
To make this gift truly ‘Resourceful & Clever,’ include a small card suggesting how to use it. This elevates it from a ‘jar of honey’ to a ‘culinary tool.’
- The Pizza Upgrade: Drizzle over a pepperoni or spicy sausage pizza. The sweetness balances the salt and fat perfectly.
- The Breakfast Kick: Pour over chicken and waffles or even just a buttered biscuit.
- The Cocktail Secret: Use it as a sweetener for a ‘Spicy Old Fashioned’ or a ‘Bee’s Knees’ with a kick.
- The Charcuterie King: Place the jar on a meat and cheese board. It pairs beautifully with sharp cheddar and salty prosciutto.
| Pairing | Why it Works |
|---|---|
| Fried Chicken | Sweetness cuts the grease; heat enhances the breading. |
| Grilled Salmon | Caramelizes on the grill for a spicy glaze. |
| Vanilla Ice Cream | The ‘Chef’s Choice’—a wild, sweet-heat contrast. |
Conclusion
Mastering the Art of the Frugal Gift
You’ve done it. You’ve taken about $3.00 worth of ingredients and 15 minutes of your time and transformed them into a gourmet product that rivals anything found in a high-end kitchen boutique. This DIY Hot Honey is the embodiment of the resourceful, budget-savvy lifestyle: it’s practical, it’s high-quality, and it shows the recipient that you have the ‘crafty-expert’ skills to create something unique.
Remember, the best gifts aren’t the ones that cost the most—they are the ones that reflect the maker’s creativity and the recipient’s tastes. So go ahead, whip up a double batch, keep one for your own pantry, and gift the rest. You’ve just leveled up your gifting game without breaking the bank. Stay crafty, stay frugal, and keep building that DIY arsenal!

Makenzie is the founder and lead writer at MoneyHackTips.com — a personal finance blog dedicated to delivering street-smart financial wisdom for real people on real budgets. With 300+ published articles covering everything from debt management to investing fundamentals, Makenzie’s mission is to make every dollar work harder. When not writing about money hacks, Makenzie is testing frugal living strategies, optimizing side hustles, and helping readers build financial freedom from scratch.