
The Art of the ‘Actually Useful’ Gift
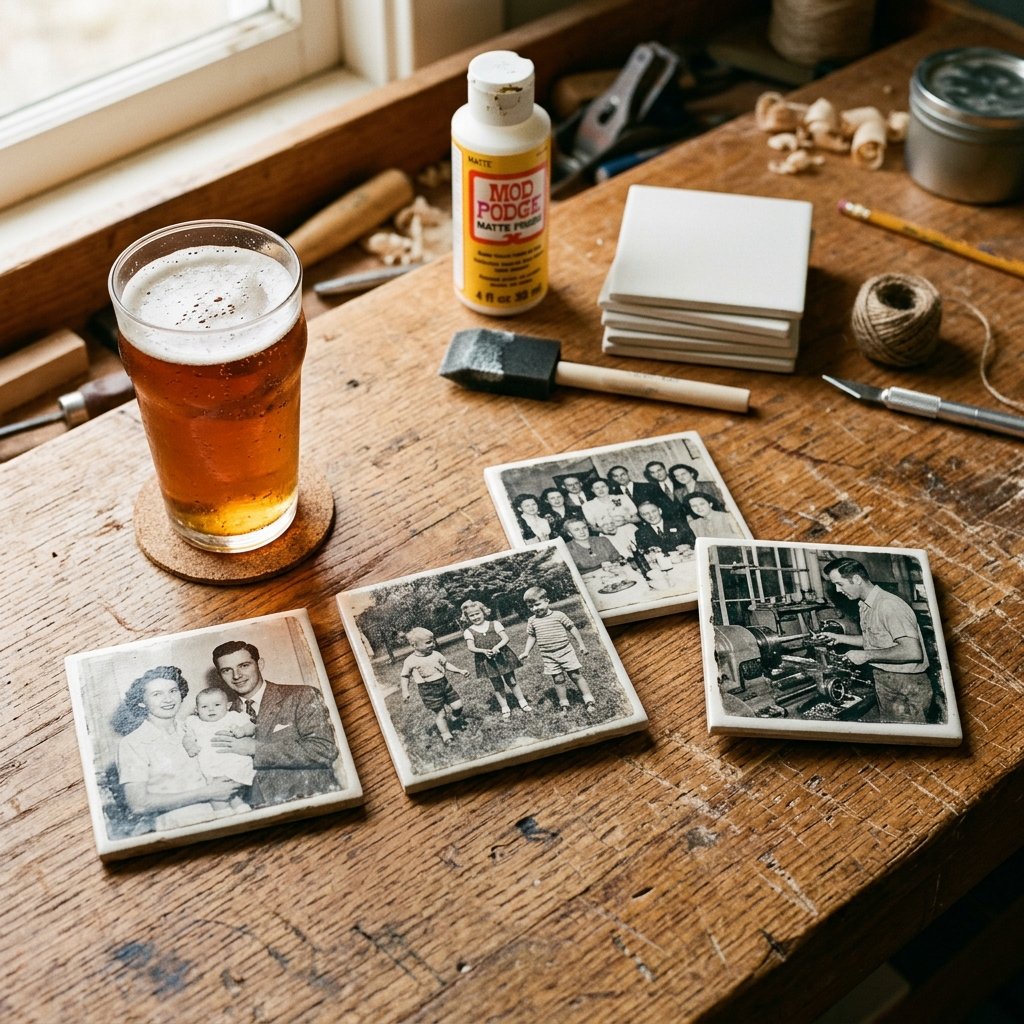
Let’s face it: most sentimental gifts end up gathering dust in a drawer or, worse, in the back of a closet. When we’re crafting for the men in our lives—whether it’s a rugged dad, a craft-beer-loving brother, or a budget-conscious partner—we need to aim for the sweet spot between sentimental value and practical utility. Enter the DIY Photo Beer Coaster. This isn’t just a craft; it’s a piece of functional home engineering. By using industrial-grade sealants and heavy-duty ceramic bases, we can create something that looks like it was plucked from a high-end boutique but actually costs less than a single latte to produce. In this guide, we’re going to master the ‘trash-to-treasure’ transition, turning $0.15 hardware store staples into a bespoke set of four coasters that can withstand the heaviest condensation from a cold IPA. Forget the $40 custom sets on Etsy; we’re doing this the savvy way.
The Hardware: Sourcing the Perfect Tile Foundation
Building on a Solid Base
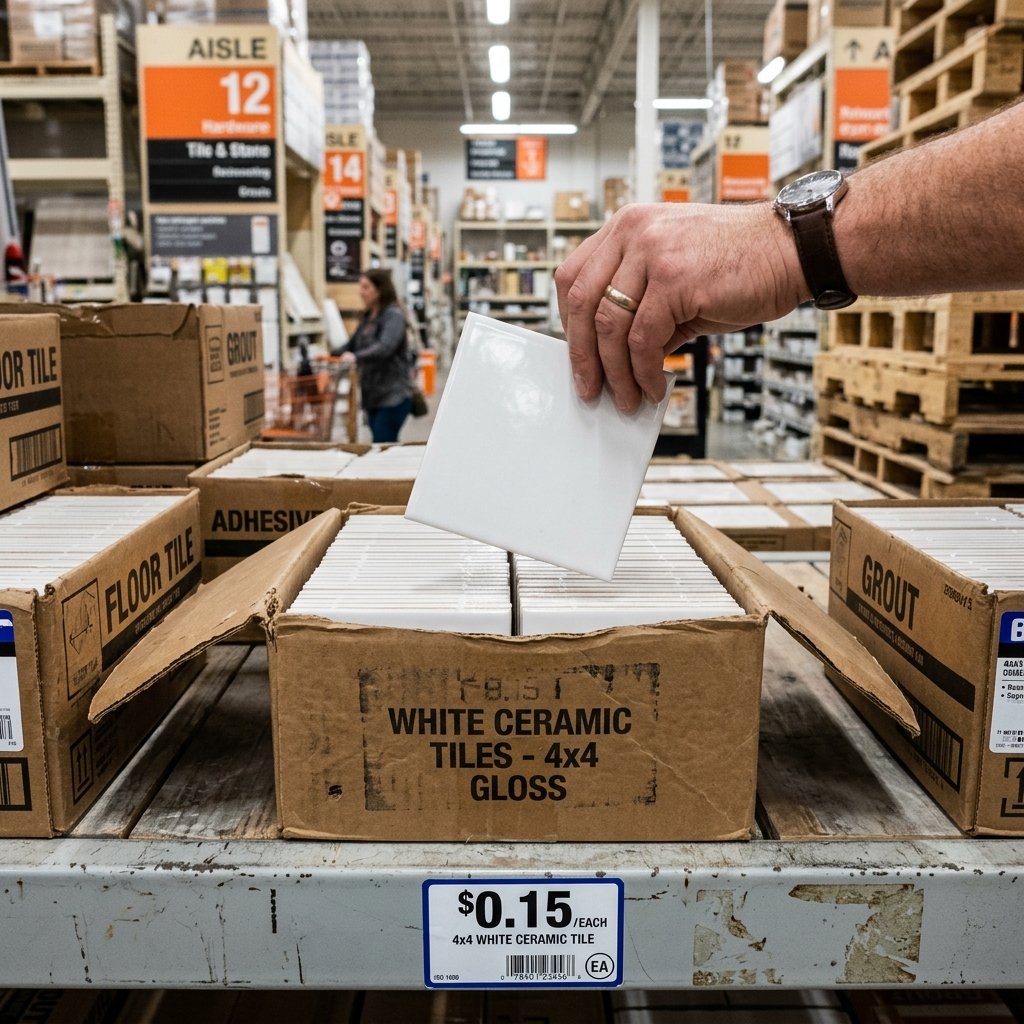
The secret to a coaster that feels expensive is weight. We aren’t using flimsy cardboard or thin wood scraps. We are heading to the flooring aisle of your local big-box hardware store (think Home Depot or Lowe’s). Look for 4×4 inch white ceramic wall tiles. These are often sold individually for as little as $0.15 to $0.20 each. They are perfectly square, have a satisfying heft, and are designed to handle moisture. If you want a more ‘rugged’ or ‘industrial’ look, you can opt for tumbled marble or slate tiles, though those will bump your budget up slightly to about $0.80 per tile.
Budget Breakdown: DIY vs. Retail
| Item | DIY Cost (Set of 4) | Retail/Boutique Cost |
|---|---|---|
| Ceramic Bases | $0.60 | Included |
| Photo Prints | $1.20 | Included |
| Adhesive & Sealant | $0.80 (pro-rated) | Included |
| Cork Backing | $0.40 | Included |
| Total | $3.00 | $25.00 – $45.00 |
Pro Tip: Always buy two extra tiles. At fifteen cents, it’s worth having a ‘test tile’ to practice your sealant technique or to replace one if you drop it during the process.
The Visuals: Selecting and Sizing Your Memories
Optimizing Your Images for Impact
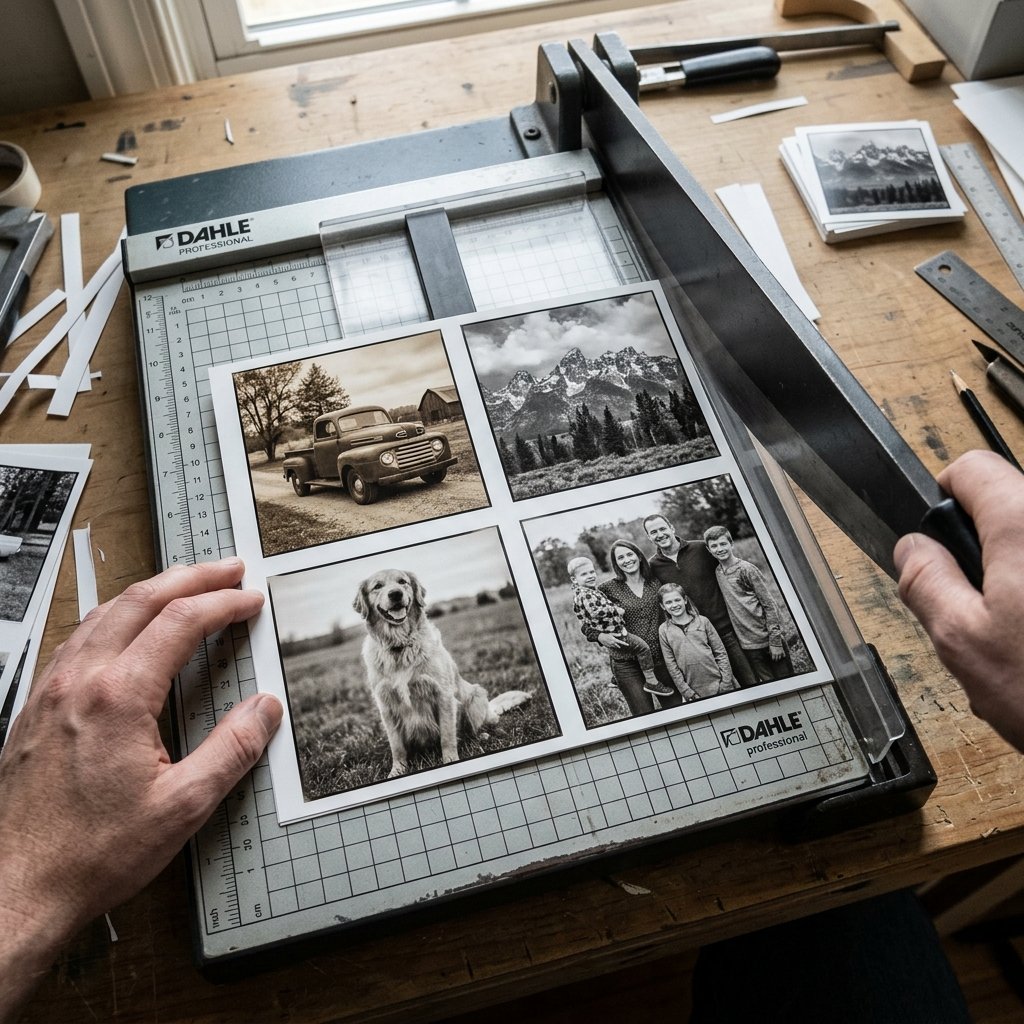
The key to a professional-looking coaster is the ‘bleed’—the space between the edge of the photo and the edge of the tile. For a 4×4 inch tile, you want your photos printed at exactly 3.75×3.75 inches. This leaves a clean 1/8 inch border of white ceramic around the image, which frames the photo and prevents the edges from peeling up later. When choosing photos, look for high-contrast images. Black and white photos or sepia tones often look more ‘masculine-elegant’ and hide any minor printer imperfections better than vibrant colors.
- Paper Choice: Use standard matte photo paper or high-quality cardstock. Avoid thick, glossy professional photo paper as it is harder for the adhesive to penetrate, which can lead to bubbling.
- Laser vs. Inkjet: If you are using an inkjet printer, you must let the prints dry for at least 24 hours before starting, or the ink will bleed when you apply the glue.
- The Trim: Use a paper trimmer rather than scissors. Straight, 90-degree angles are the difference between a ‘craft project’ and a ‘finished product.’
The Craft: Step-by-Step Assembly for a Flawless Finish
The ‘Mod Podge’ Sandwich Method
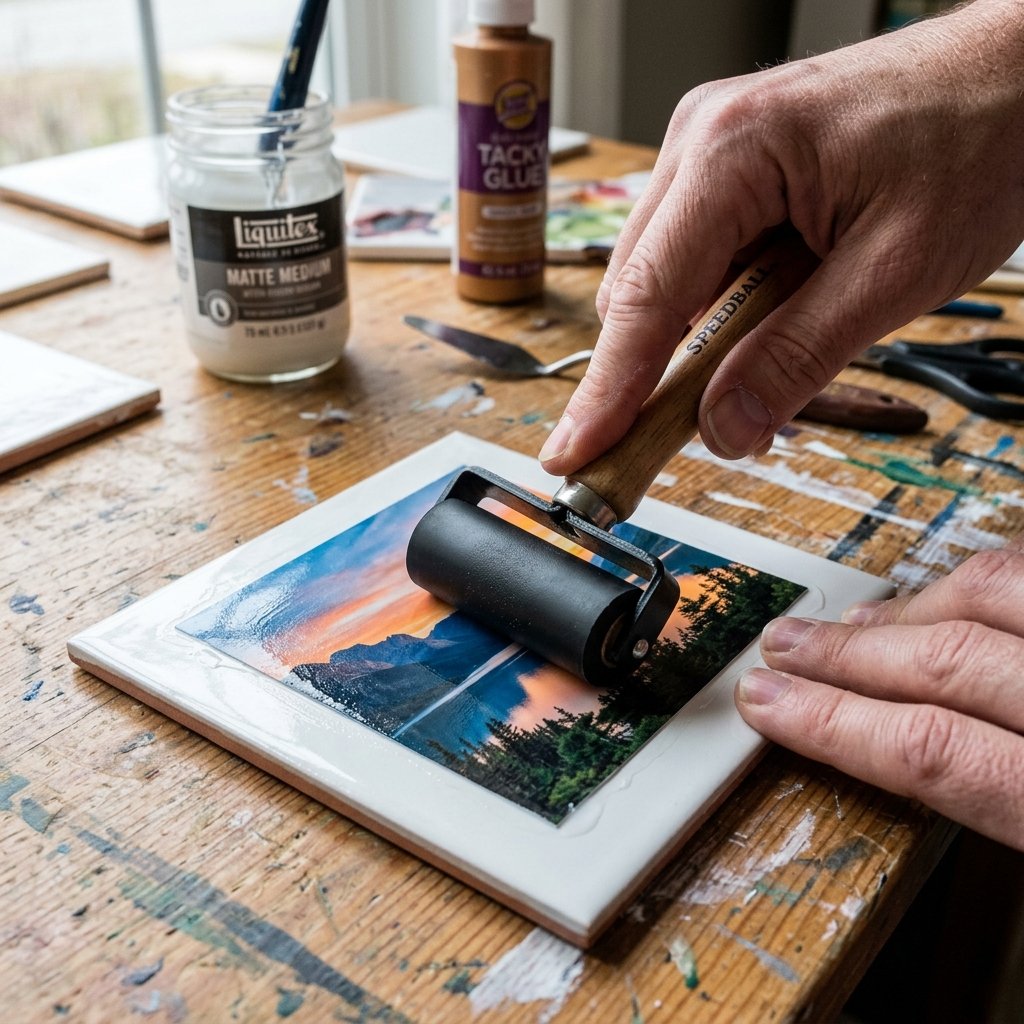
This is where the magic happens. We are going to use a decoupage technique to bond the image to the stone. The goal is a flat, bubble-free surface. If you see a bubble, don’t panic—we have a fix for that.
- Clean the Tile: Wipe the tile surface with rubbing alcohol to remove any dust or oils from your fingers. This ensures a 100% bond.
- The Base Coat: Apply a thin, even layer of Mod Podge (Matte finish is best for a rugged look) to the tile using a foam brush. Do not over-apply.
- The Placement: Center the photo on the tile. Press down firmly from the center outward to push out any air.
- The Brayer Step: Use a small roller (or even an old credit card) to firmly press the image down. This is the most critical step for a professional finish.
- The Top Coat: After the base has dried for 20 minutes, apply a very thin layer of Mod Podge over the top of the photo. Brush in one direction only.
“The secret to a bubble-free finish isn’t the glue; it’s the pressure. Roll it like you’re laying flooring.” — The Frugal Guru’s Mantra
The Shield: Making Them Beer-Proof and Heat-Resistant
Industrial-Strength Protection
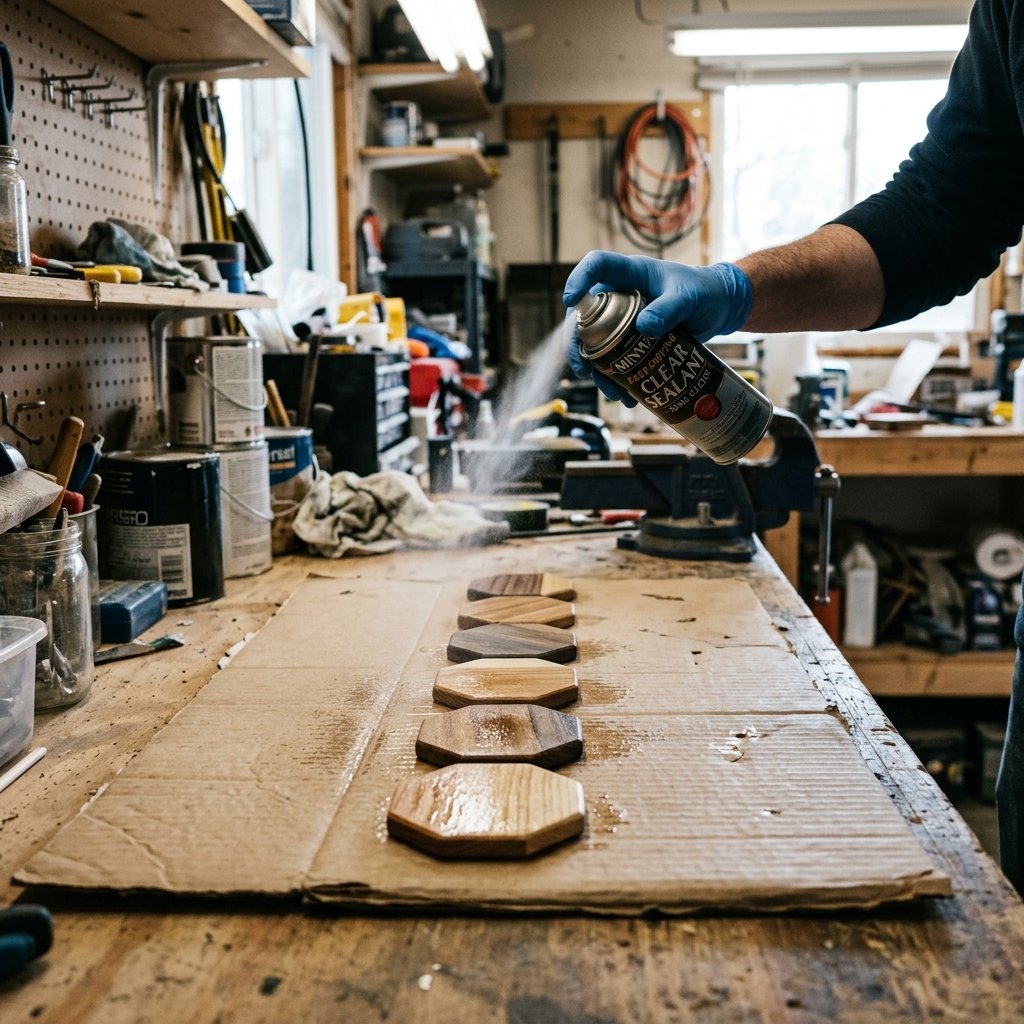
Mod Podge is water-based, meaning a sweaty beer bottle will eventually turn it back into white goo. To make these ‘man-cave ready,’ we need a chemical shield. This is the step most DIYers skip, and it’s why their coasters fail. We are going to use a Clear Gloss or Matte Acrylic Sealer, or for the ultimate ‘bulletproof’ finish, an Engine Enamel spray.
Sealing Options Comparison
| Sealant Type | Durability | Dry Time | Best For |
|---|---|---|---|
| Acrylic Spray | Moderate | 2 Hours | Light use, decorative |
| Polyurethane (Brush-on) | High | 24 Hours | Heavy condensation, heat |
| Engine Enamel | Extreme | 1 Hour | The ‘Indestructible’ coaster |
Apply the sealant in a well-ventilated area (like a garage). Do three light coats rather than one heavy coat. A heavy coat will cause the ink to run or the paper to warp. Wait 15 minutes between each spray. Once finished, let the coasters cure for at least 48 hours before placing a drink on them.
The Finishing Touch: Professional Backing and Packaging
Protecting the Furniture
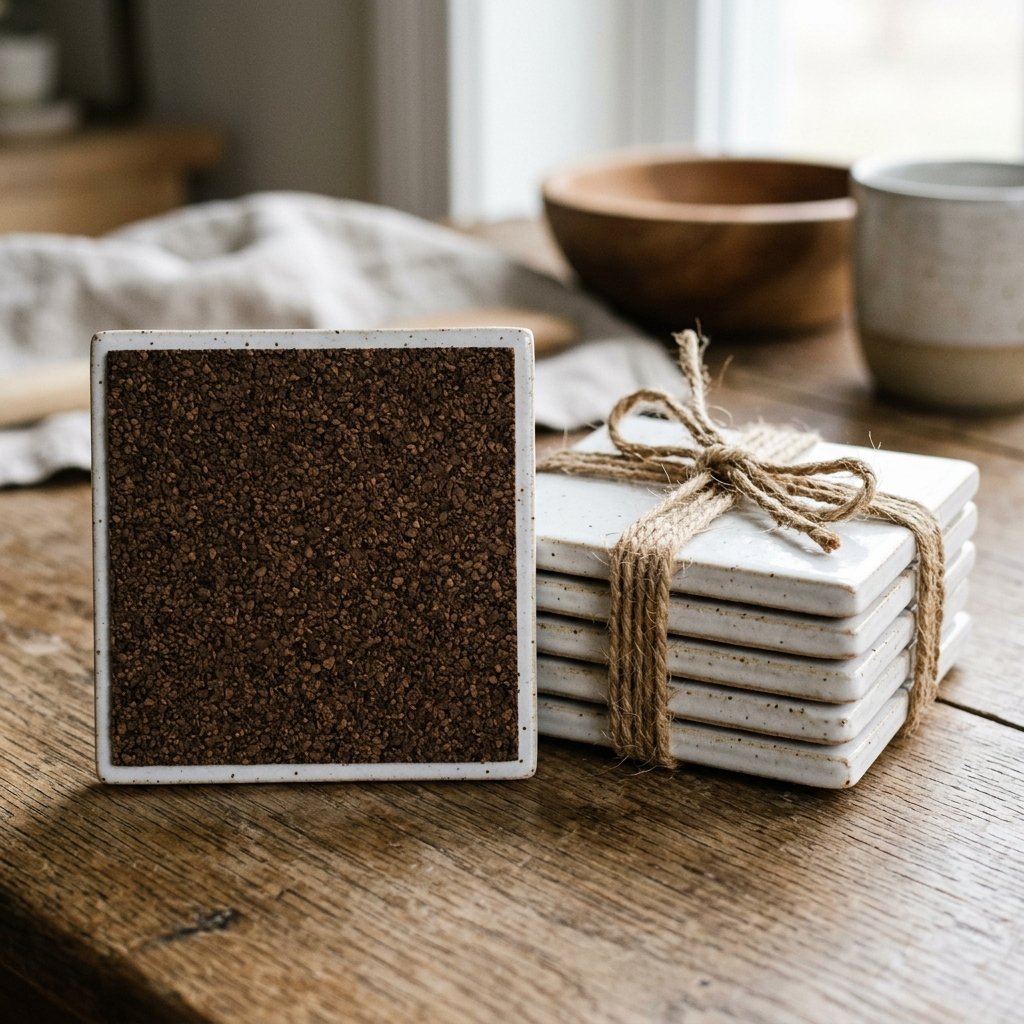
A heavy ceramic tile will scratch a wooden coffee table in seconds if you don’t back it. To give these a high-end feel, we’re going to use self-adhesive cork sheets. You can buy a roll of cork at the dollar store or a craft shop for about $2.00, which is enough for 20+ coasters.
- Cut the Cork: Cut the cork into 3.75×3.75 inch squares (slightly smaller than the tile).
- The Application: Peel and stick the cork to the bottom of the tile. Press firmly.
- The Presentation: To gift these, stack the four coasters and tie them together with rugged jute twine. Tuck a small sprig of cedar or a single cinnamon stick under the twine for a masculine, earthy aesthetic.
By following these steps, you’ve created a gift that costs $0.75 per unit but carries the emotional weight of a much more expensive item. He’ll keep them because they work, they look great, and they represent a memory that doesn’t feel ‘cluttered’ or ‘cheap.’
Conclusion
A Gift That Stands the Test of Time
Creating personalized gifts doesn’t require a massive budget or a professional studio. It requires a bit of resourcefulness and the willingness to look at a 15-cent construction material as a blank canvas. These DIY Photo Beer Coasters are the ultimate ‘Trash-to-Treasure’ project because they solve a problem—protecting the table—while delivering a punch of personality. Whether you’re making these for Father’s Day, a groomsman gift, or just to upgrade your own living room, remember that the quality is in the details: the straight edges, the bubble-free surface, and the waterproof seal. You’ve just saved $30 and created something far more meaningful than anything found on a big-box store shelf. Now, grab a cold one, set it down on your new masterpiece, and enjoy the fruits of your savvy labor.

Makenzie is the founder and lead writer at MoneyHackTips.com — a personal finance blog dedicated to delivering street-smart financial wisdom for real people on real budgets. With 300+ published articles covering everything from debt management to investing fundamentals, Makenzie’s mission is to make every dollar work harder. When not writing about money hacks, Makenzie is testing frugal living strategies, optimizing side hustles, and helping readers build financial freedom from scratch.