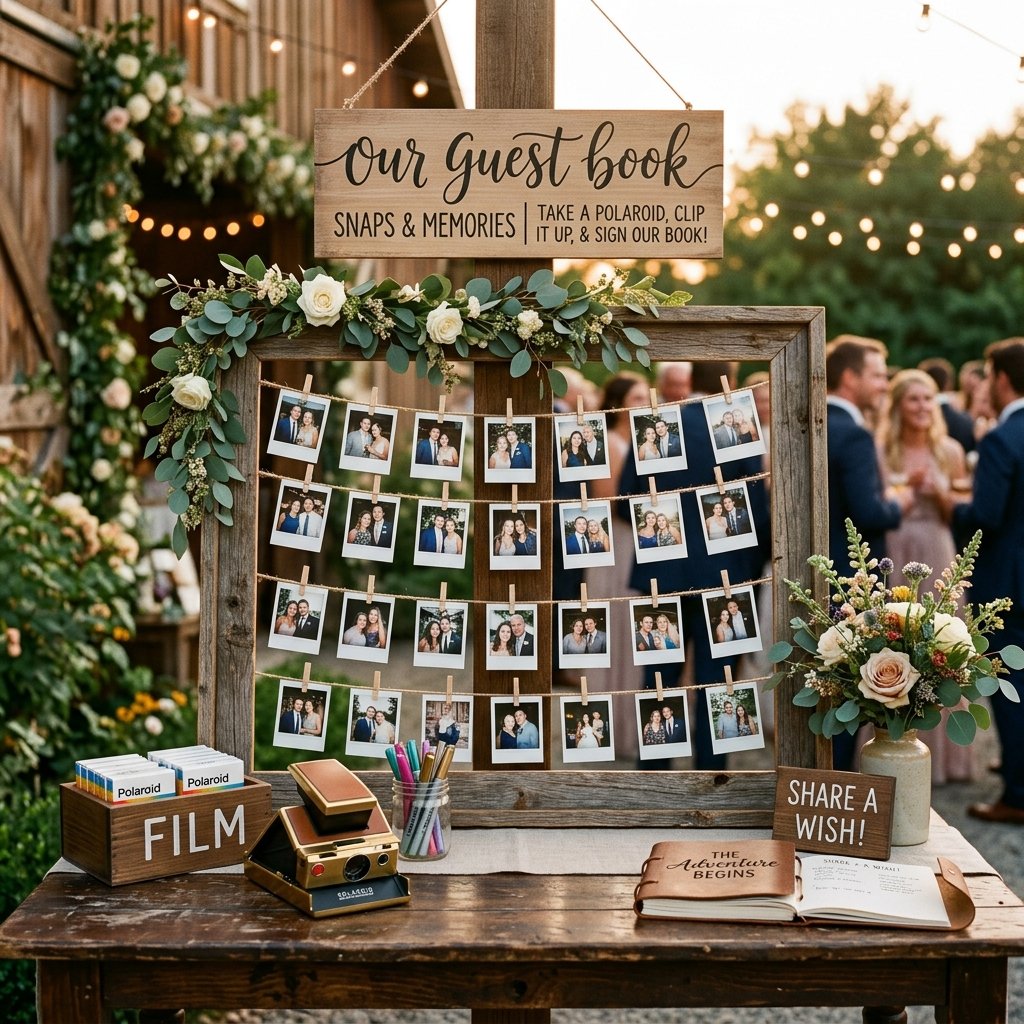

Let’s be honest: most wedding guest books end up gathering dust on a shelf, filled with signatures that lack the vibrant energy of the big day. But what if you could capture the laughter, the rugged charm of your venue, and the faces of your favorite people in real-time? Enter the DIY Vintage Polaroid Wedding Guest Book Sign. This isn’t just a sign; it’s a living piece of art that invites your guests to be part of the creative process. As a frugal DIYer, you know that the best pieces aren’t bought—they are built with a mix of resourcefulness and masculine-elegant style. By upcycling a large vintage frame and using clever Dollar Tree hacks, we are going to create a station that looks like it cost $500 from a boutique rental house, but actually fits perfectly into your savvy budget. We’re talking about reclaimed wood textures, sturdy twine, and the nostalgic click of an instant camera. This project is designed for the handy groom, the budget-savvy bride, and the crafty parent who wants to add a touch of timeless class to the celebration without breaking the bank. Let’s roll up our sleeves and build something that guests will actually love to interact with.
The Strategic Blueprint: Budgeting and Sourcing
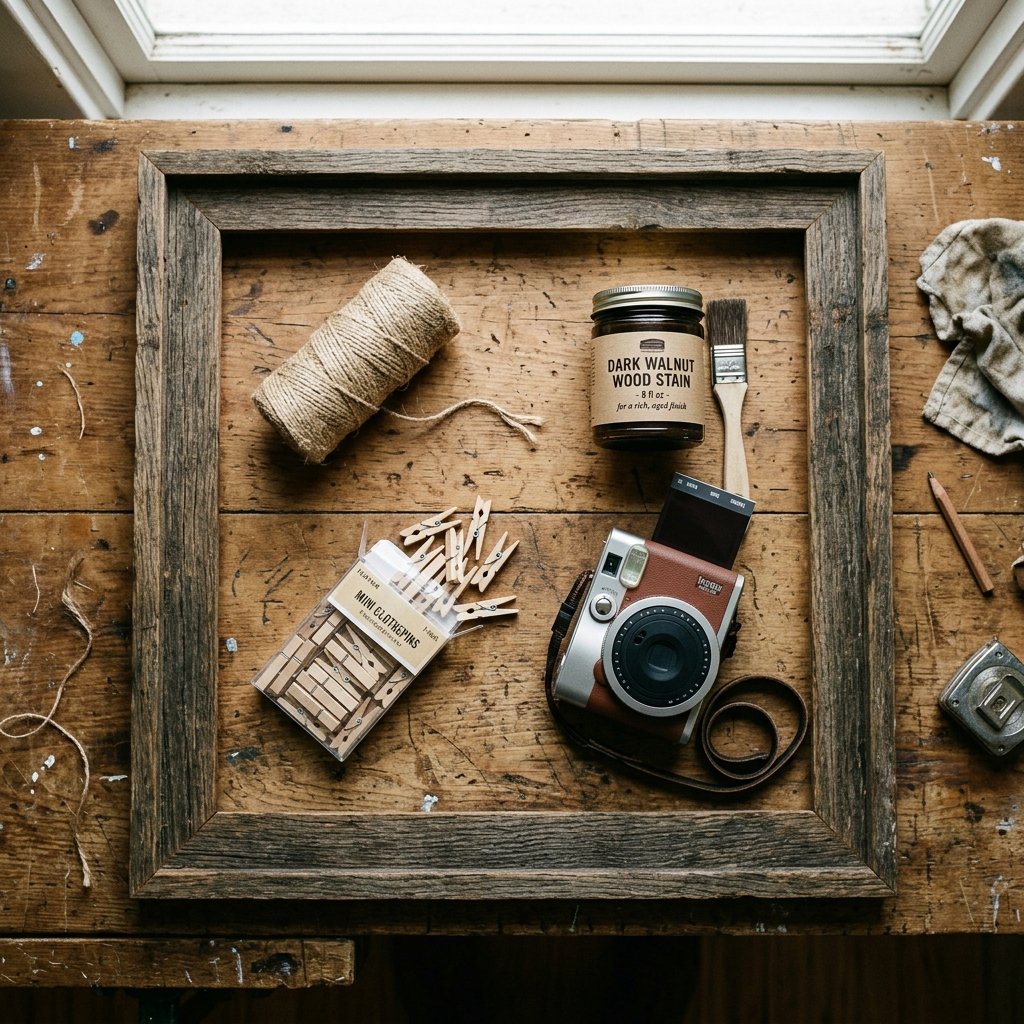
Before we pick up a hammer or a paint brush, we need to talk strategy. A truly resourceful crafter knows that the secret to a high-end look is in the quality of the materials, not the price tag. For this project, we are aiming for a rugged-elegant aesthetic—think weathered wood, antiqued metals, and clean, bold typography. The centerpiece of this project is a large, oversized frame. Instead of buying a new one for $80 or more, we are going to scout thrift stores, estate sales, or even our own attics. We are looking for something with weight and character. If the frame is a bit beat up, even better; we can use that to our advantage. To keep things organized, here is a breakdown of what you’ll need versus what you would typically pay if you went the professional rental route.
| Material / Service | Store-Bought / Rental Cost | DIY Budget-Savvy Cost |
|---|---|---|
| Large Ornate Frame (Upcycled) | $120.00 | $10.00 |
| Vintage-Style Signage | $45.00 | $3.50 |
| Clothespins & Twine | $15.00 | $2.50 |
| Instant Camera Rental | $75.00 | $0.00 (Borrow or Buy Used) |
| Total Estimated Cost | $255.00 | $16.00 |
The Budget Guru’s Mantra: Never buy new what you can find at a yard sale and make look new with a can of spray paint.
When sourcing your frame, look for solid wood or heavy resin. Avoid thin plastic, as it won’t hold the tension of the twine once guests start pinning their photos to it. If you find a frame that is the right size but the wrong color, don’t sweat it. A quick hit of matte black or a dark walnut stain will instantly elevate the piece to that masculine-elegant level we’re aiming for.
The Frame Overhaul: From Trash to Timeless Treasure
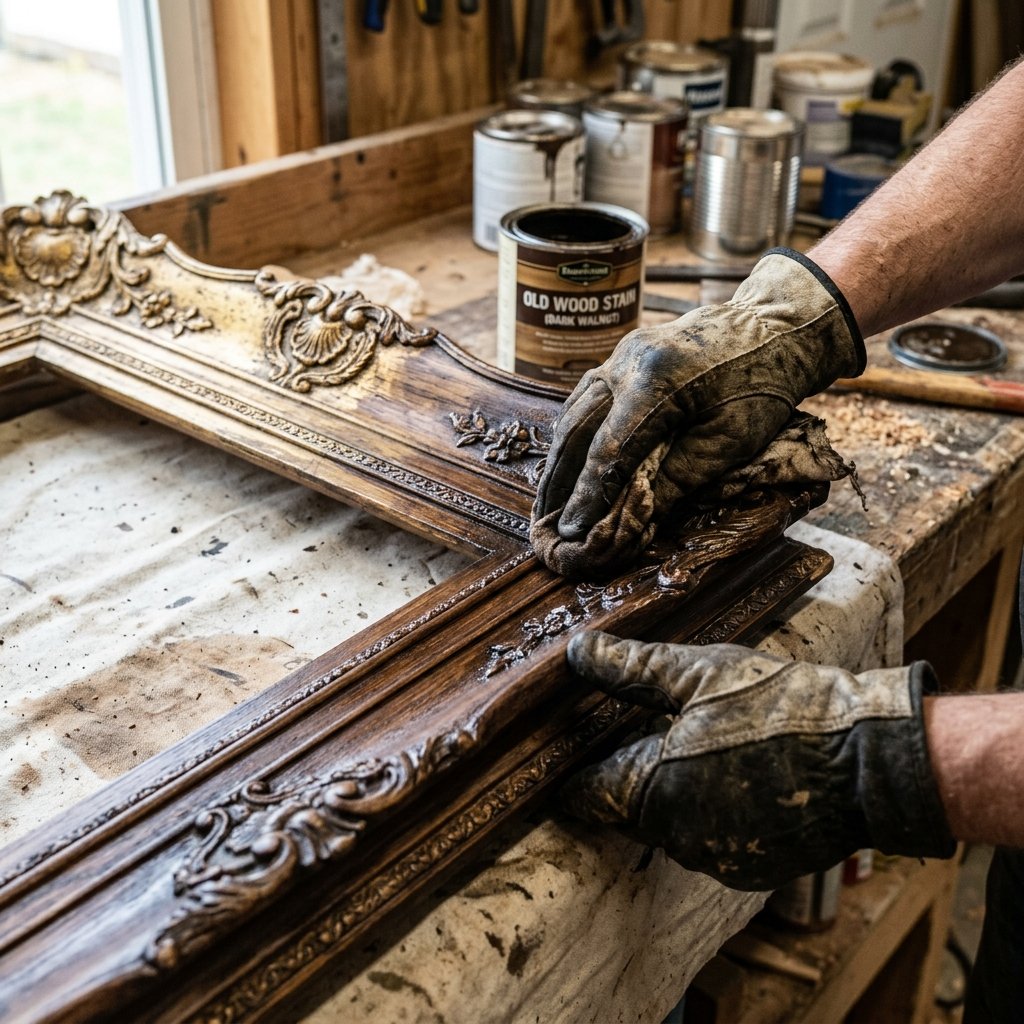
Once you’ve secured your frame, it’s time for the upcycling magic. If your frame came with glass or a backing, carefully remove them. We only want the skeleton. For a rugged, masculine look, we want to emphasize the grain of the wood. If the frame is currently a shiny, dated gold, we’re going to give it a distressed finish. Start by sanding down the surface with 120-grit sandpaper to remove the gloss. This ensures our new finish actually sticks. For a deep, rich look, I recommend a dark walnut stain or a matte charcoal paint. If you want to go the extra mile, use a dry-brush technique with a bit of metallic copper paint on the edges to simulate aged metal.
Step-by-Step Framing Instructions
- Clean the Surface: Use a damp cloth to remove decades of thrift-store dust. Let it dry completely.
- Sand and Prep: Lightly scuff the surface. You don’t need to remove all the old finish, just create enough ‘tooth’ for the new layer.
- Apply the Finish: Use an old rag to rub in the stain for a natural look, or a foam brush for a solid paint finish.
- Seal the Deal: A quick spray of matte clear coat will protect the frame from fingerprints during the wedding frenzy.
This process shouldn’t take more than 60 minutes of active work, but the result is a piece that looks like it was salvaged from a high-end industrial loft. The goal is to create a sturdy, reliable structure that says ‘craftsmanship’ without shouting ‘craft store.’
The Signage: Hand-Lettered Elegance for the Non-Artist
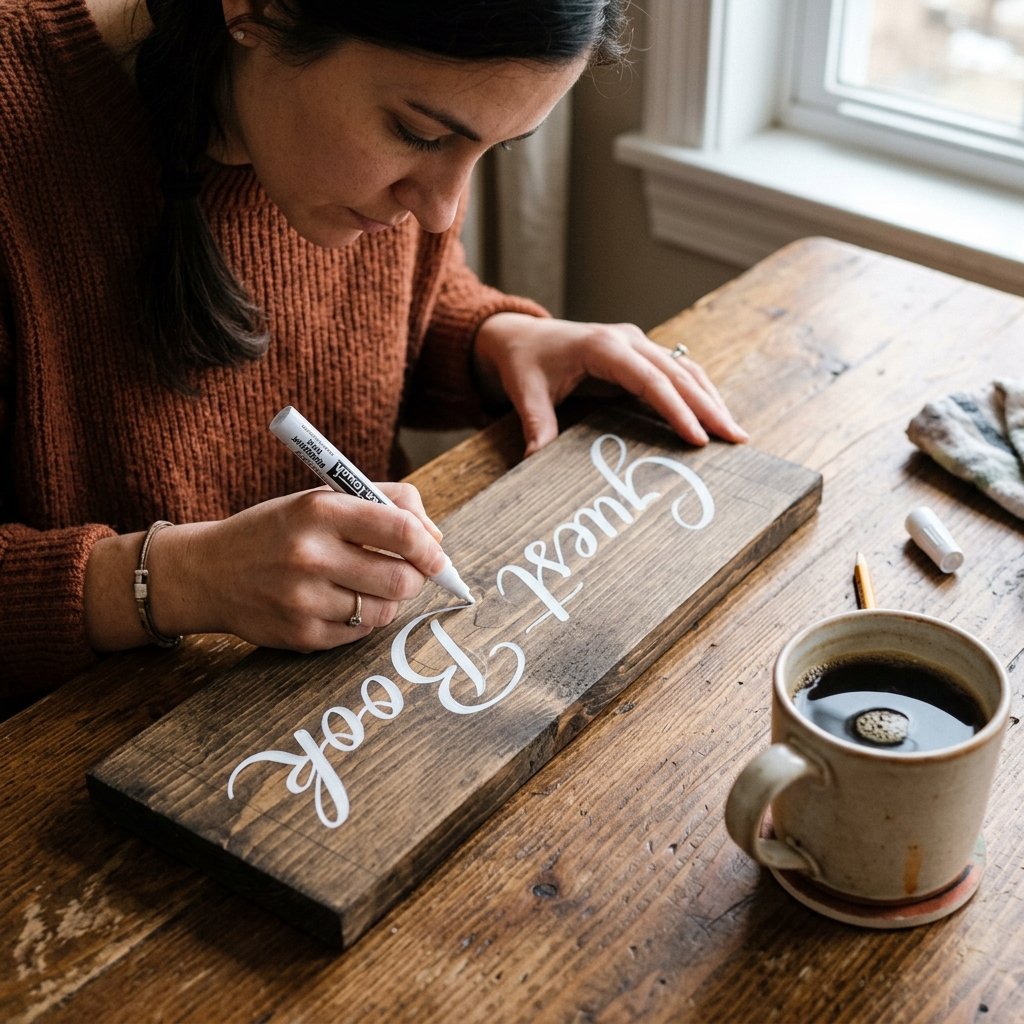
A guest book station is only as good as its instructions. You need a sign that clearly tells guests what to do: ‘Snap it, Shake it, Stick it, Sign it.’ But how do you get that professional, hand-lettered look if your handwriting looks like a doctor’s prescription? We use the ‘Pencil Transfer’ trick—a favorite of budget-savvy designers everywhere. First, print your text from a computer using a rugged, serif font or a clean, modern script. Turn the paper over and rub a pencil over the back of the letters. Tape the paper to your sign board (a scrap piece of wood or a Dollar Tree chalkboard) and trace the letters with a pen. The pencil lead will transfer to the board, giving you a perfect outline to fill in with a white paint marker.
| Signage Component | DIY Method | Benefit |
|---|---|---|
| Base Material | Scrap Plywood or Chalkboard | 100% Free / $1.25 |
| Lettering | Pencil Transfer Technique | Professional Accuracy |
| Finish | Oil-Based Paint Marker | Smudge-proof & Permanent |
Pro Tip: When using paint markers, always keep a damp Q-tip nearby. If you make a mistake, you have about 5 seconds to wipe it away before it sets.
The signage should be mounted either directly to the top of the frame or displayed on a small easel next to it. For a masculine-elegant touch, consider using a piece of reclaimed leather as the background for your sign, using a gold metallic marker for the text. It adds a tactile, premium feel that guests will notice and appreciate.
The Mechanics: Twine, Tension, and Clothespins
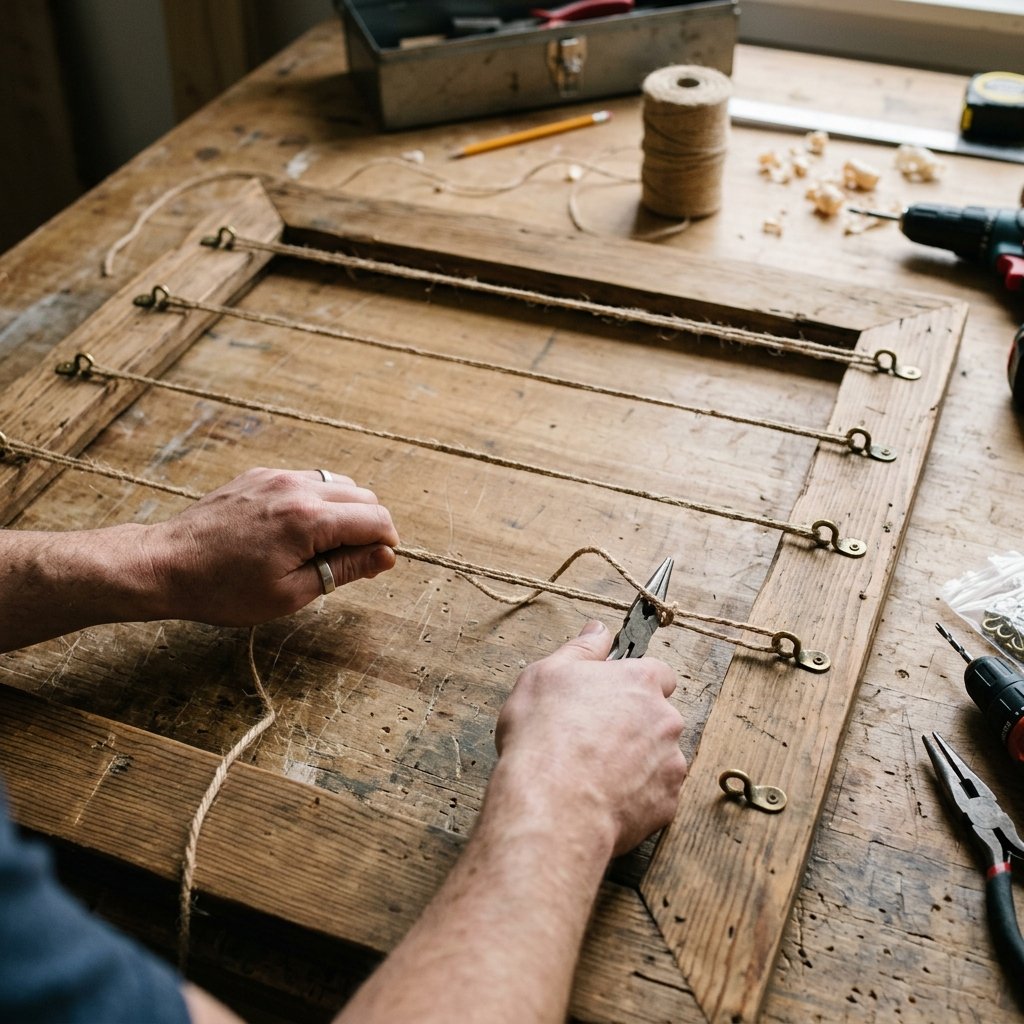
Now we get to the functional heart of the project: the photo display grid. We aren’t just letting guests throw their photos into a bowl; we are creating an interactive gallery. You’ll need heavy-duty jute twine and mini wooden clothespins. The key here is tension. If the twine is loose, the photos will sag toward the middle, looking messy. To prevent this, we’ll use heavy-duty staples or small screw-eyes on the back of the frame. Space your twine rows about 5 to 6 inches apart to accommodate the height of a standard Polaroid or Instax photo.
The Grid Assembly Guide
- Mark Your Intervals: Use a ruler to mark dots every 5 inches down the left and right interior sides of the frame.
- Install Hardware: Screw in small brass eye-hooks at each mark. This is much sturdier than tape or glue.
- Thread the Twine: Tie a secure knot at the first hook, pull the twine taut across to the opposite hook, and tie it off. Repeat for all rows.
- Test the Sag: Hang a few test photos. If the twine dips, tighten your knots. Rugged durability is the goal here.
For a clever touch, pre-attach a few ‘example’ photos of the couple. This shows guests exactly what to do and breaks the ‘first-person-to-sign’ anxiety. It also adds an immediate splash of color to the station. Using natural wood clothespins keeps the look cohesive, but you can also spray paint them black or metallic silver for a more modern, sharp appearance.
The Guest Flow: Ensuring a Seamless Experience
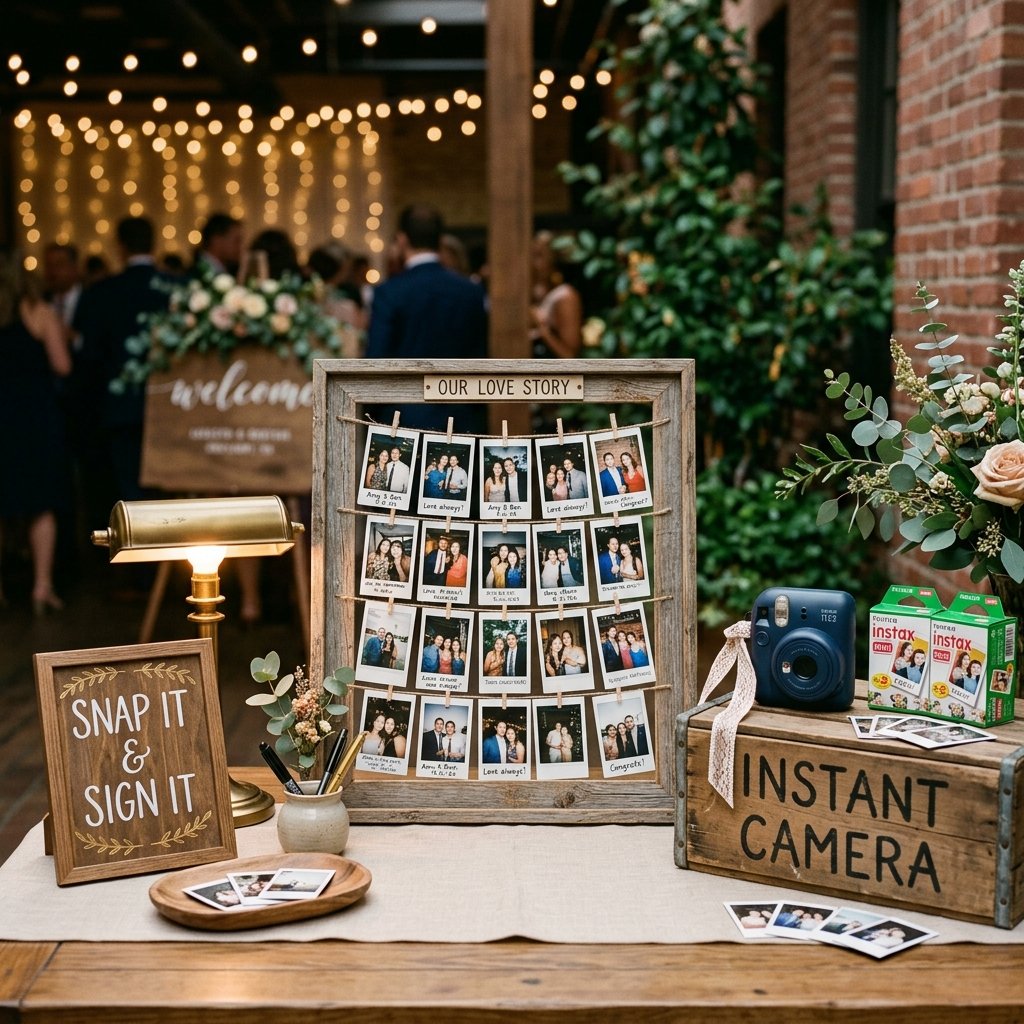
A common mistake in DIY wedding projects is forgetting the logistics. You don’t want a bottleneck at the guest book station. To keep things moving, your station needs to be organized like a well-oiled machine. This means having a dedicated spot for the camera, the extra film, and the pens. Use a wooden crate or a vintage suitcase to house these items. This keeps the ‘clutter’ looking like part of the decor. Also, consider the lighting. Polaroid cameras need light to produce clear images. If your reception is in a dimly lit barn or hall, place a small, warm-toned LED lamp at the station to assist the camera’s flash.
| Station Item | Placement Strategy | Purpose |
|---|---|---|
| The Camera | Center Stage | Immediate Visibility |
| Film Refills | Clearly Labeled Basket | Avoid ‘Out of Film’ Delays |
| Fine-Tip Sharpies | In a Heavy Mug/Tin | Easy to Grab, Hard to Lose |
| Discarded Backing Bin | Small Decorative Box | Keeps the Area Clean |
The Host’s Secret: Always buy 20% more film than your guest count. People love taking ‘test’ shots or keeping a second copy for themselves!
To add a truly creative flair, provide a few props that match your wedding theme—perhaps a pair of vintage aviators or a rustic floral crown. This encourages guests to have fun and results in much better photos for your book. Remember, the goal is to create a memorable experience, not just a list of names.
Assembly and Final Touches
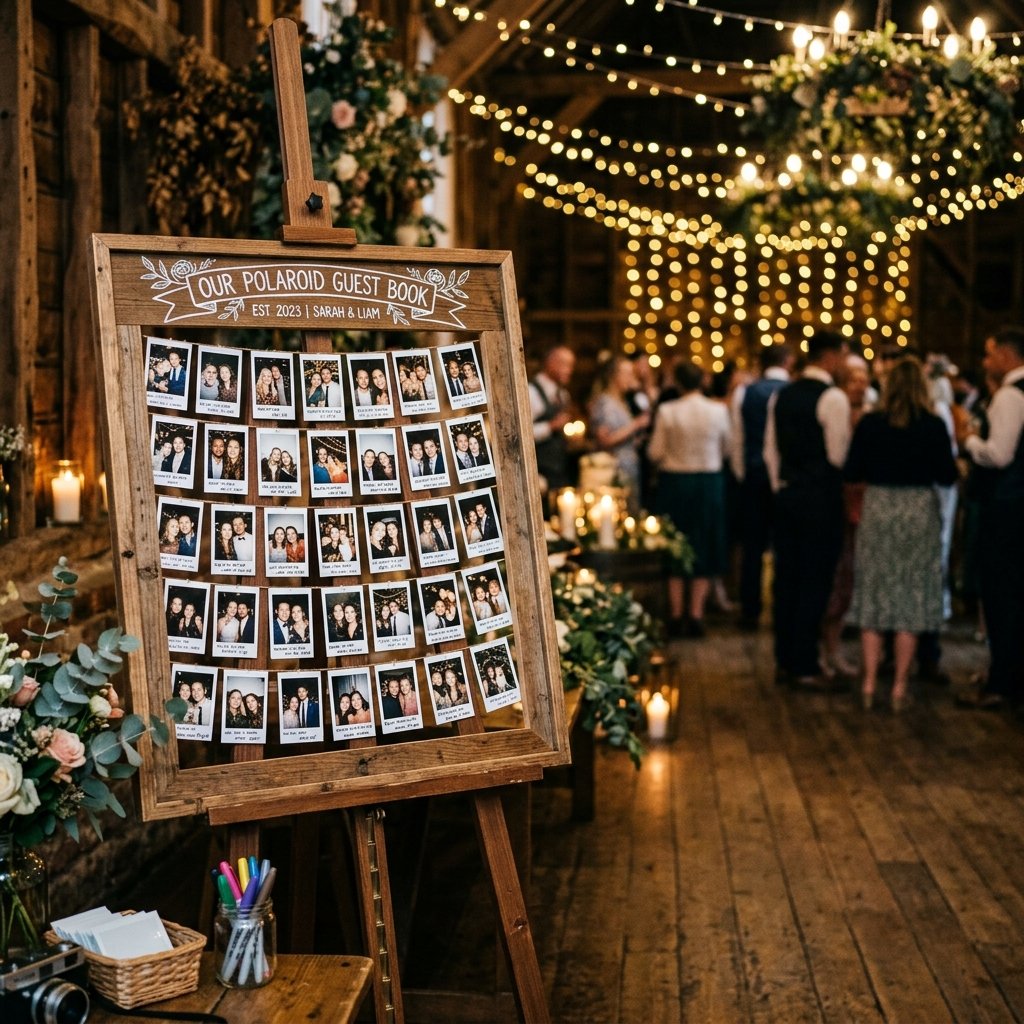
The final step is the ‘marriage’ of all your components. Secure your instruction sign to the frame using a bit of industrial-strength adhesive or by hanging it from the top row of twine. Ensure the entire structure is stable. If it’s a large frame, an easel is the best way to display it, but make sure the easel is weighted if your wedding is outdoors—nothing ruins a mood like a flying guest book sign. For a final touch of masculine elegance, wrap a small piece of dark leather cord around the corners of the frame or add a sprig of dried eucalyptus for a bit of organic texture. You have now created a custom, high-end wedding feature for roughly the price of a takeout lunch.
Safety Note: If using an easel, ensure the legs are locked and the frame is secured with a small safety wire to prevent it from tipping over if bumped by an enthusiastic guest.
This project proves that with a little bit of clever sourcing and some crafty elbow grease, you can create wedding decor that is both functional and breathtaking. Your guests will love the tactile nature of the Polaroids, and you will end up with a beautiful, framed piece of your wedding day that you can actually hang in your home afterward. That is the ultimate ‘trash-to-treasure’ victory.
Conclusion
Creating The Most Creative DIY Vintage Polaroid Wedding Guest Book Sign is more than just a weekend project; it’s about crafting a focal point for your wedding that captures the raw, unfiltered joy of your celebration. By choosing to upcycle a vintage frame, mastering the art of the pencil-transfer for your signage, and ensuring a rugged, durable build, you’ve bypassed the expensive, cookie-cutter options found in bridal magazines. You’ve built something with character, soul, and budget-savvy brilliance. As the night ends and you see that frame filled with the smiling faces of your friends and family, you’ll know that your resourcefulness paid off. This isn’t just a guest book—it’s a gallery of your favorite people, captured in a moment of time, framed by your own handiwork. Now, go grab that thrift-store frame and start building. Your guests (and your wallet) will thank you.

Makenzie is the founder and lead writer at MoneyHackTips.com — a personal finance blog dedicated to delivering street-smart financial wisdom for real people on real budgets. With 300+ published articles covering everything from debt management to investing fundamentals, Makenzie’s mission is to make every dollar work harder. When not writing about money hacks, Makenzie is testing frugal living strategies, optimizing side hustles, and helping readers build financial freedom from scratch.