The High-End Aesthetic Without the Boutique Price Tag
There is an undeniable allure to the raw, geological beauty of agate. In the world of high-end event planning and interior design, these translucent stone slices have become the gold standard for ‘boho-chic’ and ‘modern-organic’ aesthetics. However, if you have ever browsed a boutique wedding shop or an upscale home goods store, you have likely seen these small treasures retailing for anywhere from $8 to $15 per piece. For a wedding of 100 guests, that is a staggering $1,500 just for place cards. As a resourceful DIYer, you know there is a better way. We are going to bypass the middleman, tap into the rugged beauty of raw minerals, and use a bit of crafty ingenuity to create these stunning place cards for roughly $1.25 to $2.00 each. This guide is designed for the budget-savvy bride, the handy host, and the creative gift-giver who demands elegance without the financial hangover. We will cover the tactical sourcing of stones, the precision of metallic gilding, and the art of professional-grade lettering.
Budget Mantra: Luxury is not about what you spend, but how resourcefully you apply your creativity to raw materials.
Strategic Sourcing: Finding Real Stone for Less
The Art of the Wholesale Hunt
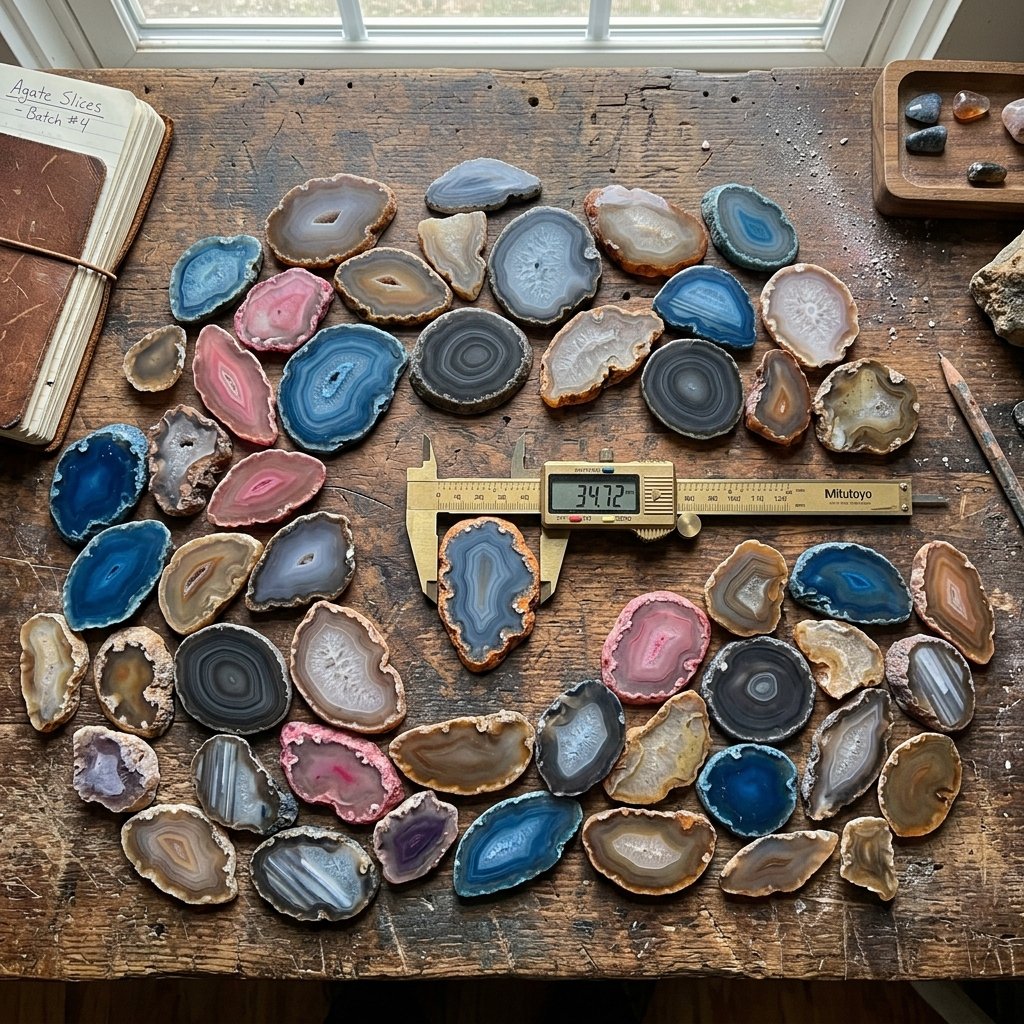
To achieve a 90% savings compared to retail, you must change where you shop. Instead of looking in ‘wedding’ or ‘decor’ categories, you need to look at geological wholesalers, lapidary suppliers, or bulk listings on platforms like Etsy and eBay. Search for ‘agate slices bulk,’ ‘Brazilian agate coasters,’ or ‘agate thin slices.’ Look for ‘seconds’ or ‘irregular shapes’—these often have more character and are significantly cheaper. You are looking for slices that are approximately 2 to 3 inches in diameter. This size provides enough surface area for a name while remaining light enough for a delicate table setting.
Bulk Sourcing Comparison
| Source Type | Estimated Price Per Piece | Quality Level |
|---|---|---|
| Boutique Wedding Shop | $12.00 | Premium/Finished |
| High-End Home Decor Store | $15.00 | Polished/Gilded |
| Wholesale Lapidary (Bulk 50+) | $1.10 | Raw/Unfinished |
| Etsy Bulk Lots (20-30 pcs) | $1.85 | Assorted Colors |
When your stones arrive, they may be dusty from the cutting process. A quick soak in warm, soapy water and a scrub with a soft brush will reveal their true vibrance. This is the first step in your ‘trash-to-treasure’ transformation, taking a dusty rock and preparing it for its debut as a piece of functional art.
The Midas Touch: Precision Gilding Techniques

Adding the Metallic Edge
The hallmark of a high-end agate slice is the shimmering metallic rim. While some professional lapidaries use electroplating, we can achieve an identical look using liquid gold leaf or high-quality paint markers. For a rugged, masculine-elegant finish, I recommend a liquid leafing pigment. It provides a more substantial, ‘poured metal’ look than a standard marker. You will need a small, flat-edged synthetic brush and a steady hand.
Step-by-Step Gilding Process
- Degrease the Edge: Wipe the outer rim of each stone with a cotton ball soaked in 91% isopropyl alcohol. This ensures the gold leaf bonds permanently to the stone.
- Shake the Pigment: If using liquid gold leaf, shake the bottle for at least 1 minute to ensure the metallic flakes are evenly distributed.
- The ‘Rotation’ Technique: Hold the agate slice between your thumb and forefinger. Dip your brush into the gold, then slowly rotate the stone while keeping the brush stationary. This creates a crisp, even line along the perimeter.
- Drying Time: Place the gilded slices on a sheet of parchment paper. They will be touch-dry in 15 minutes, but let them cure for 24 hours before adding calligraphy.
Pro Tip: If you make a mistake, use a toothpick dipped in alcohol to ‘erase’ the gold before it dries completely.
Professional Calligraphy for the Non-Artist
Mastering the Lettering
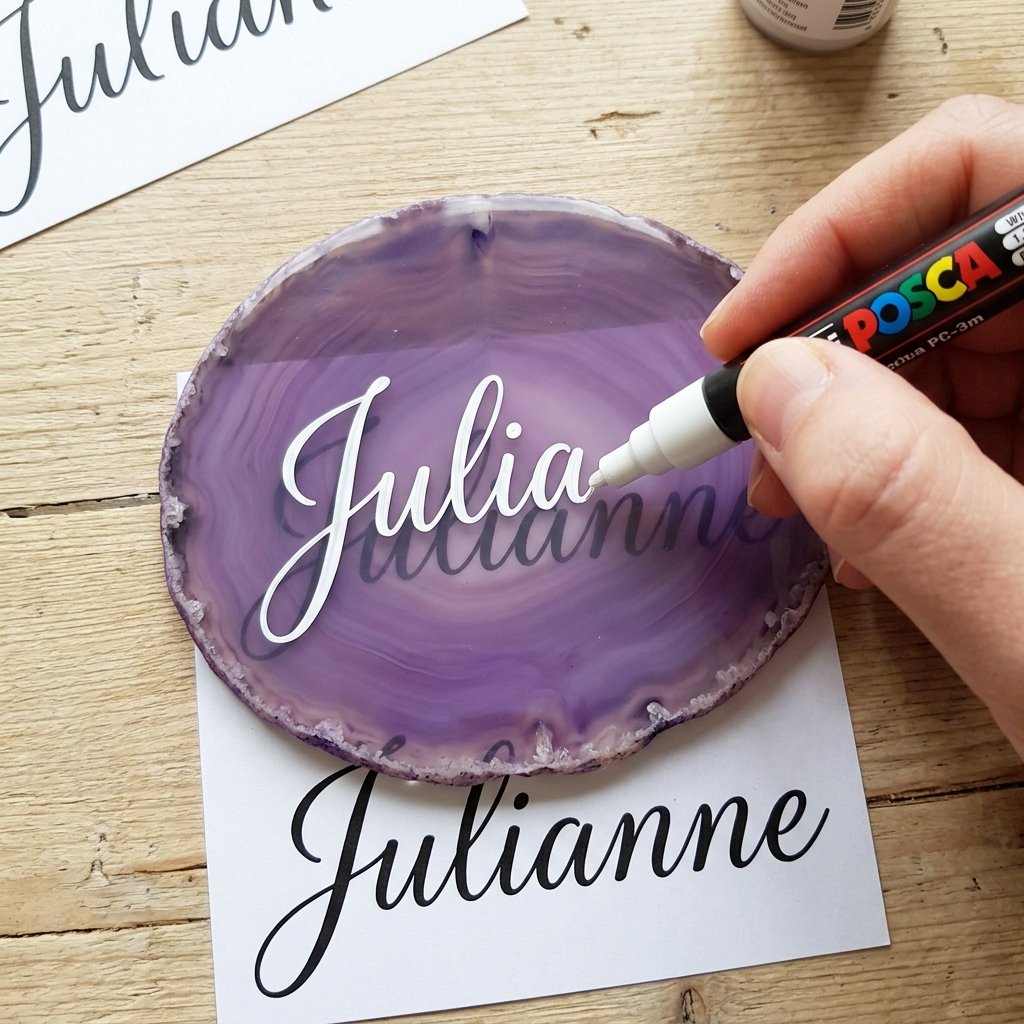
You do not need to be a master calligrapher to produce professional results. The secret lies in the tools. For stone surfaces, standard ink will smear or bead up. You need an oil-based paint marker or a high-pigment acrylic pen. White, gold, and silver are the most legible colors against the varied patterns of the agate. If your handwriting is a concern, the ‘tracing method’ is your best friend.
The Tracing Method Hack
- Step 1: Type your guest list in a font you love (like a modern script or a clean serif).
- Step 2: Scale the font so the names fit within a 2-inch circle.
- Step 3: Print the list. Since most agate is translucent, you can place the stone directly over the printed name.
- Step 4: Use a 0.7mm fine-point paint pen to trace the letters onto the surface of the stone.
| Pen Type | Best For | Drying Time |
|---|---|---|
| Oil-Based Sharpie | Permanent Bond/Glossy Finish | 2 Minutes |
| Posca Acrylic Pen | Matte Look/Mistake Correction | 1 Minute |
| Liquid Chrome Marker | Mirror-Like Silver Finish | 5 Minutes |
The Faux Agate Alternative: The Polymer Clay Hack
Creating Stone from Scraps
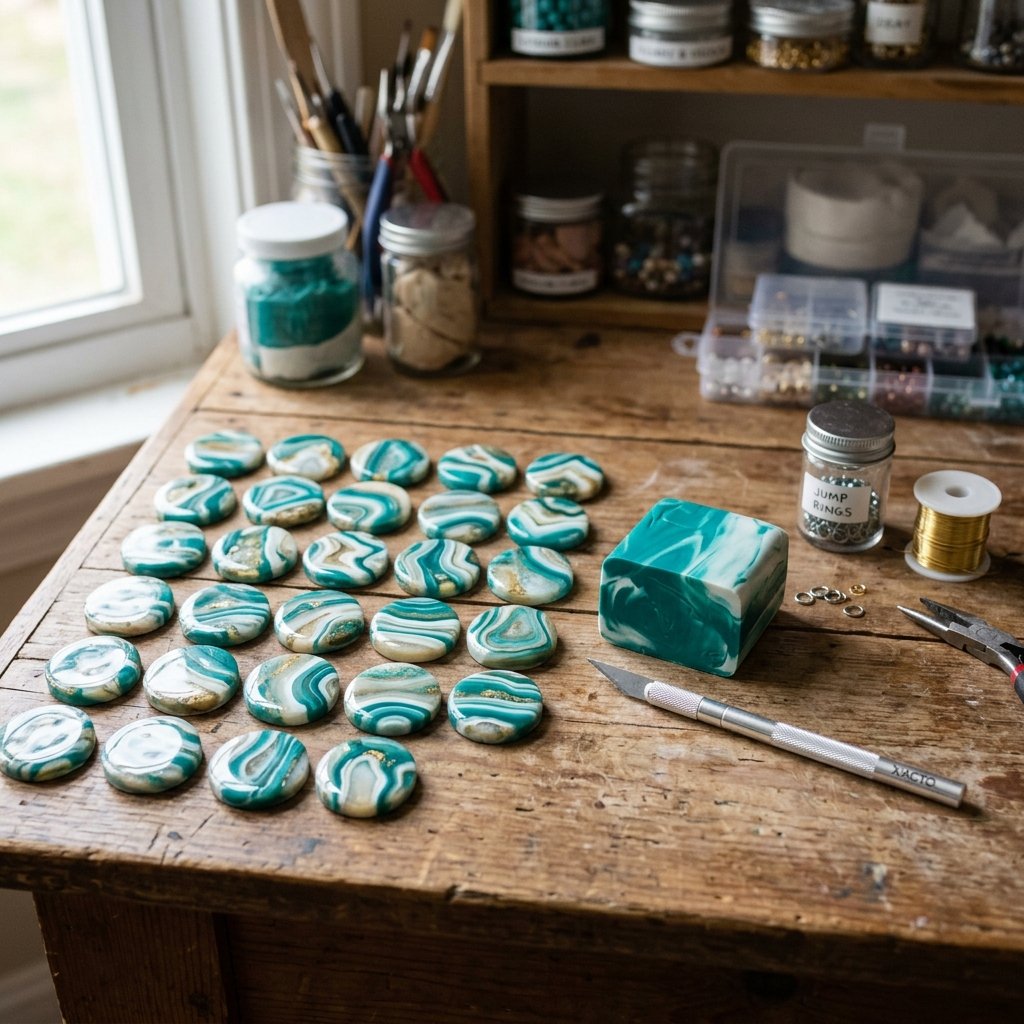
If you are on a truly ‘zero-budget’ mission or cannot find the right colors in natural stone, you can create ‘faux agate’ using polymer clay. This technique allows for total color control and costs approximately $0.50 per slice. It is a brilliant way to upcycle leftover clay from other projects into something that looks like it was mined from the earth.
The ‘Agate’ Recipe
- Color Palettes: Select three shades of the same color (e.g., navy, cobalt, and sky blue) plus a translucent clay and a metallic clay (gold or silver).
- The Marble Effect: Roll each color into thin snakes. Bundle them together and twist. Fold the bundle and twist again. Do not over-mix; you want distinct ‘veins’ of color.
- Slicing the ‘Log’: Roll the twisted bundle into a cylinder. Use a sharp blade to cut thin slices, about 1/8 inch thick.
- Smoothing and Baking: Flatten the slices with a rolling pin. Bake according to the clay package instructions (usually 275°F for 15 minutes).
- The Finishing Gloss: Once cool, coat the slices with a high-gloss varnish to mimic the shine of real polished stone.
Safety Note: When baking polymer clay, ensure your workspace is well-ventilated and do not use the same baking sheet for food unless it is lined with parchment paper.
Tablescape Integration: Styling Like a Pro
Elevating the Presentation
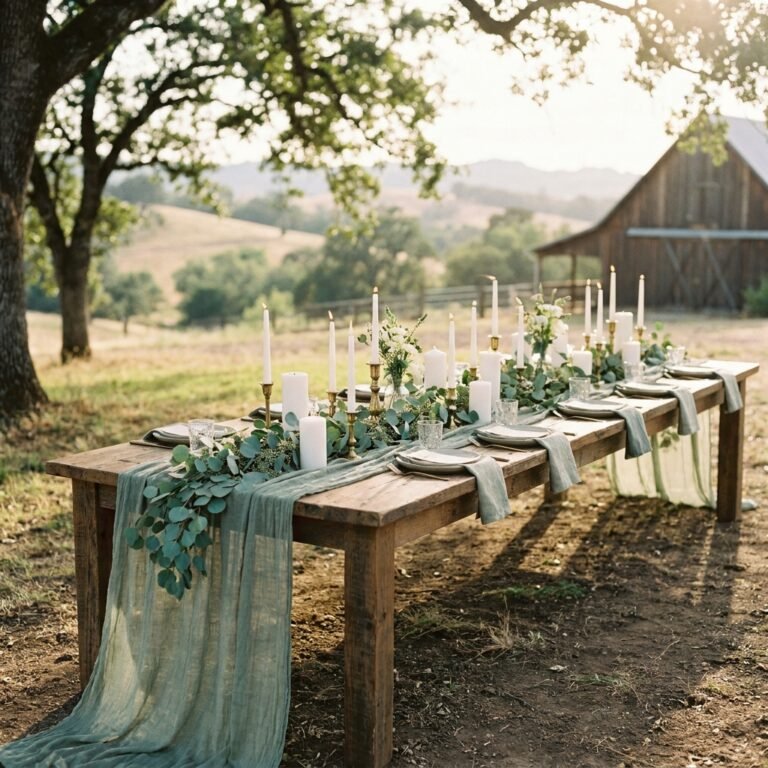
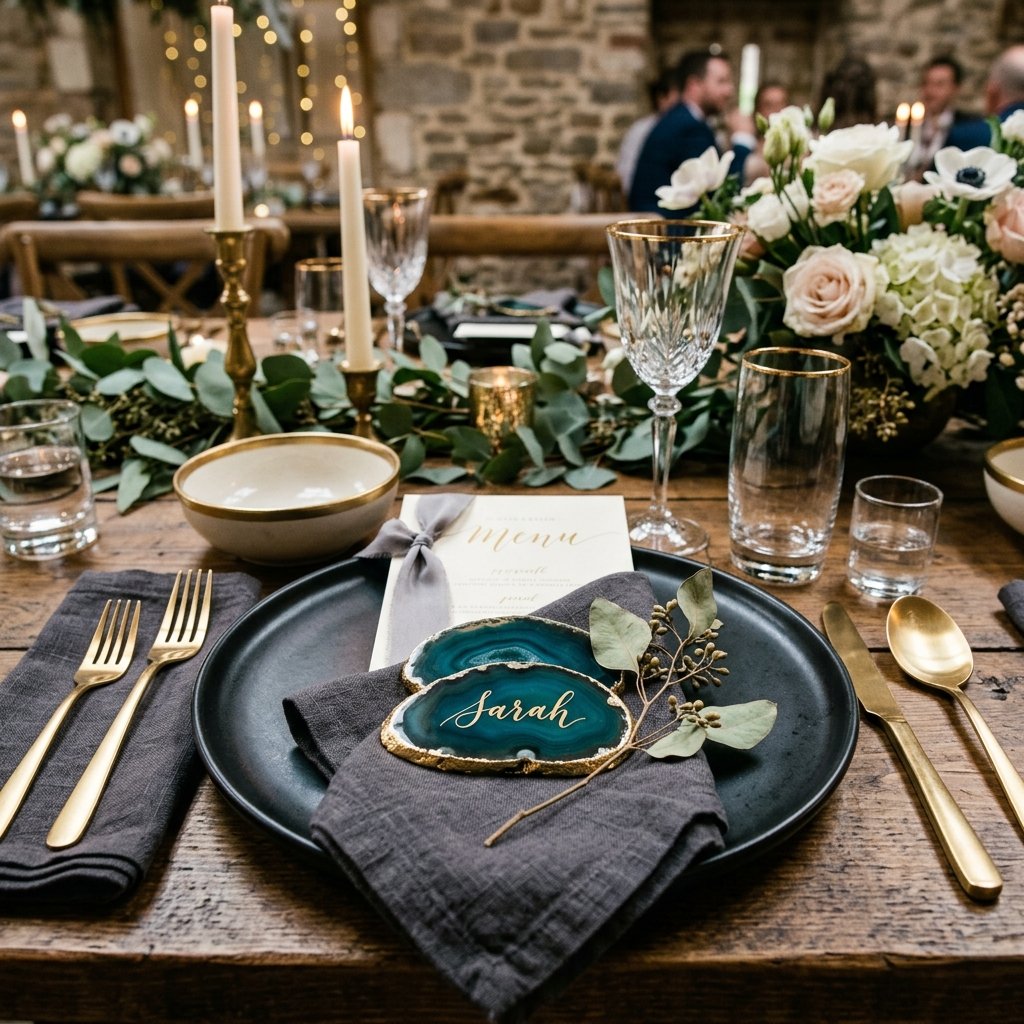
The agate slice is a statement piece, so the rest of your table setting should complement rather than compete with it. For a masculine-elegant look, pair the stones with dark linens, like charcoal or navy cheesecloth. For a more traditional bridal look, place the agate atop a crisp white napkin secured with a simple sprig of rosemary or lavender. The weight of the stone adds a tactile, premium feel to the guest’s experience—it is a ‘gift’ they will actually want to take home and use as a coaster or a desk accessory.
Table Setting Cost Breakdown (Per Guest)
| Item | DIY/Resourceful Cost | Traditional Rental Cost |
|---|---|---|
| Agate Place Card | $1.25 | $10.00 |
| Cheesecloth Runner (Dyed) | $0.40 | $3.00 |
| Greenery Sprig (Foraged) | FREE | $1.50 |
| Total Per Setting | $1.65 | $14.50 |
By choosing foraged greenery and DIYing your linens and place cards, you are saving over $12 per guest. On a 100-person guest list, that is a $1,200 saving that can be redirected toward the honeymoon or the photography budget.
Conclusion
Your Luxury Event, Reimagined
Creating DIY agate slice place cards is more than just a cost-saving measure; it is an exercise in intentional design. You have taken a raw, geological specimen and, through a series of clever and budget-savvy steps, transformed it into a piece of bespoke luxury. Whether you used real Brazilian agate or crafted your own from polymer clay, the result is the same: a sophisticated, tactile, and memorable experience for your guests. You have proven that with the right sourcing strategy and a few precision tools, you can achieve a high-end aesthetic for a fraction of the retail price. Now, take those savings and celebrate your crafty victory!

Makenzie is the founder and lead writer at MoneyHackTips.com — a personal finance blog dedicated to delivering street-smart financial wisdom for real people on real budgets. With 300+ published articles covering everything from debt management to investing fundamentals, Makenzie’s mission is to make every dollar work harder. When not writing about money hacks, Makenzie is testing frugal living strategies, optimizing side hustles, and helping readers build financial freedom from scratch.