
The Art of the High-End Illusion
In the world of interior design, there is a certain weight—both literal and aesthetic—that comes with concrete and stone. It is the hallmark of the brutalist movement, a style that celebrates raw materials and rugged textures. However, if you have ever stepped into an Anthropologie or a high-end boutique like West Elm, you know that a simple concrete vessel can easily set you back $60 to $150. As frugal DIYers, we know better. We know that style isn’t about the price tag; it is about the resourceful execution of a clever idea.
Today, we are going to master the ‘Trash-to-Treasure’ transformation. We are taking a flimsy, neon-colored plastic bowl from the local dollar store and turning it into a piece of art that looks like it was chiseled from a block of granite. This project isn’t just about saving money; it is about the satisfaction of a crafty-expert who knows how to manipulate texture and light. For a total investment of roughly $3, you are about to create a centerpiece that will have your guests asking which boutique you visited. Let’s roll up our sleeves and get rugged.
The Budget Breakdown: Plastic vs. Prestige
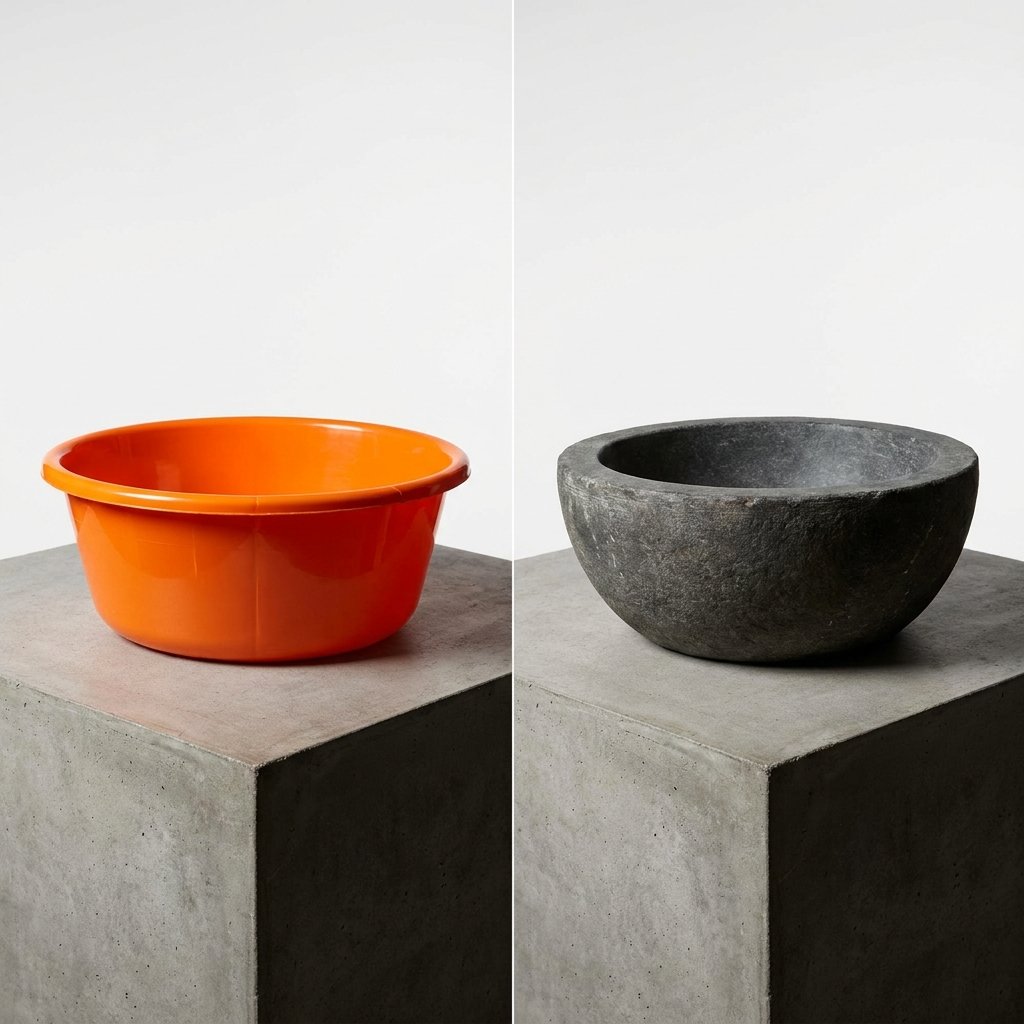
Before we touch a paintbrush, let’s look at the cold, hard numbers. The goal of a budget-savvy crafter is to maximize the visual impact while minimizing the financial footprint. By using the baking soda paint method, we are bypassing the need for heavy, messy bags of real concrete, which require mixing, curing, and expensive molds. Instead, we are using the unassuming materials already in your pantry or at the corner store.
| Material Item | Store-Bought Price | DIY Upcycle Cost |
|---|---|---|
| Large Vessel/Bowl | $45.00 | $1.25 |
| Cement Finish/Texture | $25.00 (Specialty Paint) | $1.00 (Baking Soda + Paint) |
| Protective Sealer | $15.00 | $0.75 (Scrap wax or matte spray) |
| Total | $85.00 | $3.00 |
The secret lies in the skeleton of the piece. Look for shapes that are geometric, sturdy, and lack intricate, ‘cheap’ details. A smooth plastic salad bowl or a square storage bin works perfectly. We are looking for a silhouette that screams masculine-elegant—clean lines and a heavy profile.
The Secret Formula: Mastering the Faux-Stone Slurry

The Chemistry of Texture
To achieve that authentic, porous look of real concrete, we need to add ‘grit’ to our paint. Regular acrylic paint is too smooth; it looks like plastic because it reflects light evenly. By introducing baking soda, we create a chemical reaction that thickens the paint and creates a matte, stone-like finish that absorbs light.
The Golden Ratio: Mix 1 cup of matte acrylic paint with 1/2 cup of baking soda. The consistency should resemble thick cake frosting or wet mortar.
- Choose Your Gray: Don’t just use one shade. Mix a deep charcoal with a lighter slate to create depth. Real cement is never one flat color.
- The Baking Soda Factor: The more soda you add, the more ‘rugged’ and ‘pitted’ the texture will be. If you want a smooth, polished concrete look, use less.
- Matte is Mandatory: Never use gloss or satin paint for this project. The goal is a stone-like finish, and stone doesn’t shine unless it’s wet.
Safety Note:
While these materials are non-toxic, always work in a well-ventilated area and protect your surfaces with old newspapers or a drop cloth. This mixture dries quickly!
Step-by-Step Application: The ‘Dab and Twist’ Technique

Now that we have our ‘mortar,’ it’s time to apply it to our $1.25 plastic base. This is where the crafty-expert separates themselves from the amateur. Don’t just brush it on in long strokes; that leaves brush marks that ruin the illusion of stone.
- Prep the Surface: Take a piece of 80-grit sandpaper and scuff the entire surface of the plastic bowl. This gives the paint ‘teeth’ to grab onto.
- The First Coat: Using a cheap chip brush, apply the mixture in a stippling motion (dabbing up and down). This creates the initial texture. Let this dry for 30 minutes.
- The Second Coat: This is where the magic happens. Apply a second, thicker layer. While it is still tacky, use a dry sponge to ‘twist’ into the paint, creating the small pits and imperfections found in real poured concrete.
- The Highlight Phase: Once dry, take a slightly lighter shade of gray and a very dry brush. Lightly ‘flick’ the bristles over the high points of the texture. This mimics the natural mineral deposits found in stone.
By the time you finish the second coat, the weight of the paint and soda will actually make the plastic feel sturdier and heavier. It’s a sensory transformation as much as a visual one.
Styling Your Industrial Masterpiece
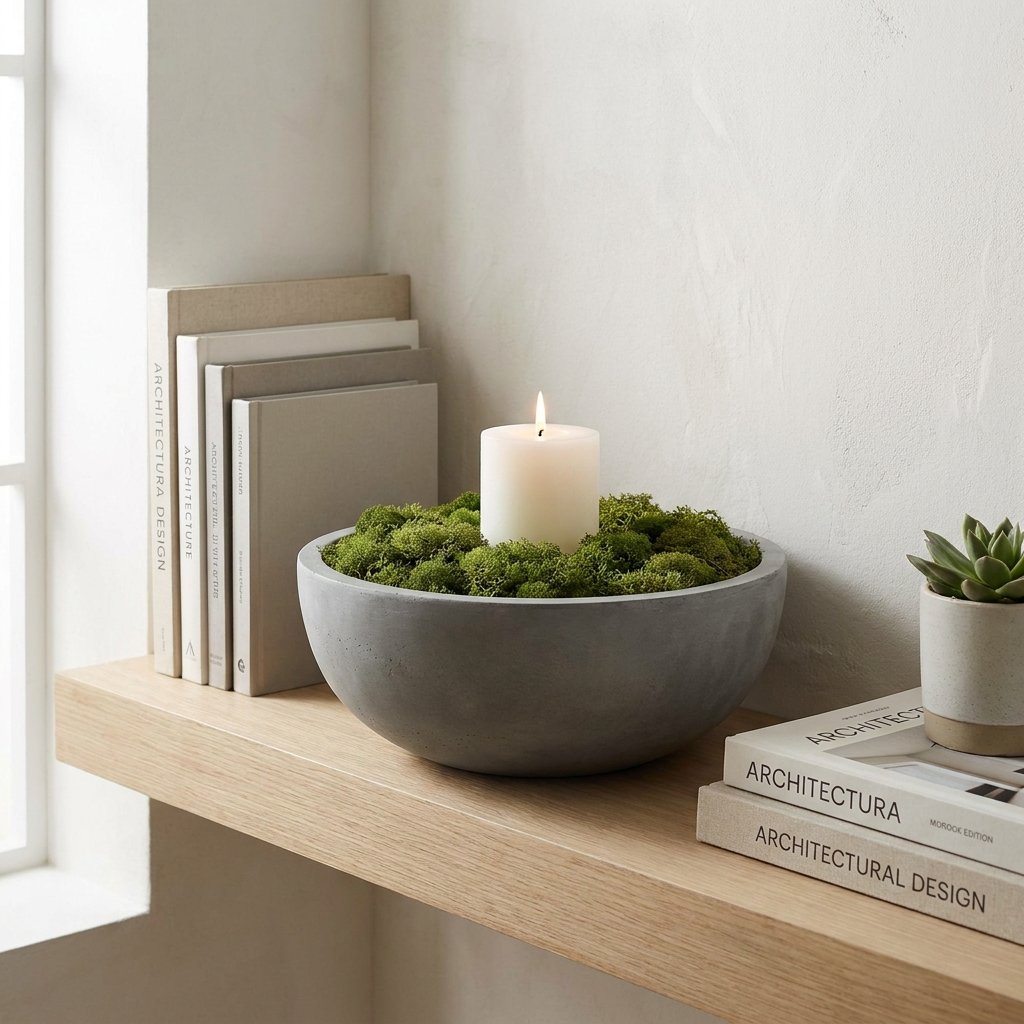
High-End Aesthetics on a Dime
A centerpiece is only as good as how it is styled. To truly sell the ‘expensive’ look, you need to contrast the rugged, masculine texture of the cement with organic elements. This creates a balanced, professional look that fits into any modern home.
Top 3 Styling Concepts
- The Minimalist Zen: Fill the bowl with black river stones and a single, architectural succulent. This is perfect for a home office or a sleek entryway.
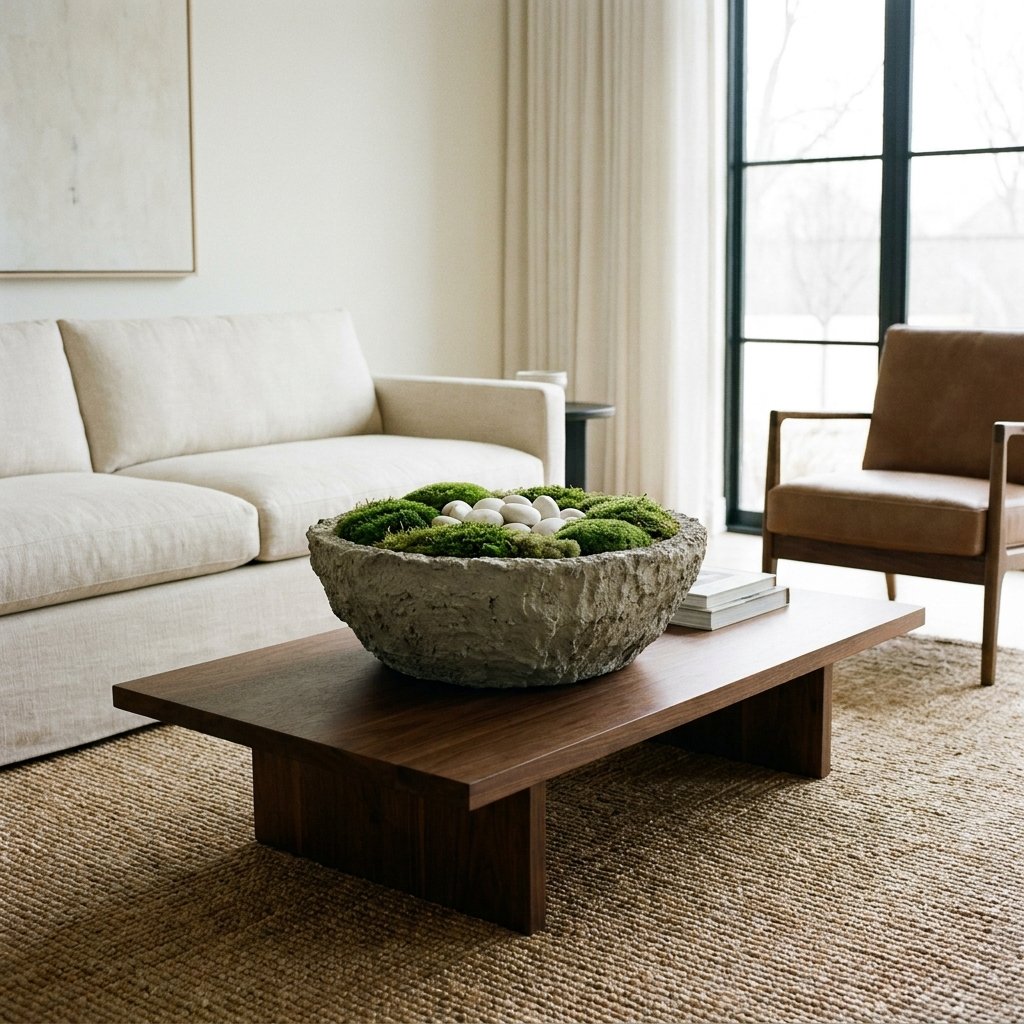
- The Rustic Harvest: Place a thick, cream-colored pillar candle in the center and surround it with preserved moss. The green of the moss pops beautifully against the cold gray of the ‘cement.’
- The Industrial Floral: Use the vessel for dried eucalyptus or pampas grass. The height of the grass provides a striking contrast to the heavy, low profile of the bowl.
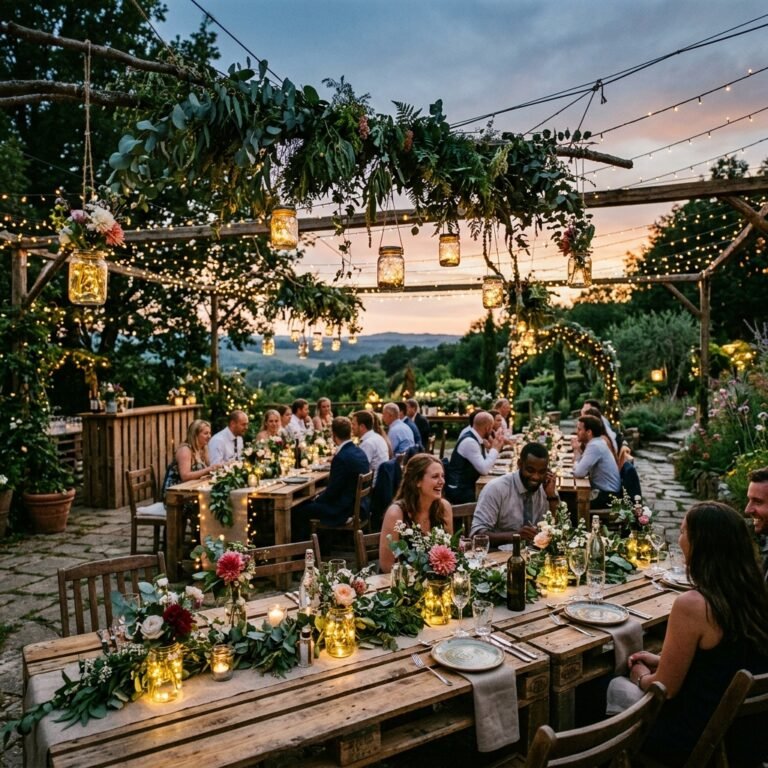
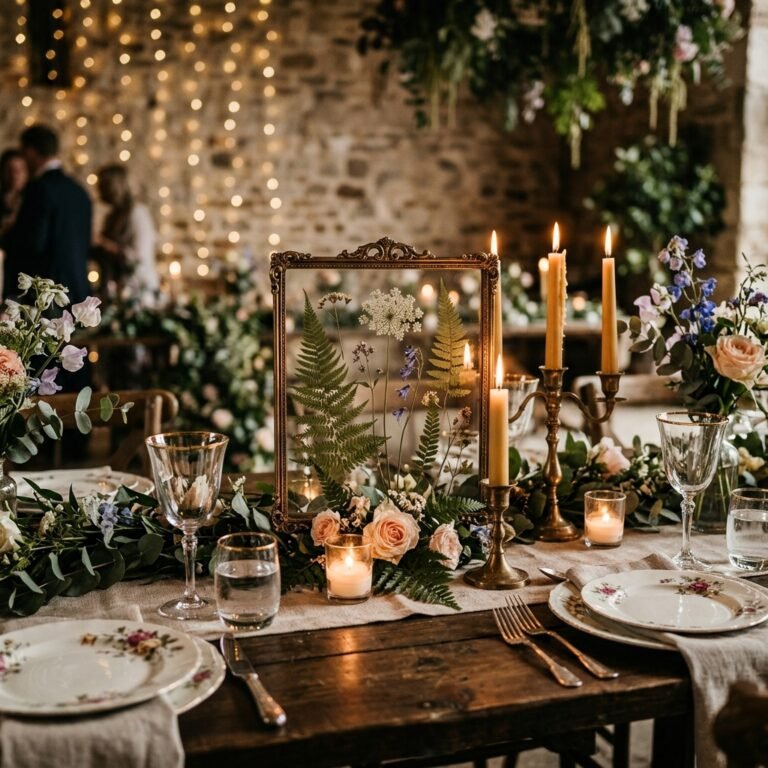
Remember, the goal is to make the piece look intentional. If you are using this for a budget wedding, imagine 10 of these lined up down a long wooden table with cheesecloth runners. The cost would be under $30 total, but the impact would look like a $500 floral installation.
Longevity and Care: Keeping the Stone Solid
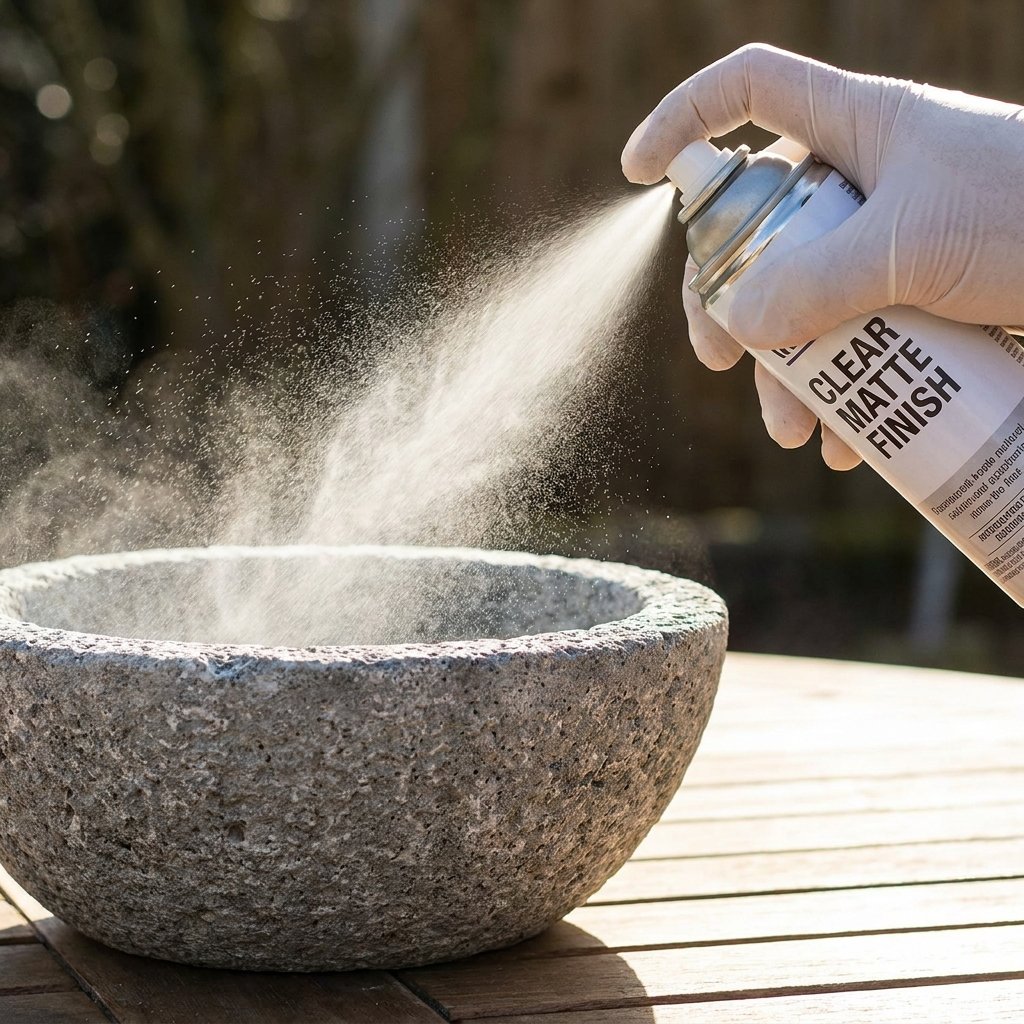
Because we used water-based acrylics and baking soda, this piece is best suited for indoor use. However, as a handy parent or upcycler, you want your hard work to last. To ensure the finish doesn’t flake or peel, a quick seal is recommended.
| Sealing Method | Finish Result | Best For |
|---|---|---|
| Matte Clear Spray | Invisible Protection | General Decor |
| Furniture Wax | Slight Sheen / Antique Look | Table Centerpieces |
| Clear Polyurethane | Water Resistant | Planters (with liners) |
If you plan to use the bowl as a planter, do not plant directly into it. The baking soda mixture can react with constant moisture. Instead, use a ‘cachepot’ method: keep the plant in its original plastic nursery pot and simply set it inside your new cement masterpiece. This keeps your $3 creation looking pristine for years.
Conclusion
The Frugal Guru’s Final Word
You’ve done it. You’ve taken a piece of literal ‘trash’—a plastic bowl destined for a landfill or a dusty cupboard—and transformed it into a sophisticated, rugged piece of home decor. This project proves that with a little bit of resourceful creativity and a few dollars, you can out-style the big-box retailers every single time.
Don’t stop at bowls. Use this same baking soda paint trick on old glass jars, plastic storage bins, or even cardboard boxes to create a cohesive, high-end stone look throughout your home. The next time someone asks where you bought that stunning concrete piece, you can give them a clever smile and tell them it was a custom commission… from your own kitchen table. Happy crafting!

Makenzie is the founder and lead writer at MoneyHackTips.com — a personal finance blog dedicated to delivering street-smart financial wisdom for real people on real budgets. With 300+ published articles covering everything from debt management to investing fundamentals, Makenzie’s mission is to make every dollar work harder. When not writing about money hacks, Makenzie is testing frugal living strategies, optimizing side hustles, and helping readers build financial freedom from scratch.