The Alchemy of Upcycling: Turning Glass into Gold
There is a unique satisfaction that comes from looking at a recycling bin and seeing a gold mine. For the frugal DIYer, the empty wine bottle isn’t trash; it’s a blank canvas waiting for a $6 can of spray paint to give it a new life. Whether you are planning a budget-friendly wedding, a sophisticated dinner party, or simply want to add a touch of masculine elegance to your mantle, gold-painted wine bottles are the ultimate ‘champagne taste on a beer budget’ project. In this guide, we will strip away the labels and the high price tags of boutique decor, replacing them with clever techniques and a bit of elbow grease. We aren’t just painting glass; we are engineering atmosphere. By the end of this weekend, you’ll have a fleet of centerpieces that look like they were plucked from a high-end editorial, all for the cost of a few lattes.
The Scavenger Hunt: Sourcing and Selecting Your Vessels
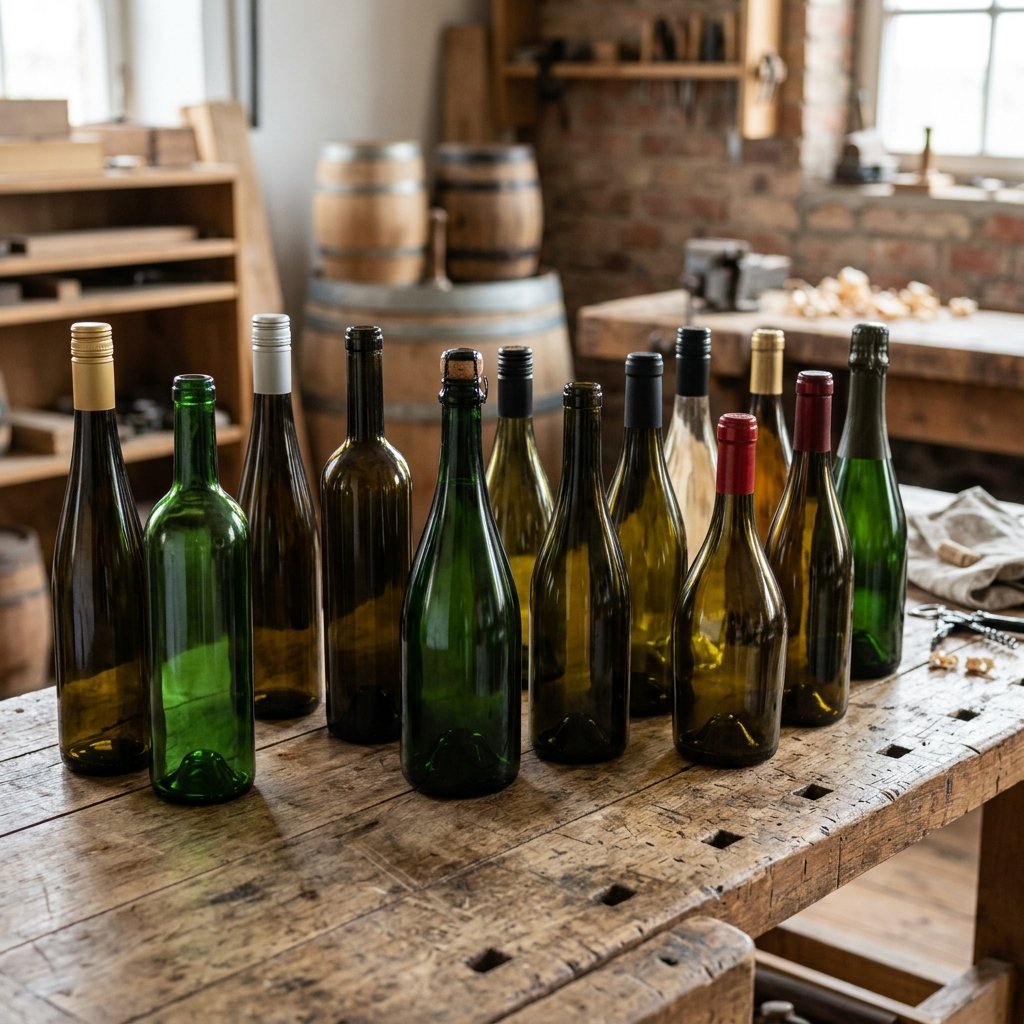
Not all bottles are created equal. To create a centerpiece with visual depth, you need a variety of heights, widths, and neck shapes. Start your collection by raiding your own recycling, or better yet, visit a local restaurant or wine bar on a Monday morning—they are usually more than happy to let you take their empties for $0.
The Anatomy of a Great Centerpiece
When selecting bottles, look for ‘The Big Three’: Burgundy bottles (sloping shoulders), Bordeaux bottles (distinct shoulders), and Champagne bottles (thick, heavy glass). Mixing these shapes creates an architectural interest that uniform bottles lack.
| Bottle Type | Visual Characteristic | Best Placement |
|---|---|---|
| Bordeaux | High, square shoulders | Center of the cluster |
| Burgundy | Sloping, elegant curves | Flanking the main bottle |
| Champagne | Girthy and tall | Anchor piece |
| Hock/Riesling | Very tall and slender | Adding vertical height |
Pro Tip: Look for bottles with unique embossed glass patterns or textures. Once painted gold, these hidden details pop with a high-end, vintage feel.
The Clean Slate: Professional Label Removal

The biggest giveaway of a ‘cheap’ DIY project is a poorly removed label. To achieve a professional, ‘store-bought’ finish, the glass must be surgically clean. Any adhesive residue will react with the spray paint, creating a lumpy, orange-peel texture that ruins the illusion of solid metal.
The Ultimate De-Labeling Formula
Forget expensive chemical removers. You likely have everything you need in your pantry to strip a bottle in 15 minutes.
- The Hot Soak: Submerge bottles in a sink of hot water mixed with 2 cups of OxiClean or heavy-duty dish soap. Let them sit for 30 minutes.
- The Peel: Most labels will slide right off. For the stubborn ones, use a plastic scraper or an old credit card.
- The Adhesive Scrub: For the ‘death glue’ left behind, use this homemade paste:
The Frugal Goo-Gone Recipe: Mix 1 part baking soda with 1 part vegetable oil. Rub the paste onto the sticky residue, let sit for 10 minutes, and scrub with a scouring pad.
Finish by wiping the entire bottle with rubbing alcohol. This removes any oils from your fingerprints, ensuring the paint bonds perfectly to the glass surface.
The Gilded Arsenal: Materials and Budget Breakdown

To get that ‘rugged-elegant’ look, you need the right supplies. Don’t settle for the cheapest ‘gold’ paint at the hardware store; it often ends up looking like dull yellow mustard. You want ‘Metallic’ or ‘Brilliant’ finishes.
| Item | Source | Estimated Cost |
|---|---|---|
| Assorted Wine Bottles | Recycling/Donations | $0.00 |
| High-Quality Metallic Gold Spray Paint | Hardware Store | $6.50 |
| Fine-Grit Sandpaper (400 grit) | Workshop Scraps | $0.50 |
| Rubbing Alcohol | Pantry | $1.00 |
| Drop Cloth or Cardboard | Garage | $0.00 |
| Total Project Cost | – | $8.00 |
Choosing Your Gold Tone
Not all golds are the same. For a modern, masculine look, choose a Champagne Gold or Antique Brass. For a high-glitz wedding, go with 24K Brilliant Gold. Mixing finishes (one matte bottle next to two high-gloss bottles) adds a layer of sophistication that screams ‘custom designer’.
The Midas Touch: Spray Painting Like a Pro

The secret to a flawless finish isn’t the paint; it’s the technique. Most beginners spray too close and too heavy, leading to drips. We want thin, buildable layers.
The 5-Step Painting Protocol
- The Environment: Work in a well-ventilated area, ideally outdoors, on a day with low humidity. Humidity is the enemy of metallic paint; it will turn your gold into a cloudy gray.
- The Warm-Up: Shake the can for a full 2 minutes. Then, place the can in a bowl of warm (not boiling) water for 5 minutes. This thins the paint and creates a finer mist.
- The First Pass: Hold the can 10-12 inches away. Start spraying off the bottle, then sweep across in a steady motion, ending the spray past the bottle. This prevents ‘hot spots’ of paint.
- The 50% Overlap: Each pass should overlap the previous one by about 50%.
- The Drying Game: Wait 15 minutes between coats. Two light coats are always better than one thick one.
Safety Note: Always wear a respirator mask and eye protection when using aerosol paints. The particulates are fine and can be harmful if inhaled in enclosed spaces.
Styling and Table Scaping: From Bottles to Centerpieces
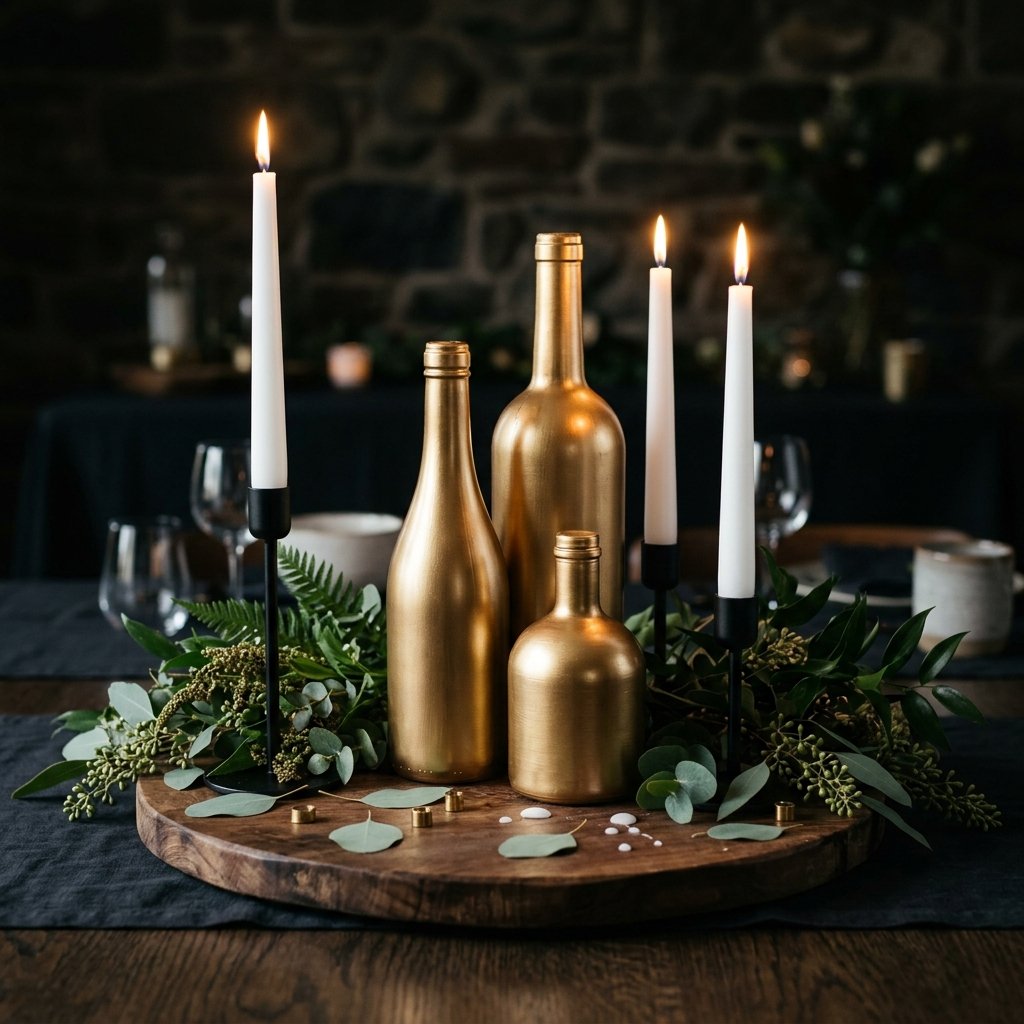
Now that your bottles are gilded and dried (wait at least 24 hours before handling), it’s time to assemble the scene. A single bottle looks lonely; a cluster looks like a statement.
The Rule of Three
In design, odd numbers are more visually appealing. Group your bottles in sets of three or five. Vary the heights by placing one bottle on a small wooden block or a stack of vintage books to create a tiered effect.
- The Minimalist: Insert a single, dried eucalyptus branch or a ‘Silver Dollar’ gum leaf into the neck. The green against the gold is a classic, rugged combination.
- The Romantic: Use tapered candles. If the candle is too wide for the bottle neck, use a lighter to slightly melt the base of the candle and press it into the opening.
- The Industrial: Wrap the neck of one bottle in twine or copper wire to break up the solid gold and add a tactile, ‘hand-crafted’ element.
| Styling Element | Vibe | Cost per Table |
|---|---|---|
| Eucalyptus Sprigs | Modern/Organic | $2.00 |
| Tapered White Candles | Classic/Elegant | $1.50 |
| Wooden Slices | Rustic/Rugged | $3.00 |
| Loose Petals | Soft/Bridal | $1.00 |
Cost Analysis: DIY vs. Store-Bought
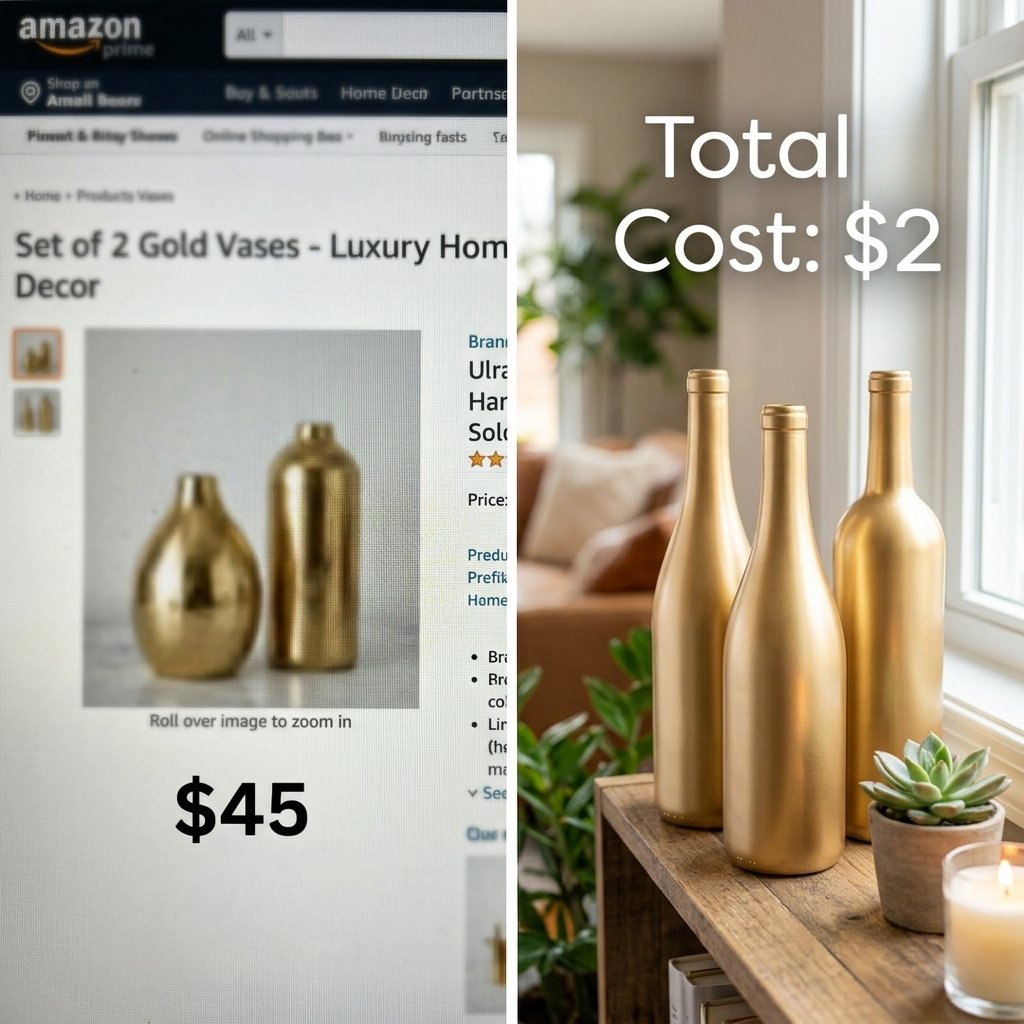
Why do we do this? Besides the creative outlet, the savings are staggering. When you buy pre-made gold decor from high-end retailers, you are paying for the shipping of heavy glass and the retail markup.
| Item | Retail Price (Set of 3) | DIY Price (Set of 3) | Total Savings |
|---|---|---|---|
| Gold Glass Vases | $45.00 | $2.15 | 95% |
| Wedding Centerpiece Rental | $25.00/ea | $0.75/ea | 97% |
| Boutique Wine Bottle Decor | $18.00/ea | $0.75/ea | $17.25 per bottle |
By choosing the ‘Trash to Treasure’ route, you aren’t just being cheap; you’re being a resourceful steward of your budget. For a wedding with 20 tables, this project can save you over $800—money that is much better spent on the honeymoon or a down payment on a home.
Conclusion
Your Weekend Transformation Awaits
Turning ‘trash’ into ‘treasure’ is more than just a crafty weekend project; it’s a mindset. It’s the realization that with a little bit of vision, a $6 can of paint, and a handful of discarded glass, you can create an environment that feels luxurious and intentional. These gold wine bottle centerpieces are proof that you don’t need a massive budget to host a stunning event or decorate a beautiful home. You just need a bit of grit, a steady hand, and the willingness to see the potential in what others throw away. So, clear off your workbench, grab those empties, and start your Midas transformation today. Your guests will never guess that your ‘high-end’ decor started its life in a recycling bin.

Makenzie is the founder and lead writer at MoneyHackTips.com — a personal finance blog dedicated to delivering street-smart financial wisdom for real people on real budgets. With 300+ published articles covering everything from debt management to investing fundamentals, Makenzie’s mission is to make every dollar work harder. When not writing about money hacks, Makenzie is testing frugal living strategies, optimizing side hustles, and helping readers build financial freedom from scratch.