
The Rugged Magic of the Brown Box
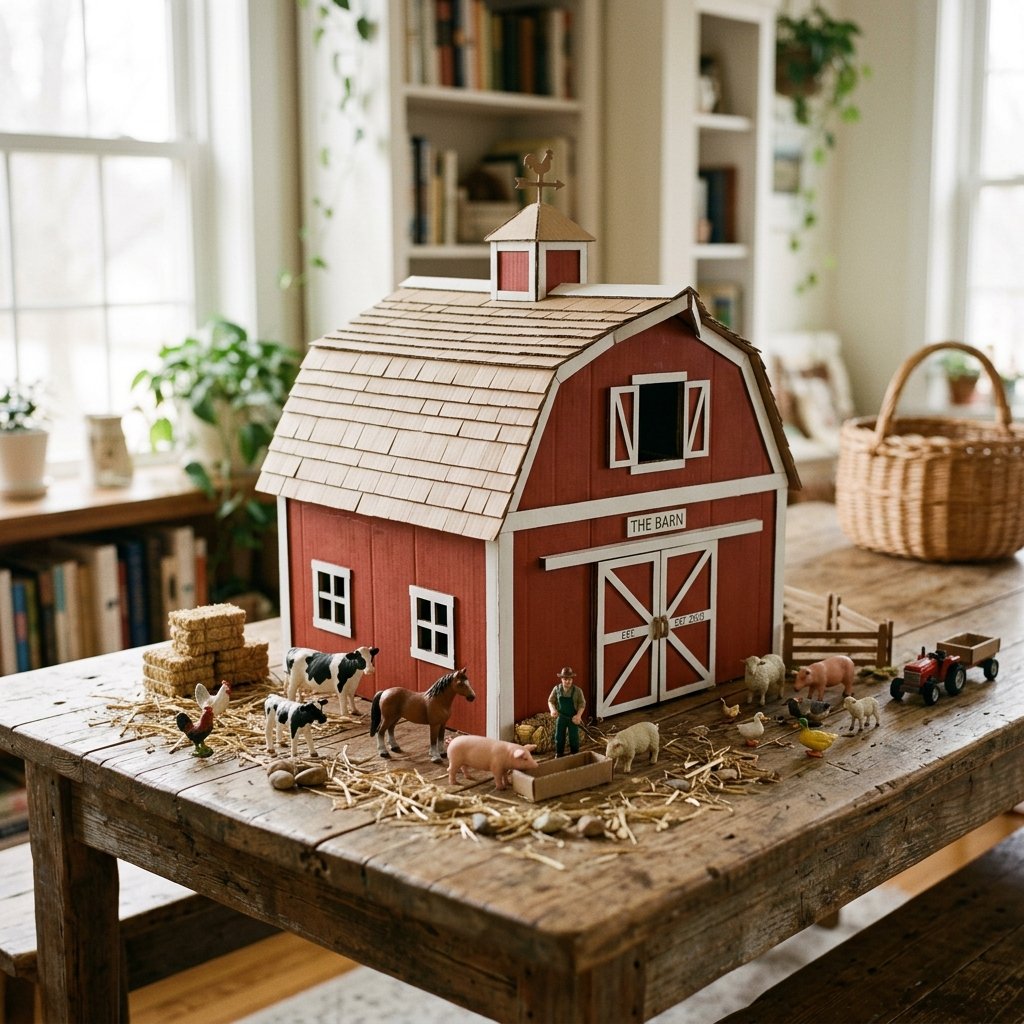
There is a certain rugged magic in a plain brown box. To most, it is just shipping debris—a temporary vessel for a consumer purchase destined for the recycling bin. But to the resourceful DIYer and the imaginative parent, that corrugated cardboard is the raw lumber of a miniature world. In an era where plastic toys can cost upwards of $60 to $100, reclaiming trash to create a high-quality, durable toy barn is not just a budget-savvy move; it is an act of creative rebellion. This project is about more than just glue and paper; it is about engineering a space for play that carries the soul of something handmade. Whether you are building this for a birthday gift or a rainy-day surprise, you are about to turn ‘trash’ into a family heirloom. Let’s get our hands dirty and build something magnificent for $0.
The Scavenger Hunt: Sourcing Your Premium ‘Trash’
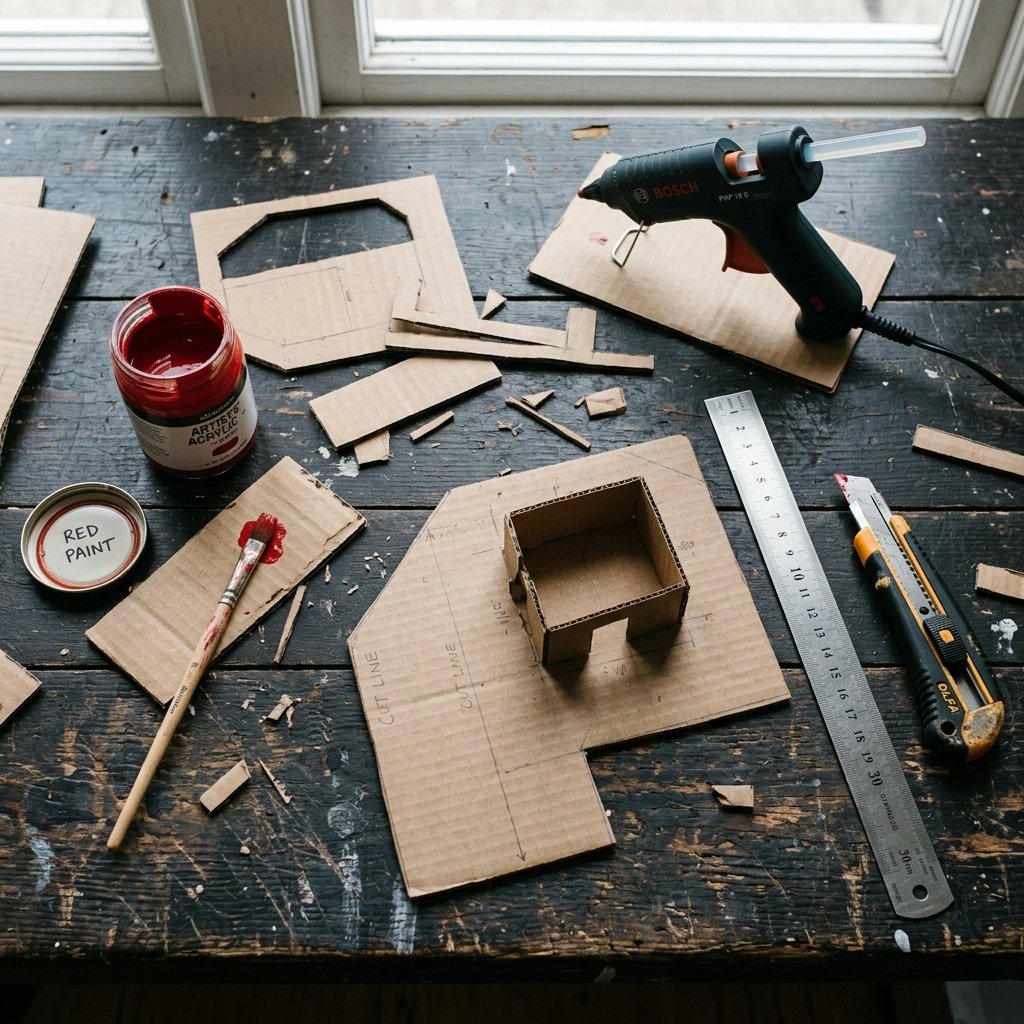
Before we make the first cut, we need to talk about our ‘lumber.’ Not all cardboard is created equal. For a barn that survives the high-energy play of a toddler or the rugged adventures of toy tractors, you need structural integrity. Look for double-walled corrugated cardboard if you can find it—this is typically found in appliance boxes (microwaves, dishwashers) or heavy-duty moving boxes. Below is a breakdown of what you’ll need versus what you’d spend at a big-box retailer.
| Material | Upcycled Source | Retail Value (Approx.) |
|---|---|---|
| Large Cardboard Boxes | Grocery Stores / Recycling Centers | $0.00 |
| Adhesive (Hot Glue/Duct Tape) | Workshop Scraps | $2.00 |
| Paint (Red/White) | Leftover House Paint / Acrylics | $1.50 |
| Decorative Elements (Twine/Straw) | Kitchen Pantry / Backyard | $0.00 |
| Total Investment | Resourceful Sourcing | $3.50 |
Pro-Tip for Sourcing
Visit your local appliance store on a Tuesday morning. They often have massive, clean, heavy-duty boxes from refrigerators or washing machines that they are happy to give away. These ‘premium’ boxes provide large, flat sheets of cardboard that are essential for making a seamless roof or a sturdy base.
Architectural Integrity: Drafting and Cutting the Gambrel Roof
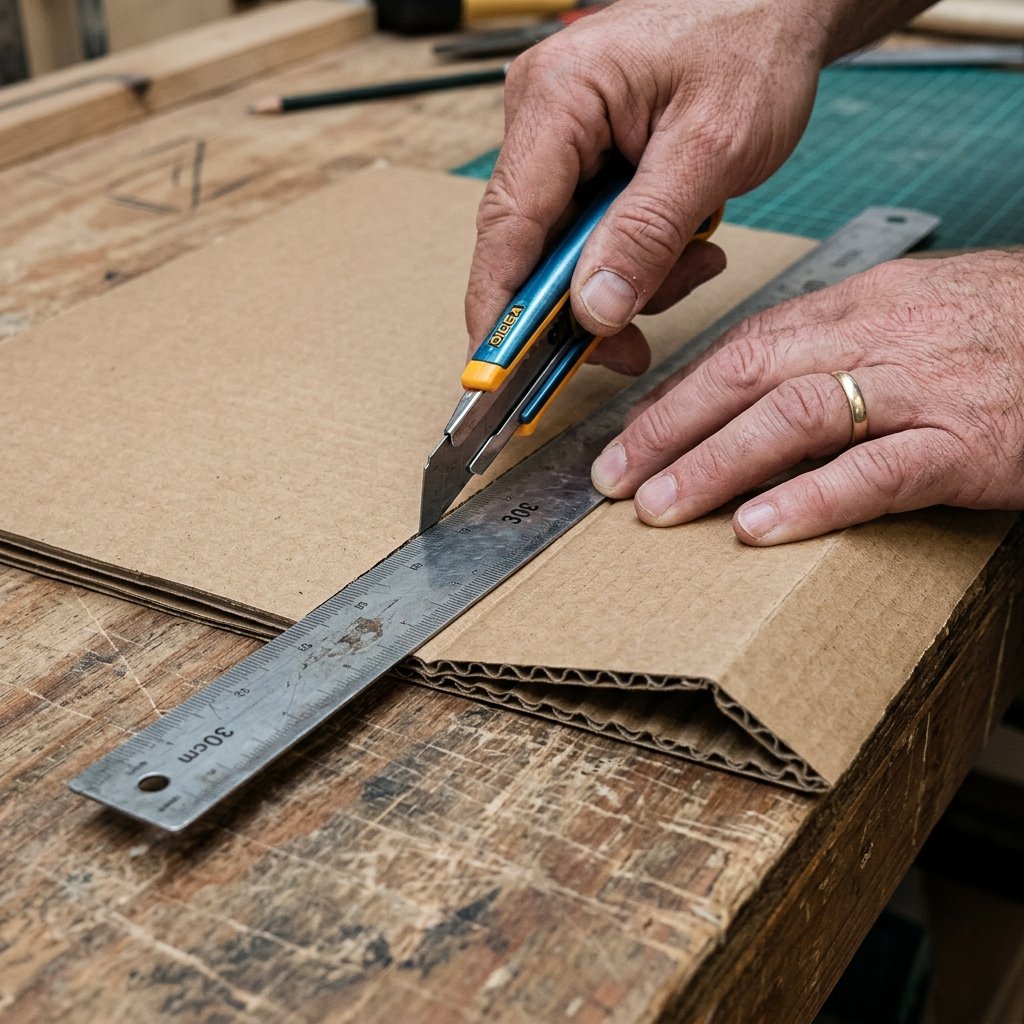
The hallmark of a classic American barn is the gambrel roof—that beautiful, multi-angled silhouette that maximizes hayloft space. Achieving this look with cardboard requires precise measurement and a clever ‘score and fold’ technique. We aren’t just taping boxes together; we are framing a structure.
The Master’s Formula: To create the perfect barn gable, ensure your peak angle is roughly 120 degrees, while the shoulder angles are 150 degrees. This creates the iconic ‘Dutch’ barn look.
- Measure the Gable Ends: On two identical square pieces of cardboard, draw a pentagon shape. Start with a rectangle, then find the center point at the top. Measure down 4 inches on each side to create the ‘shoulders’ of the roof.
- The Score Technique: Use your utility knife to cut only halfway through the cardboard’s top layer. This allows you to fold the cardboard cleanly without snapping the fibers, maintaining the strength of the material.
- The Main Structure: Use a large box as the base. Cut out large rectangular ‘barn doors’ on the front and back to allow for easy access during play.
Safety First: Always use a fresh, sharp blade in your utility knife. A dull blade requires more force, which leads to slips. Cut away from your body at all times.
The Barnyard Aesthetic: Painting and Weathering on a Dime
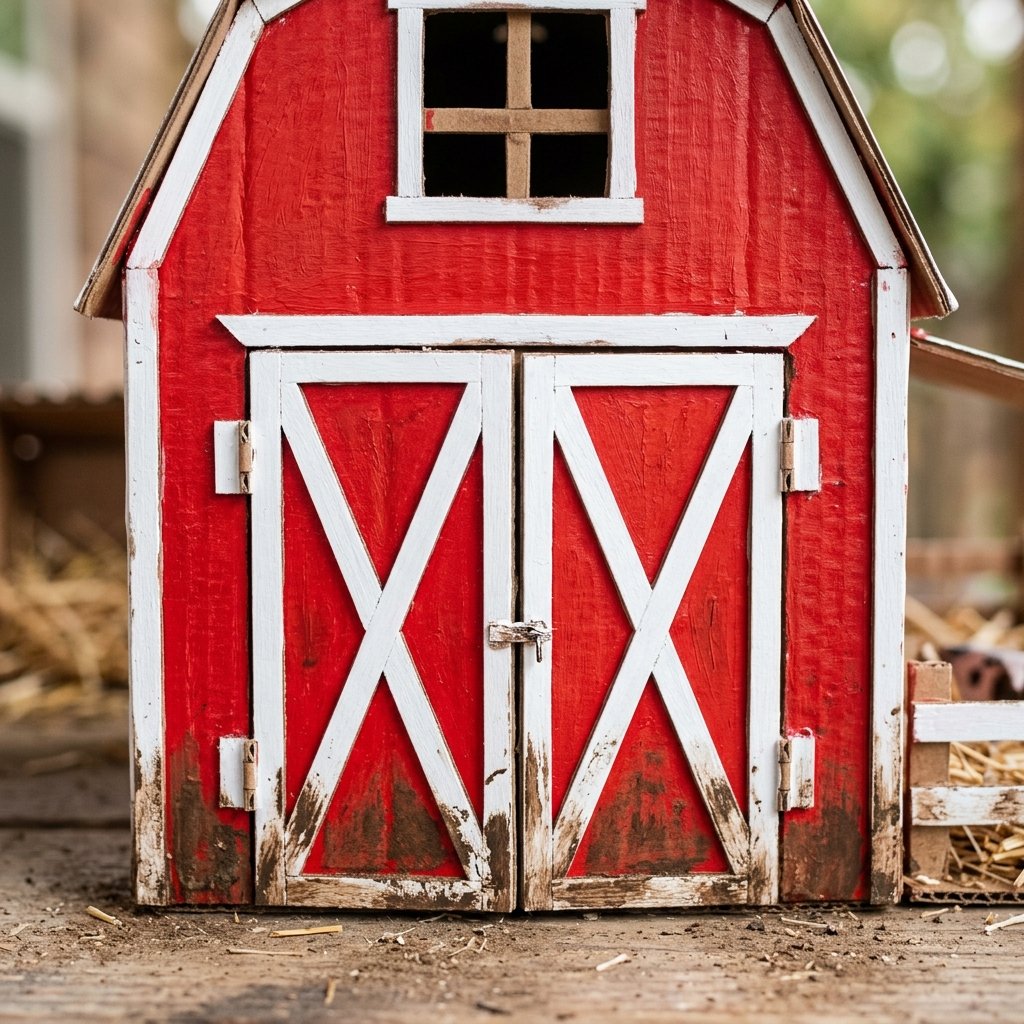
Now that the structure is sound, it is time for the ‘curb appeal.’ We want this to look like a rugged, weathered farmstead, not a shipping container. The secret lies in texture and contrast. If you have leftover red house paint in the garage, now is its time to shine.
- The Base Coat: Apply a thick layer of red paint. Don’t worry about it being perfectly even; the variations in the cardboard texture will mimic the look of aged wood siding.
- The White Trim: Use white paint (or even white duct tape) to create the ‘X’ patterns on the barn doors. This is a classic architectural detail that adds instant ‘high-end’ flair to a $0 project.
- Weathering Techniques: Once the red paint is dry, take a slightly damp sponge with a tiny bit of black or dark brown paint and lightly dab the corners and bottom of the barn. This ‘distressing’ makes the toy look like a piece of rustic decor.
By using 100% recycled paint or cheap $1.25 acrylics from the dollar store, you are creating a professional finish for pennies. This is where the ‘magical’ transformation really happens.
Interior Design for Toy Livestock: Stalls and Haylofts
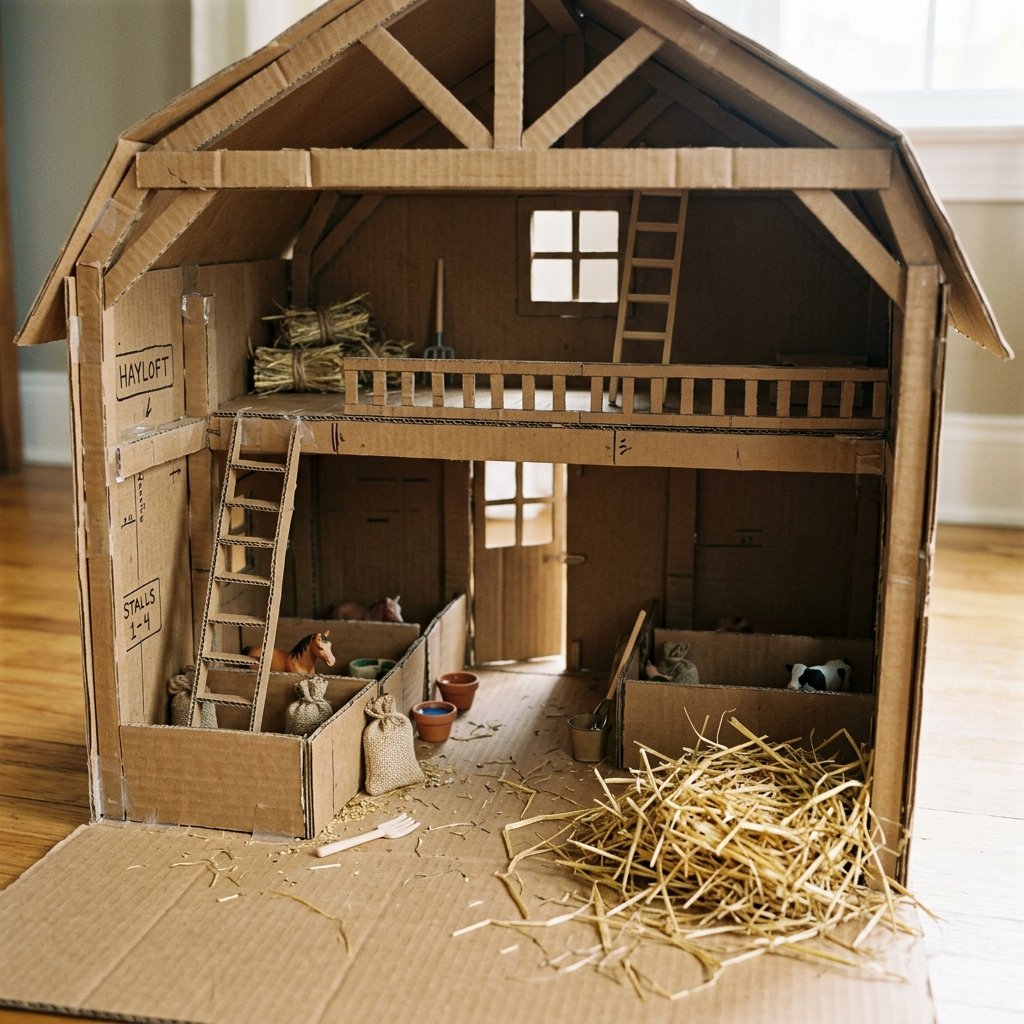
A barn is only as good as its functionality. For the kids, the magic is in the details. We are going to add interior stalls for horses and a functional hayloft for ‘storing’ winter feed (or just extra toys).
Creating the Hayloft
Cut a rectangular piece of cardboard that fits the width of your barn. Secure it about two-thirds of the way up using hot glue and ‘L-brackets’ made of folded cardboard scraps. This creates a second level for play. Pro-Tip: Cut a small square hole in the loft floor and attach a piece of twine to a small cardboard ‘pallet’ to act as a working hay hoist!
The Stalls
Use smaller scraps of cardboard to create dividers. Glue them vertically to the floor. To make them look like real stalls, use popsicle sticks (or more cardboard strips) to create a ‘slat’ effect. This gives the toy a sense of scale and realism that keeps children engaged for hours.
| Feature | DIY Method | Play Value |
|---|---|---|
| Hayloft | Suspended Cardboard Platform | High (Vertical Play) |
| Animal Stalls | Scrap Dividers | High (Organization) |
| Sliding Doors | Cardboard Tracks | Medium (Fine Motor Skills) |
Reinforcement Tactics: Making Cardboard Last for Years
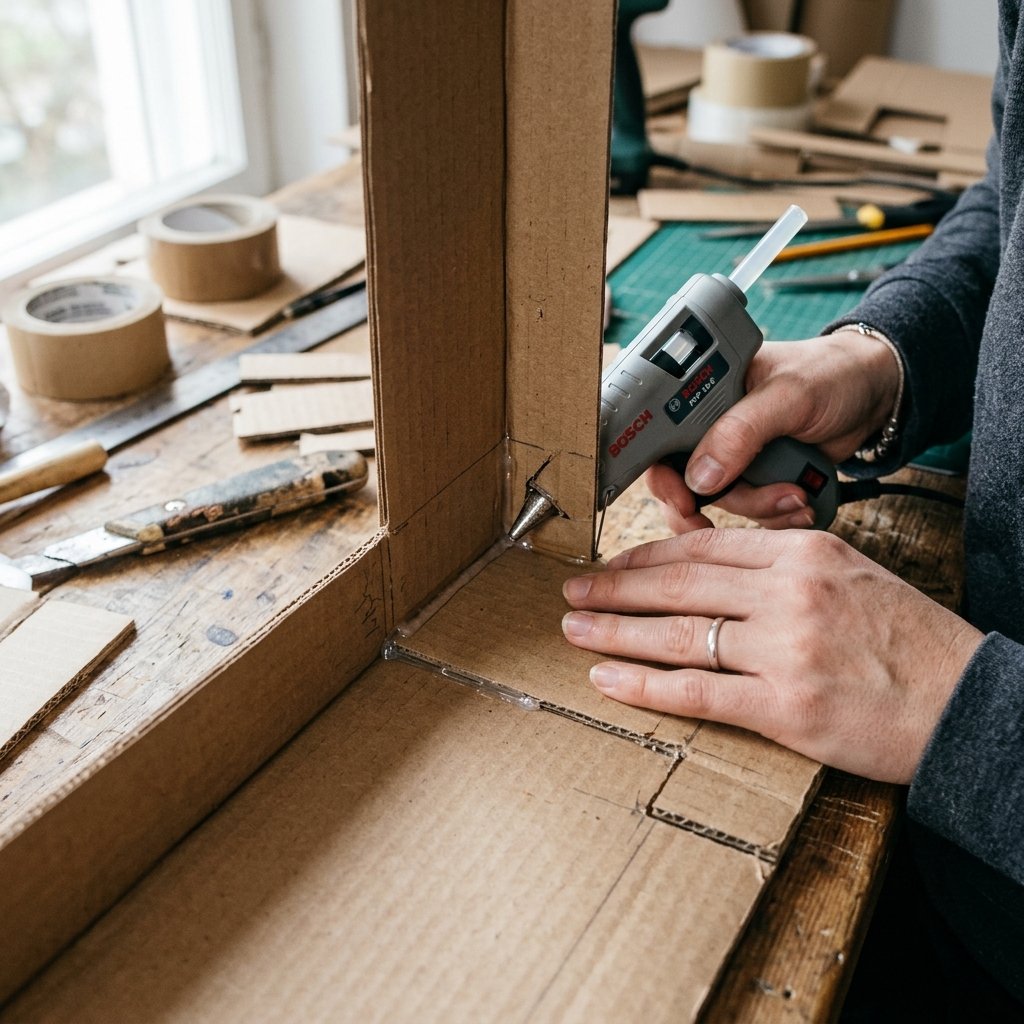
The biggest critique of cardboard toys is their lifespan. However, with a few rugged engineering hacks, you can make this barn survive years of heavy use. It’s all about reinforcing the stress points.
- Edge Banding: The edges of cardboard are prone to fraying. Run a bead of hot glue along every exposed edge, or cover them with clear packing tape before painting. This seals the ‘flutes’ of the cardboard and prevents moisture from weakening the structure.
- The Foundation: Glue the entire barn onto a larger, flat sheet of heavy-duty cardboard. This acts as a ‘yard’ and prevents the walls from bowing outward over time.
- Clear Coating: If you have a can of clear spray sealant or even some Mod Podge, give the entire barn a light coat. This makes it wipeable and protects the paint from sticky fingers.
By spending an extra 15 minutes on reinforcement, you ensure that your weekend effort doesn’t end up in the bin after a single play session. This is the hallmark of the crafty expert: building things to last.
Conclusion
The Reward of the Handmade
As you step back and look at your completed DIY Cardboard Toy Barn, you’ll realize that no store-bought plastic toy can compete with the character of this piece. You’ve taken a few hours of your weekend and some ‘trash’ to build a world of imagination for a child. You’ve saved $50 or more, kept waste out of the landfill, and likely learned a few things about structural engineering along the way. This barn is more than a toy; it’s a testament to resourcefulness and the power of a little creativity. Now, gather the toy horses, scatter a little straw, and let the farming begin. You’ve earned the title of the ‘Trash-to-Treasure’ Guru!

Makenzie is the founder and lead writer at MoneyHackTips.com — a personal finance blog dedicated to delivering street-smart financial wisdom for real people on real budgets. With 300+ published articles covering everything from debt management to investing fundamentals, Makenzie’s mission is to make every dollar work harder. When not writing about money hacks, Makenzie is testing frugal living strategies, optimizing side hustles, and helping readers build financial freedom from scratch.