
The Mediterranean Dream on a Shoestring Budget
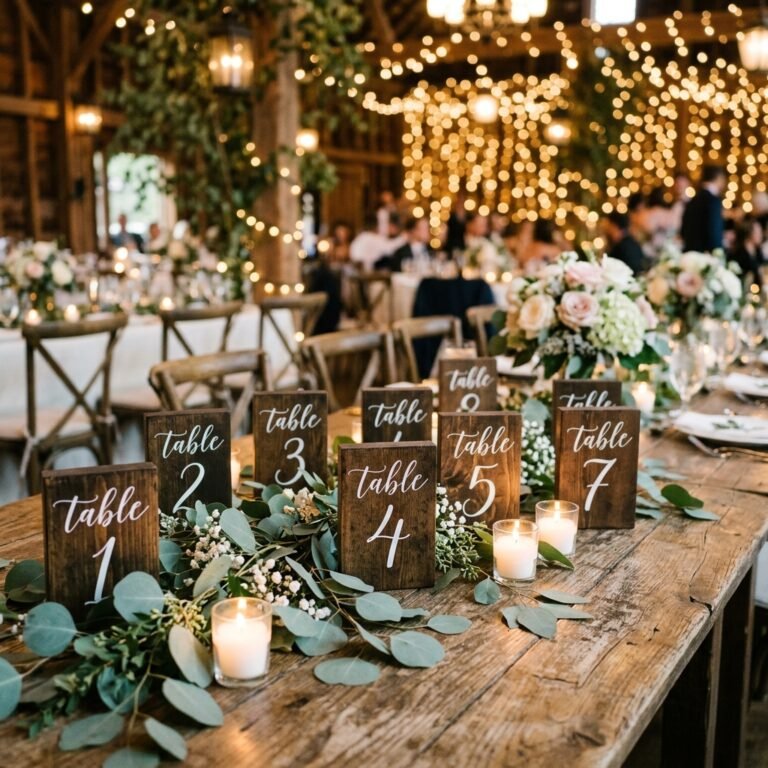
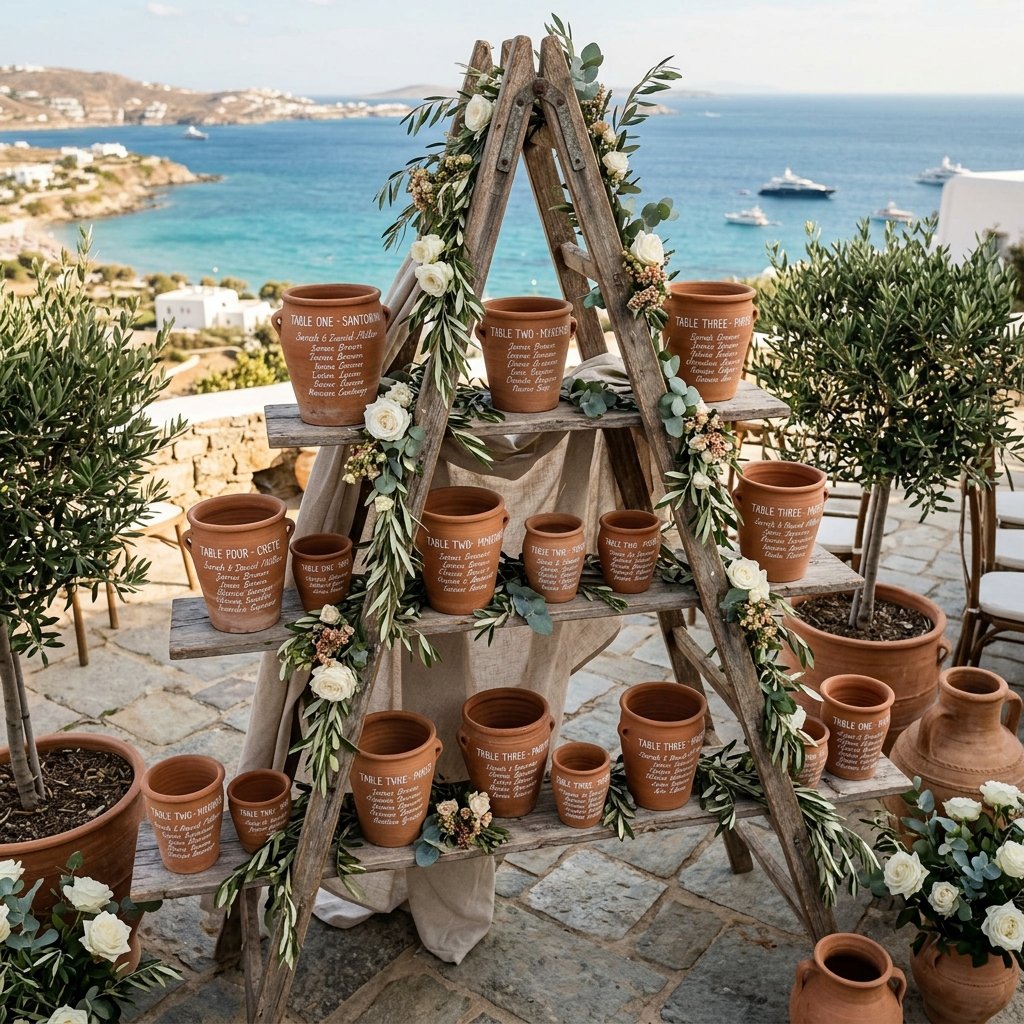
There is something inherently timeless about the warm, earthy hue of terracotta. It evokes images of Tuscan hillsides, Spanish villas, and sun-drenched Greek islands. For the frugal DIY bride or the budget-savvy event stylist, terracotta is more than just a garden staple—it is a versatile, rugged, and incredibly affordable medium for creating high-end wedding decor. In this masterclass, we are moving beyond the standard paper seating chart and engineering a three-dimensional masterpiece that serves as both a functional guide for your guests and a stunning piece of architectural decor.
The beauty of this project lies in its accessibility. While a custom-made acrylic or wooden seating chart from a boutique designer can easily run upwards of $300 to $500, our hand-painted terracotta method allows you to achieve a more unique, textured look for a fraction of the cost. Whether you are a handy dad helping with wedding prep or a crafty gift-giver looking to surprise a friend, this guide will walk you through the precise steps to source, prep, paint, and style a seating chart that looks like it stepped off the pages of a luxury bridal magazine.
Budget Mantra: Sophistication isn’t about how much you spend; it’s about the precision of your execution and the creativity of your materials.
The Art of the Find: Sourcing Affordable Clay on a Dime
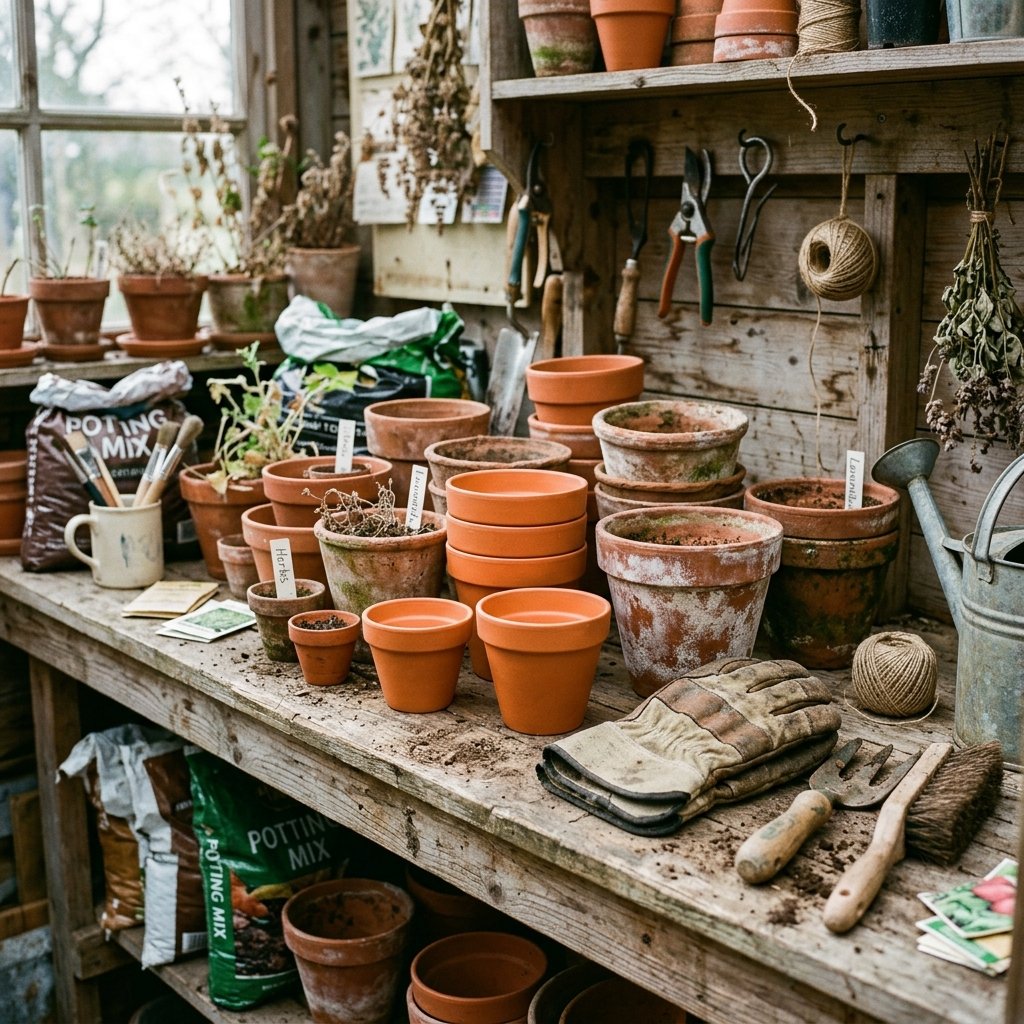
Before we pick up a brush, we must source our ‘canvases.’ The goal is to find a variety of terracotta pots in different heights and diameters to create visual interest. For a cohesive look, aim for 3 to 5 different sizes. You don’t need to buy these brand new at full retail price. In fact, slightly weathered or ‘pre-loved’ pots often take paint better and add a sense of history to the display.
Where to Scour for Supplies
- Dollar Stores: Often carry small to medium pots for $1.25. These are perfect for smaller guest lists or for use as ‘filler’ pots in the arrangement.
- Estate Sales & Garage Sales: You can often find stacks of terracotta in the back of a shed for pennies on the dollar. Don’t worry about dirt; we will clean them.
- Garden Center ‘Clearance’ Racks: Look for pots with minor chips or salt deposits. These imperfections add character and are easily covered by our textured paint technique.
- Facebook Marketplace: Search for ‘bulk flower pots’ or ‘clay planters.’ Often, people give these away for free just to have them hauled away.
| Material Source | Estimated Cost per Pot | Best For… |
|---|---|---|
| Dollar Tree | $1.25 | Small tables (4-6 guests) |
| Big Box Garden Center | $5.00 – $12.00 | Large statement pots |
| Thrift/Estate Sales | $0.50 – $2.00 | Eclectic, varied sizes |
| Professional Designer Chart | $300.00+ Total | Comparison (Store Bought) |
Pre-Production: Preparing the Surface for a Professional Finish
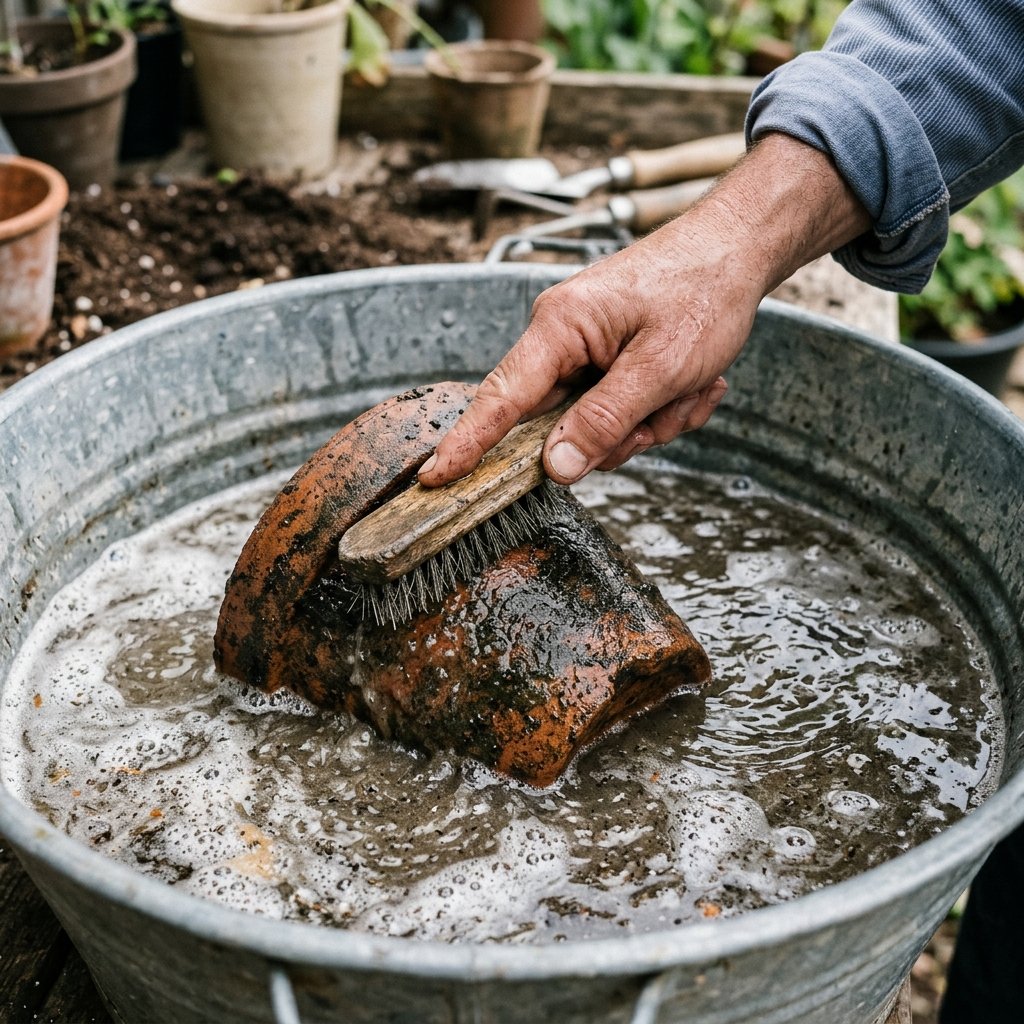
Terracotta is a highly porous material. If you apply paint directly to a raw pot, it will soak in unevenly, leading to a patchy, amateurish finish. As a crafty expert, you know that preparation is 90% of the work. We need to ensure the surface is clean, dry, and sealed to create a stable bond for our hand-lettering.
The Cleaning Protocol
- The Vinegar Soak: For older pots with white salt buildup (efflorescence), soak them in a solution of 1 part white vinegar to 4 parts water for 20 minutes. Scrub with a stiff brush.
- Drying Time: This is critical. Terracotta holds moisture. Let your pots dry in the sun for at least 24 hours before painting.
- Sanding: Use a medium-grit sandpaper to smooth out any sharp edges or unwanted bumps on the rim where the names will be written.
Safety Note: When sanding clay or using spray sealants, always work in a well-ventilated area to avoid inhaling fine dust or fumes.
Once clean, apply a thin coat of matte clear sealer to the exterior. This ‘locks’ the pores and prevents the terracotta from ‘breathing’ moisture through your paint later on.
The Designer’s Secret: Mastering the Baking Soda Paint Technique

To achieve that high-end, matte, stone-like texture seen in Anthropologie or luxury boutiques, we aren’t just using flat acrylic paint. We are engineering a custom textured medium using a common kitchen staple: baking soda. This creates a thick, grit-like consistency that mimics aged plaster or heavy ceramic.
The Formula
In a mixing container, combine your chosen acrylic paint (we recommend a soft terracotta, a creamy ‘Greige,’ or a dusty sage) with baking soda. The ratio depends on the desired ‘ruggedness’ of the texture.
| Texture Level | Paint to Baking Soda Ratio | Visual Effect |
|---|---|---|
| Subtle Matte | 1 Cup Paint : 2 Tbsp Baking Soda | Smooth, non-reflective finish |
| Stone-Like | 1 Cup Paint : 1/4 Cup Baking Soda | Visible grit, mimics limestone |
| Heavy Plaster | 1 Cup Paint : 1/2 Cup Baking Soda | Thick peaks, very rustic and rugged |
Apply the mixture using a stippling motion with a sponge or a coarse brush. Do not try to make it perfectly smooth. The beauty is in the organic, hand-crafted variations of the surface. Allow 4-6 hours for this layer to cure completely.
Precision & Penmanship: Hand-Lettering Guest Names with Confidence
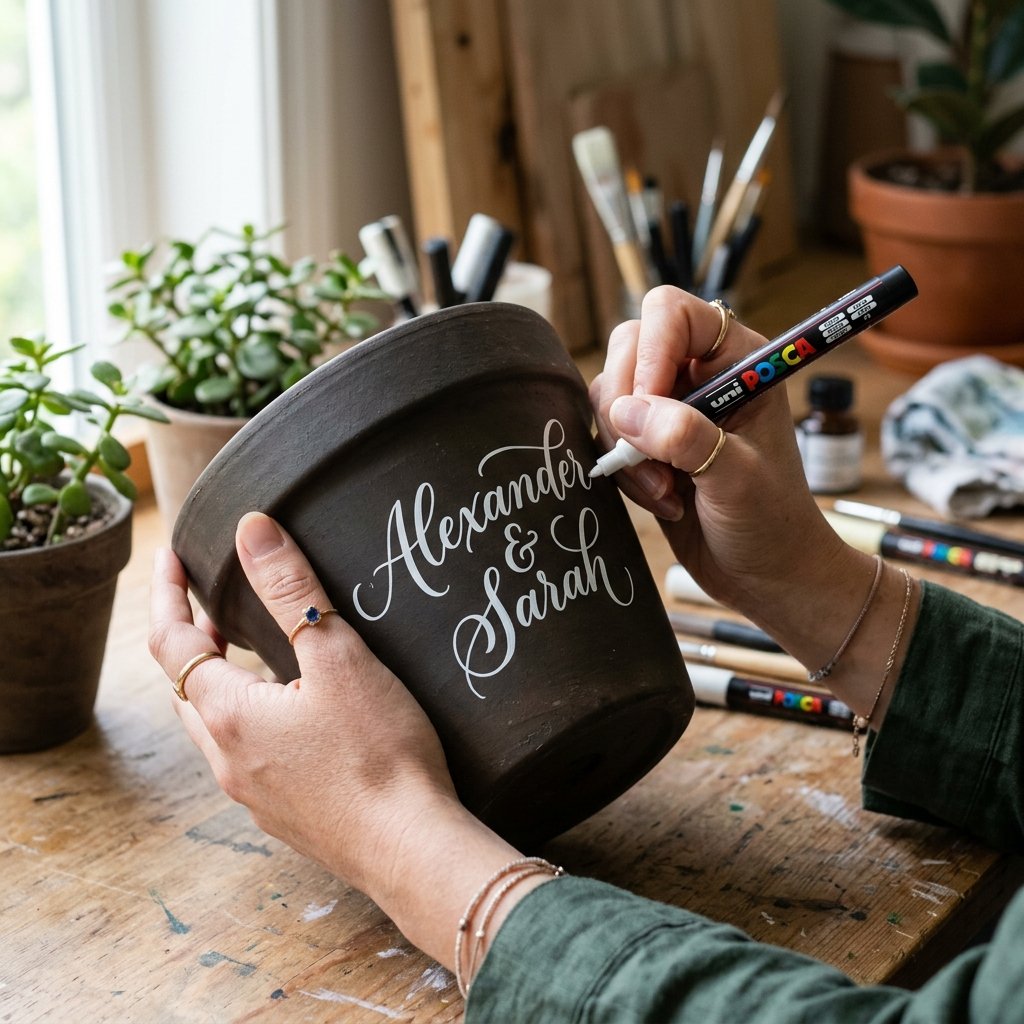
Now comes the part that intimidates most DIYers: the lettering. But fear not—you don’t need to be a master calligrapher to achieve a professional result. The key is using the right tools and a bit of ‘cheating’ with modern technology.
The Tool Kit
- Oil-Based Paint Pens: Use brands like Posca or Sharpie Oil-Based (Medium Point). These are water-resistant and won’t smear once dry.
- White or Gold Ink: These colors provide the highest contrast against the earthy terracotta tones.
- The Pencil ‘Ghosting’ Method: Never go straight in with the pen. Lightly sketch your guest names with a pencil first. Pencil marks can be easily erased from the painted surface with a soft white eraser.
Step-by-Step Lettering Guide
- Divide Your Pots: Assign one pot per table (e.g., Table 1, Table 2) or group alphabetically (A-F, G-M).
- Find the Center: Use a piece of string to find the center point of the pot’s face to ensure your names aren’t lopsided.
- Top-Down Approach: Write the Table Number at the top in a larger, bolder font.
- The Guest List: List names underneath. Keep your kerning (the space between letters) consistent for a clean, masculine-elegant look.
- The ‘Fix-It’ Trick: If you make a mistake, wait for it to dry, sand it lightly, dab on a bit of your textured base paint, and start over once dry. 100% stress-free!
Structural Engineering: Displaying Your Masterpiece
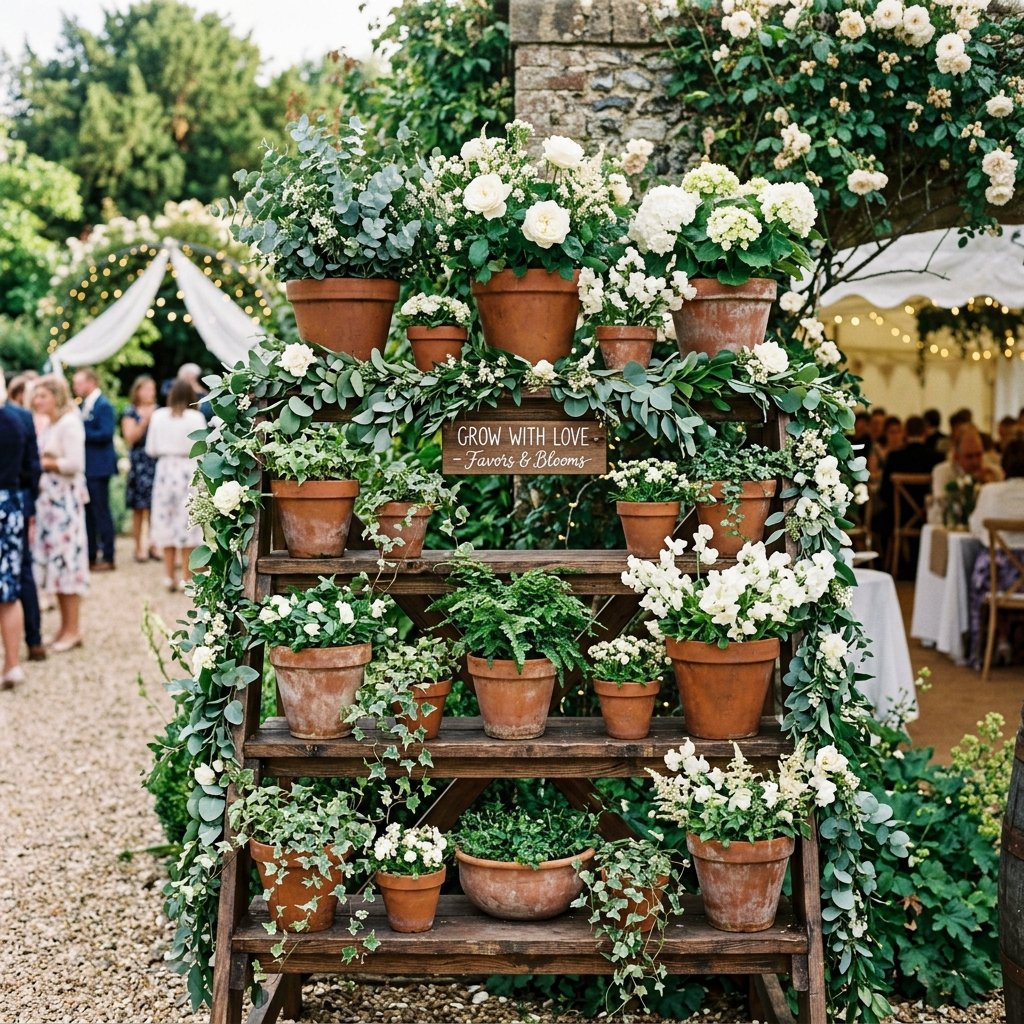
A seating chart is only as good as its presentation. You need a display that is sturdy, visible, and aesthetically aligned with your wedding theme. Since terracotta pots are heavy, your support structure must be rugged and well-balanced.
Display Ideas for Every Vibe
- The Vintage Ladder: A weathered wooden A-frame ladder is the gold standard. Place larger pots on the bottom rungs and smaller ones toward the top.
- The Shelving Unit: Use a simple black metal shelving unit for a more industrial, modern-elegant look.
- The Tiered Crate Wall: Stack wooden wine crates at varying heights. This allows you to tuck $5 bundles of eucalyptus or olive branches between the pots for a lush, Mediterranean feel.
Pro-Tip for Stability: If your wedding is outdoors, wind can be an issue. Fill the bottom of the pots with inexpensive gravel or sand before adding any decorative moss or flowers. This lowers the center of gravity and ensures your seating chart doesn’t take a tumble during the cocktail hour.
Conclusion
A Legacy Beyond the ‘I Do’
By following this guide, you have created more than just a list of names; you have engineered a tactile, memorable experience for your guests. The best part of this budget-savvy project? It doesn’t end when the reception is over. These hand-painted pots can be repurposed as beautiful planters in your new home, or even given away to family members as a meaningful memento of the day. You’ve saved hundreds of dollars, reduced waste by upcycling, and proven that with a little grit and a lot of creativity, a ‘trash-to-treasure’ approach can result in something truly unbelievably gorgeous. Now, go forth and craft with confidence!

Makenzie is the founder and lead writer at MoneyHackTips.com — a personal finance blog dedicated to delivering street-smart financial wisdom for real people on real budgets. With 300+ published articles covering everything from debt management to investing fundamentals, Makenzie’s mission is to make every dollar work harder. When not writing about money hacks, Makenzie is testing frugal living strategies, optimizing side hustles, and helping readers build financial freedom from scratch.