
The Secret to High-End Utility Without the Price Tag
Let’s be honest: there is something inherently satisfying about a heavy-duty canvas bag. Whether it’s for hauling wrenches, gardening shears, or even a laptop and a few notebooks, a well-made tool bag exudes a sense of rugged elegance and practicality. But if you’ve stepped into a high-end outfitter lately, you’ve likely seen the price tags. We’re talking $80, $120, or even $200 for what is essentially heavy fabric and some rivets.
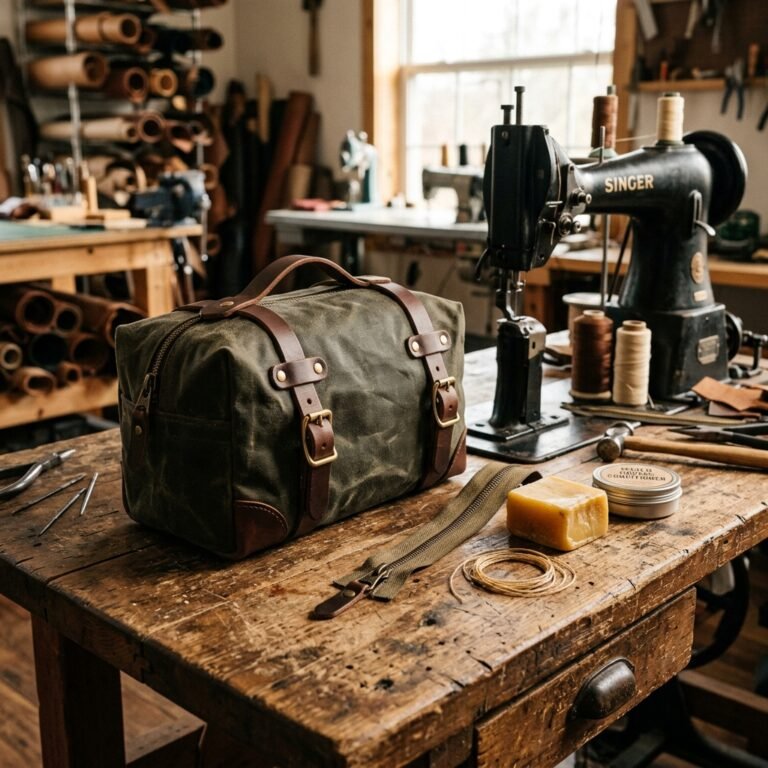
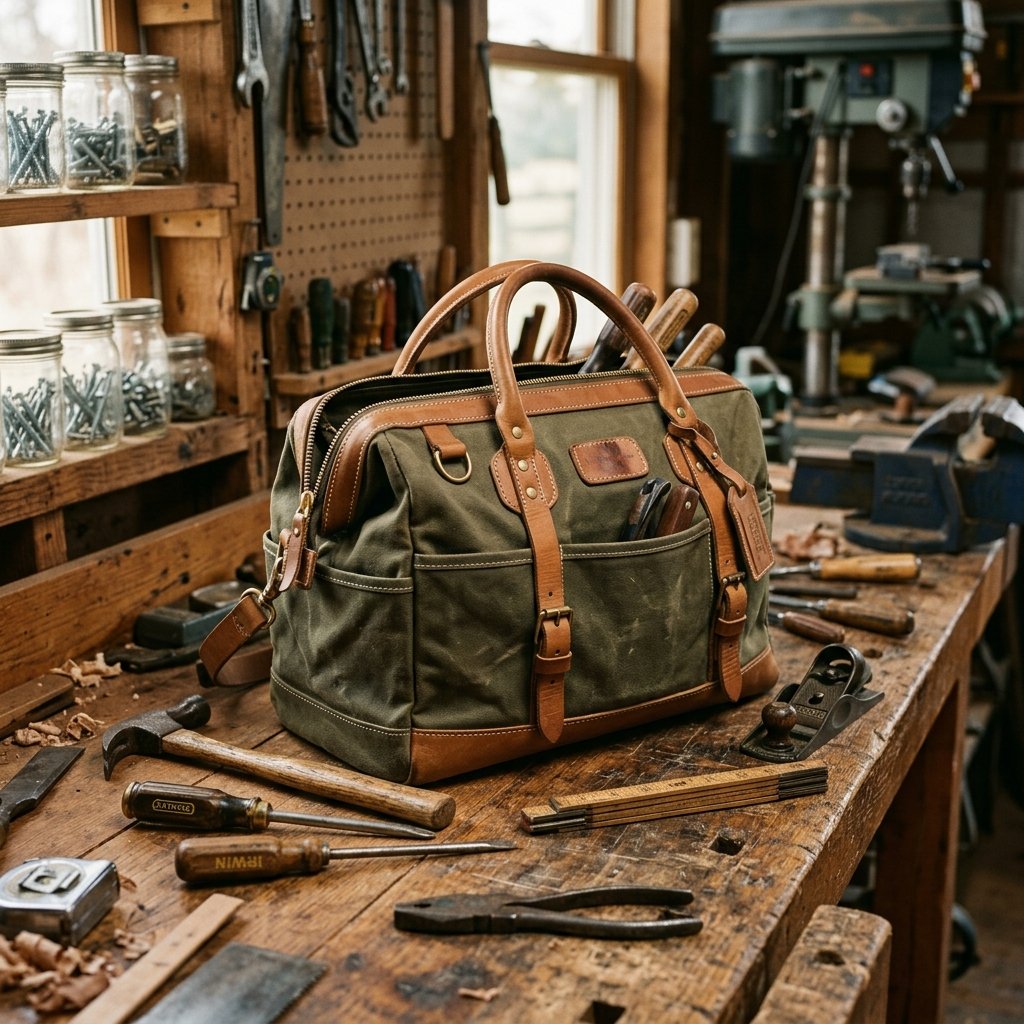
As a frugal DIYer, you know better. You know that with a little bit of clever sourcing and some basic sewing skills, you can create a piece of gear that isn’t just ‘as good’ as the store-bought version—it’s better. Why? Because it’s reinforced where you need it, sized for your specific gear, and carries the pride of being handmade. In this guide, we are going to take a humble $10 hardware store drop cloth and transform it into a masterpiece that looks like it came straight out of a boutique heritage brand. Get ready to impress him (and yourself) with a project that defines resourceful creativity.
The Blueprint: Sourcing Rugged Materials on a Dime
The foundation of any ‘expensive’ looking project is the material. To achieve that heavy-duty feel without the heavy-duty price, we have to look in unconventional places. While specialty fabric stores might charge $25 per yard for waxed canvas, we are going to head to the paint aisle.
The ‘Pro-Level’ Material List
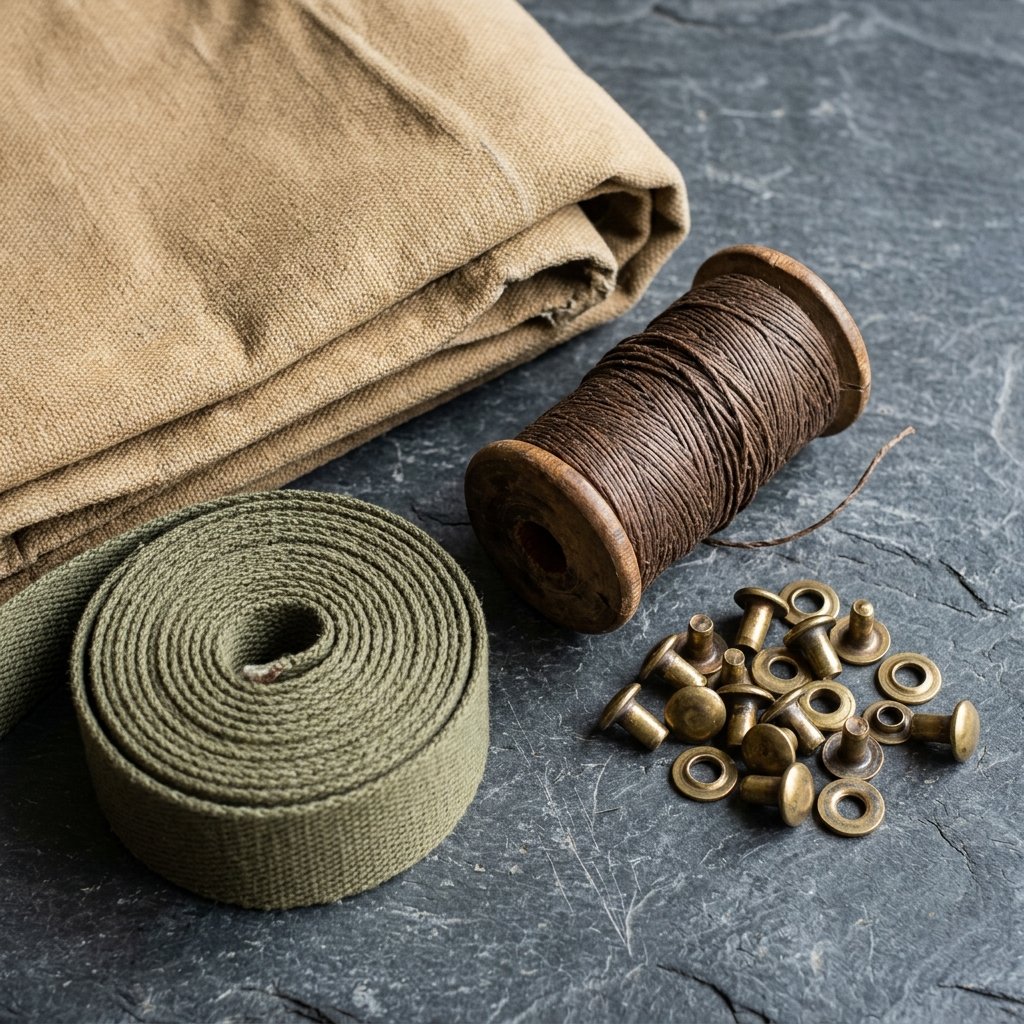
- Heavy-Duty Canvas: Look for a 12oz or 15oz cotton canvas drop cloth. A 4’x5′ cloth is often under $12 and provides enough fabric for two bags.
- Polyester Upholstery Thread: Do not use standard all-purpose thread. You need the strength of heavy-duty polyester to handle the tension of thick seams.
- Cotton Webbing: For the handles, 1-inch or 1.5-inch cotton webbing provides a classic, comfortable grip.
- Hardware: A few 9mm rapid rivets and a heavy-duty #10 brass zipper (optional but recommended) add that professional, high-end finish.
| Material Item | Retail Store Price | DIY Budget Sourcing | Savings |
|---|---|---|---|
| 1 Yard Heavy Canvas | $22.00 | $3.50 (Drop Cloth Pro-rated) | $18.50 |
| Heavy Duty Handles | $15.00 | $4.00 (Bulk Webbing) | $11.00 |
| Reinforcement Hardware | $10.00 | $2.00 (Bulk Rivets) | $8.00 |
| Total | $47.00 | $9.50 | $37.50 |
Budget Guru Mantra: Never pay for a brand name when you can pay for the raw material. A drop cloth is just canvas waiting for a mission.
The Gear List: Setting Up Your Machine for Success
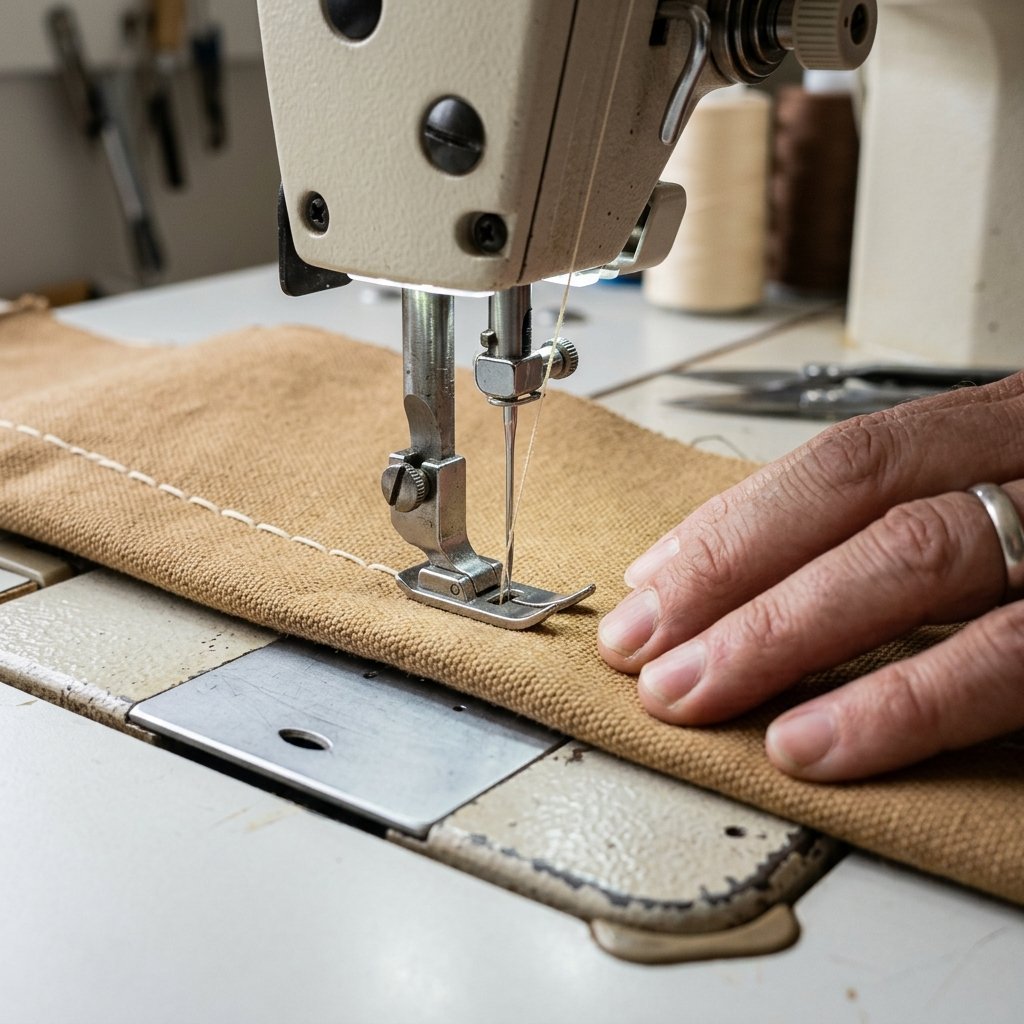
You don’t need an industrial sewing machine to sew canvas, but you do need to treat your home machine with some respect. Canvas is dense, and multiple layers can be a challenge if you aren’t prepared. Follow these crafty-expert settings to ensure smooth sailing.
The ‘Heavy-Lifter’ Setup
- The Needle: Swap your standard needle for a Size 100/16 or 110/18 Denim Needle. These are designed to pierce through dense weaves without snapping.
- Stitch Length: Increase your stitch length to 3.0mm or 3.5mm. Short stitches can actually weaken the fabric by perforating it too closely, like a sheet of stamps.
- Tension: You may need to slightly increase your upper thread tension. Always test on a scrap piece of your drop cloth first!
- The Secret Weapon: A ‘Hump Jumper’ or a folded piece of cardboard. When sewing over thick seams (like where handles meet the hem), place the spacer under the back of the presser foot to keep it level.
Safety Note: When sewing through 4+ layers of canvas, go slow. Use the handwheel to walk the needle through particularly thick intersections to avoid breaking needles or timing issues.
Step-by-Step Construction: Building the 3D Fortress
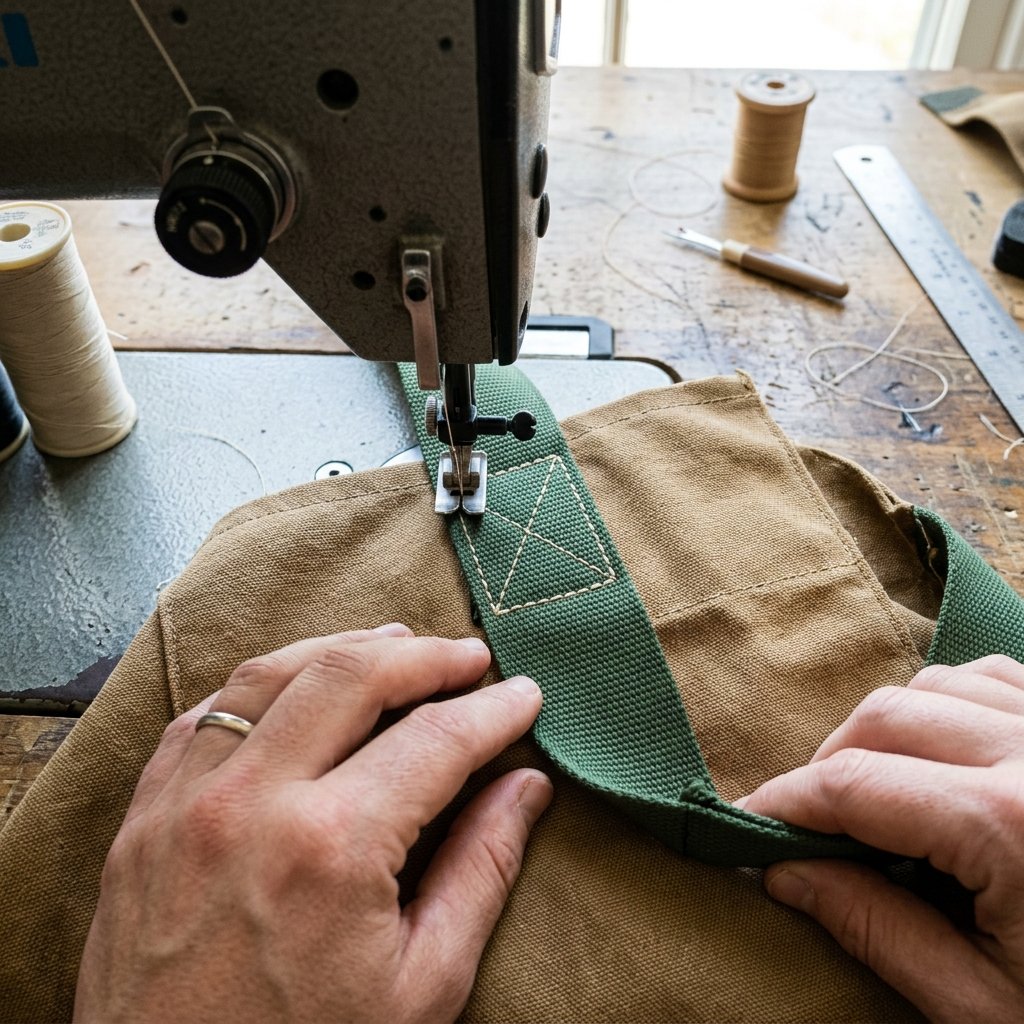
Now, let’s turn those flat panels into a rugged vessel. We will use a simple ‘Box Bottom’ construction technique that provides a wide, stable base for tools.
The Cutting Guide
- Main Body: Cut one large rectangle 18″ x 30″.
- Pockets: Cut two rectangles 18″ x 8″ (these will be exterior slip pockets).
- Handles: Cut two lengths of webbing 35″ long.
The Assembly Process
- Hem the Pockets: Fold the top edge of your pocket pieces down by 1/2 inch, then another 1/2 inch. Stitch across.
- Attach Pockets & Handles: Lay your main body piece flat. Place a pocket piece at each short end. Lay your webbing handles over the pocket edges, forming a ‘U’ shape. Pin securely.
- The ‘Box’ Stitch: Sew the handles onto the bag using a reinforced square-with-an-X stitch pattern at the stress points. This is what makes it ‘Heavy-Duty’.
- Side Seams: Fold the bag in half (right sides together). Sew up the two sides using a 1/2 inch seam allowance. Finish the raw edges with a zigzag stitch to prevent fraying.
- Boxing the Corners: Flatten the bottom corner so the side seam aligns with the bottom fold, creating a triangle. Measure 3 inches from the point and sew across. Repeat on the other side. This creates the flat bottom.
The Professional Finish: Hardware and Weatherproofing
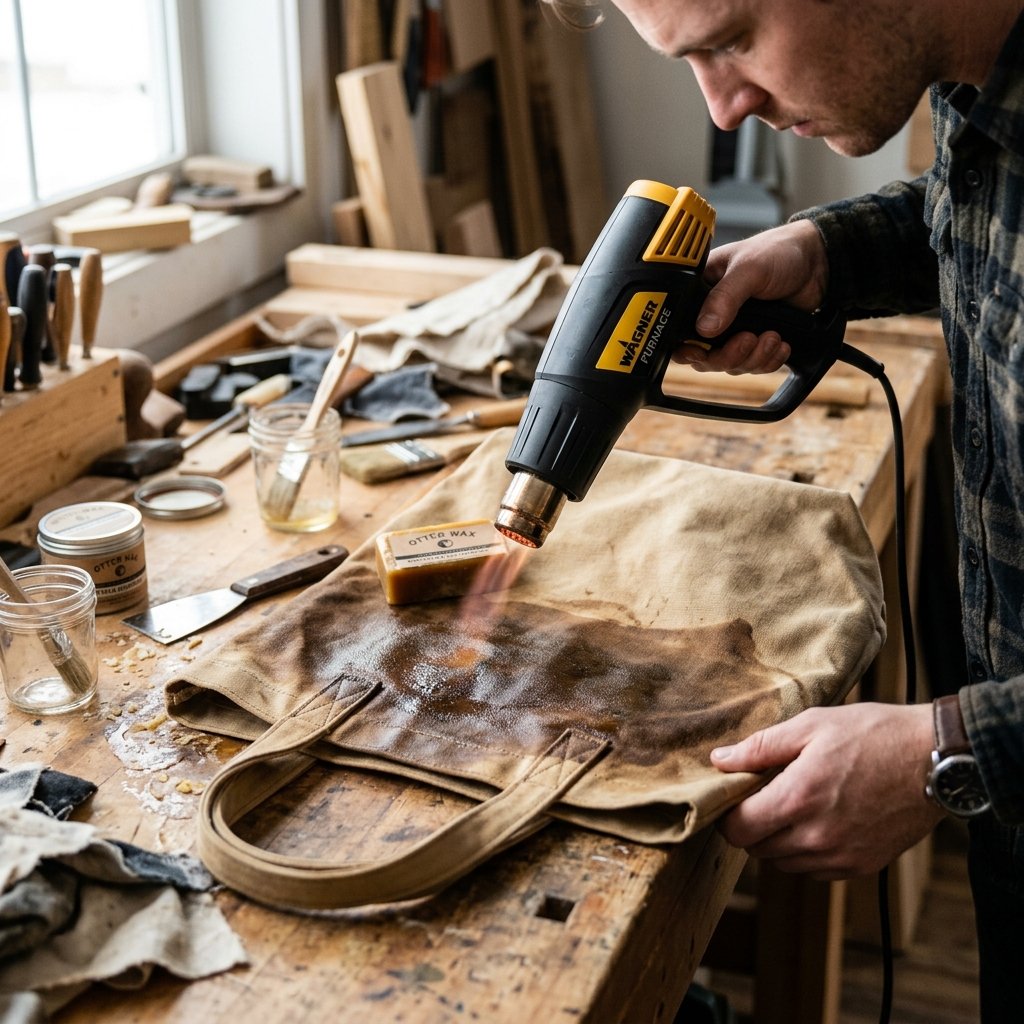
This is the stage where the bag goes from ‘homemade’ to ’boutique.’ Adding hardware and a weatherproof coating provides that $100 aesthetic and ensures the bag lasts for decades.
Adding the Rivets
At the top corners of the pockets where the handles meet the bag, use a leather punch or a large nail to make a small hole. Insert your brass rivet and cap. Give it a firm strike with a hammer on a hard surface. This doesn’t just look cool; it prevents the handles from ripping off under the weight of heavy tools.
The Waxed Canvas Hack
Want that beautiful, aged patina? You can wax your own canvas for pennies. Mix equal parts beeswax and paraffin wax (or just use a pre-made fabric wax bar). Rub the wax vigorously over the exterior of the bag until it looks white and chalky. Use a hairdryer or heat gun to melt the wax into the fibers. The fabric will darken and become water-resistant and stiff.
| Feature | Standard DIY Bag | Our ‘Heavy-Duty’ Version |
|---|---|---|
| Water Resistance | None (Absorbent) | High (Waxed Finish) |
| Stress Point Strength | Thread only | Reinforced with Brass Rivets |
| Lifespan | 1-2 Years | 10+ Years / Heirloom Quality |
| Aesthetic | Crafty | Masculine-Elegant / Professional |
Customization: Tailoring the Gift for Him
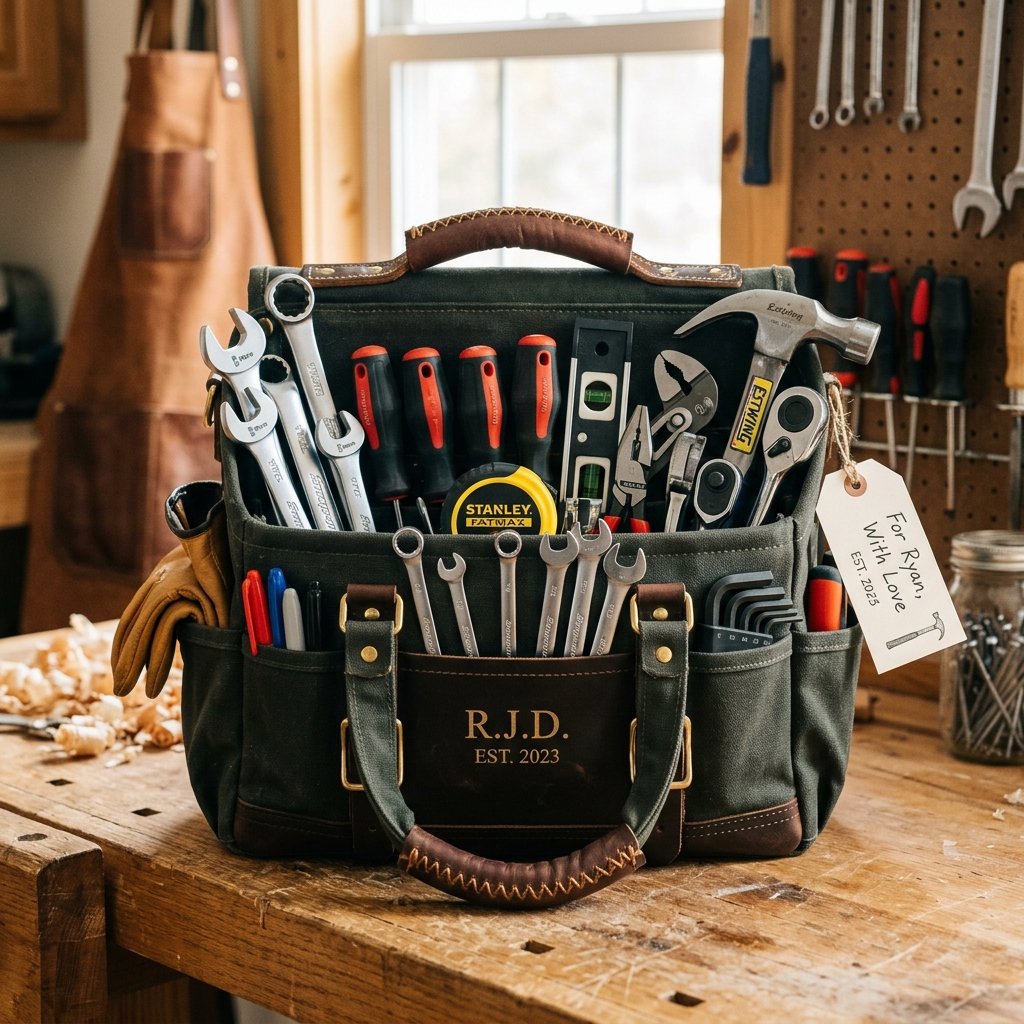
To truly make him think you spent a fortune, add a touch of personalization. A tool bag is a personal item, and small details show you care about his specific hobbies.
Creative Add-ons
- Leather Accents: Wrap a small scrap of leather around the top of the handles and stitch it in place for a luxury grip.
- Internal Organization: Sew a few narrow vertical lines through the exterior pockets to create custom slots for screwdrivers or pliers.
- The ‘Grand Reveal’ Stencil: Use a fabric marker or a stencil with some black acrylic paint to add his initials or a ‘Property of…’ label in a vintage industrial font.
Pro-Tip: If he’s a gardener, make the pockets deeper to hold trowels. If he’s a techie, line the inside with a soft flannel scrap to protect gadgets.
Conclusion
A Masterpiece of Frugal Engineering
There you have it—a rugged, professional-grade canvas tool bag that costs less than a fast-food lunch but looks like a high-end heirloom. By choosing the right materials, setting your machine for success, and adding those ‘expensive’ finishing touches like rivets and wax, you’ve created a gift (or a treat for yourself) that commands respect. This project is the ultimate proof that resourcefulness and crafty expertise are far more valuable than a big budget. Now, go ahead—wrap it up and wait for the jaw-drop when you tell him, ‘I made that.’

Makenzie is the founder and lead writer at MoneyHackTips.com — a personal finance blog dedicated to delivering street-smart financial wisdom for real people on real budgets. With 300+ published articles covering everything from debt management to investing fundamentals, Makenzie’s mission is to make every dollar work harder. When not writing about money hacks, Makenzie is testing frugal living strategies, optimizing side hustles, and helping readers build financial freedom from scratch.