
Let us be entirely honest: shopping for men can be an absolute nightmare. Whether you are hunting for the perfect Father’s Day present, a thoughtful groomsman gift, or a unique birthday surprise for your rugged husband, the options often feel incredibly limited. You either end up buying yet another pair of novelty socks, or you find yourself staring at overpriced, pre-packaged tactical gear that costs upwards of $100. But what if I told you that you could craft a highly functional, incredibly masculine, and wildly impressive gift for under $20? Welcome to the ultimate clever, budget-savvy solution: The DIY Survival Kit in a Jar.
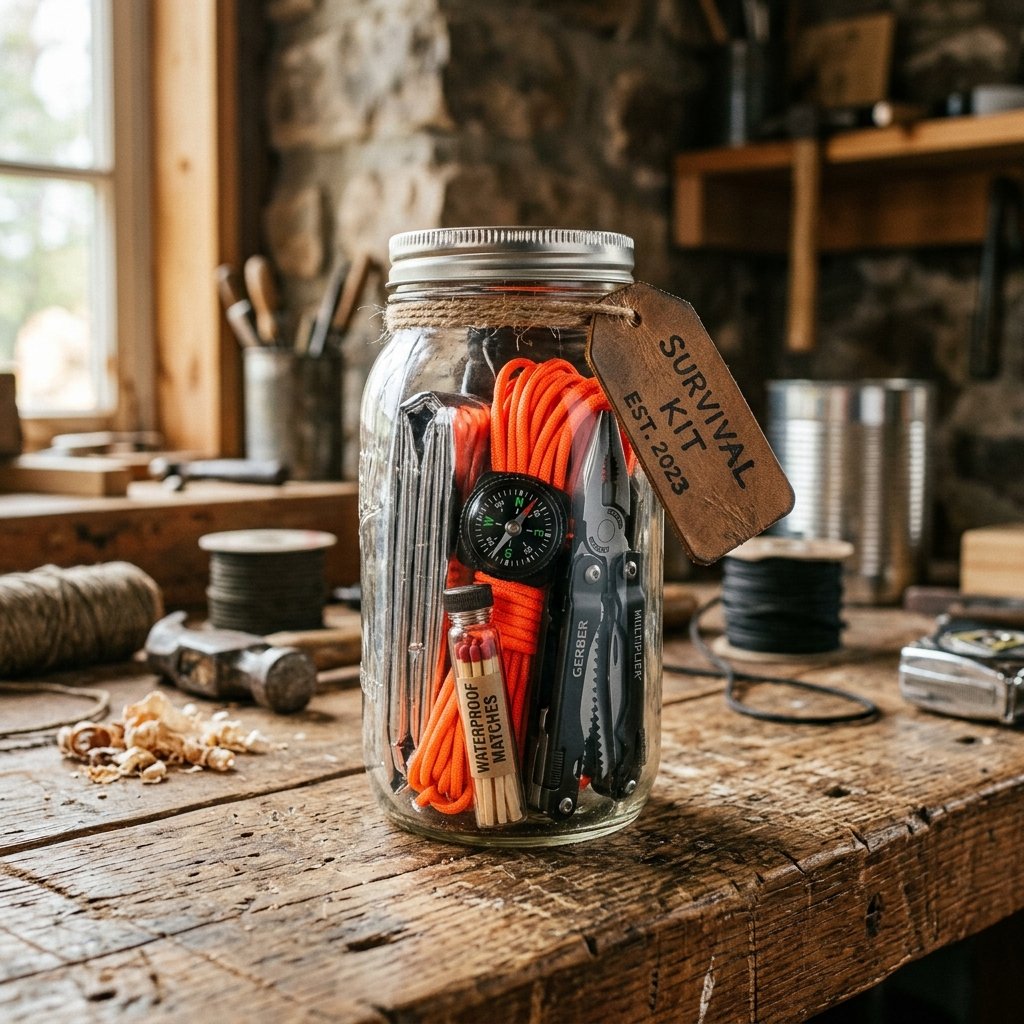
This is not your average, flimsy novelty gift. We are talking about a genuinely life-saving, practical, and ruggedly handsome kit that any camper, hiker, hunter, or general outdoorsman will absolutely obsess over. By combining the frugal magic of Dollar Tree finds, bulk upcycled materials, and a little bit of crafty ingenuity, you can assemble a custom-curated tactical cache that looks like it came straight from an elite sporting goods store.
The secret to a high-end masculine DIY gift is entirely in the presentation and the practicality. Men appreciate aesthetics, but they worship utility. If it looks rugged and serves a real purpose, it is a guaranteed win.
In this comprehensive masterclass, we are going to break down exactly how to source, build, and beautifully package a survival kit that fits perfectly into a standard wide-mouth mason jar. From crafting your own zero-budget fire starters to learning the tailor’s secret for an emergency mending kit, you will become a frugal gifting genius. Grab your hot glue gun, raid your emergency stash, and let us build a gift that says ‘I love you, now go survive in the woods.’
The Foundation: Choosing and Prepping Your Tactical Vessel
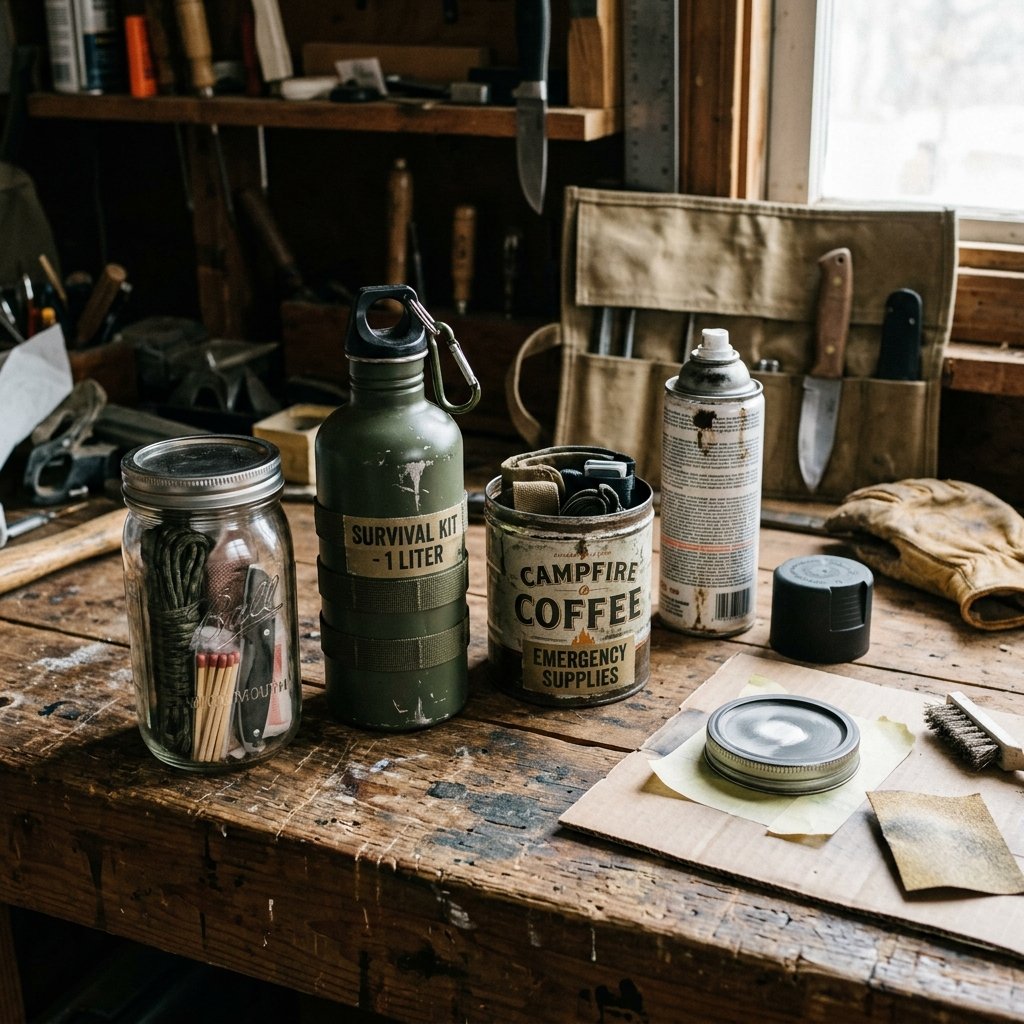
Before we can start packing our survival essentials, we need the perfect vessel. While the classic wide-mouth glass mason jar is the gold standard for this crafty project due to its rustic charm and waterproof seal, frugal DIYers know that upcycling is where the real magic happens. You do not necessarily need to buy brand new jars; a thoroughly cleaned spaghetti sauce or bulk pickle jar works beautifully and brings your vessel cost down to exactly $0.00.
Vessel Options and Upcycling Hacks
If you are gifting this to someone who will actually toss it into a hiking backpack, you might want to consider durability. Glass is gorgeous for presentation, but heavy. Let us look at the best budget-savvy options for your kit.
| Vessel Type | Estimated Cost | Durability / Practicality | Aesthetic Vibe |
|---|---|---|---|
| Wide-Mouth Mason Jar (32oz) | $2.00 (or free upcycled) | Waterproof, but breakable. Best for car gloveboxes. | Rustic, classic, Pinterest-worthy. |
| Upcycled Peanut Butter Jar (Plastic) | $0.00 (Trash-to-Treasure) | Shatterproof, lightweight, waterproof. | Utilitarian. Needs a good label to hide the plastic look. |
| Tactical Water Bottle (Nalgene Dupe) | $1.25 (Dollar Tree) | Extremely durable, serves a dual purpose for hydration. | Rugged, modern, highly practical. |
| Metal Coffee Canister | $0.00 (Upcycled) | Crush-proof, can be used to boil water in an emergency. | Vintage, heavy-duty, masculine. |
Customizing the Lid for a High-End Finish
If you are using a standard glass jar, the gold or silver lid can sometimes look a bit too ‘country kitchen’ and not quite ‘tactical survivalist.’ To give it that masculine, expensive edge, we are going to employ a quick Dollar Tree interior designer trick: matte spray paint.
- Step 1: Lightly sand the top of your metal lid with a fine-grit sandpaper (around 220 grit) to give the paint something to grip.
- Step 2: Wipe it down with a splash of rubbing alcohol to remove any oils or dust.
- Step 3: Apply two light coats of Matte Black or Olive Drab Green spray paint. Let it dry for 30 minutes between coats.
- Step 4: For an extra rugged touch, use a dab of hot glue to attach a small compass directly to the center of the painted lid!
The Core Essentials: Fire, Water, and Shelter on a Dime
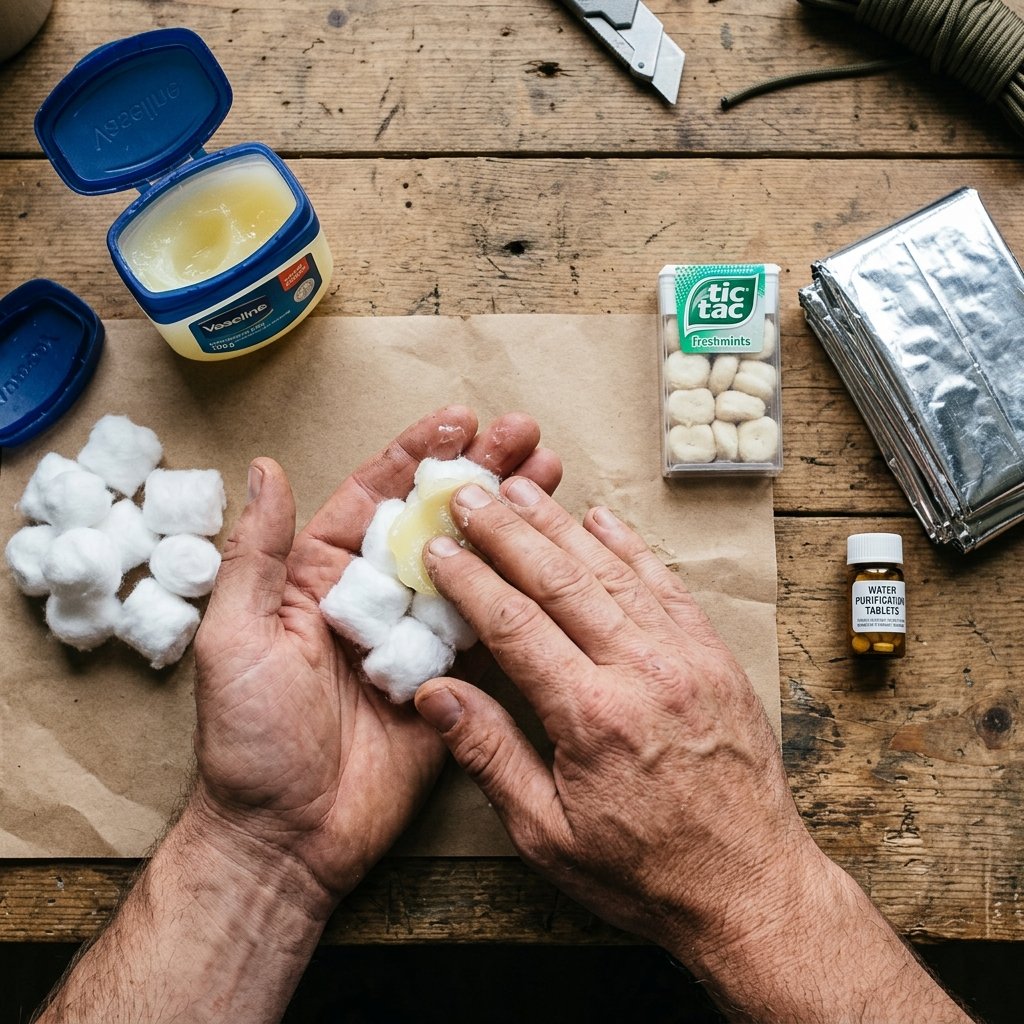
The holy trinity of survival is fire, water, and shelter. Store-bought kits will charge you a premium for branded items, but a clever crafter knows how to hack these essentials using household items and dollar store finds. This is where your frugal DIY skills truly shine.
Zero-Budget DIY Fire Starters
Do not spend $8.00 on fancy commercial fire plugs. You can make the absolute best, longest-burning fire starters using items currently sitting in your bathroom cabinet. The cotton ball and petroleum jelly trick is a classic outdoorsman secret.
The Frugal Fire Formula: 1 Jumbo Cotton Ball + 1 Teaspoon Petroleum Jelly = 5 Minutes of continuous, waterproof burn time.
- Take a handful of jumbo 100% cotton balls.
- Scoop a generous dollop of petroleum jelly (Vaseline) onto your fingers.
- Vigorously massage the jelly into the cotton balls until they are saturated but still fluffy on the inside.
- Pack them tightly into an upcycled tic-tac box or a small plastic baggie.
Water and Shelter Must-Haves
Next, we need to ensure our rugged recipient stays hydrated and warm. Head to your local dollar store or bulk online retailer for these budget-savvy additions:
- Water Purification Tablets: You can buy a bottle of 50 tablets for around $6.00. Repackage 10 of them into a tiny glass vial or a folded foil packet to save space in the jar.
- Emergency Mylar Blanket: These space blankets reflect 90% of body heat and cost roughly $1.00 each when bought in a multi-pack. Keep it in its original tight factory fold—once you open a Mylar blanket, it is nearly impossible to fold it back down to fit in a jar!
- Stormproof Matches: Dip the heads of standard strike-anywhere matches in melted candle wax to make them instantly waterproof. Store them in an upcycled pill bottle with a piece of sandpaper glued to the inside of the lid for striking.
The Tactical First Aid & Hand-Mending Mini-Kit
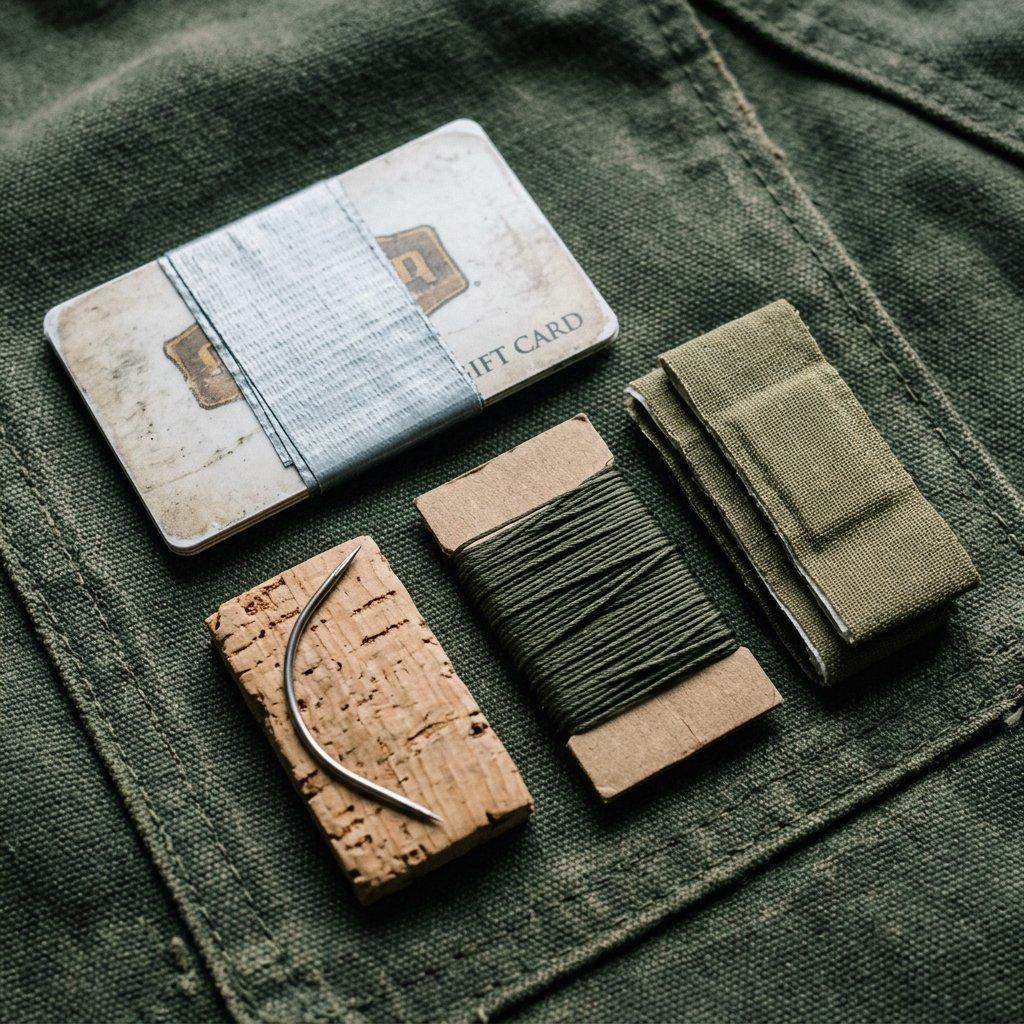
A true survivalist knows that gear breaks and blisters happen. A massive first aid kit will not fit in our jar, so we must be ruthless and resourceful in our curation. We are going to build a micro-kit that addresses the most common wilderness issues: minor cuts, blisters, and torn gear.
The Micro First Aid Stash
Utilize small zip-top bead bags (found in the craft aisle for $1.25) to organize these items so they don’t float loosely around the jar.
- 4 heavy-duty fabric bandages
- 2 butterfly closures for deeper cuts
- 4 alcohol prep pads (double as fire accelerants!)
- 1 small tube of super glue (seals wounds in an emergency and fixes gear)
- A 12-inch strip of duct tape wrapped tightly around an old, expired credit card or a golf pencil. This saves massive amounts of space compared to a whole roll!
The Master Tailor’s Emergency Mending Kit
As a frugal upcycler, you know the value of a good needle and thread. In the wild, a ripped tent, a torn backpack strap, or a blown-out boot seam can be disastrous. We are going to include a rugged, heavy-duty sewing kit.
| Mending Item | Purpose in the Wild | DIY Sourcing Tip |
|---|---|---|
| Curved Upholstery Needle | Sewing thick leather boots or heavy canvas tents. | Pull from a cheap dollar store sewing kit. |
| Kevlar or Heavy Nylon Thread | Will not snap under pressure; use for load-bearing gear. | Wrap 10 feet around a small piece of cardboard. |
| Safety Pins (Assorted) | Quick-fix for broken zippers or slings. | Raid your laundry room drawer (Cost: $0.00). |
| Fishing Line (Braided) | Dual purpose: catching dinner or stitching gear. | Ask a fisherman friend for a few yards of scrap. |
Safety Warning: When packing sharp objects like upholstery needles or fishing hooks, always stick the sharp points into a small piece of cork or a pencil eraser to prevent the recipient from getting stabbed when reaching into the jar!
Navigation, Signaling, and Multi-Tools on a Budget
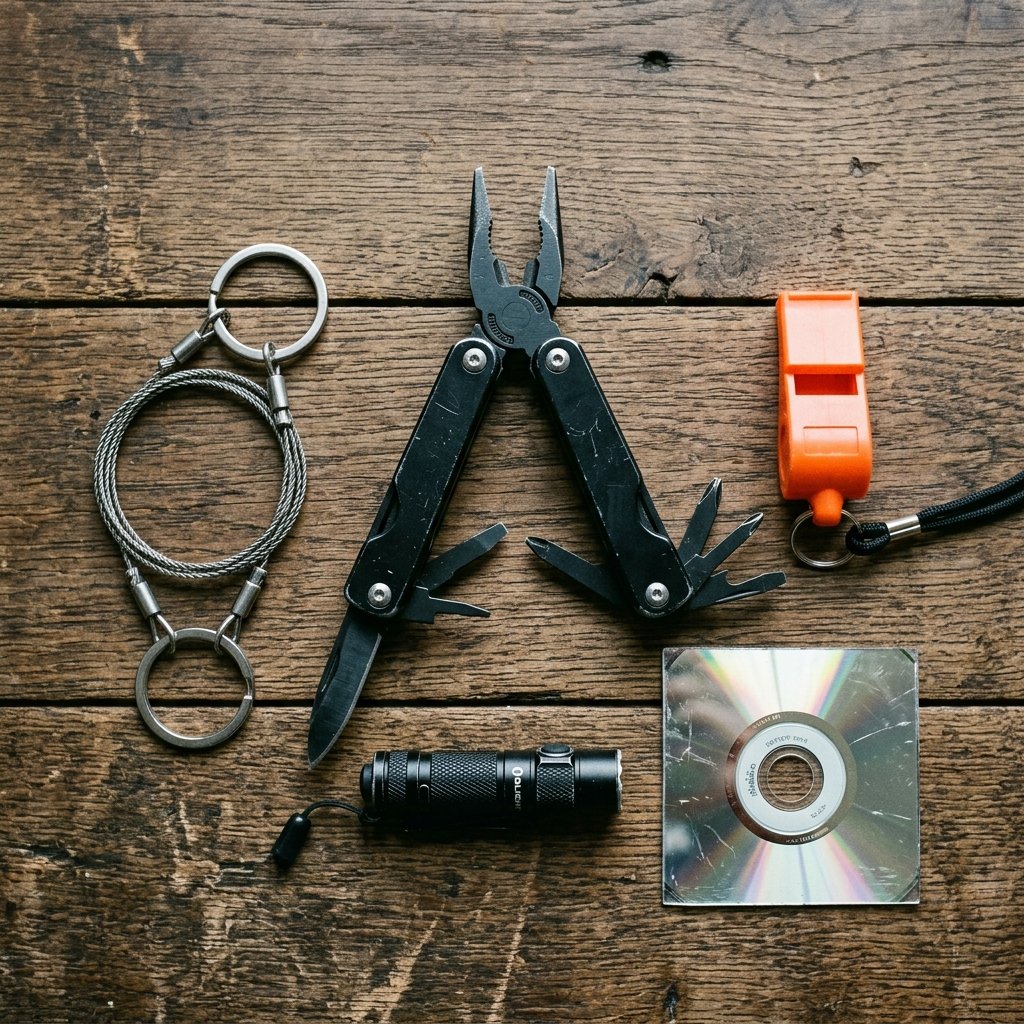
Now we add the hardware. This is the section that truly makes the jar feel like a premium, masculine gift. While you could spend hundreds on high-end titanium tools, our goal is practical, budget-savvy functionality.
Sourcing the Hardware
You want items that are compact but highly effective. Here is the ultimate checklist for the hardware layer of your survival jar:
- The Multi-Tool: You do not need a Leatherman. Many hardware stores sell perfectly functional, heavy-duty mini multi-tools near the checkout counter for around $5.00. Look for one with pliers, a knife blade, and a screwdriver.
- Wire Saw: A pocket wire saw takes up almost zero space but can cut through thick branches for firewood or shelter building. These cost about $3.00 online.
- Signaling Mirror: Do not buy one! Channel your trash-to-treasure skills. Take an old, scratched CD or DVD, cut a 2-inch square out of it using heavy shears, and sand the edges smooth. It is highly reflective and 100% free.
- Emergency Whistle: A loud, pea-less whistle is crucial for signaling for help. String it onto a piece of paracord.
- Mini Flashlight: A small LED keychain flashlight (often found in packs of 3 at the dollar store) is perfect. Pro-tip: Reverse the battery inside the flashlight before packing it so it doesn’t accidentally turn on and drain inside the jar!
By sourcing smartly, your hardware section should cost no more than $10.00 total, yet it provides immense survival value and a heavy, satisfying weight to the gift.
The Assembly Protocol: Packing the Jar Like a Tetris Master
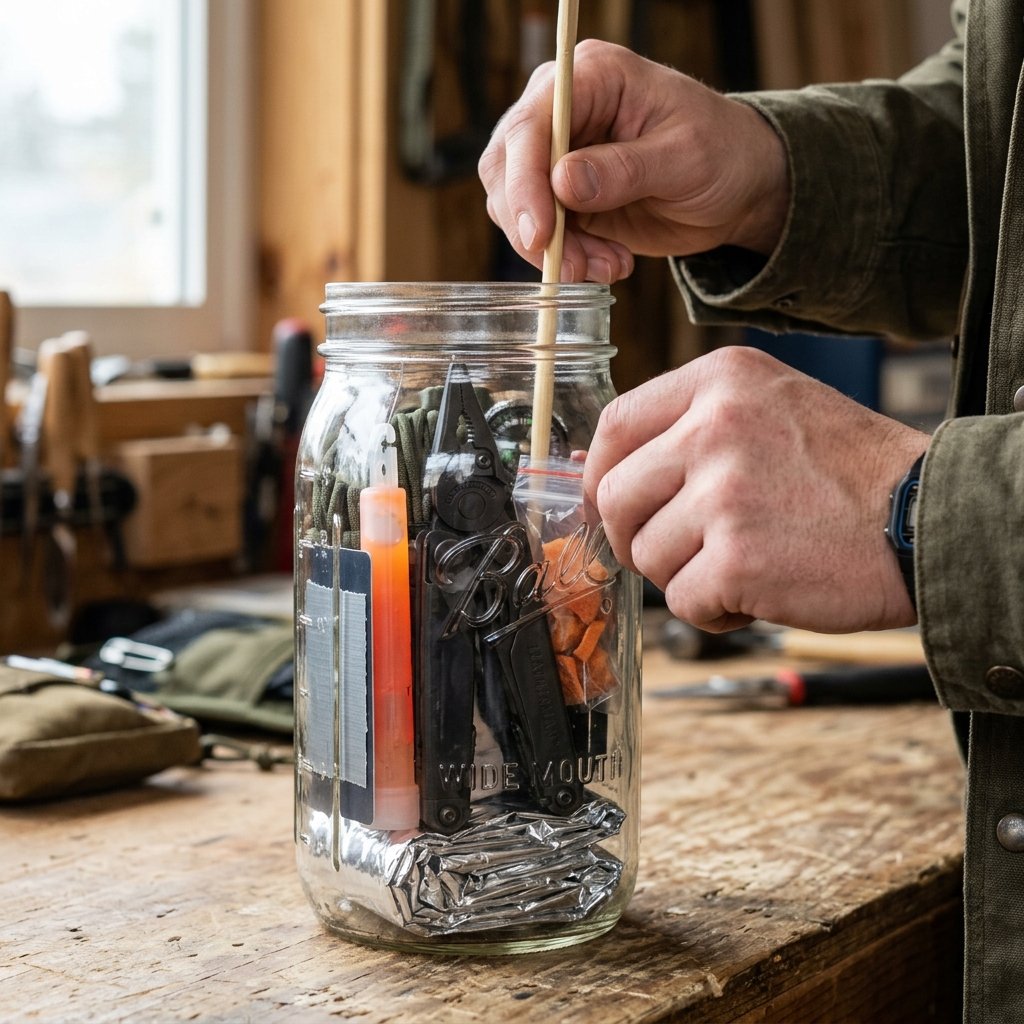
Having all the right gear is only half the battle; getting it all to fit beautifully into a single 32oz mason jar requires the spatial awareness of a Tetris grandmaster. The presentation is what elevates this from a ‘pile of junk’ to a ‘thoughtful, premium gift.’
The Layering Technique
We want the jar to look visually appealing from the outside while maximizing every square inch of internal volume. Follow this strict packing protocol:
- The Soft Base: Start by pushing the emergency Mylar blanket into the very bottom of the jar. It acts as a cushion and creates a solid, shiny base.
- The Perimeter Wall: Take your longer, flatter items (the duct tape card, the wire saw in its packaging, glow sticks) and stand them upright against the inside glass. This creates a visually interesting ‘wall’ and hides the messier items in the center.
- The Heavy Core: Drop your heaviest item—the multi-tool and flashlight—straight down the middle. This anchors the jar and prevents it from being top-heavy.
- Filling the Gaps: Now, take your smaller baggies (first aid, fire starters, mending kit, water tablets) and stuff them into the negative space around the multi-tool. Use a butter knife or a chopstick to gently push them down into the crevices.
- The Top Seal: Coil a 10-foot length of 550 paracord into a flat spiral and press it right at the top, just under the lid. It acts as a spring, keeping everything packed tightly so the jar doesn’t rattle when shaken.
The Shake Test: Once packed and sealed, give the jar a firm shake. If you hear loud clanking, open it up and stuff a few more cotton balls into the gaps to silence it. A silent jar feels like a high-quality, professionally manufactured product.
Customizing the Masculine Presentation: Leather Tags and Paracord Wraps
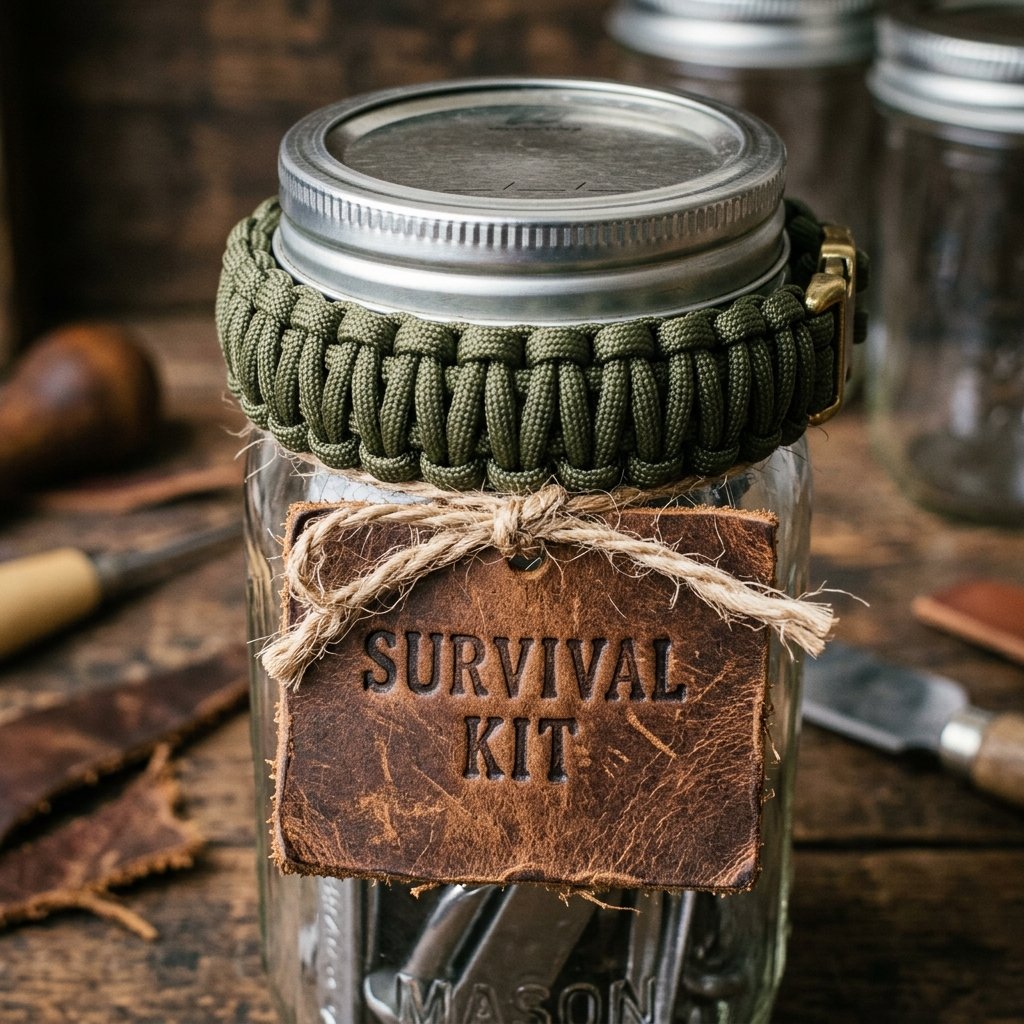
We have built a life-saving tool; now we must make it look like a high-end artisanal gift. This is where your crafty, Dollar Tree interior designer skills come into play. A plain glass jar is boring. A jar wrapped in survival cord with a custom-stamped leather tag? That is a masterpiece.
The Cobra Weave Paracord Wrap
Instead of just tossing paracord inside the jar, you can upgrade the exterior by wrapping the neck of the jar. Paracord is an essential survival tool (used for tying shelters, tourniquets, or fishing lines).
- Take 15 feet of olive drab or neon orange 550 paracord.
- Tie a simple loop around the threaded neck of the jar.
- Use a basic cobra weave (macrame square knot) to create a thick, rugged band around the neck.
- Melt the final ends with a lighter to prevent fraying and secure the weave.
Crafting a Rugged Leather Label
To finish the gift, we need a label that explains what is inside. Skip the delicate paper gift tags and opt for something masculine and durable.
| Tag Material | How to Craft It | Cost Estimate |
|---|---|---|
| Scrap Leather | Cut a rectangle from an old thrifted belt or purse. Use metal letter stamps (or a wood-burning tool) to brand ‘SURVIVAL KIT’ into the leather. | $1.00 (Thrift store) |
| Kraft Cardstock | Cut a tag from thick brown Kraft paper. Type the inventory list on a vintage typewriter or print with a distressed font. Laminate with clear packing tape. | $0.00 (From stash) |
| Wood Veneer | Cut a thin piece of balsa wood or veneer. Use a fine-tip Sharpie to write the contents, then seal with a quick coat of Mod Podge. | $2.00 (Craft store) |
Punch a hole in your tag, thread it with a piece of rough jute twine or a scrap of leather lace, and tie it securely around the paracord collar. You now have a visually stunning, ruggedly handsome, and entirely functional gift that looks like it belongs on the shelf of a boutique outdoor outfitter.
Conclusion
And there you have it, my frugal friends! By combining clever upcycling, dollar store ingenuity, and a little bit of strategic packing, you have created a gift that is both deeply thoughtful and fiercely practical. The Ultimate DIY Survival Kit in a Jar proves that you do not need to spend a fortune to impress the outdoorsman in your life. For under $20, you have given him fire, water, shelter, and the tools to fix his gear—all wrapped up in a rugged, handsome package that he will be proud to show off to his buddies.
The next time Father’s Day, a birthday, or a holiday rolls around, skip the generic gift cards and the overpriced big-box store kits. Dive into your craft stash, hit the hardware aisle, and build something that genuinely matters. Stay crafty, stay budget-savvy, and happy gifting!

Makenzie is the founder and lead writer at MoneyHackTips.com — a personal finance blog dedicated to delivering street-smart financial wisdom for real people on real budgets. With 300+ published articles covering everything from debt management to investing fundamentals, Makenzie’s mission is to make every dollar work harder. When not writing about money hacks, Makenzie is testing frugal living strategies, optimizing side hustles, and helping readers build financial freedom from scratch.