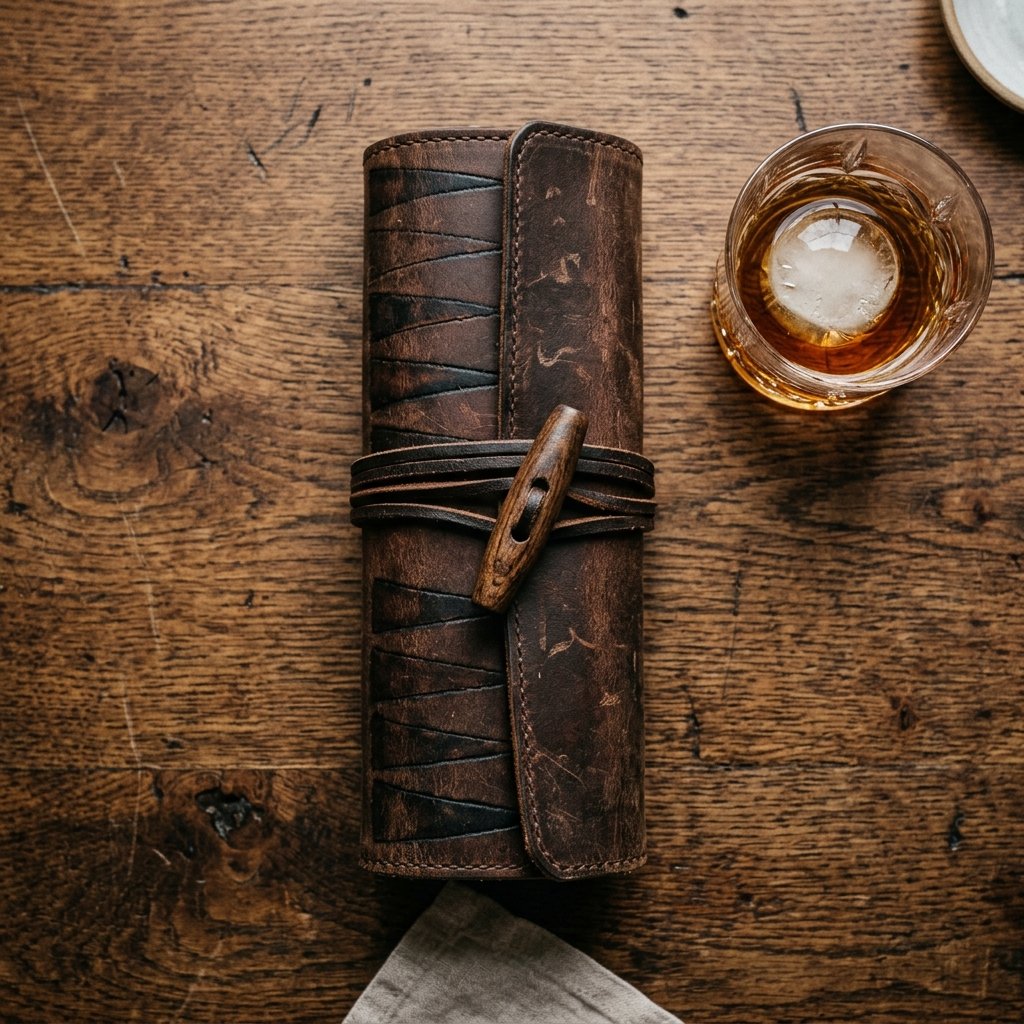

There is something inherently timeless about the combination of leather and strategy. Whether it is a quiet evening by the campfire or a long-haul flight, a portable board game is the mark of a well-prepared gentleman and a savvy traveler. But if you have ever browsed high-end boutique stores, you know that a genuine leather roll-up game can easily fetch $150 to $300. As frugal DIYers, we know better. We know that with a bit of resourcefulness, a sharp utility knife, and a salvaged leather jacket from a thrift store, we can create a piece that is not only functional but possesses a rugged elegance that store-bought items simply cannot replicate.
This guide isn’t just about making a game; it is about the art of the ‘Trash-to-Treasure’ transformation. We are going to dive deep into sourcing leather for pennies, mastering the art of leather burning (pyrography), and creating a custom heirloom that any guy would be proud to carry in his rucksack. This is practical, masculine-elegant crafting at its finest. Let’s get to work.
The Philosophy of the Portable Game: Why Leather?
When we talk about ‘masculine-elegant’ design, leather is the undisputed king. It is durable, it develops a unique patina over time, and it has a tactile weight that plastic or cardboard simply lacks. A roll-up board game is the ultimate expression of this aesthetic because it solves a practical problem—portability—without sacrificing style. By using leather, we create a ‘living’ object that tells a story the more it is used.
The Benefits of a Roll-Up Design
- Space Efficiency: It fits into a jacket pocket or a small corner of a backpack.
- Durability: Unlike paper boards, leather won’t tear, water-stain easily, or lose its shape.
- Quiet Play: The soft surface of leather muffles the sound of rolling dice or moving pieces, making it perfect for public spaces.
- Customization: You can choose the game—Backgammon, Chess, Checkers, or even a custom tactical game.
Budget Mantra: A man’s wealth is not measured by what he buys, but by what he can create with his own two hands and a bit of grit.
Scavenging the Hide: Sourcing Premium Leather for Pennies
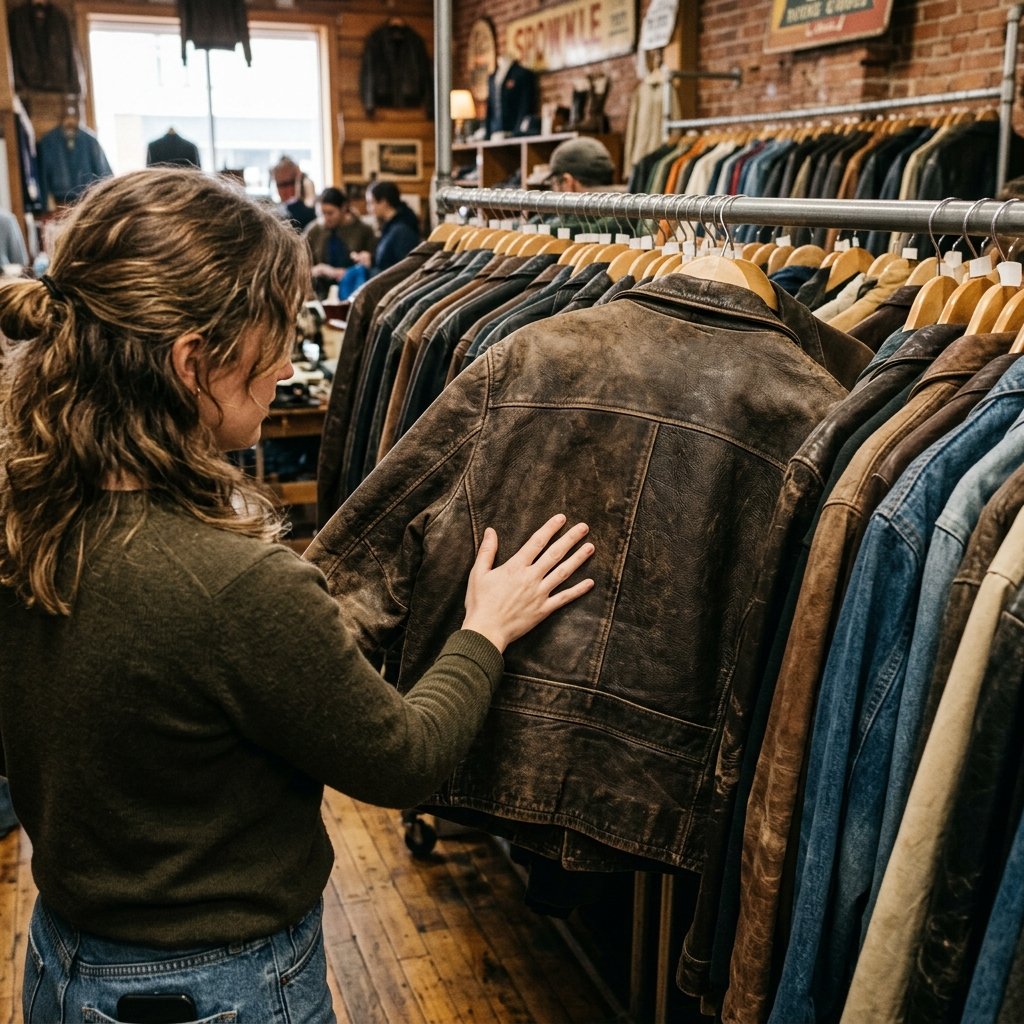
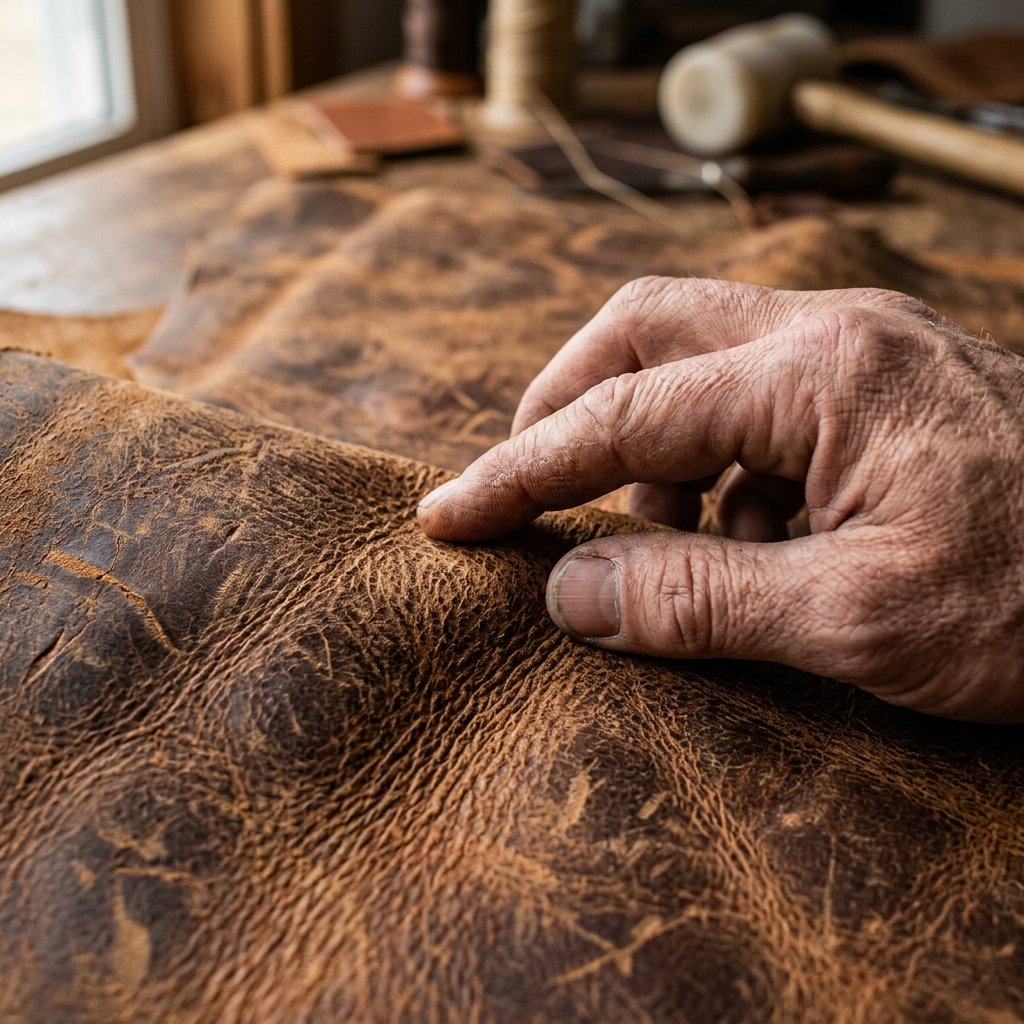
You do not need to spend $50 on a pristine hide from a specialty tannery. In fact, for this project, ‘character’ is better than perfection. We want leather that looks like it has seen some miles. Here is how to source your materials like a pro.
Top Thrift Store Targets
- The $5 Leather Jacket: Look for 1980s or 90s era jackets with large back panels. Avoid ‘bonded leather’ (which is essentially leather sawdust glued together). Look for ‘Genuine Leather’ or ‘Full Grain’ labels.
- Old Handbags and Totes: Large, unconstructed tote bags often provide perfectly flat squares of thick leather.
- Upholstery Scraps: Visit a local furniture repair shop. They often have ‘remnants’ or ‘offcuts’ that are too small for a chair but perfect for a game board. Often, they will give these to you for free or a few dollars.
| Source | Estimated Cost | Usable Area |
|---|---|---|
| Thrifted Jacket | $5 – $15 | Large (Back/Sleeves) |
| Upholstery Remnants | $0 – $5 | Medium (Varies) |
| New Leather Hide | $60 – $120 | Extra Large |
Pro Tip: If the leather is a bit stiff, a light coating of olive oil or dedicated leather conditioner will bring it back to life and give it that rich, dark luster we are after.
The Blueprint: Designing Your Game Board
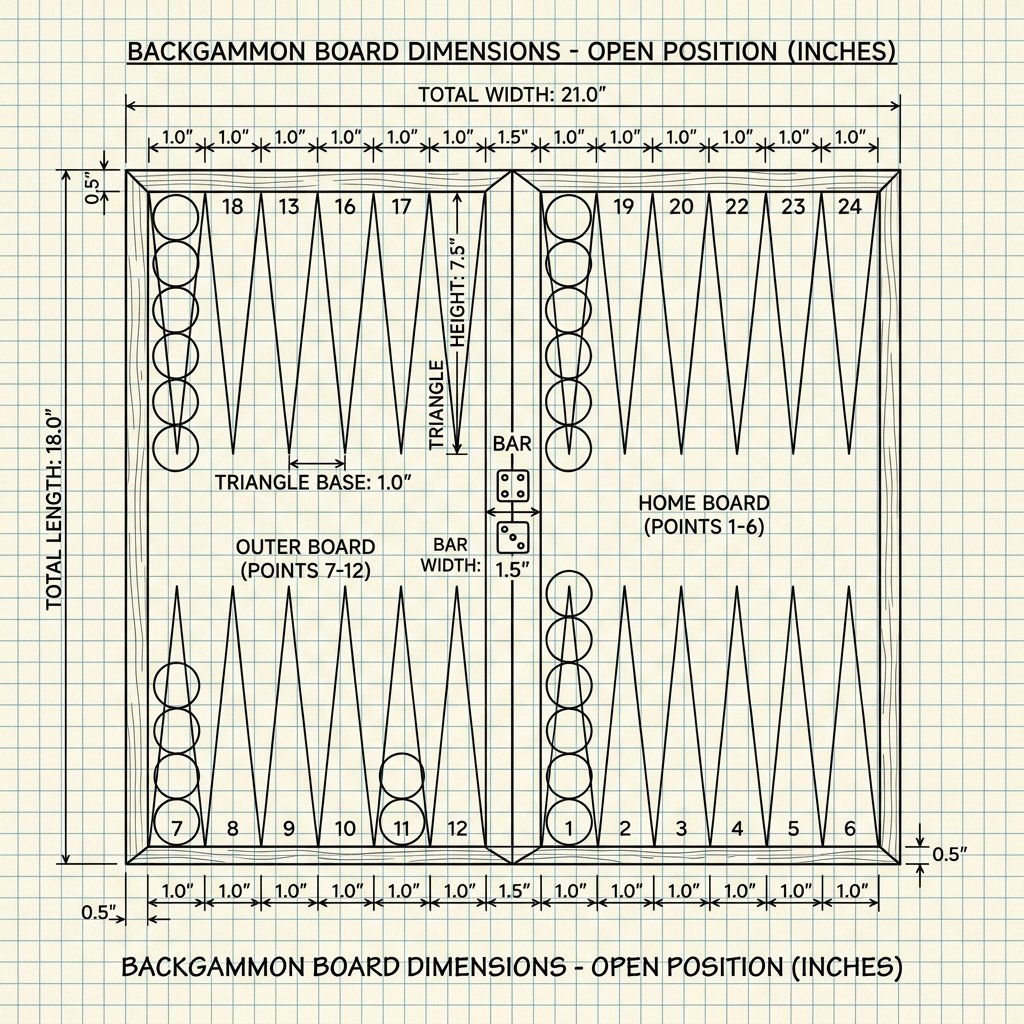
Before we cut, we must plan. The most popular choice for a roll-up game is Backgammon because of its geometric beauty, but Chess/Checkers is a close second. For this tutorial, we will focus on the Backgammon layout, but the techniques apply to any grid-based game.
Standard Dimensions for Portability
- The Main Board: 10 inches by 14 inches. This allows for a comfortable playing field while remaining small enough to roll tightly.
- The Border: Leave a 0.5-inch margin on all sides to prevent the game pieces from sliding off easily.
- The Pockets: If you are feeling extra crafty, you can sew a small leather pouch directly onto one end of the board to hold the dice and pieces.
Measurement Rule: Measure twice, cut once, and always use a metal-edged ruler. A plastic ruler will get nicked by your utility knife, leading to jagged edges.
The Master Tool Kit: Professional Results with Household Hacks
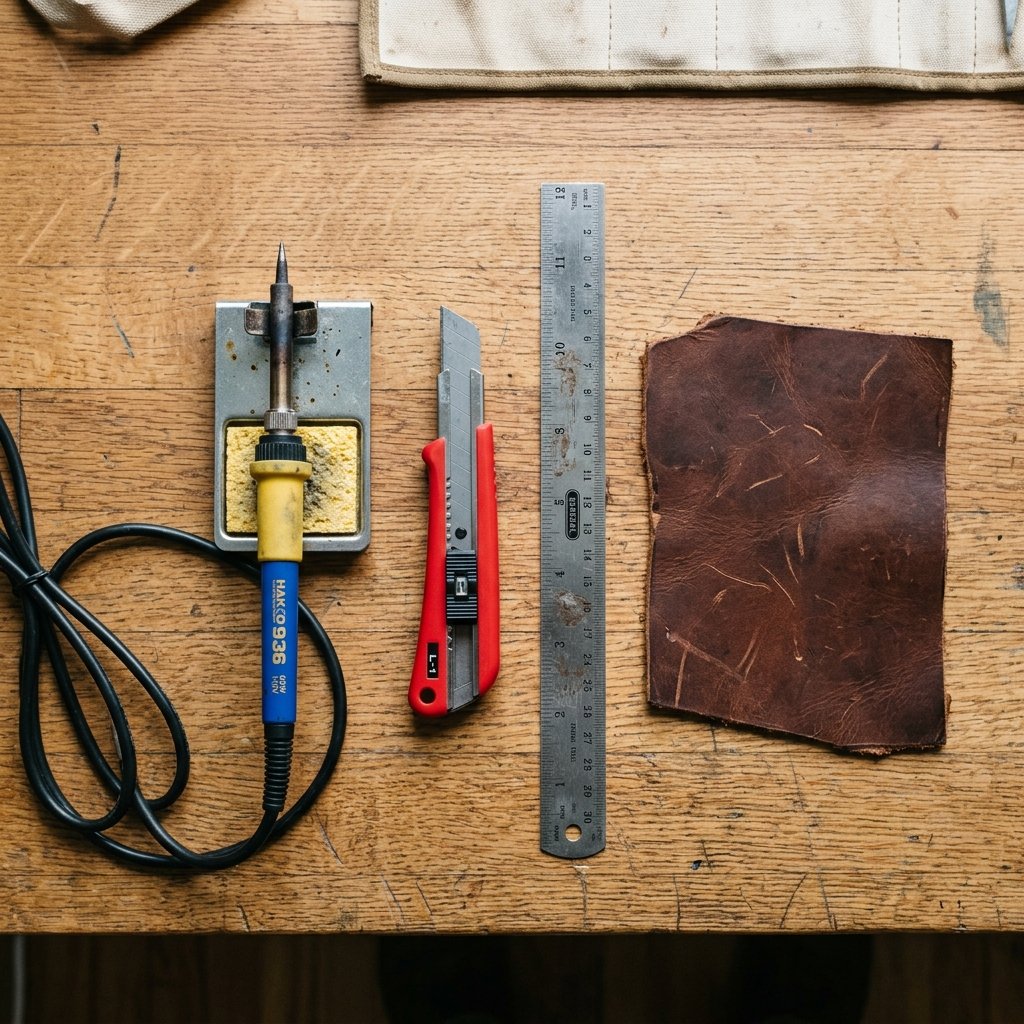
You don’t need a professional leatherworking shop. Most of these tools are already in your junk drawer or can be found at a local hardware store for under $10.
Essential Tools
- Self-Healing Mat or Cardboard: To protect your table during cutting.
- Utility Knife or Rotary Cutter: Ensure the blade is brand new. Leather is tough and will dull a blade quickly.
- Soldering Iron or Wood Burner: This is our secret weapon for ‘painting’ the board. It creates permanent, charred lines that look incredibly high-end.
- Awl or Large Needle: For punching holes if you choose to sew on a pouch or ties.
- Metal Ruler: For straight, crisp cuts.
| Tool | DIY Substitute | Purpose |
|---|---|---|
| Leather Punch | Nail and Hammer | Creating holes for ties |
| Edge Burnisher | Old Denim Scrap | Smoothing the cut edges |
| Leather Dye | Strong Coffee/Tea | Staining the triangles |
Safety Note: When using a soldering iron or wood burner on leather, work in a well-ventilated area. The smell of burning leather is distinct and can be strong. Always keep a steady hand and move the iron at a consistent speed to avoid deep pits.
Step-by-Step Construction: From Scrap to Strategy
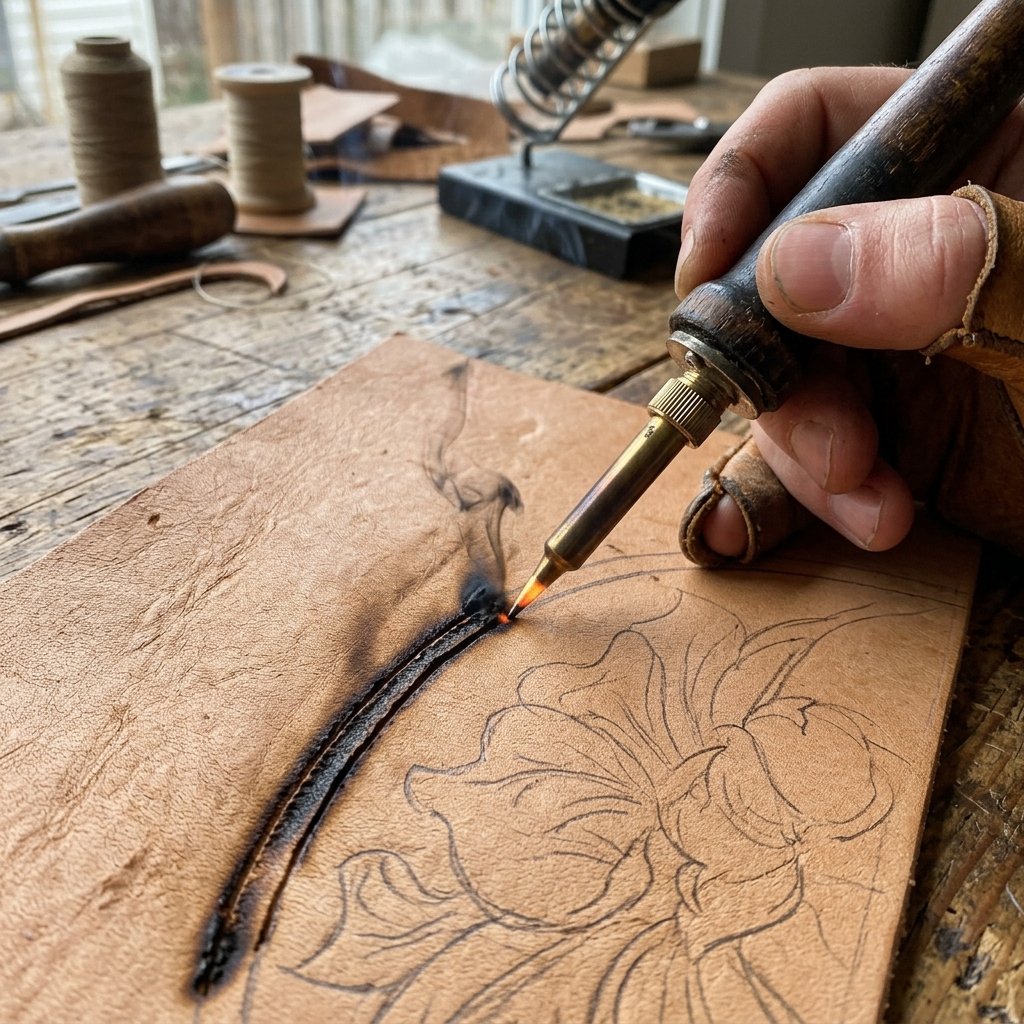
Follow these steps carefully to ensure a professional finish. We are aiming for that ‘Indiana Jones’ artifact look.
Step 1: Preparing the Leather
Lay your leather flat. If it came from a jacket, use your utility knife to carefully remove the lining and seams. You want the largest flat section possible. Wipe it down with a damp cloth to remove any thrift-store dust.
Step 2: The Cut
Using your metal ruler, mark out a 10″ x 14″ rectangle. Press down firmly on the ruler and make several light passes with your knife rather than one heavy one. This prevents the leather from stretching or bunching.
Step 3: Layout and Marking
For Backgammon, you need 12 triangles on each side. Use a pencil to lightly mark the base of each triangle (approx 1 inch wide) and the tip (approx 4.5 inches long). Ensure they are centered.
Step 4: The Burn (Pyrography)
Once your pencil marks are perfect, heat up your soldering iron. Trace the outlines of the triangles. For the ‘dark’ triangles, you can cross-hatch the interior with the iron or use a bit of wood stain or even a permanent marker. The burnt smell and the sight of the leather darkening is incredibly satisfying.
Step 5: Edge Finishing
To give the edges a professional, rounded look, dampen the cut edges with a little water and rub them vigorously with a scrap of denim or a smooth wooden dowel. The friction will ‘burnish’ the fibers, making them shiny and smooth.
The Game Pieces: Upcycled and Natural Options
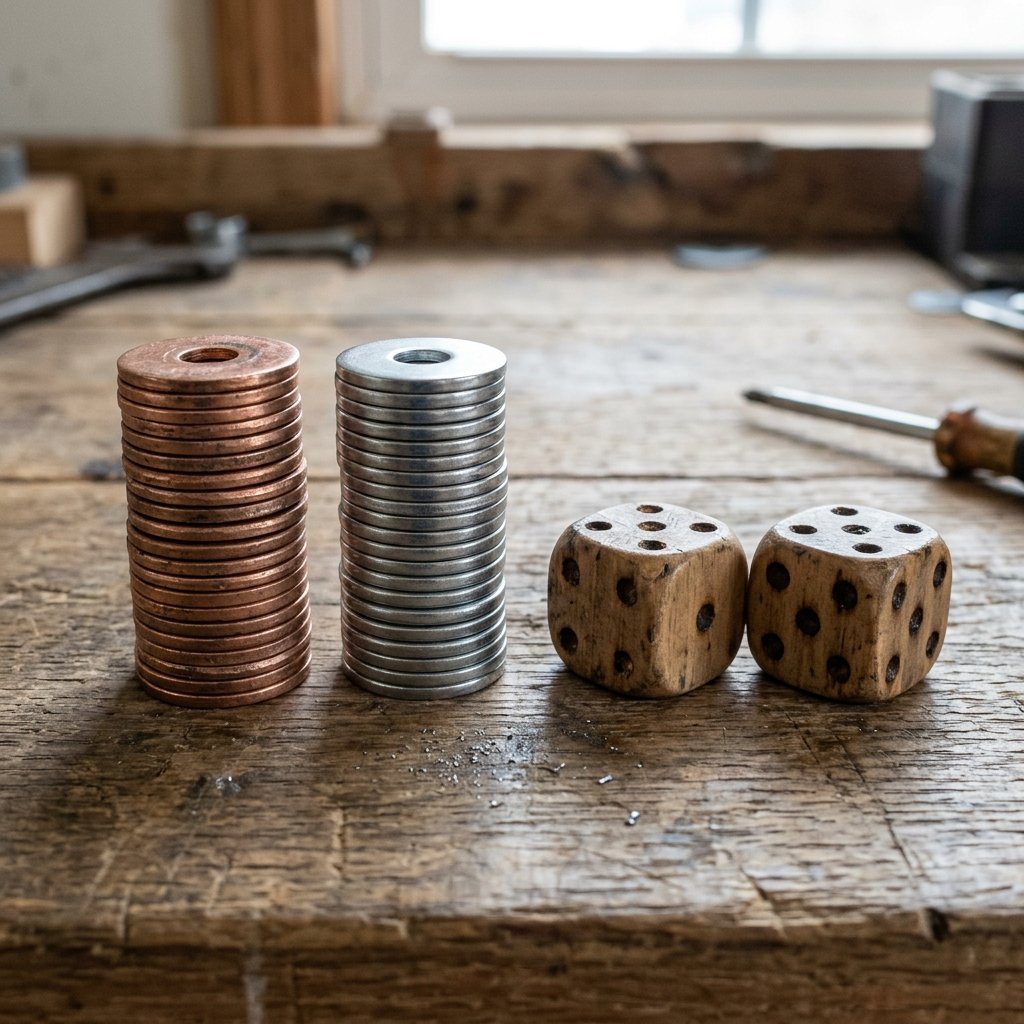
A leather board deserves better than plastic checkers. We want pieces that have weight and a story.
Creative Piece Ideas
- Hardware Store Special: Large zinc-plated washers for one side and copper-plated washers for the other. They are heavy, stackable, and cheap.
- Nature’s Set: Smooth river stones or small wood slices (rounds) from a fallen branch. Use a wood burner to mark half of them with an ‘X’.
- Vintage Coins: Use old pennies for one side and nickels for the other. If you can find old international coins, even better.
- Leather Scraps: Cut 30 small circles from a different colored leather scrap. Glue two layers together for thickness.
| Piece Type | Cost | Vibe |
|---|---|---|
| Metal Washers | $4.00 | Industrial/Modern |
| Wood Slices | $0.00 | Rustic/Outdoorsy |
| Vintage Coins | Varies | Antique/Collector |
The Final Assembly: The Roll and Tie
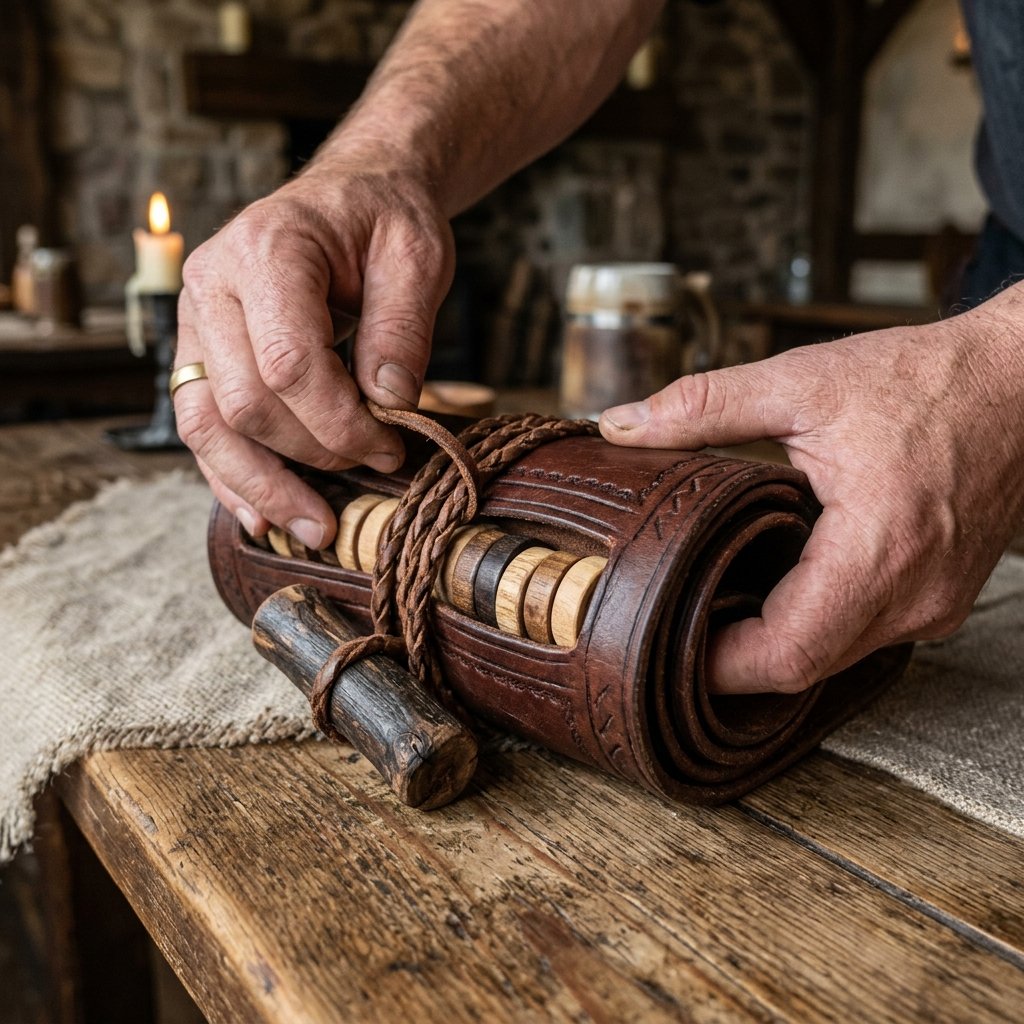
The ‘Roll-Up’ feature is what makes this project genius. We need a way to keep it secure when it’s tucked in your bag.
Creating the Closure
- The Cord: Cut a thin strip of leather about 18 inches long.
- The Attachment: Punch a small hole in the center of one of the 10-inch sides. Thread the cord through and tie a secure knot on the inside.
- The Toggle: Slide a large wooden bead, a vintage button, or even a small piece of antler onto the cord.
- The Storage: Roll the board tightly around the game pieces (you can keep them in a small cloth bag inside the roll). Wrap the cord around the roll and tuck the toggle under the cord to lock it in place.
Pro Tip: For a truly ‘obsess-worthy’ gift, stamp the recipient’s initials into the leather near the tie using a metal stamping kit or simply ‘write’ them with the soldering iron.
Conclusion
Congratulations! You have just turned a piece of ‘trash’—an old leather jacket or a scrap of upholstery—into a high-end, rugged board game that will last a lifetime. This project proves that you don’t need a massive budget to create something extraordinary. You only need a bit of resourcefulness and the willingness to get your hands dirty. Whether this becomes your go-to travel companion or a cherished gift for a friend, it stands as a testament to the power of DIY. Now, find an opponent, pour a drink, and let the games begin!

Makenzie is the founder and lead writer at MoneyHackTips.com — a personal finance blog dedicated to delivering street-smart financial wisdom for real people on real budgets. With 300+ published articles covering everything from debt management to investing fundamentals, Makenzie’s mission is to make every dollar work harder. When not writing about money hacks, Makenzie is testing frugal living strategies, optimizing side hustles, and helping readers build financial freedom from scratch.