
The Secret to a High-End Porch on a Blue-Collar Budget
Let’s be honest: those designer outdoor curtains you see in glossy magazines are highway robbery. You’re looking at $80 to $150 per panel for fabric that essentially just sits there and fights the wind. As a resourceful DIYer, you know there’s always a better way. Enter the humble painter’s drop cloth. It is the ultimate ‘trash-to-treasure’ material—rugged, heavy-duty, 100% cotton canvas that offers a sophisticated, linen-like texture for a fraction of the cost. Whether you’re trying to shield your porch from the blistering afternoon sun, create a private oasis from the neighbors, or simply add a touch of masculine elegance to your outdoor ‘man cave’ or family deck, this no-sew hack is your ticket to a 5-star resort look without the 5-star price tag. We’re going to take raw utility and turn it into refined luxury using nothing more than a few clever tricks and some basic hardware.
Why Drop Cloths? The Rugged Logic of Canvas
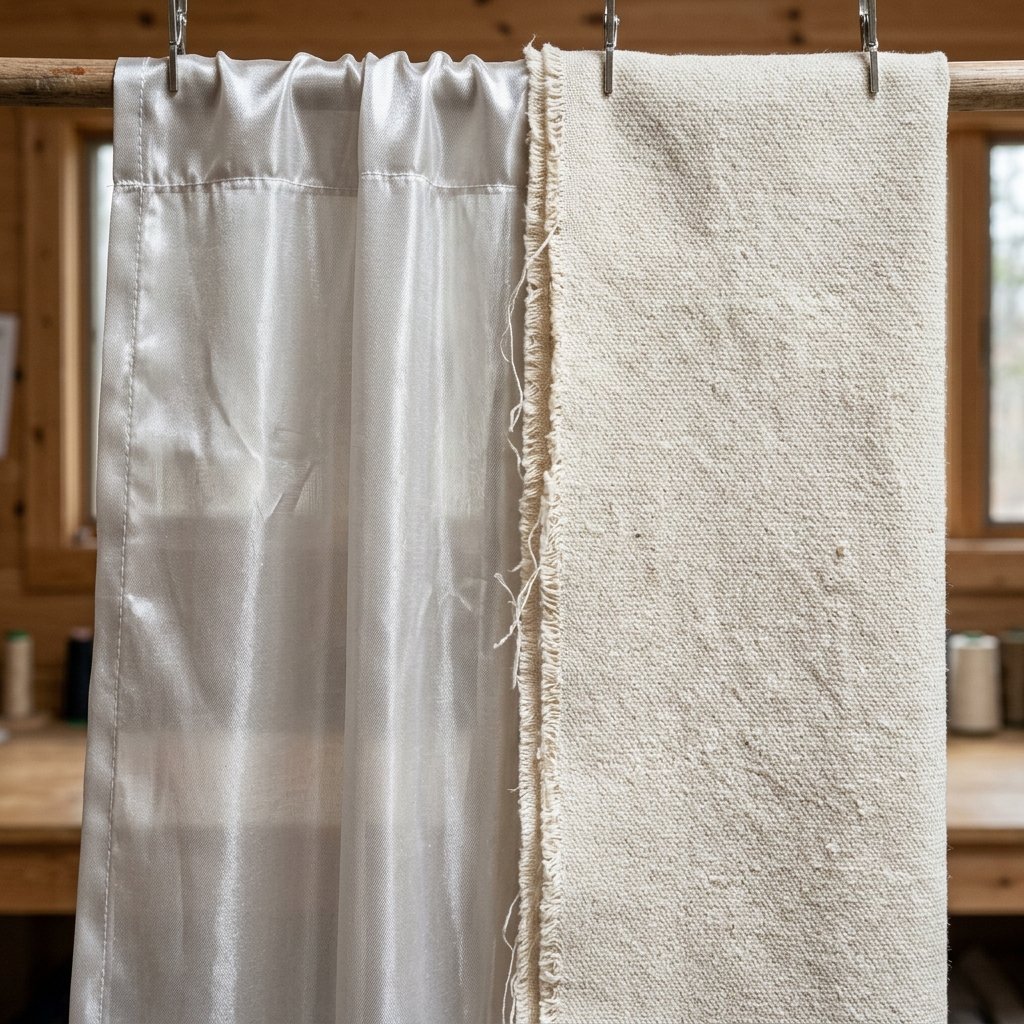
When you’re outfitting an outdoor space, you need materials that can take a beating. Standard store-bought curtains are often flimsy polyester that fades in three months. Painter’s drop cloths are designed to be stepped on, spilled on, and dragged across construction sites. They are built to last. By repurposing them, you’re not just saving money; you’re choosing a material that naturally resists the elements once treated properly.
The Cost-Benefit Breakdown
Let’s look at the numbers. To cover a standard 10-foot span of a porch, you’d typically need four panels. Here is how the DIY drop cloth method stacks up against the big-box retailers:
| Feature | Retail Outdoor Curtains | DIY Drop Cloth Curtains |
|---|---|---|
| Price Per Panel | $85.00 | $12.50 |
| Total for 4 Panels | $340.00 | $50.00 |
| Durability | Moderate (Fades easily) | High (Heavy-duty canvas) |
| Customization | Limited to stock colors | Infinite (Bleach, dye, paint) |
| Total Savings | $0.00 | $290.00 (85% Saved) |
The Budget Guru’s Mantra: Never pay for a finished product when the raw materials are sitting in the hardware aisle for 90% less.
The Supply List: What You Need at the Hardware Store
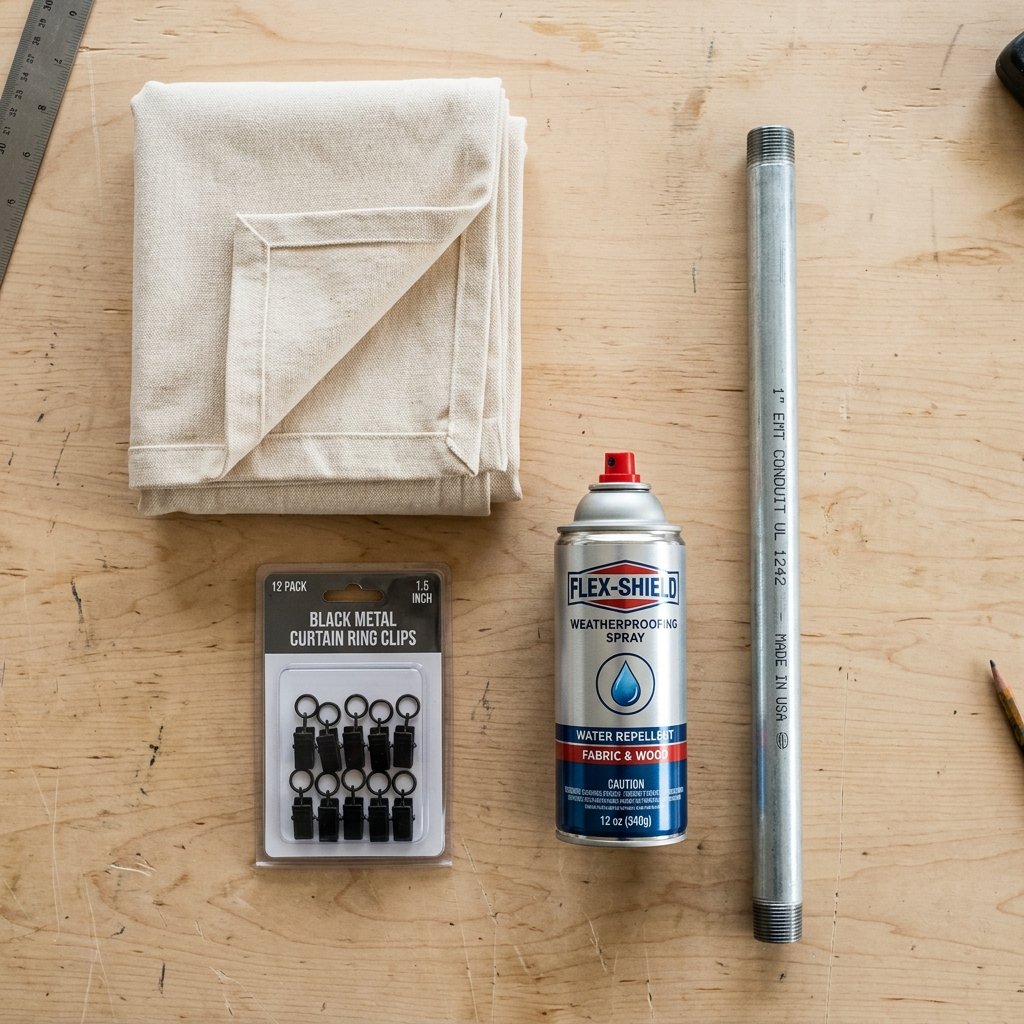
To pull off this hack, you don’t need a sewing machine or a degree in textile design. You just need to know which aisle to hit at the home improvement store. Look for 8oz or 10oz canvas. Avoid the plastic-backed versions; we want the breathable, 100% cotton variety for that beautiful drape.
- 6′ x 9′ or 9′ x 12′ Drop Cloths: (Ensure they are ‘All-Purpose’ or ‘Contractor Grade’).
- Heavy-Duty Curtain Ring Clips: These allow the curtains to slide easily and provide the ‘no-sew’ hanging mechanism.
- Outdoor Curtain Rods: Or use 3/4 inch electrical conduit (EMT) for a rugged, industrial look that costs $5 per 10-foot pole.
- Fabric Weather Guard Spray: To prevent mold and UV damage.
- Large Washers or Fishing Weights: To sew or glue into the bottom hem to prevent blowing in the wind.
| Item | Recommended Brand | Estimated Price |
|---|---|---|
| Drop Cloth (6×9) | Everbilt / Trimaco | $12.00 – $15.00 |
| Ring Clips (14 pack) | Amazon / Walmart | $8.00 |
| EMT Conduit (10ft) | Home Depot | $6.00 |
| Weather Spray | Scotchgard Outdoor | $10.00 |
Step 1: The ‘Bleach & Soften’ Phase
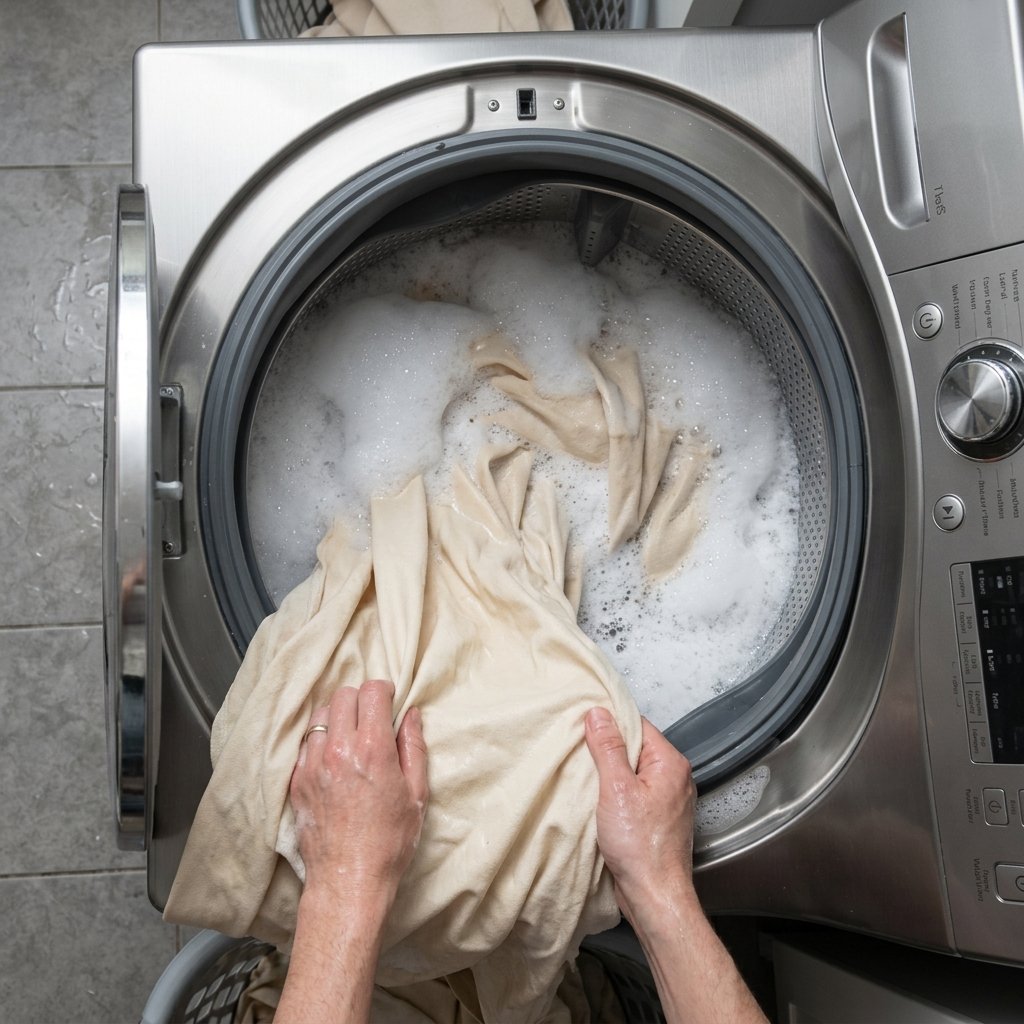
Raw drop cloths usually come in a ‘dirty oatmeal’ color and feel stiff as a board. If you want that high-end, bleached-linen look, you need to prep the fabric. This is the secret step that separates the amateurs from the pros.
- The Wash: Throw your drop cloths into the washing machine on the hottest setting possible. Use a heavy-duty detergent.
- The Bleach: Add 2 to 3 cups of bleach to the wash cycle. This will lighten the tan color to a beautiful, creamy off-white.
- The Soften: Use a generous amount of fabric softener or 1 cup of white vinegar in the rinse cycle. This breaks down the starch in the canvas, giving it a soft, luxurious ‘hand’ that drapes like expensive drapes.
- The Dry: Tumble dry on high heat. This will also pre-shrink the fabric so your hems don’t move later.
Pro-Tip: Check the seams after washing. If there are loose threads, simply snip them. The slightly frayed edge adds to the ‘shabby-chic’ or ‘rugged-elegant’ aesthetic.
Step 2: No-Sew Hanging & Leveling
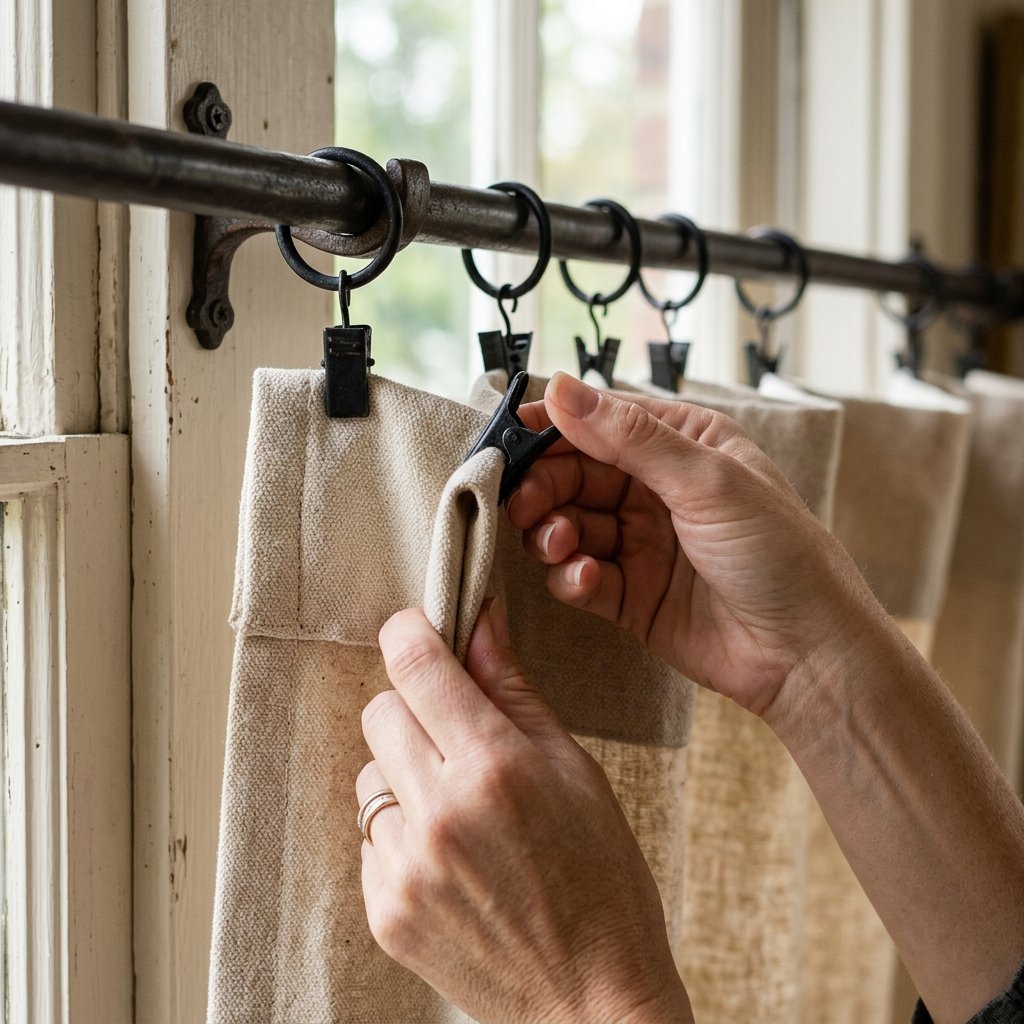
Now for the ‘no-sew’ magic. Instead of sewing a rod pocket, we are using tension-strength ring clips. This gives the curtains a modern, pleated look and makes them incredibly easy to take down for washing.
How to Get the Perfect Height
- Measure Twice: Hang your rod first. Measure from the bottom of the ring clip to the floor.
- The Fold-Over Method: If your drop cloth is too long (e.g., a 9-foot cloth for an 8-foot ceiling), do not cut it! Simply fold over the top 12 inches to create a decorative ‘valance’ look on the outside.
- Clip Placement: Space your clips every 6 to 8 inches. For a more tailored look, pinch the fabric slightly before clipping to create ‘faux pleats’.
- The Bottom Hem: If you need to shorten the bottom without sewing, use Heat n Bond UltraHold tape and an iron. It creates a permanent bond that stands up to the heat.
| Drop Cloth Size | Ideal Ceiling Height | Adjustment Method |
|---|---|---|
| 6′ x 9′ | 8 Feet | 12-inch top fold |
| 9′ x 12′ | 10-11 Feet | 12-24 inch top fold |
Step 3: Tactical Weatherproofing & Wind Control
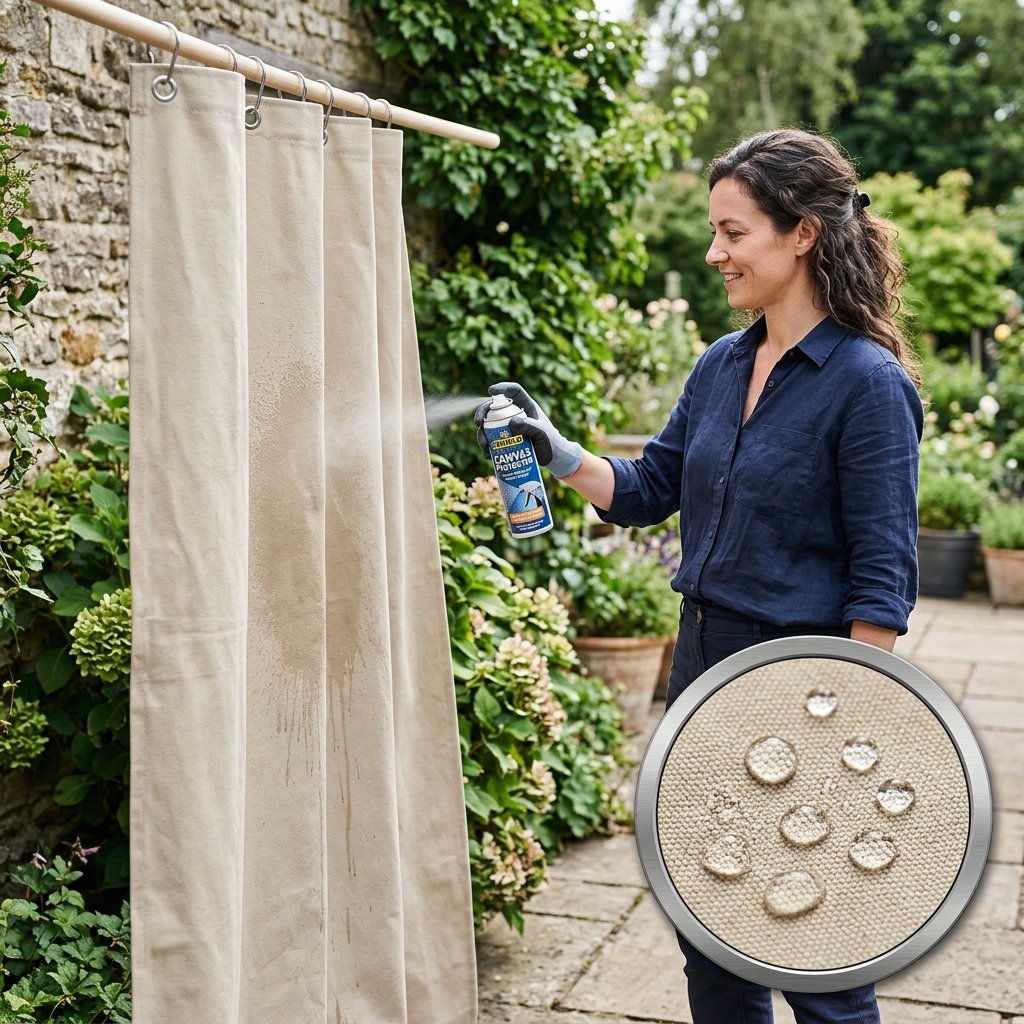
Outdoor curtains have one major enemy: the wind. Without weights, your gorgeous new curtains will be flapping in your face or tangled in the rafters. We’re going to use a ‘tactical’ approach to keep them grounded.
The Weighting Strategy
Take large stainless steel washers or heavy fishing sinkers. You can hide these inside the bottom hem. Since we aren’t sewing, you can use a small dab of E6000 industrial glue or a tiny piece of hem tape to secure them in the corners and every 2 feet along the bottom.
The Shield
Once hung, spray the curtains with a UV and Water Shield. This serves two purposes:
- Water Repellency: Rain will bead off rather than soaking the heavy canvas (which can get very heavy when wet).
- Mildew Prevention: It keeps the cotton fibers dry, preventing that ‘basement smell’ from developing after a storm.
Safety Note: Always apply aerosol weatherproofing sprays in a well-ventilated outdoor area. Wear a mask if you are sensitive to fumes.
Step 4: Customization for the ‘Designer’ Look
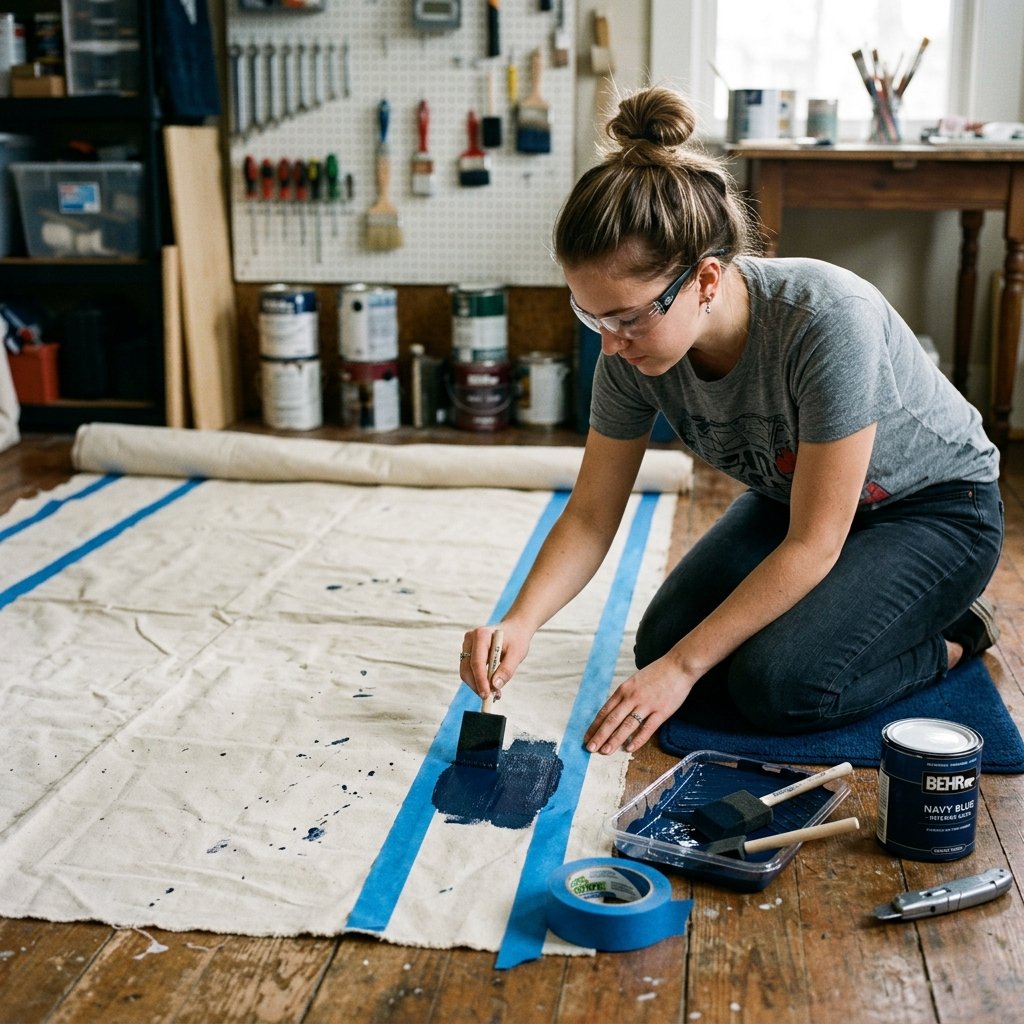
If plain cream is too simple for you, it’s time to get crafty. You can add a Pottery Barn-inspired border or stripes for less than $5.
- The Sharpie Method: Use a thick black permanent fabric marker and a yardstick to draw two clean lines 3 inches from the edge for a crisp, ‘nautical’ look.
- Stenciling: Use a large Moroccan or geometric stencil and a bit of leftover exterior house paint to create a focal point panel.
- Dip-Dyeing: For a rugged, ombre effect, dip the bottom 2 feet of the curtains into a bucket of navy or charcoal grey fabric dye.
| Design Style | Technique | Difficulty (1-10) |
|---|---|---|
| Minimalist Modern | Black Sharpie Border | 2 |
| Industrial Chic | Raw Frayed Edges | 1 |
| Coastal Luxury | Navy Blue Dip-Dye | 5 |
| Boho Farmhouse | Stencil Pattern | 6 |
Conclusion
Enjoy Your $300 Upgrade for the Price of a Pizza
By thinking like a contractor and styling like a designer, you’ve just saved yourself nearly $300. Your porch is no longer just a concrete slab; it’s a sophisticated outdoor room defined by the rugged elegance of heavy-duty canvas. These curtains will provide shade, privacy, and a high-end aesthetic that will have your guests asking which boutique you ordered them from. Remember, the best DIY projects aren’t just about saving money—they’re about using your hands and your wits to create something better than what you can buy in a store. Now, grab a cold drink, pull those curtains shut, and enjoy your private sanctuary. You earned it.

Makenzie is the founder and lead writer at MoneyHackTips.com — a personal finance blog dedicated to delivering street-smart financial wisdom for real people on real budgets. With 300+ published articles covering everything from debt management to investing fundamentals, Makenzie’s mission is to make every dollar work harder. When not writing about money hacks, Makenzie is testing frugal living strategies, optimizing side hustles, and helping readers build financial freedom from scratch.