
The Magic of the Night Sky on a Shoestring Budget
There is something inherently romantic and timeless about the cosmos. For the frugal DIYer, a celestial-themed wedding offers a unique opportunity to blend rugged, practical materials with a masculine-elegant aesthetic that looks anything but cheap. You don’t need a NASA-sized budget to bring the stars down to earth. In this masterclass, we are going to explore how to turn everyday items—think glass jars, cardboard, and metallic spray paint—into magical DIY celestial star wedding centerpieces that will have your guests asking which high-end boutique you hired. We are talking about achieving a $150-per-table look for less than $10. Whether you are a budget-savvy bride, a handy dad helping with decor, or a creative gift-giver, these projects are designed to be resourceful, clever, and stunningly effective. Let’s roll up our sleeves and start crafting the universe.
The Blueprint: Designing Your Cosmic Vision
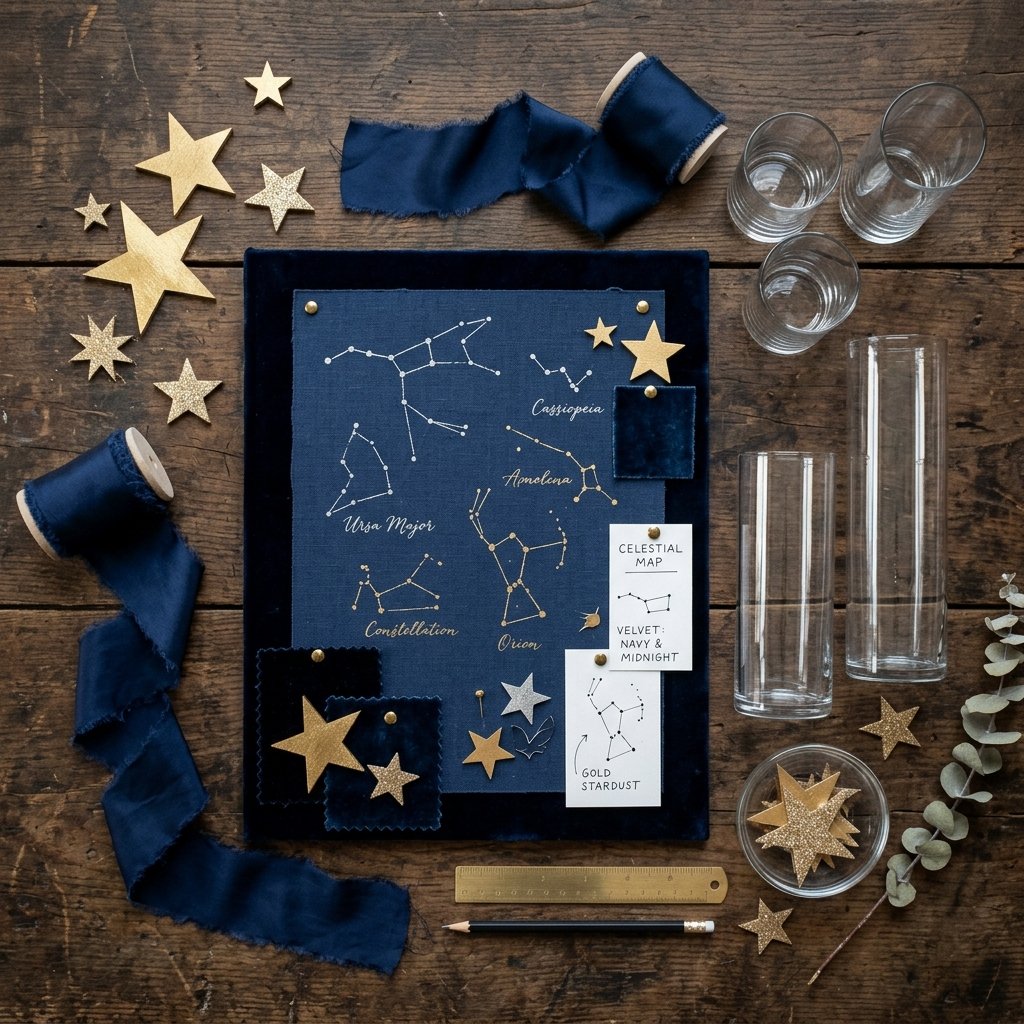
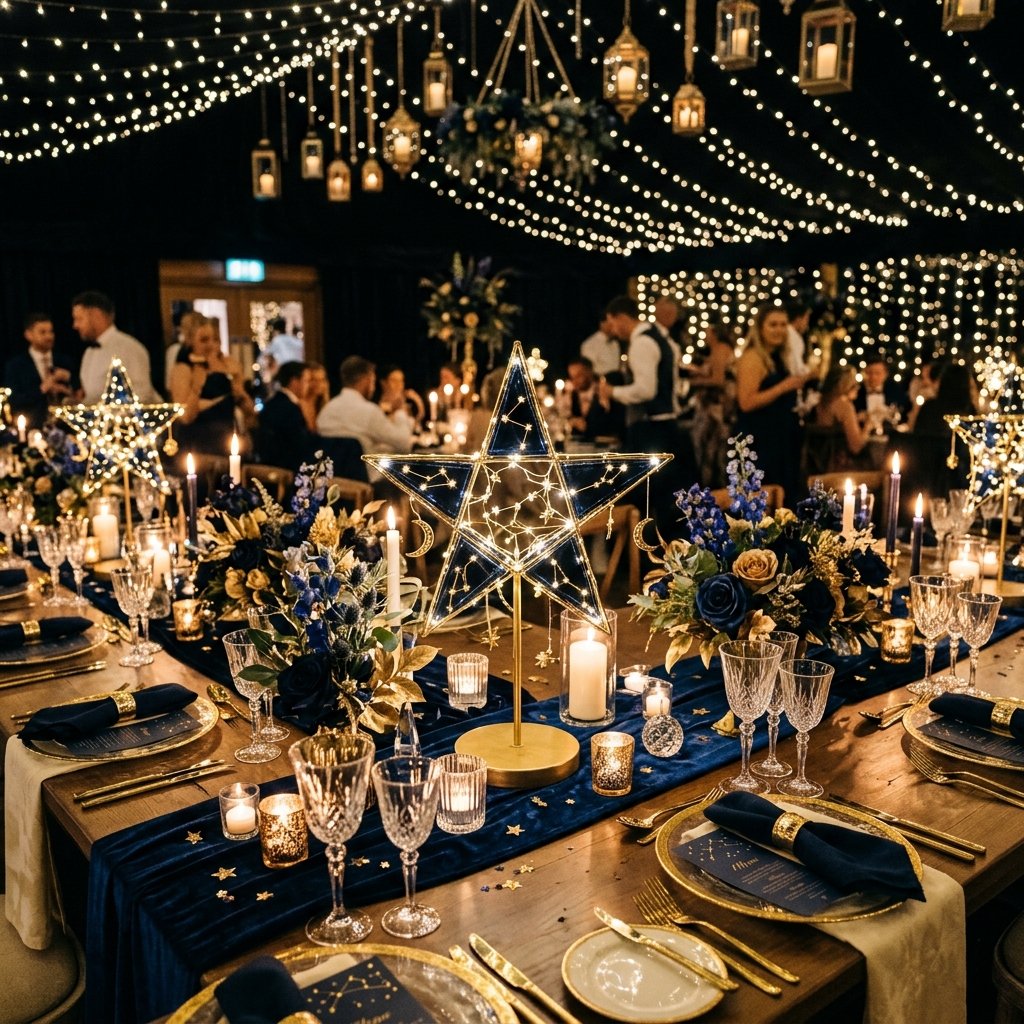
Before we pick up a glue gun, we need a plan. A celestial centerpiece isn’t just a star on a stick; it is an atmospheric experience. To achieve that sophisticated, high-end look, we focus on a palette of deep midnight blues, burnished golds, and shimmering silvers. We want textures that feel rugged yet refined—think hammered metals and frosted glass.
The Three Pillars of Celestial Design
- Depth: Use dark colors like navy or charcoal to represent the void of space.
- Luminescence: Incorporate varied light sources, from warm LEDs to flickering wax candles.
- Geometry: Mix sharp, 3D star shapes with soft, circular orbital elements.
By balancing these elements, you create a centerpiece that feels grounded and professional. Below is a comparison of what you might pay a professional florist versus the resourceful DIY route.
| Feature | Professional Rental/Florist | DIY Resourceful Method |
|---|---|---|
| Centerpiece Unit Cost | $120 – $250 | $8 – $12 |
| Customization Level | Limited to Stock | Infinite & Personal |
| Post-Wedding Value | Returned to Vendor | Keep or Resell for Profit |
| Setup Time | Hired Crew | 2-3 Hours (Weekend Project) |
Phase One: The ‘North Star’ Lantern Tutorial
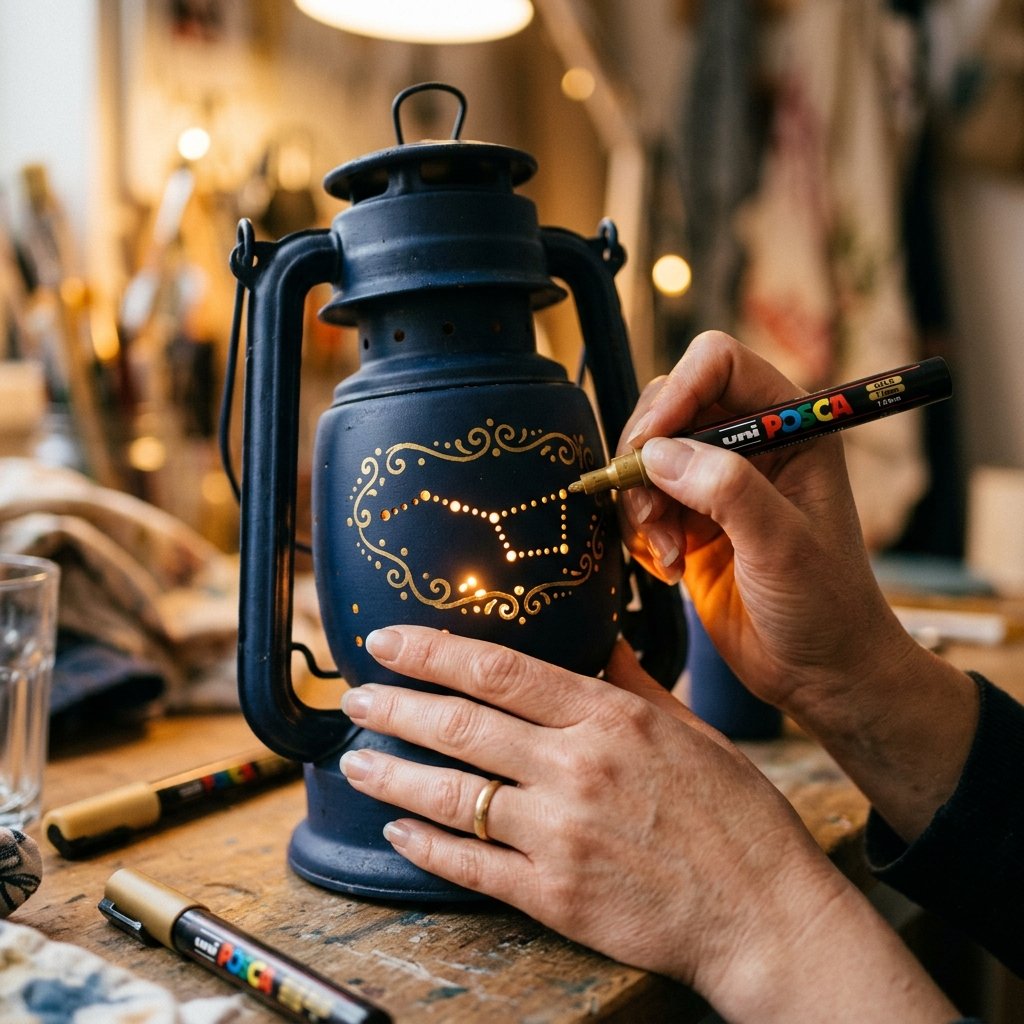
This is our flagship piece. We are going to upcycle standard Dollar Tree glass cylinders or even large tin cans into ‘punched-tin’ style star lanterns. This creates a breathtaking ‘starry night’ effect on the table linens as light pours through the patterns.
Materials Needed
- Glass cylinders or empty, cleaned large tin cans ($1.25 each)
- Navy blue matte spray paint or dark metallic charcoal
- A gold paint pen or ‘Rub ‘n Buff’ in Antique Gold
- A drill with a small masonry bit (for glass) or a hammer and nail (for tin)
- Battery-operated fairy lights ($1.00 per strand)
Step-by-Step Execution
- Prep the Surface: Clean your vessel thoroughly with rubbing alcohol. If using a tin can, fill it with water and freeze it first; the ice provides a solid surface so the metal won’t dent when you punch holes.
- Pattern Mapping: Use a template of a constellation (like Orion or the Big Dipper) and tape it to the vessel.
- Creating the Stars: Carefully punch or drill holes along the constellation lines.
Pro Tip: Vary the size of the holes to represent different magnitudes of stars. Use a larger nail for major stars and a smaller one for the ‘stardust’ effect.
- Painting: Apply two thin coats of your dark base color. Once dry, lightly ‘dry brush’ the edges with gold paint to give it a masculine-elegant, weathered look.
- Illumination: Drop in your fairy lights and watch the constellations glow against the dark exterior.
Phase Two: 3D Geometric Cardboard Stars
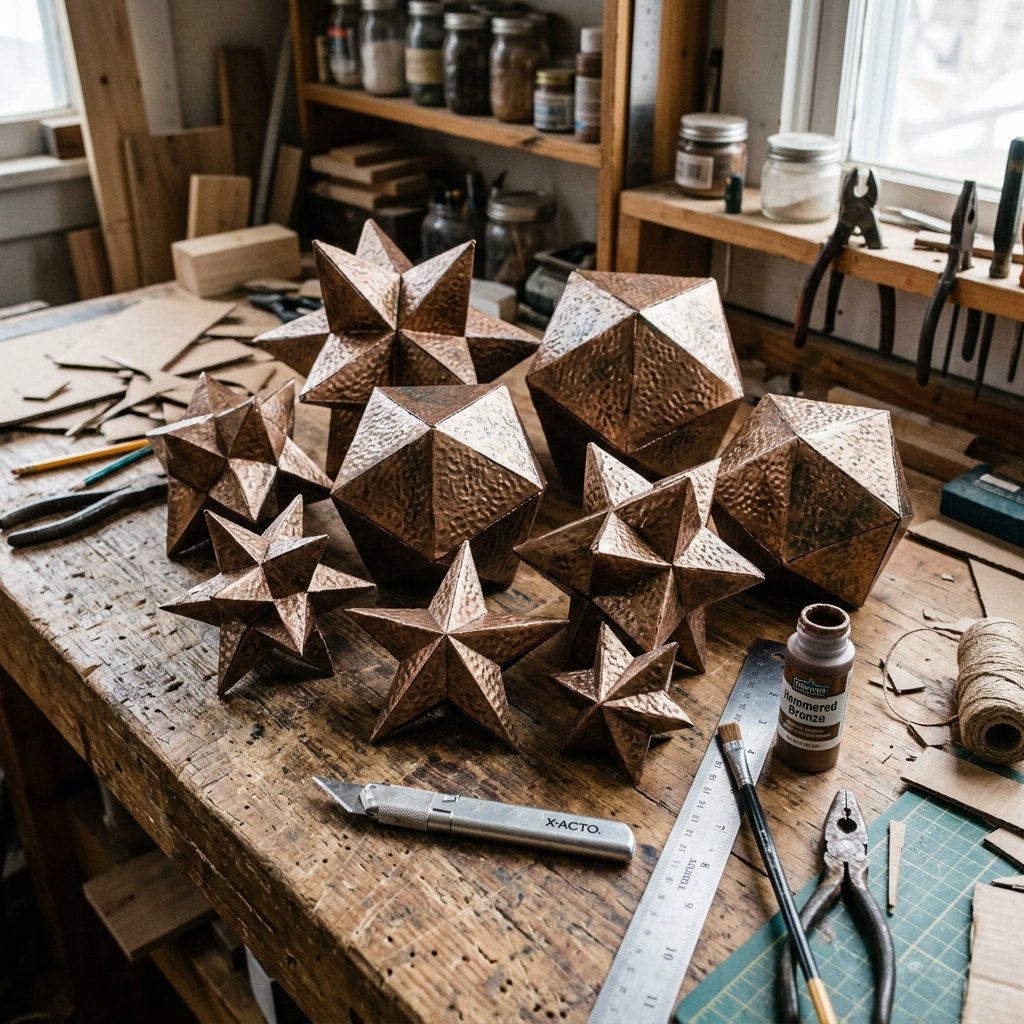
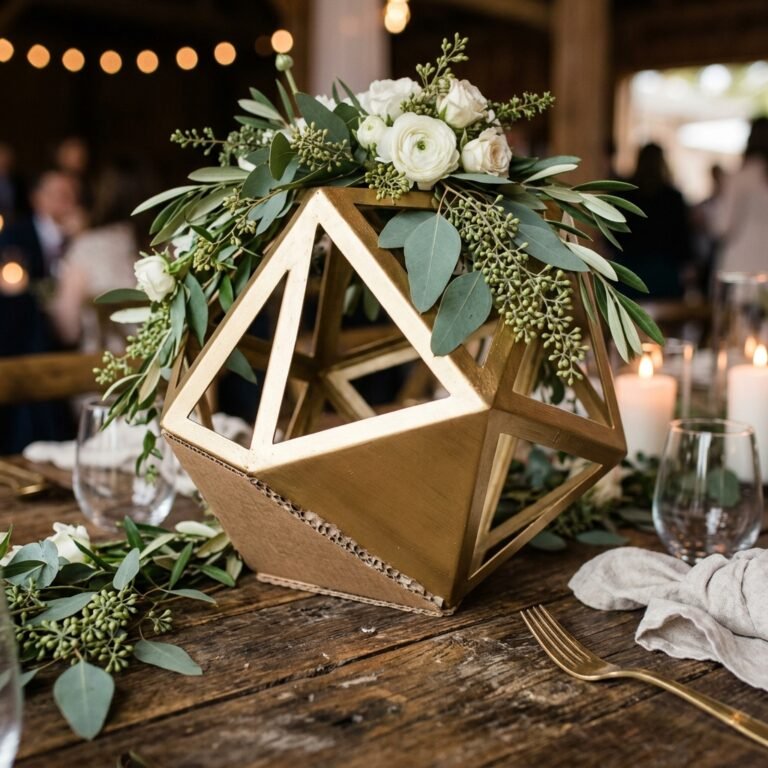
Paper and cardboard are a budget crafter’s best friends. We are going to create large, 3D Moravian stars that look like heavy wrought iron or solid brass. These add height and architectural interest to your centerpieces.
The ‘Trash-to-Treasure’ Formula
Instead of buying expensive metal stars, we use cereal boxes or shipping cardboard. The secret is in the finishing technique.
| Material | Purpose | Cost |
|---|---|---|
| Upcycled Cardboard | Structural Base | $0.00 (Free) |
| Hot Glue Sticks | Assembly | $0.50 |
| Metallic ‘Hammered’ Paint | Texture & Finish | $1.50 per star |
| Fishing Line | Floating Effect | $0.10 |
The Folding Mantra: Crease deeply, glue sparingly, and always align your points before the glue sets. A sharp star is a professional star.
Once your stars are folded and glued, hit them with a ‘hammered metal’ spray paint. This specific type of paint hides the texture of the cardboard perfectly, making it look like heavy, casted metal. Place these at the base of your lanterns or hang them at varying heights from a central branch for a ‘floating galaxy’ effect.
Phase Three: The Nebula Globe & Finishing Touches
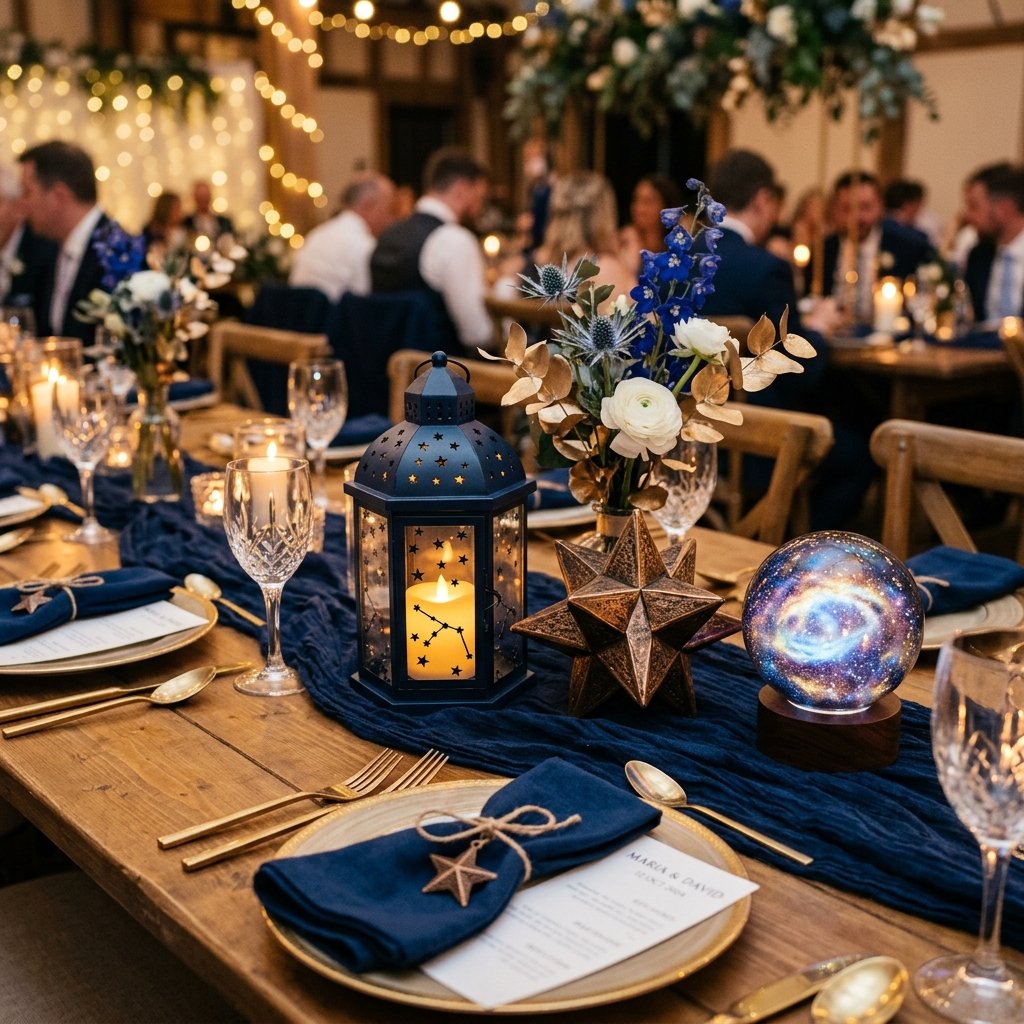
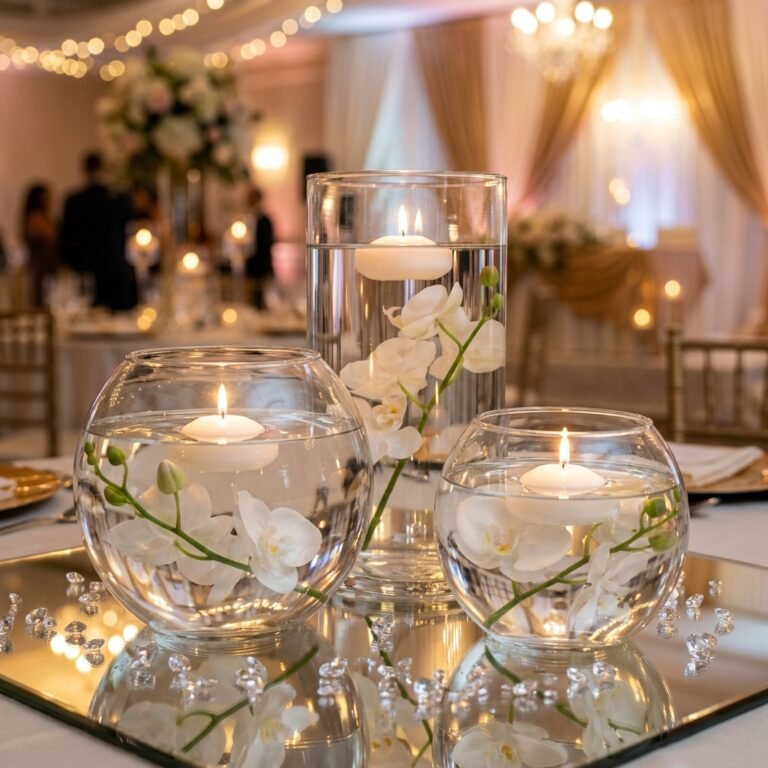
To round out the centerpiece, we need something soft and ethereal. The ‘Nebula Globe’ uses clear glass bowls and iridescent filler to mimic the swirling clouds of deep space.
Assembly Instructions
- Fill a round glass bowl with $1.25 worth of iridescent shred or ‘angel hair’ filler.
- Tuck a blue or purple submersible LED light into the center of the fluff.
- Scatter small, gold-painted wooden stars (found in bulk at craft stores) inside the globe.
When the light hits the iridescent fibers, it refracts, creating a shimmering, multi-colored glow that looks exactly like a nebula captured in a jar. Total cost: approximately $4.00.
Styling the Table
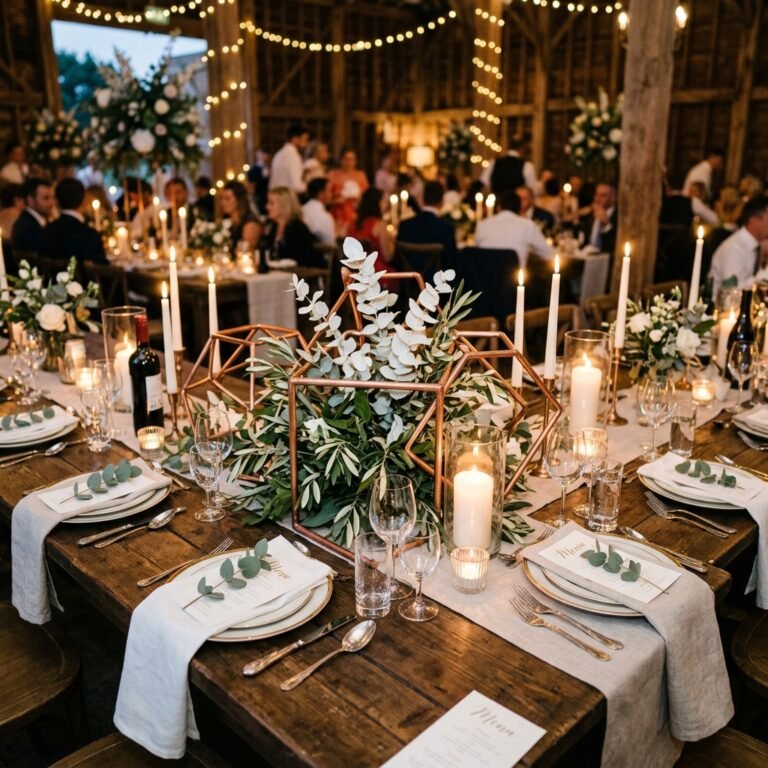
Don’t just place the items on the table and walk away. A true event stylist on a dime knows that the ‘connective tissue’ is what sells the look. Use a cheesecloth runner dyed in navy blue (you can do this in your sink with $3 dye). Bunch it up to look like cosmic clouds. Scatter a handful of gold-painted chickpeas—yes, chickpeas!—to look like tiny asteroids and distant stars.
Safety Note: When using spray paints and adhesives, always work in a well-ventilated area. If using real candles instead of LEDs, ensure glass vessels are heat-resistant and never leave them unattended.
Conclusion
Your Celestial Legacy
Creating magical DIY celestial star wedding centerpieces is more than just a way to save money; it is a way to infuse your special day with resourceful creativity and personal soul. By taking humble materials like cardboard and glass and applying clever, crafty techniques, you’ve built a universe that is uniquely yours. These pieces don’t just look expensive; they carry the story of your hard work and vision. Your guests won’t just rave about how beautiful the tables looked—they will be inspired by the fact that you turned ‘trash’ into a celestial masterpiece. Now, dim the lights, switch on those fairy lights, and let your wedding shine brighter than the North Star. Congratulations on your budget-savvy brilliance!

Makenzie is the founder and lead writer at MoneyHackTips.com — a personal finance blog dedicated to delivering street-smart financial wisdom for real people on real budgets. With 300+ published articles covering everything from debt management to investing fundamentals, Makenzie’s mission is to make every dollar work harder. When not writing about money hacks, Makenzie is testing frugal living strategies, optimizing side hustles, and helping readers build financial freedom from scratch.