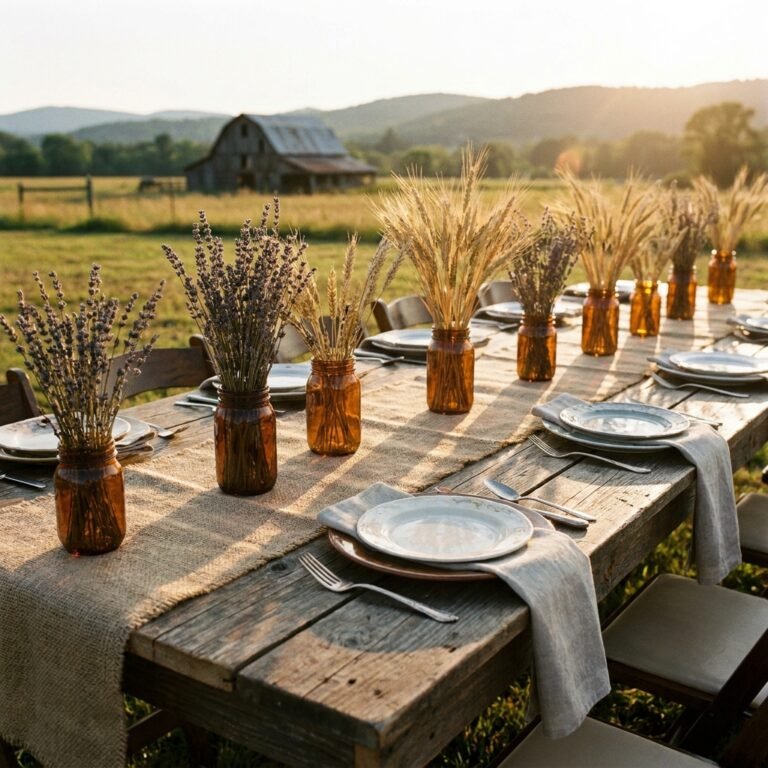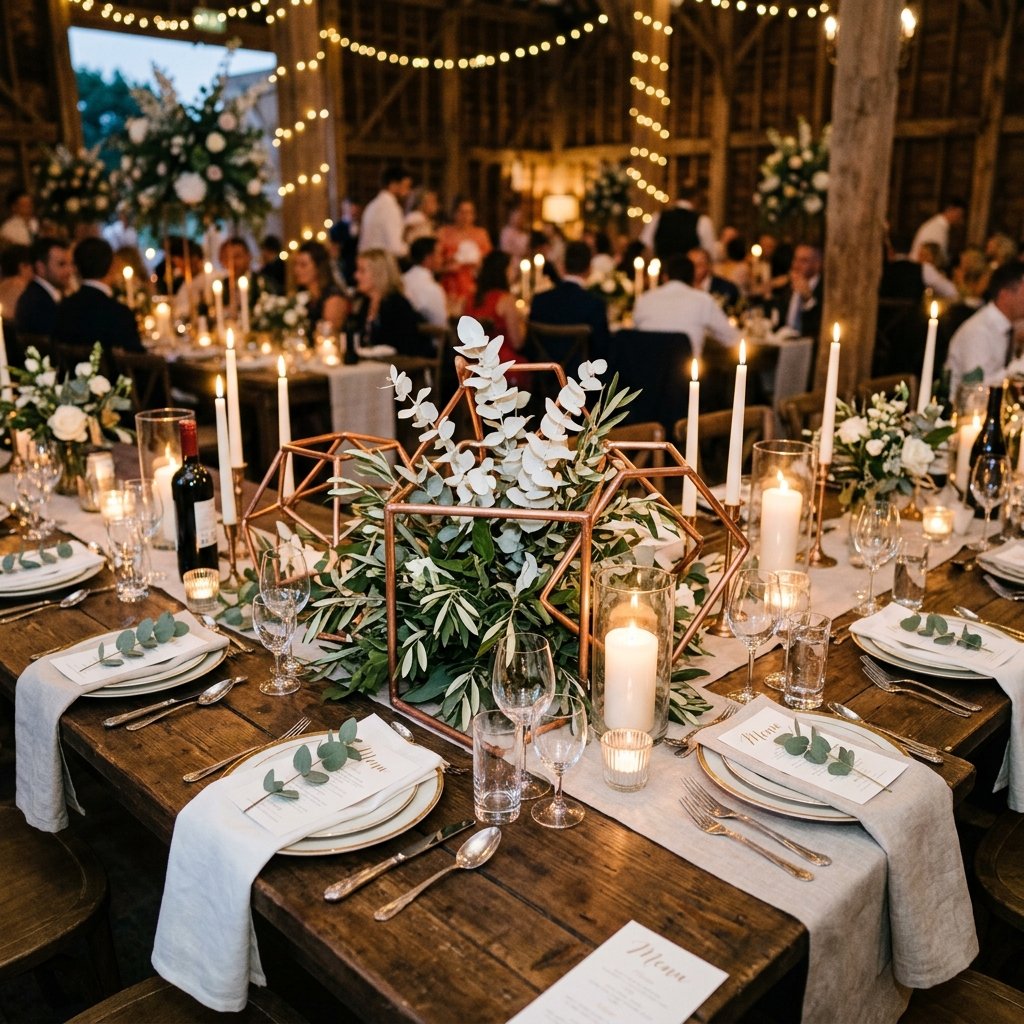

The Secret to High-End Industrial Elegance on a Shoestring Budget
Planning a wedding often feels like a constant battle between your Pinterest dreams and your bank account reality. We’ve all seen those stunning geometric centerpieces in bridal magazines—the ones that look like they belong in a modern art gallery. Then you see the price tag: $75 to $150 per unit for a rental or purchase. But what if I told you the secret to that high-end look is hiding in the plumbing aisle of your local hardware store? Using copper pipes and basic hand tools, you can create breathtaking, ruggedly elegant centerpieces that will have your guests asking which boutique florist you hired. This isn’t just about saving money; it’s about the satisfaction of building your big day with your own two hands. We are going to take raw industrial materials and craft them into a sophisticated, masculine-elegant aesthetic that anchors your reception tables with warmth and architectural interest.
The Blueprint: Materials and Budget Breakdown
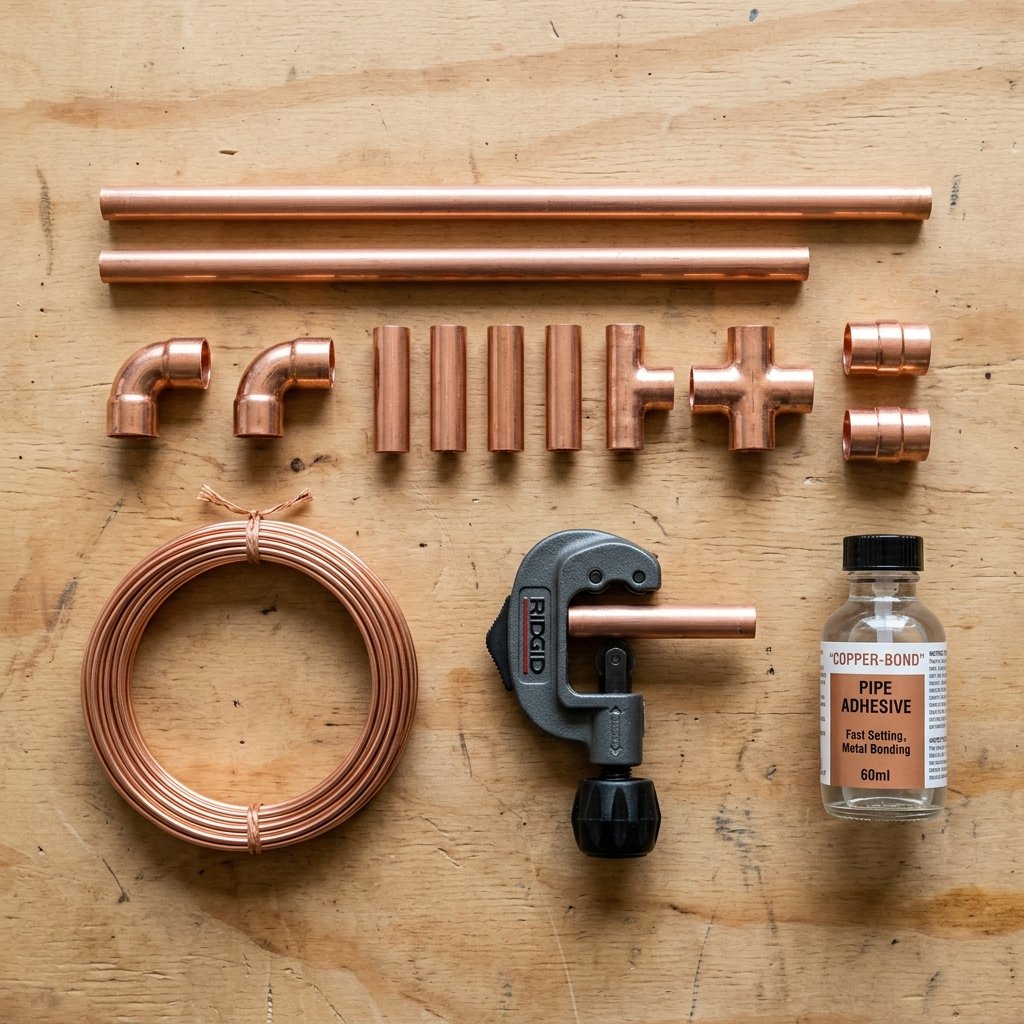
Before we start cutting metal, we need to gather our supplies. The beauty of this project is its scalability. Whether you are making five or fifty, buying in bulk from a home improvement center significantly drops the cost per unit. While a florist might charge you $100 for a similar metal structure, our DIY version costs approximately $8 to $12 depending on the complexity of your design.
| Material | Purpose | Estimated Cost |
|---|---|---|
| Type M Copper Pipe (1/2″ or 1/4″) | The main structure | $15 – $25 per 10ft |
| Mini Tubing Cutter | Clean, precise cuts | $10 – $15 |
| 20-Gauge Copper Wire or Fishing Line | Internal structure/Assembly | $5 |
| Super Glue Gel or E6000 | Securing joints (optional) | $6 |
| Copper Polish or Lemon/Salt | Removing oxidation | $2 |
By opting for 1/2-inch pipe, you get a more substantial, rugged look that stands up well to large floral arrangements. If you prefer a delicate, airy feel, 1/4-inch copper tubing (often found in the refrigerator water line section) is incredibly budget-friendly and easier to manipulate.
The Master Class: Precision Cutting and Prepping
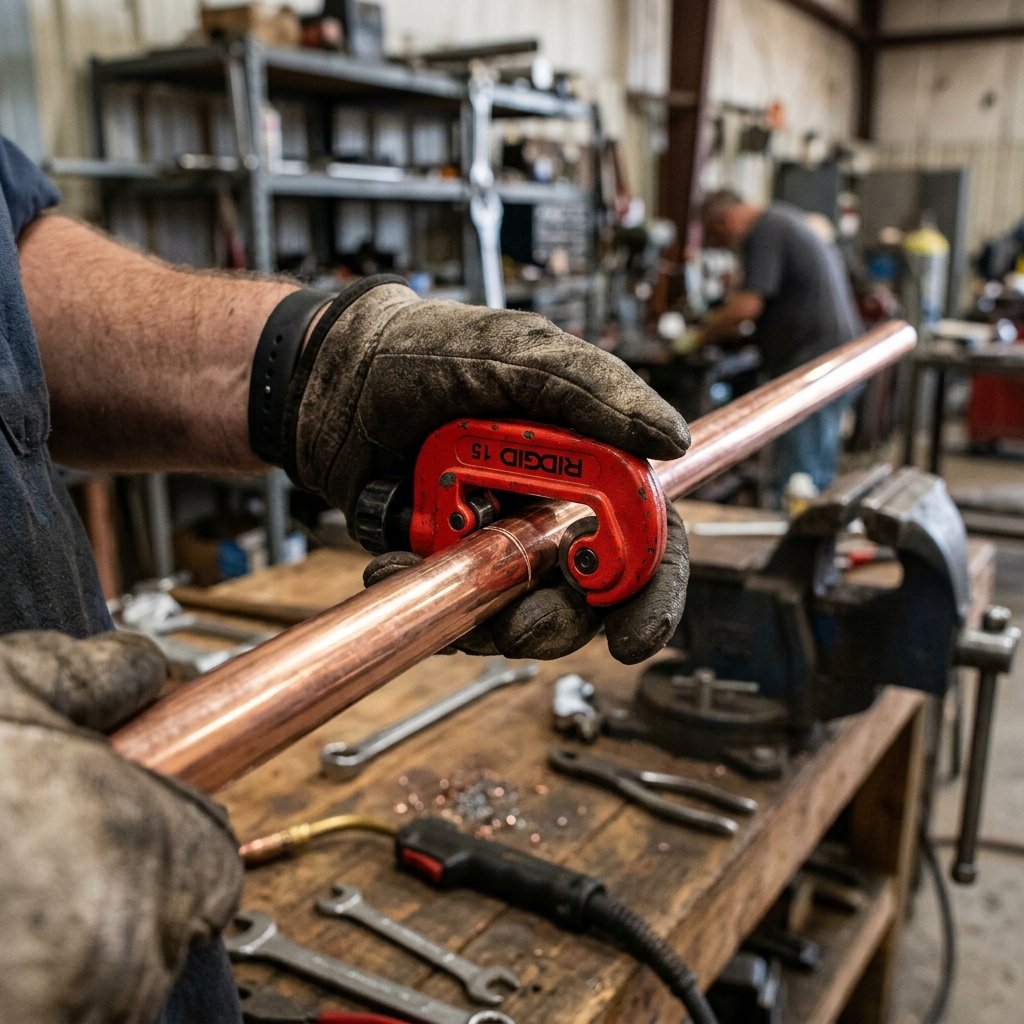
Measuring for Symmetry
The key to a professional-looking geometric piece is consistency. For a standard 12-inch tall pyramid or icosahedron, you will need several lengths of pipe cut to the exact same dimension. I recommend starting with 6-inch segments for a medium-sized table piece.
PRO TIP: Use a permanent marker to dot your measurements on the pipe before cutting. Even a 1/16th of an inch difference can make the final structure look tilted.
Using the Tubing Cutter
Forget the hacksaw; it leaves jagged edges and creates a mess. A mini tubing cutter is your best friend here. Tighten the cutter onto the pipe at your mark, spin it once, tighten slightly more, and spin again. Within 3 to 4 rotations, the pipe will snap cleanly. This creates a smooth, professional edge that looks like it was manufactured in a high-end studio.
SAFETY FIRST: Copper pipe edges can be razor-sharp after cutting. Use a deburring tool or a bit of sandpaper to smooth the ends before handling. Always wear eye protection when working with metal.
Assembly Guide: Building the Himmeli-Inspired Structure
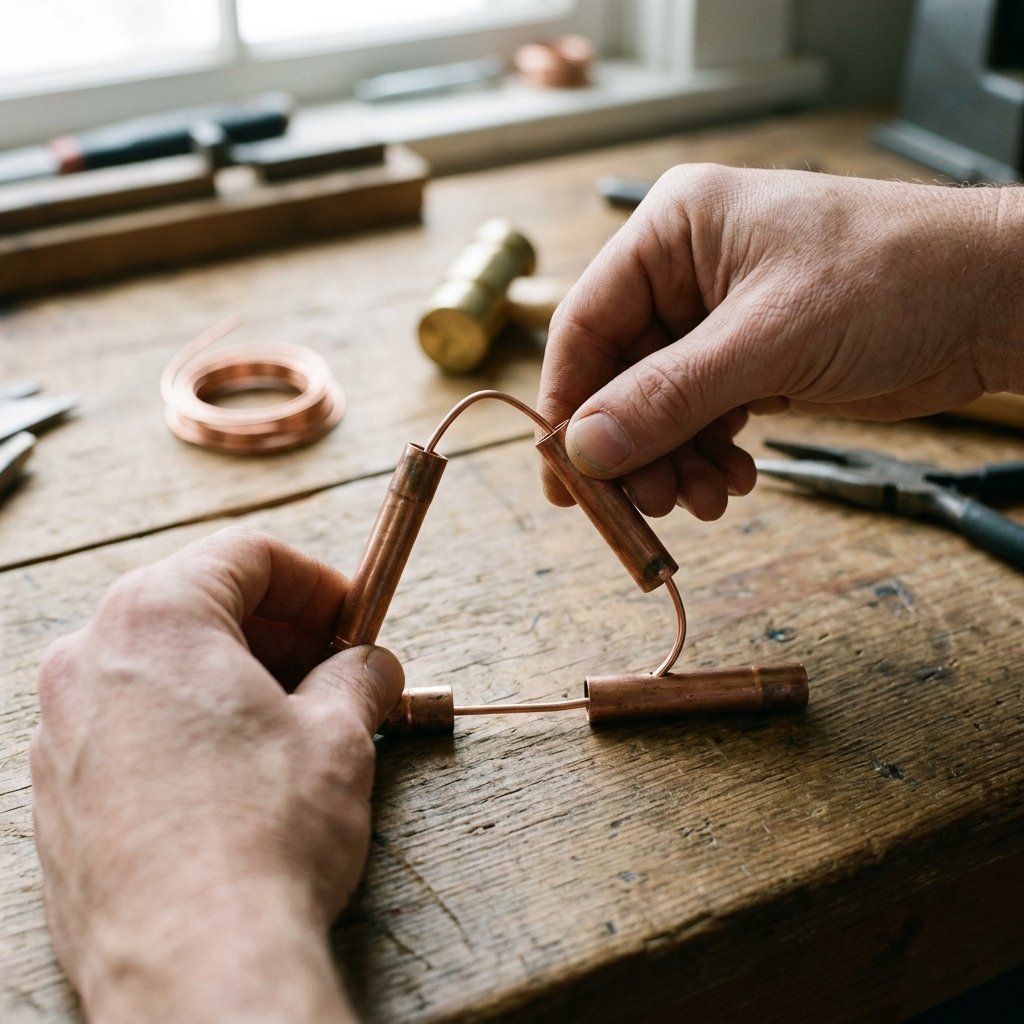
We are using a variation of the Finnish Himmeli technique, which traditionally uses straw but works perfectly with copper. This method relies on a single continuous line of wire or string threaded through the pipes to create tension and hold the shape.
- The Base: Cut three 6-inch pieces. Thread your wire through all three and twist the ends together to form a triangle. This is your foundation.
- The Walls: Thread two more 6-inch pieces onto the wire. Anchor the wire to the next corner of your base triangle. Repeat this until you have three triangles standing up from the base.
- The Apex: Bring the tops of the three standing triangles together. Thread the wire through all three points and twist tightly. You now have a tetrahedron.
- The Reinforcement: For a more complex look, you can add ‘cross-beams’ by threading shorter 3-inch pieces across the mid-sections of your main pipes.
If you find the wire method too fiddly, you can use copper pressure tees and elbows from the plumbing aisle, but be warned: these fittings can double your cost. The wire-threading method is the true budget-savvy way to achieve the look for under $10 per piece.
The Finishing Touch: Patina vs. Polished Perfection
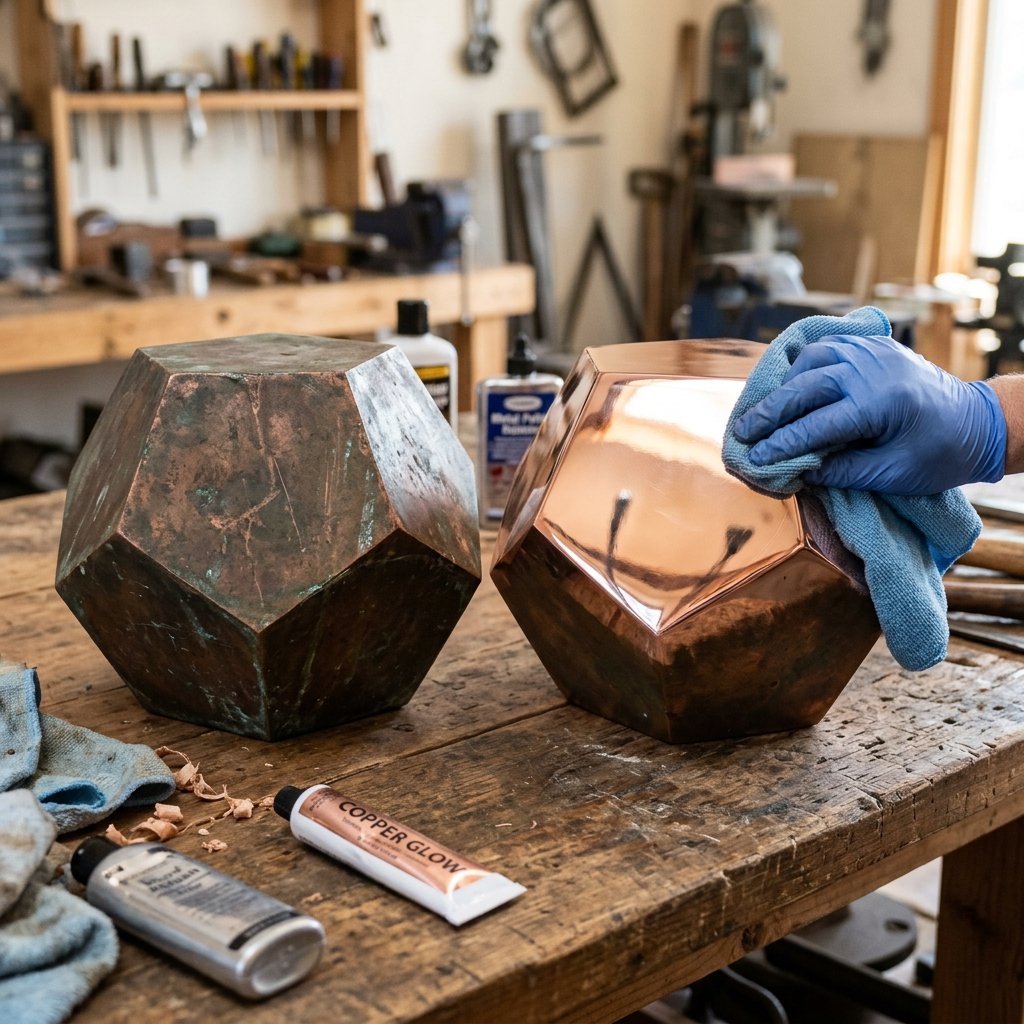
Copper is a living metal, and how you finish it defines the vibe of your wedding. If you want a rugged, masculine-elegant look, leave the copper as is. Over a few weeks, it will develop a natural, dark patina that looks incredibly sophisticated and ‘old-world.’
The Budget Shine Hack
If you want that rose-gold, high-shine finish without buying expensive chemical cleaners, use this kitchen pantry trick:
- Mix 1 tablespoon of salt with 1/2 cup of white vinegar.
- Add enough flour to make a paste.
- Rub the paste onto the copper and let it sit for 10 minutes.
- Rinse with warm water and buff with a soft cloth.
This will make your $1.50 worth of pipe look like $100 worth of solid gold. To keep it from tarnishing before the big day, spray the finished pieces with a quick coat of clear gloss acrylic sealer (available for $5 at any hardware store).
Styling for Impact: Florals and Lighting
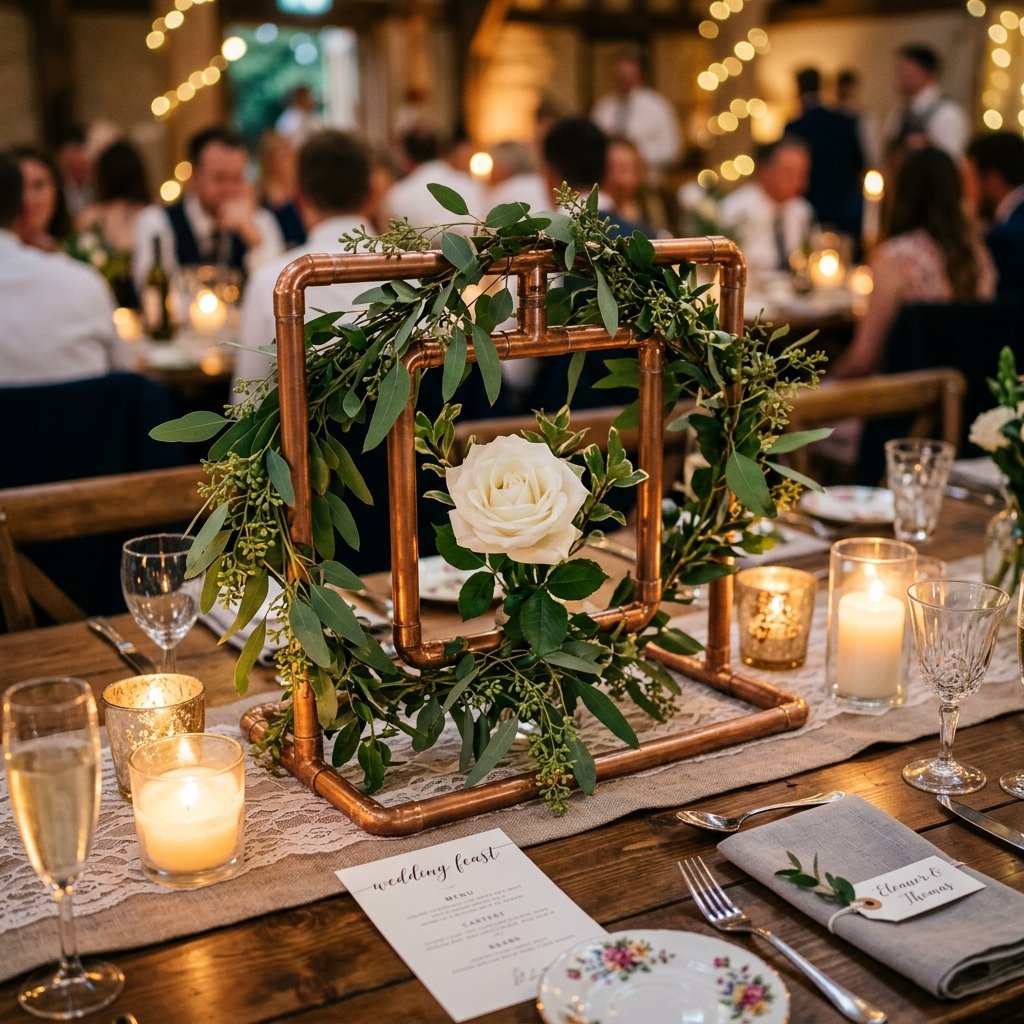
A metal frame is just the skeleton; the styling provides the soul. Because copper has such a warm, metallic tone, it pairs beautifully with organic textures. To keep costs down, avoid expensive focal flowers like peonies for every table. Instead, use budget-friendly greenery.
| Styling Element | Why It Works | Estimated Cost |
|---|---|---|
| Silver Dollar Eucalyptus | Drapes beautifully over the metal | $3 per bunch |
| Battery-Operated Fairy Lights | Adds a magical glow to the interior | $2 per strand |
| Single Protea or Rose | One high-impact flower saves money | $5 per stem |
| Votive Candles | Reflects light off the copper surface | $0.50 each |
Place a small glass vial or a water-soaked floral foam block inside the center of your geometric shape. Secure it with a bit of copper wire. This allows you to tuck in a few sprigs of greenery and one or two statement flowers, making the centerpiece look lush and full without breaking the bank.
The ROI: Store-Bought vs. DIY Comparison
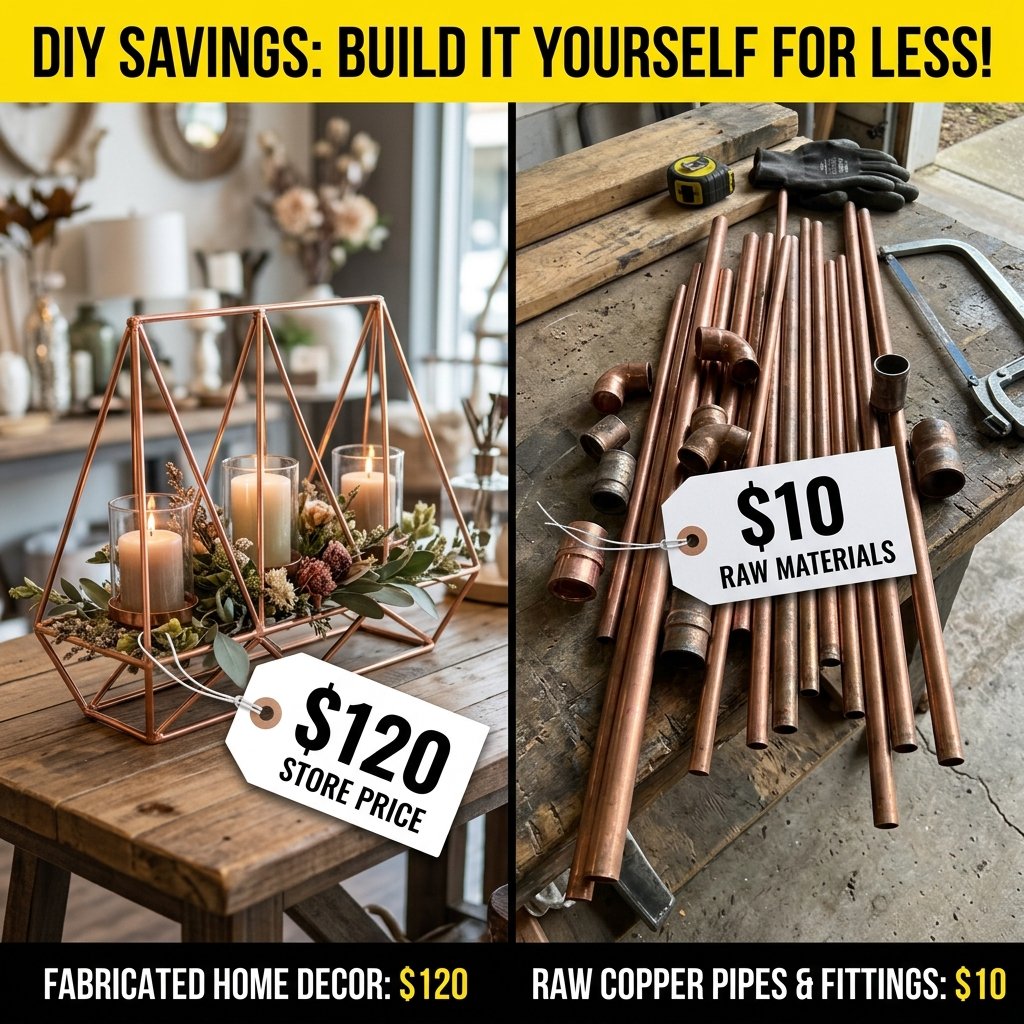
Let’s talk numbers. When you are planning a wedding for 150 guests, you likely need about 15 centerpieces. The difference between DIY and retail is staggering.
SAVINGS MANTRA: A penny saved on the table is a dollar earned for the honeymoon. Build it once, keep it forever, or sell it to the next bride to make your money back!
| Source | Cost Per Unit | Total for 15 Tables |
|---|---|---|
| Boutique Decor Rental | $45.00 | $675.00 |
| High-End Retail (West Elm/Anthropologie) | $89.00 | $1,335.00 |
| The Frugal DIY Guru Way | $9.50 | $142.50 |
By spending a Saturday afternoon with a pipe cutter and some wire, you are saving over $1,000. That is money that can be redirected toward your photographer, your catering, or your future savings. Plus, these pieces are durable. After the wedding, they make incredible home decor or can be sold on local marketplaces to other budget-savvy couples, potentially making your wedding decor 100% free in the long run.
Conclusion
Your Masterpiece Awaits
Creating your own geometric copper pipe wedding centerpieces is more than just a frugal hack; it’s a way to infuse your celebration with personal craftsmanship and industrial soul. You’ve taken raw, utilitarian materials and transformed them into something breath-taking. These structures offer a rugged elegance that transcends trends, providing a warm, metallic glow that will look stunning in your wedding photos for decades to come. So, grab your tubing cutter, head to the hardware store, and start building. Your dream wedding doesn’t require a massive budget—it just requires a little bit of resourceful creativity and the willingness to get your hands a little dirty. Happy crafting!

Makenzie is the founder and lead writer at MoneyHackTips.com — a personal finance blog dedicated to delivering street-smart financial wisdom for real people on real budgets. With 300+ published articles covering everything from debt management to investing fundamentals, Makenzie’s mission is to make every dollar work harder. When not writing about money hacks, Makenzie is testing frugal living strategies, optimizing side hustles, and helping readers build financial freedom from scratch.