
The Strategic Sourcing: Materials and Budget Breakdown
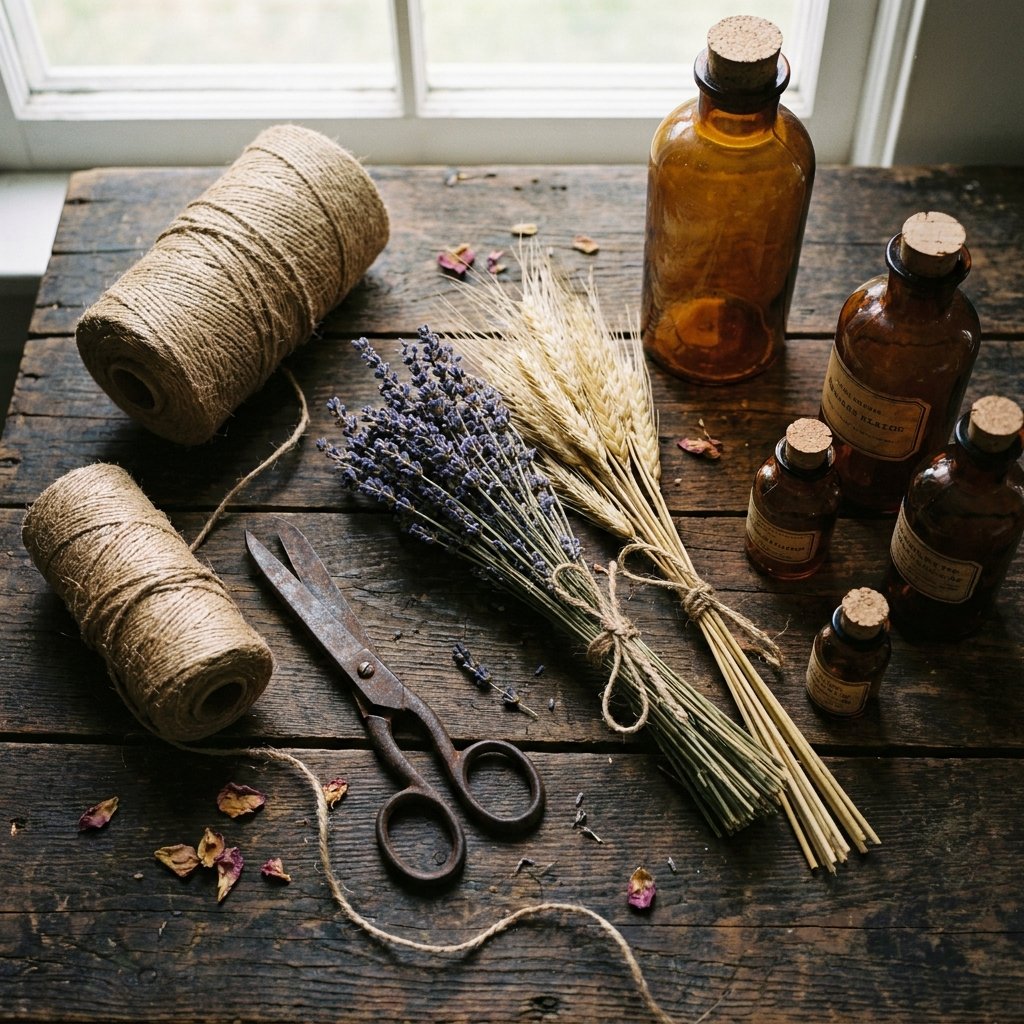
The Essential Supply List
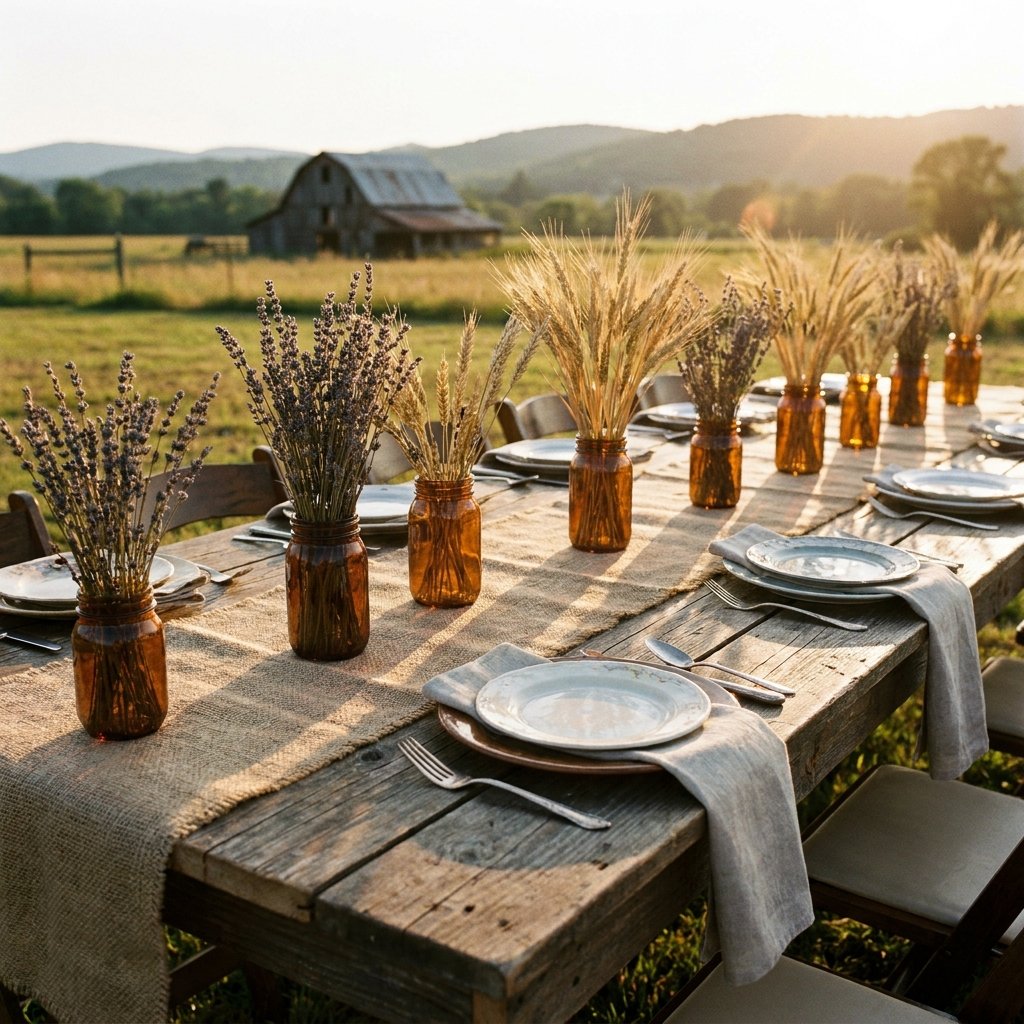
- Dried French or English Lavender: Look for ‘super blue’ varieties for the most vibrant color.
- Dried Triticum Wheat: This provides the ‘rugged’ height and volume.
- Jute Twine or Leather Cord: For that masculine-elegant binding.
- Upcycled Glassware: Think amber beer bottles, wine bottles, or large pickle jars.
- Floral Foam or River Rocks: To anchor the stems if using wide-mouth jars.
| Material Item | Sourcing Strategy | Estimated Cost (per 10 units) |
|---|---|---|
| Bulk Dried Lavender | Wholesale Floral Supply | $25.00 |
| Dried Wheat Stalks | Local Farm or Craft Store | $15.00 |
| Upcycled Glass Jars | Kitchen Recycling Bin | $0.00 |
| Jute Twine | Dollar Store | $1.25 |
| Total Project Cost | DIY Method | $41.25 |
Pro-Tip: If you source your lavender locally during the summer, you can dry it yourself by hanging bundles upside down in a dark, dry place for 2-3 weeks. This brings your cost down to near zero!
The Anatomy of a Rustic Bundle: Step-by-Step Assembly
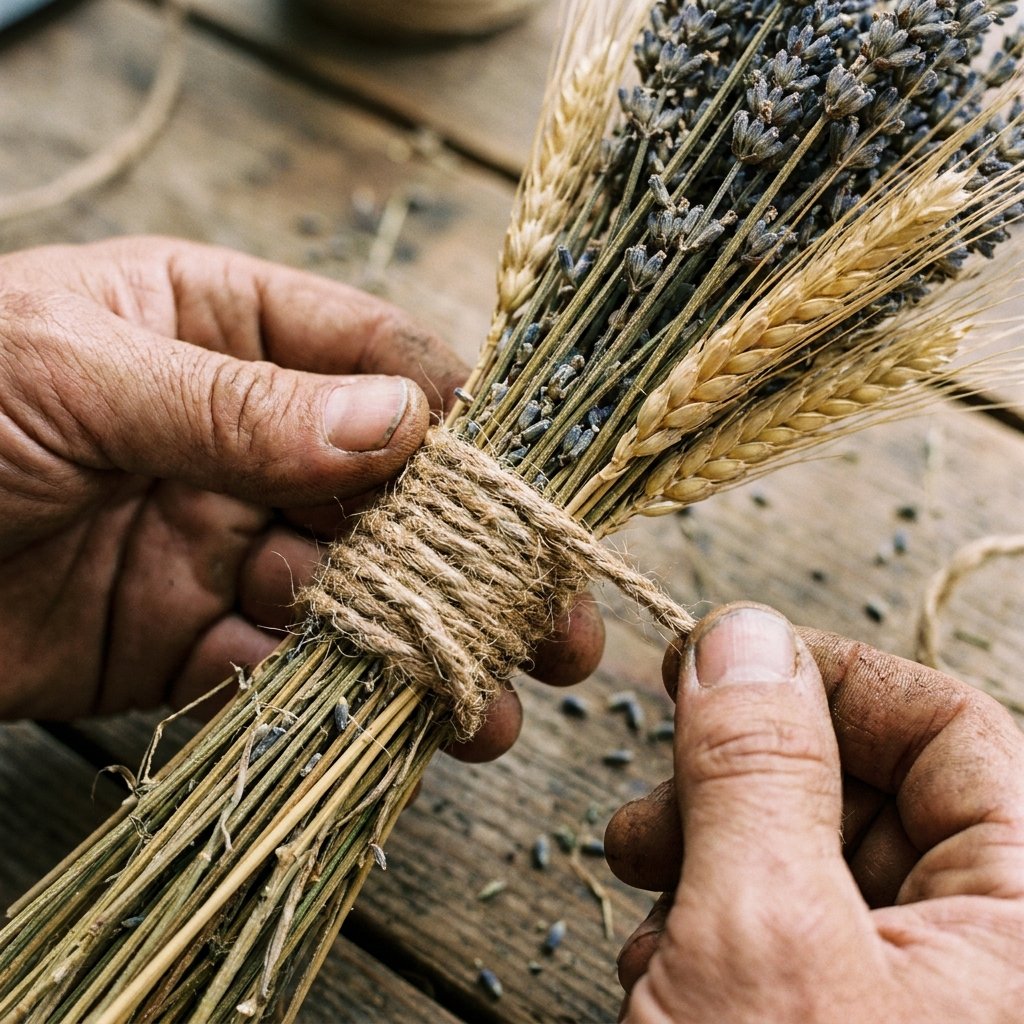
Execution Steps
- Stem Preparation: Lay out your wheat and lavender. Trim the bottom of the wheat stalks to a uniform height, usually 10-12 inches for a standard mason jar. Trim the lavender slightly shorter, around 8-10 inches, so it sits nestled within the wheat.
- The Core Construction: Grab a handful of lavender (about 15-20 stems). Surround the lavender with a ring of wheat stalks (about 10-12 stalks). The wheat should ‘cradle’ the purple blooms.
- The Tension Wrap: Using your jute twine, wrap the bundle tightly about 3 inches from the bottom. This is a tactical wrap—go around 5-7 times to create a thick, visible band of twine. Tie it off with a sturdy square knot.
- The Fluff and Flare: Gently pull the wheat stalks outward at the top to create a fan effect. This adds volume and makes the arrangement look twice as expensive.
The Golden Ratio: For every 2 parts lavender, use 1 part wheat. This ensures the color isn’t lost in the beige of the grain.
Upcycling Masterclass: Turning Trash into Designer Vases
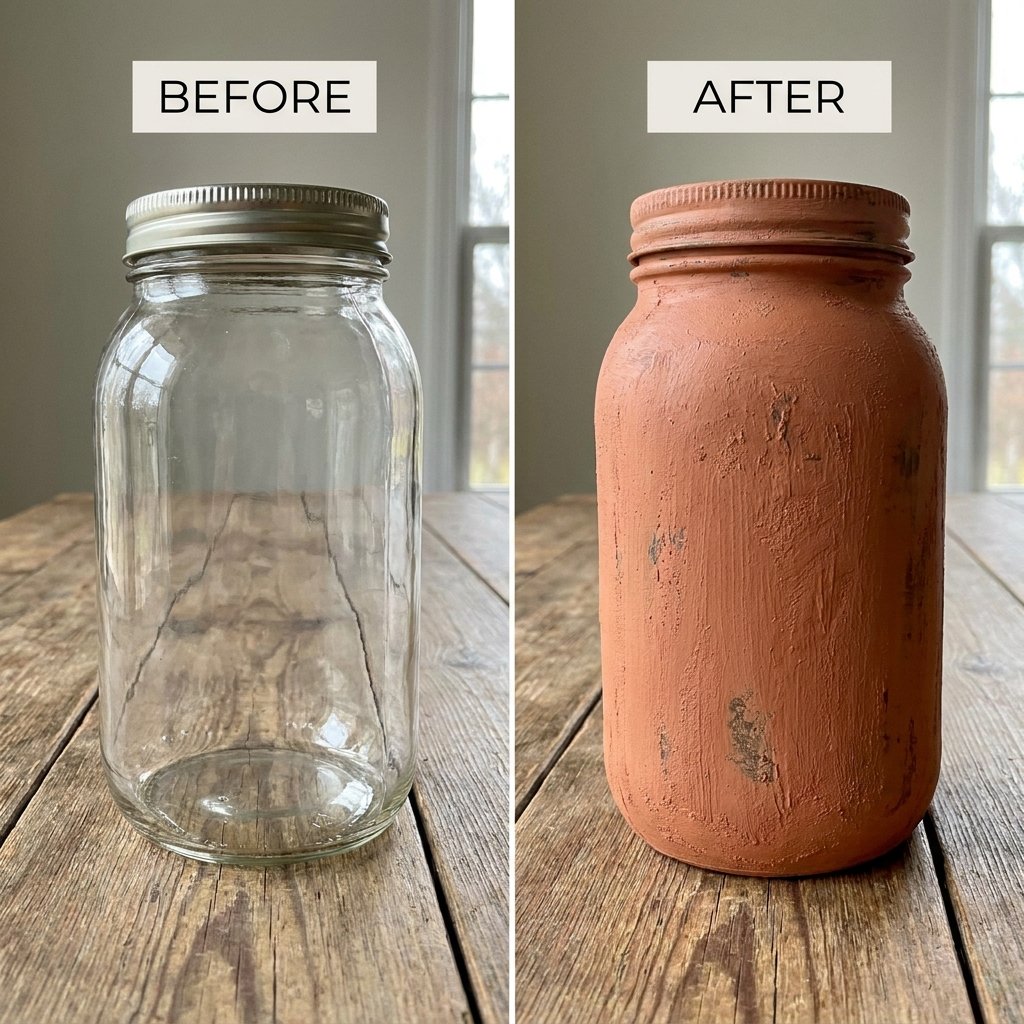
The Faux-Stone Transformation
- Clean the Glass: Remove all labels from your upcycled jars. A soak in hot water and white vinegar usually does the trick for stubborn glue.
- The Paint Formula: Mix 1 cup of water-based acrylic paint (muted tones like sage green, charcoal, or terracotta work best) with 1/4 cup of baking soda. The mixture will become thick and textured.
- The Application: Use a coarse brush to ‘stipple’ the paint onto the glass. This creates a rugged, matte texture that mimics expensive pottery.
- The Cure: Let the jars dry for 24 hours. The result is a heavy, stone-look vessel that perfectly complements the dried wheat.
| Feature | Store-Bought Ceramic Vase | Upcycled ‘Stone’ Jar |
|---|---|---|
| Cost | $15 – $30 each | $0.50 (Paint cost) |
| Customization | Limited | Infinite |
| Durability | Fragile | Sturdy & Heavy |
| Eco-Impact | High (New Manufacturing) | Zero (Upcycled) |
Styling the Vignette: Creating a High-End Table Landscape
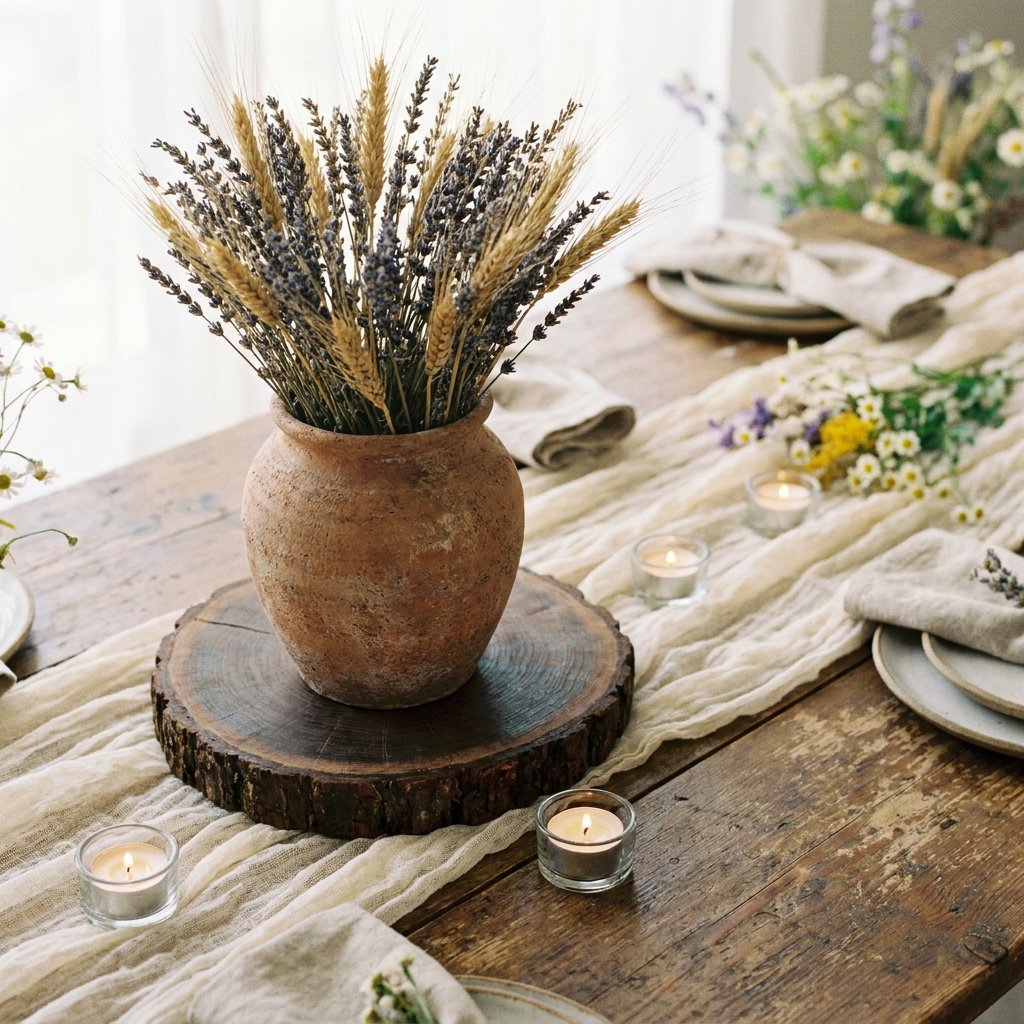
The Three-Layer Styling Rule
- The Base: Use a cheesecloth or burlap runner. Cheesecloth is incredibly cheap if bought by the bolt and gives a soft, ethereal contrast to the rugged wheat.
- The Anchor: Place your lavender and wheat jar on a wood slice or a stack of vintage books. This adds height and visual interest.
- The Accent: Add three tealight candles in simple glass holders around the base. The flickering light will catch the golden hues of the wheat and make the lavender scent ‘bloom’ as the air warms.
Mantra for the Budget Stylist: ‘Odd numbers are more pleasing to the eye.’ Always group your accents in 3s or 5s to avoid a cluttered look.
Timeline and Logistics: The DIY Bride’s Tactical Schedule
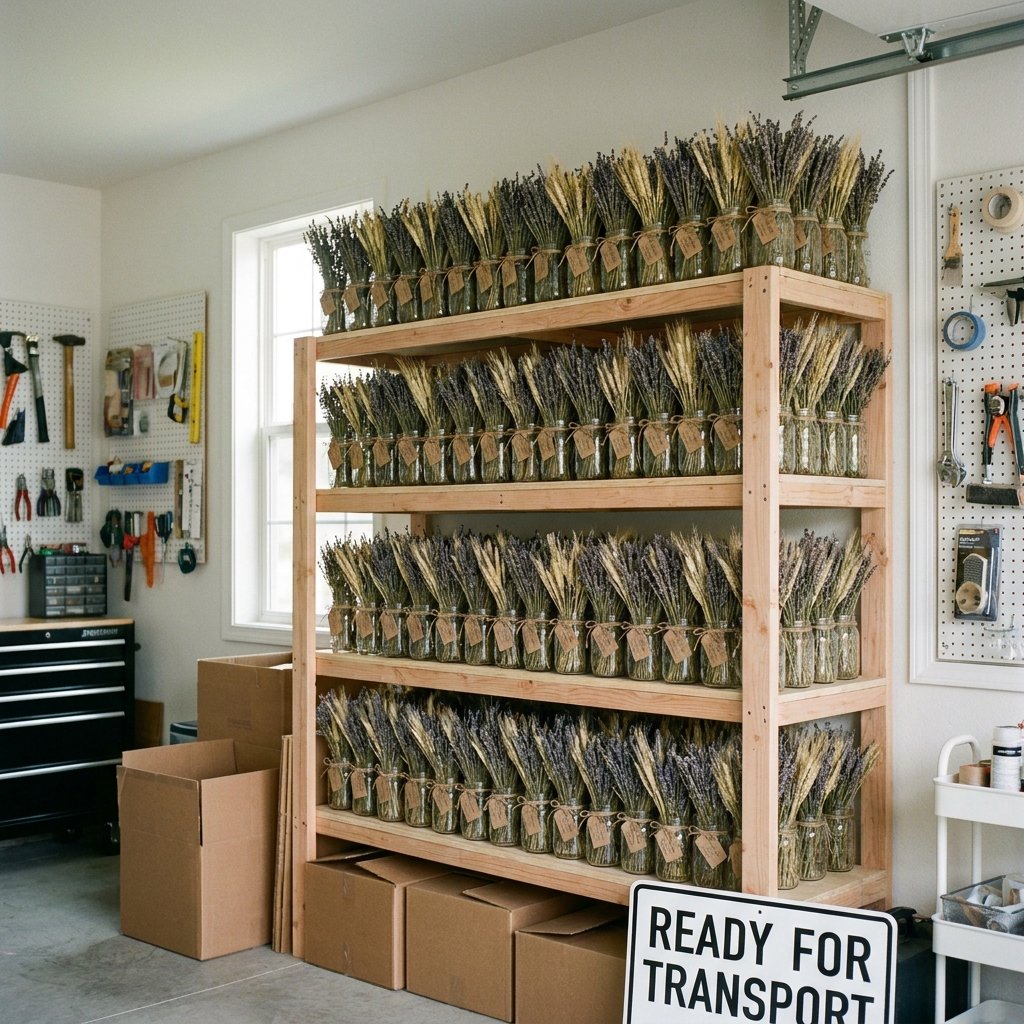
The Production Schedule
| Timeline | Task | Time Investment |
|---|---|---|
| 3 Months Out | Source bulk lavender and wheat; collect jars. | 2 Hours |
| 2 Months Out | Paint and prep all upcycled vessels. | 3 Hours |
| 1 Month Out | Assemble bundles and tie with twine. | 4 Hours |
| Wedding Week | Place in jars and transport to venue. | 1 Hour |
Safety and Preservation Note
Keep your finished centerpieces in a cool, dry place away from direct sunlight to prevent the lavender from fading. Do not get them wet, as the wheat can become soggy and lose its structural integrity.
Conclusion

Makenzie is the founder and lead writer at MoneyHackTips.com — a personal finance blog dedicated to delivering street-smart financial wisdom for real people on real budgets. With 300+ published articles covering everything from debt management to investing fundamentals, Makenzie’s mission is to make every dollar work harder. When not writing about money hacks, Makenzie is testing frugal living strategies, optimizing side hustles, and helping readers build financial freedom from scratch.