
Let us talk about the elephant in the wedding planning room: the sheer, eye-watering cost of table centerpieces and decor. If you are a budget-savvy bride, a handy groom, or a frugal DIYer trying to pull off an unforgettable, high-end aesthetic without taking out a second mortgage, you have likely stared at rental catalogs in disbelief. $15 to rent a single acrylic table number? $25 for a generic wooden sign? It is highway robbery. But what if I told you that the secret to jaw-dropping, conversation-starting table numbers is currently collecting dust at your local thrift store, or perhaps sitting in a forgotten cardboard box in your attic? Welcome to the resourcefully-creative world of book folding. By upcycling old, discarded hardcover books, you can craft stunning, three-dimensional table numbers that exude a rugged, vintage elegance, all for pennies on the dollar.
Book folding is the ultimate trash-to-treasure craft. It requires zero expensive machinery, no messy adhesives, and absolutely no previous crafting experience. All you need is a book, a ruler, a pencil, and a little bit of patience. The result is a deeply personal, incredibly tactile piece of art that your guests will marvel at. Whether you are aiming for a moody Dark Academia vibe, a rustic woodland aesthetic, or a handsome, masculine-elegant industrial theme, folded book table numbers anchor your tablescape with literary charm and bespoke craftsmanship. In this masterclass, we are going to break down exactly how to source the right materials for next to nothing, the precise tools you need, and the foolproof step-by-step method to fold your way to a breathtaking wedding reception.
The Hunt: Sourcing the Perfect Hardcovers for Cents on the Dollar
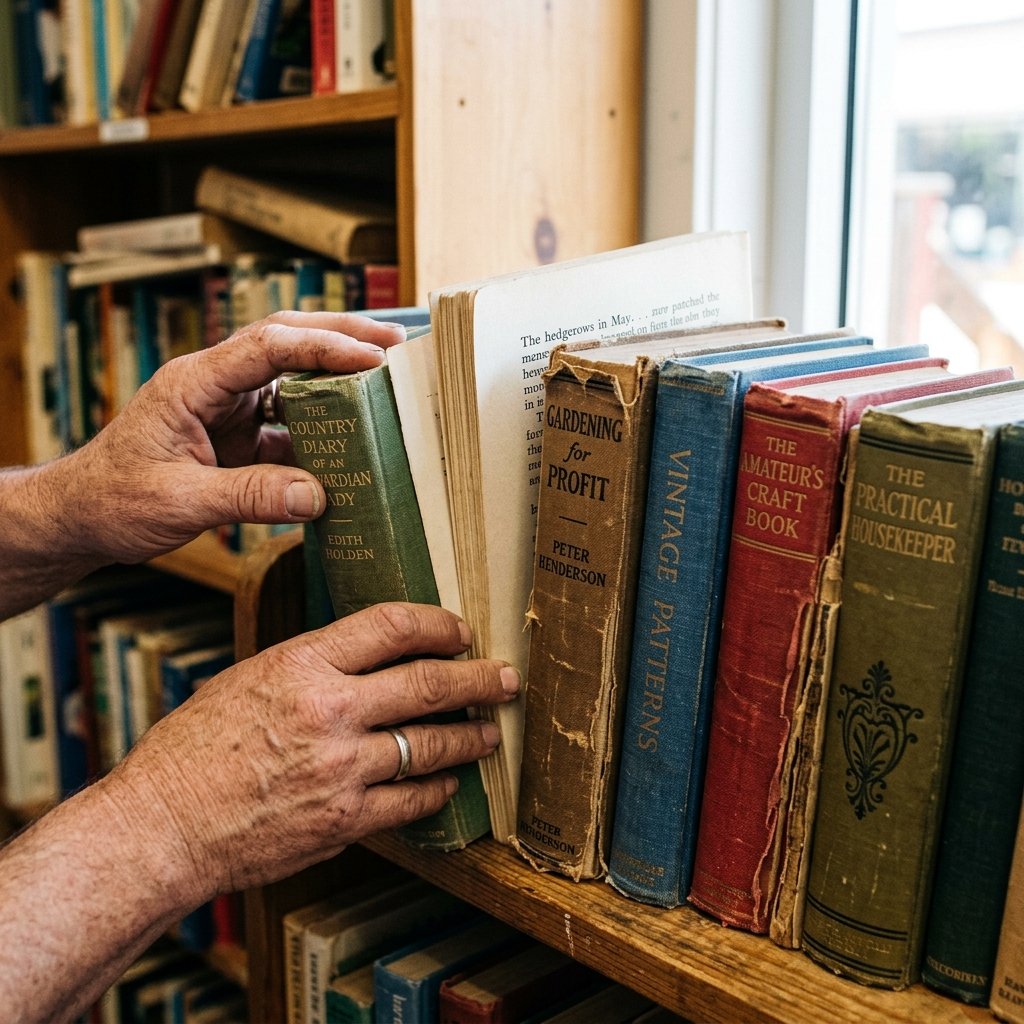
The foundation of any great upcycling project is the raw material. For book folding, you cannot just grab any paperback off the shelf. You need a sturdy, reliable hardcover that can withstand the tension of hundreds of folded pages. The goal here is zero-budget or ultra-low-budget sourcing. Start by raiding your own shelves for outdated encyclopedias, old textbooks, or forgotten novels that have lost their jackets. If your home library is off-limits, it is time to hit the pavement. Local library surplus sales are a frugal crafter’s paradise; they often sell “fill a bag” hardcovers for $1 to $5. Thrift stores, estate sales, and garage sales are also goldmines. When scouting for books, look for volumes that are at least 20 to 22 centimeters tall (about 8 to 9 inches). This provides enough vertical real estate for a highly legible number.
Understanding Page Count and Paper Quality
Not all paper is created equal. You want pages that are crisp enough to hold a sharp crease but not so brittle that they snap under pressure. Avoid glossy textbook pages (they slide around and refuse to hold a fold) and deeply yellowed, fragile antique books that might crumble. The sweet spot is standard matte book paper from books printed between the 1970s and early 2000s. Furthermore, the page count is critical. To fold a single digit (like 1 through 9), you generally need a book with at least 300 to 400 numbered pages (which equates to 150 to 200 physical leaves). For double digits (10 and up), look for thicker tomes with 500 to 600 pages. Do not worry about the cover color right now; we can always alter that later. Focus on the structural integrity of the spine and the quality of the paper grain.
| Sourcing Location | Estimated Cost per Book | Pros & Cons |
|---|---|---|
| Local Library Discard Sales | $0.50 – $2.00 | Pro: Massive selection, identical sizes available. Con: Often have library stamps. |
| Goodwill / Thrift Stores | $1.00 – $3.00 | Pro: Great vintage textures. Con: Finding matching sets takes time. |
| Garage & Estate Sales | $0.25 – $1.00 | Pro: Absolute cheapest option. Con: Highly unpredictable inventory. |
| Your Attic / Family Donations | 100% Free | Pro: Zero cost, sentimental value. Con: Limited quantity. |
Your Crafting Arsenal: Essential Tools for Precision Folding
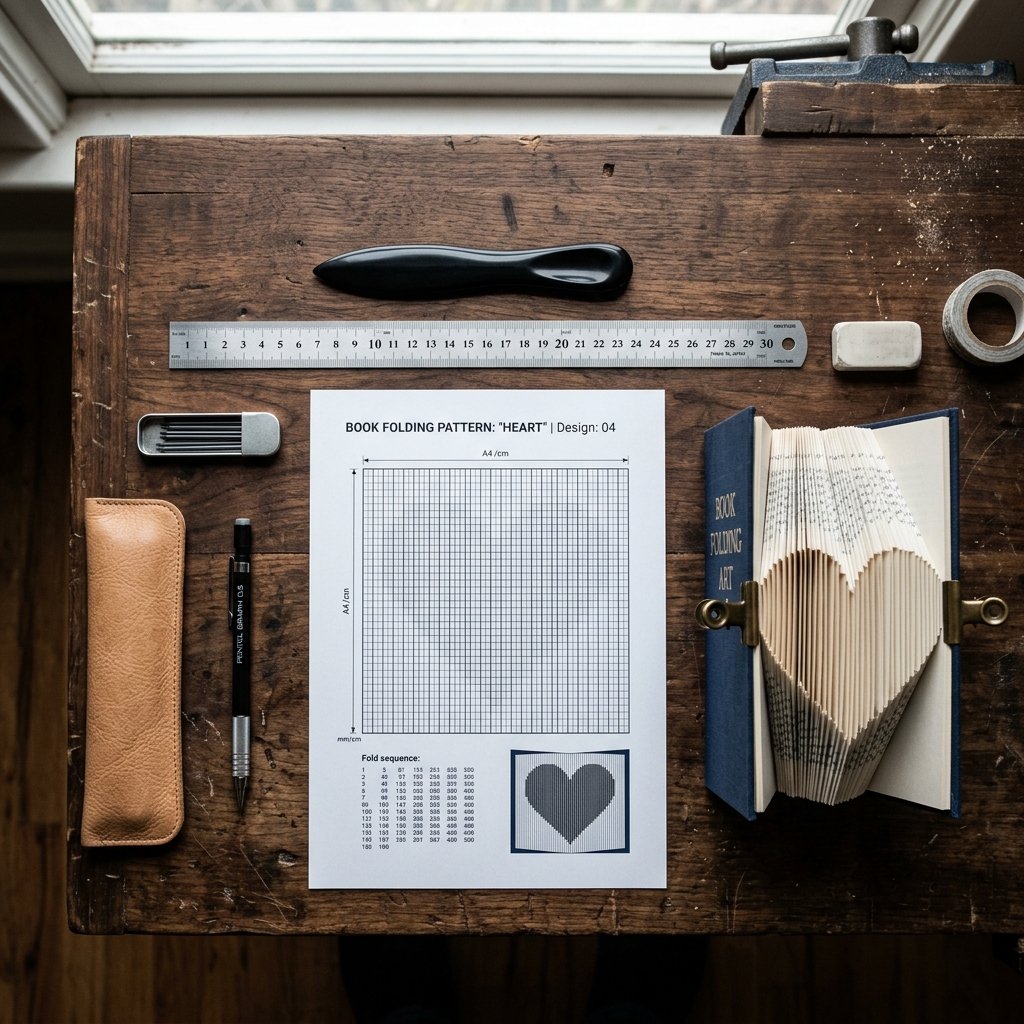
One of the most beautiful aspects of this crafty-expert endeavor is the minimal investment required for tools. You do not need a Cricut, a laser cutter, or an expensive sewing machine. The magic happens through simple geometry and physical manipulation. However, having the right basic tools will transform a frustrating, sloppy project into a crisp, professional-looking masterpiece. First and foremost, you need a high-quality metric ruler. Book folding patterns are almost universally measured in millimeters because the required precision is simply too fine for inches. A metal ruler is vastly superior to a plastic one, as the markings will not wear off, and it provides a heavy, straight edge to guide your folds.
The Bone Folder: Your Secret Weapon
If you take nothing else away from this guide, let it be this: invest in a bone folder. This simple, inexpensive tool (often made of actual bone or smooth Teflon) is the secret to achieving razor-sharp creases. While you could use your thumbnail or the back of a spoon, doing so for 400 pages will leave you with blistered hands and uneven folds. A bone folder glides effortlessly over the paper, compressing the fibers and locking the fold in place permanently. You will also need a sharp mechanical pencil. A standard wooden pencil dulls too quickly, resulting in thick, inaccurate marks. A mechanical pencil with 0.5mm lead ensures your measurement marks remain pinpoint accurate from page one to page four hundred.
| Tool / Material | Purpose | Estimated Cost |
|---|---|---|
| Thrifted Hardcover Books | The canvas for your table numbers | $15.00 (for 15 tables) |
| Metric Metal Ruler (30cm) | For precision millimeter measuring | $4.00 |
| 0.5mm Mechanical Pencil | For making tiny, accurate fold marks | $2.00 |
| Teflon Bone Folder | For creating razor-sharp, permanent creases | $6.00 |
| Book Folding Patterns | The numeric templates (Etsy or free generators) | $0.00 – $5.00 |
The Masterclass: Folding Your Table Numbers Step-by-Step
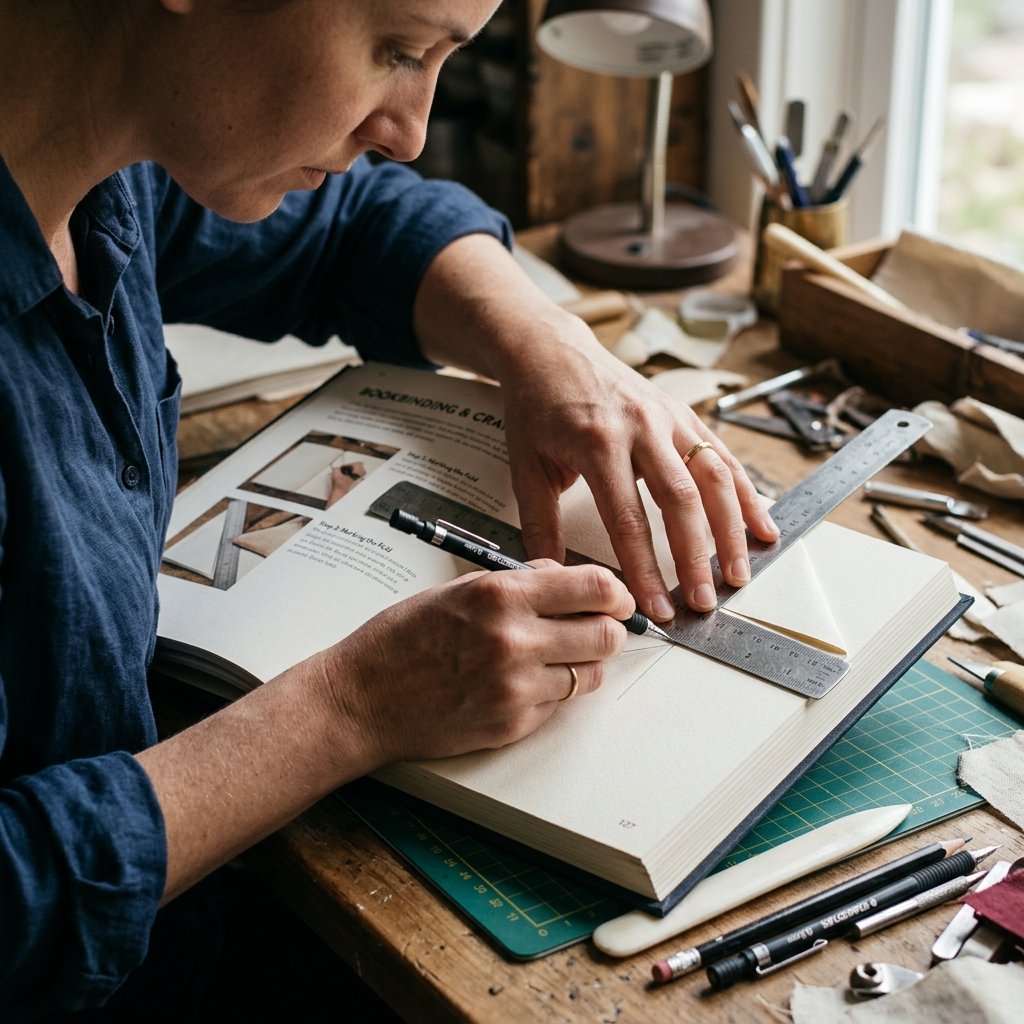
Now we enter the heart of the craft. Book folding relies on a technique known as ‘Measure, Mark, and Fold’ (MMF). You will be following a pattern that gives you two measurements for every single page. The first measurement dictates where the top of the page folds inward, and the second measurement dictates where the bottom of the page folds inward. When you do this consecutively across hundreds of pages, the negative space creates the 3D number. But before you make a single fold, you must calculate your starting page. If you start on page one, your number will be off-center and the book will look lopsided. Here is the golden formula for centering your design:
The Centering Formula:
1. Total Pages in Book (e.g., 400) divided by 2 = Total Leaves (200).
2. Total Leaves (200) minus Pattern Folds (e.g., 120) = Remaining Leaves (80).
3. Remaining Leaves (80) divided by 2 = Starting Leaf (40).
Multiply the Starting Leaf by 2 to find your Starting Page Number (80).
With your starting page calculated, it is time to execute the folds. Put on a good podcast, pour yourself a cup of coffee, and get into the rhythm. It takes about 60 to 90 minutes to complete one book once you find your flow.
The Execution: Step-by-Step
- Prep the Book: Open your book to a 90-degree angle. Use a heavy object (like a paperweight or a clamp) to hold the front cover down so the pages stand upright and accessible.
- Align the Ruler: Turn to your calculated starting page. Place your metric ruler flush against the outside edge of the page. Ensure the zero mark is exactly at the top edge of the paper.
- Mark the Page: Look at line one of your pattern. It will have two numbers (e.g., 8.5 cm and 11.2 cm). Using your mechanical pencil, make a tiny, faint tick mark at exactly 8.5 cm and another at 11.2 cm.
- The Top Fold: Take the top right corner of the page and fold it inward toward the spine, creating a triangle. The fold must intersect perfectly with your top pencil mark (8.5 cm). Ensure the top edge of the page remains perfectly perpendicular to the spine to avoid a skewed design.
- The Bottom Fold: Take the bottom right corner of the page and fold it upward toward the spine, creating a second triangle. This fold must intersect perfectly with your bottom pencil mark (11.2 cm).
- Crease and Repeat: Take your bone folder and firmly run it along both folded edges to lock them in. Turn the page, look at line two of your pattern, and repeat the process.
Leveling Up: Adding Rugged Charm and Vintage Elegance
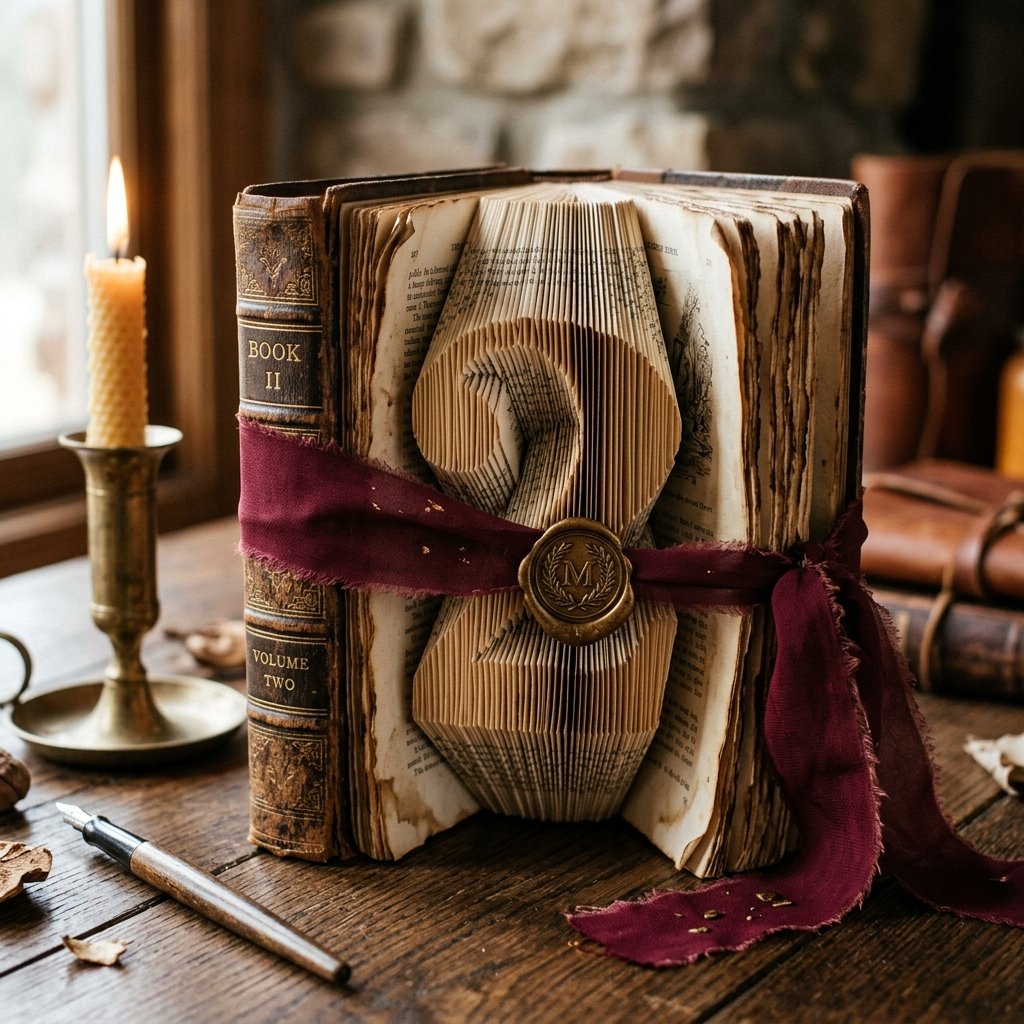
A folded book is beautiful on its own, but to truly elevate these table numbers from a simple paper craft to high-end wedding decor, we need to add some rugged, handsome finishing touches. This is where your Dollar Tree interior designer skills come into play. If the original covers of your thrifted books are an ugly neon green or feature cheesy 1980s romance art, do not panic. You can easily mask or modify the exterior to match your wedding’s aesthetic. For a masculine-elegant, Dark Academia vibe, consider wrapping the covers in faux leather or dark, textured contact paper. You can find rolls of high-quality woodgrain or leather-look vinyl at the dollar store or hardware store for under $5.
Distressing and Embellishing
If you want to emphasize the vintage, rustic nature of the upcycled books, edge distressing is a game-changer. Take a standard ink blending tool (or a cheap makeup sponge) and a dark brown or sepia ink pad. Gently rub the sponge along the outer edges of the folded pages. This instantly ages the paper, giving it a rich, antique patina that looks incredible under warm reception lighting. For a touch of bridal elegance, you can apply gold leaf to the spine or the very edges of the folds. A simple dab of gilding adhesive and a sheet of imitation gold leaf (which costs mere pennies per application) will catch the candlelight beautifully.
- Ribbon and Twine: Tie a thick, raw-edge chiffon ribbon or rugged jute twine around the covers (leaving the folded pages exposed) to hold the book open at the perfect display angle.
- Wax Seals: Add a custom wax seal to the spine or the ribbon knot featuring your new shared initial. This adds a bespoke, aristocratic touch that screams luxury.
- Spine Title Blackout: Use black acrylic paint to completely paint over the spine, then use a gold metallic sharpie to write your own romantic quotes or the wedding date.
Designing the Tablescape: Centerpiece Integration and Budget Breakdown
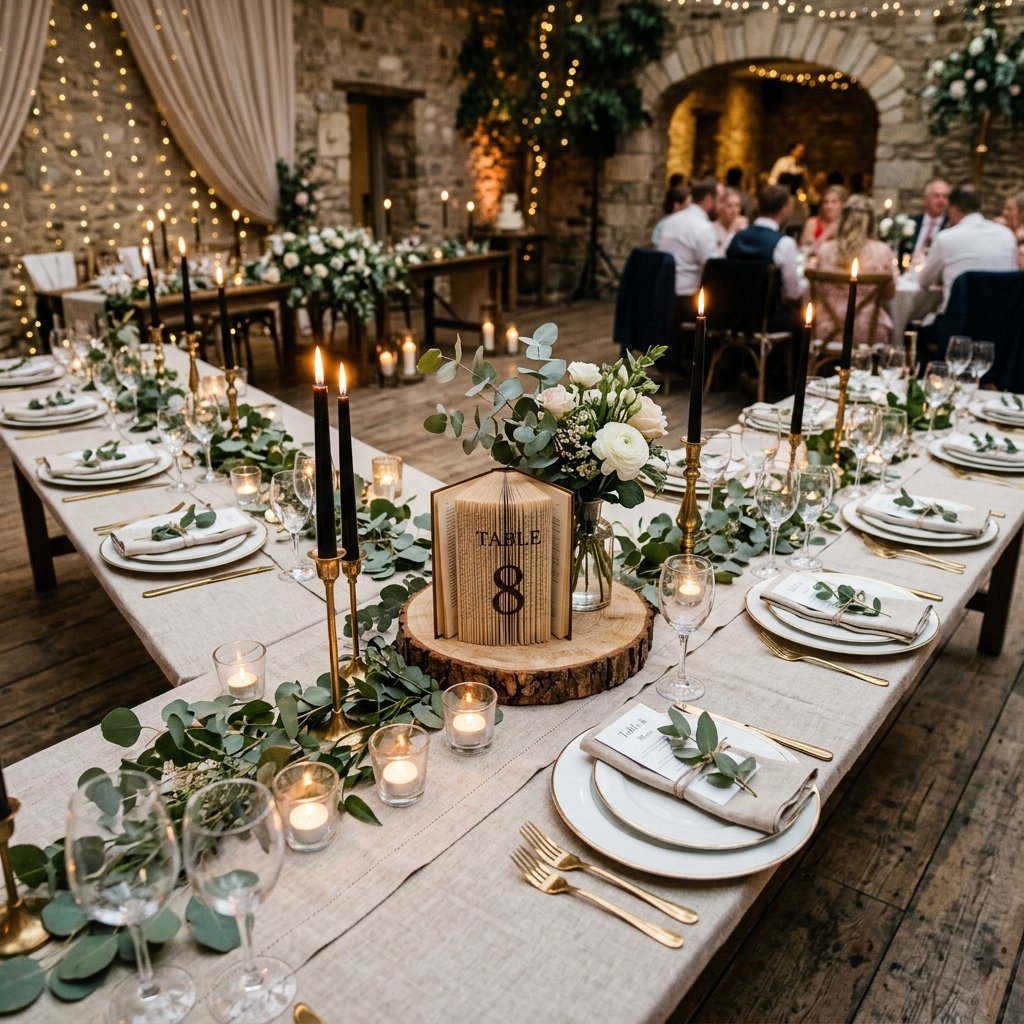
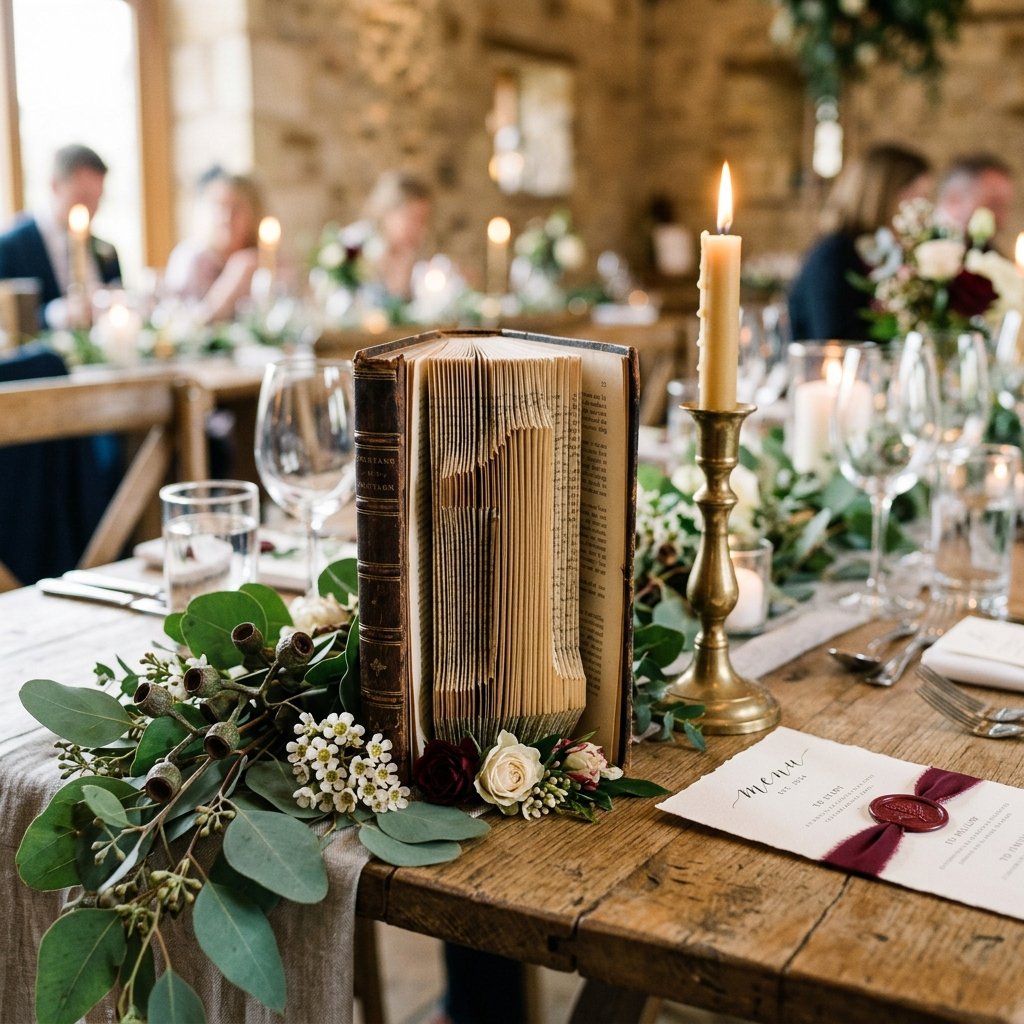
Creating the table numbers is only half the battle; styling them within your larger centerpiece design is where the magic truly happens. Folded books are substantial pieces, meaning they take up significant visual space on the table. This is a massive win for the budget-savvy bride, as it means you need fewer expensive floral arrangements to make the table look full and luxurious. Pair your book folding table numbers with low-cost, high-impact complementary elements. For a rustic woodland theme, place the book on a thick, natural wood slice (often $2 each if sourced from a local lumberyard) and surround it with foraging moss, pinecones, and scattered tea lights. For an industrial chic look, flank the book with geometric brass terrariums or thrifted copper candlesticks featuring black taper candles.
The Ultimate Frugal Cost Comparison
Let us look at the hard numbers. When you compare the cost of renting standard, uninspired decor versus crafting these bespoke, handmade treasures, the savings are astronomical. Not only do you save hundreds of dollars, but you also give your guests a completely unique visual experience. Furthermore, these books can be gifted to your wedding party after the event, or kept as beautiful bookshelf decor in your new home together.
| Centerpiece Element (Per Table) | Traditional Florist / Rental Cost | Your Zero-Budget / DIY Cost |
|---|---|---|
| Table Number Signage | $15.00 (Rental Acrylic/Wood) | $1.50 (Thrifted Book + Pencil Lead) |
| Base / Riser | $10.00 (Rental Brass/Glass Stand) | $2.00 (DIY Wood Slice or Old Slate) |
| Accent Lighting | $20.00 (Rental Votives & Candles) | $4.00 (Bulk Dollar Tree Candles) |
| Floral / Greenery Filler | $75.00 (Fresh Floral Arrangement) | $15.00 (Bulk Trader Joe’s Eucalyptus) |
| Total Cost Per Table | $120.00 | $22.50 (An 81% Savings!) |
Frugal Fixes: Troubleshooting Common Book Folding Disasters
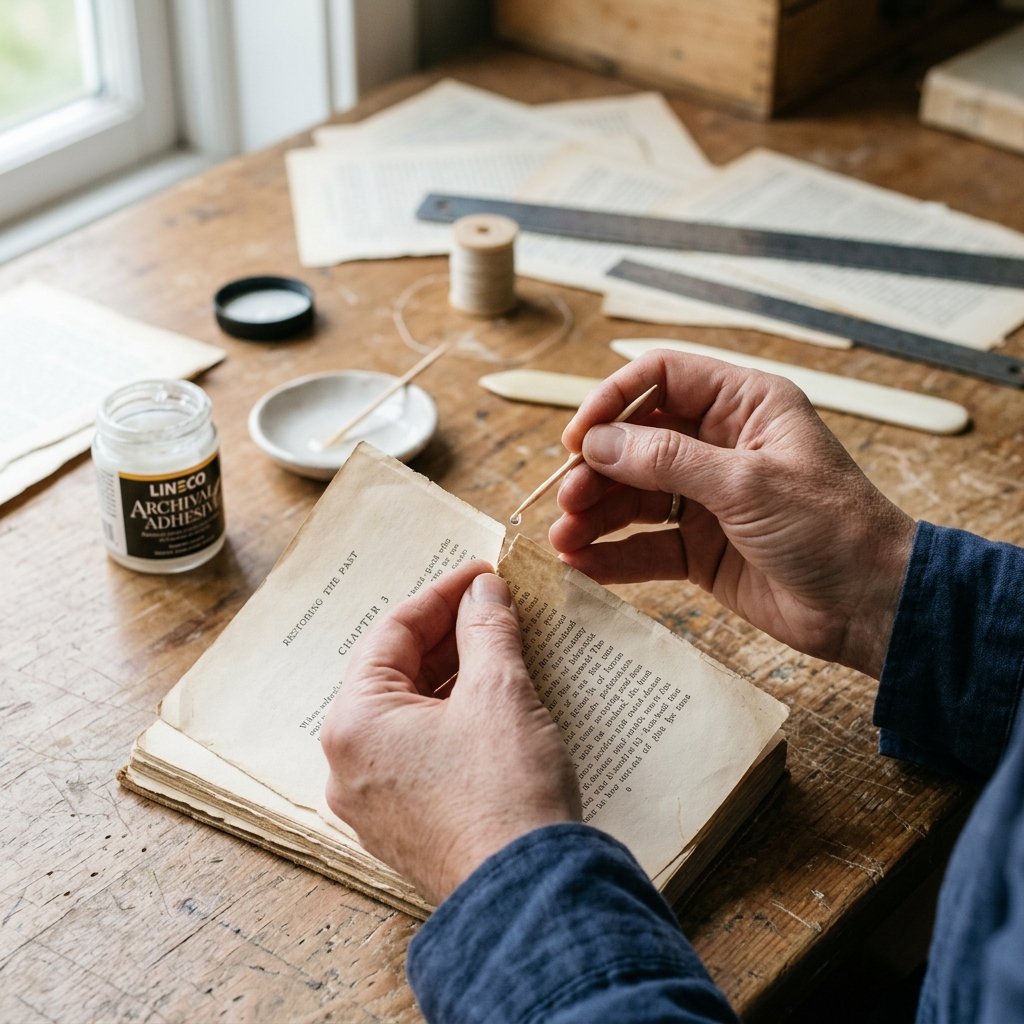
Even the most careful crafty-expert will occasionally run into a hiccup. When you are dealing with vintage, upcycled materials, a little unpredictability is par for the course. But do not throw the book across the room if you make a mistake! Almost every book folding disaster can be invisibly mended with a little practical ingenuity. The most common issue is a torn page. Older paper can be brittle, and if you press too hard with your bone folder, the paper might split at the crease. Do not use standard shiny scotch tape to fix it. The glare will catch the light and ruin the illusion. Instead, use matte finish transparent tape, or better yet, a tiny dab of archival glue applied with a toothpick. Press the tear together and let it dry under the weight of a paperclip.
Correcting Measurement Errors and Spine Issues
What happens if you accidentally skip a line on your pattern or measure incorrectly? You will usually notice this a few pages later when the curve of the number suddenly looks jagged or distorted. Simply unfold the last few pages, grab a standard white eraser, completely erase your pencil marks, and remeasure. The paper will have a slight phantom crease, but once the correct fold is made and compressed with the bone folder, the old crease will be virtually invisible within the dense block of pages. Another common issue is the book refusing to stay open at the correct angle to display the number. If the spine is too tight, gently massage it by opening the book flat and pressing down along the inner margins. If it still wants to snap shut, this is where your decorative ribbon or twine comes to the rescue. Tie it firmly behind the folded section to force the covers into a permanent V-shape.
Safety Note for Crafters: When working with old books, be mindful of dust and mildew, especially if you have allergies. Wipe down thrifted covers with a lightly damp cloth and a drop of dish soap before bringing them into your workspace. If you are using craft blades or sharp scissors to trim covers, always cut away from your body and use a self-healing cutting mat.
Conclusion
Throwing away old, unloved books is a tragedy, but transforming them into the breathtaking focal points of your wedding reception is a triumph of frugal creativity. You have just mastered the ultimate budget-savvy hack. By combining a few dollars worth of thrifted hardcovers, a simple ruler, and a little bit of resourceful elbow grease, you have bypassed the inflated wedding industry completely. These folded book table numbers are more than just functional signs; they are a testament to your craftsmanship, your cleverness, and your commitment to a rugged, elegant, and deeply personal aesthetic. So roll up your sleeves, grab that bone folder, and start folding. Your guests will be absolutely blown away by the high-end look, and your wallet will thank you for the incredible savings. Happy folding, and congratulations on crafting a wedding day that is as smart as it is beautiful!

Makenzie is the founder and lead writer at MoneyHackTips.com — a personal finance blog dedicated to delivering street-smart financial wisdom for real people on real budgets. With 300+ published articles covering everything from debt management to investing fundamentals, Makenzie’s mission is to make every dollar work harder. When not writing about money hacks, Makenzie is testing frugal living strategies, optimizing side hustles, and helping readers build financial freedom from scratch.