
The Secret to the Million-Dollar Look on a Minimum Wage Budget
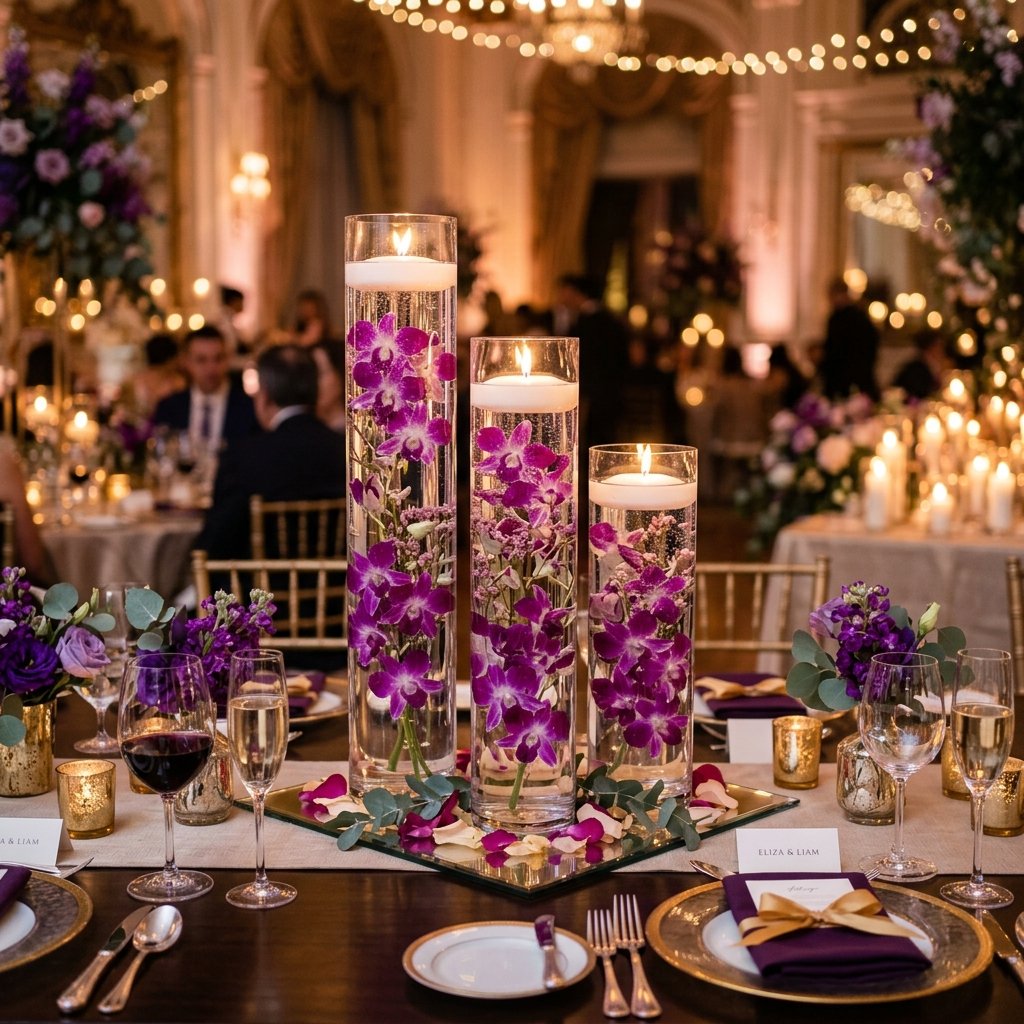
Let’s be honest: the wedding industry is designed to make you feel like ‘elegant’ and ‘expensive’ are synonymous. But as a resourceful crafter, you know better. You know that with a little bit of clever engineering and a sharp eye for materials, you can replicate a $45-per-table florist arrangement for exactly $5. Enter the floating orchid centerpiece—the ultimate ‘cheat code’ for modern, sophisticated wedding decor. These submerged floral arrangements utilize the physics of light refraction to turn a single, inexpensive stem into a glowing, ethereal focal point. Whether you are a budget-savvy bride, a handy dad helping with the reception, or a frugal event planner, this guide will show you how to master the rugged precision of these centerpieces. We aren’t just throwing flowers in water; we are building a high-end visual experience using grit, grace, and a few dollar bills.
The $5 Blueprint: Breaking Down the Material Costs and Sourcing Secrets
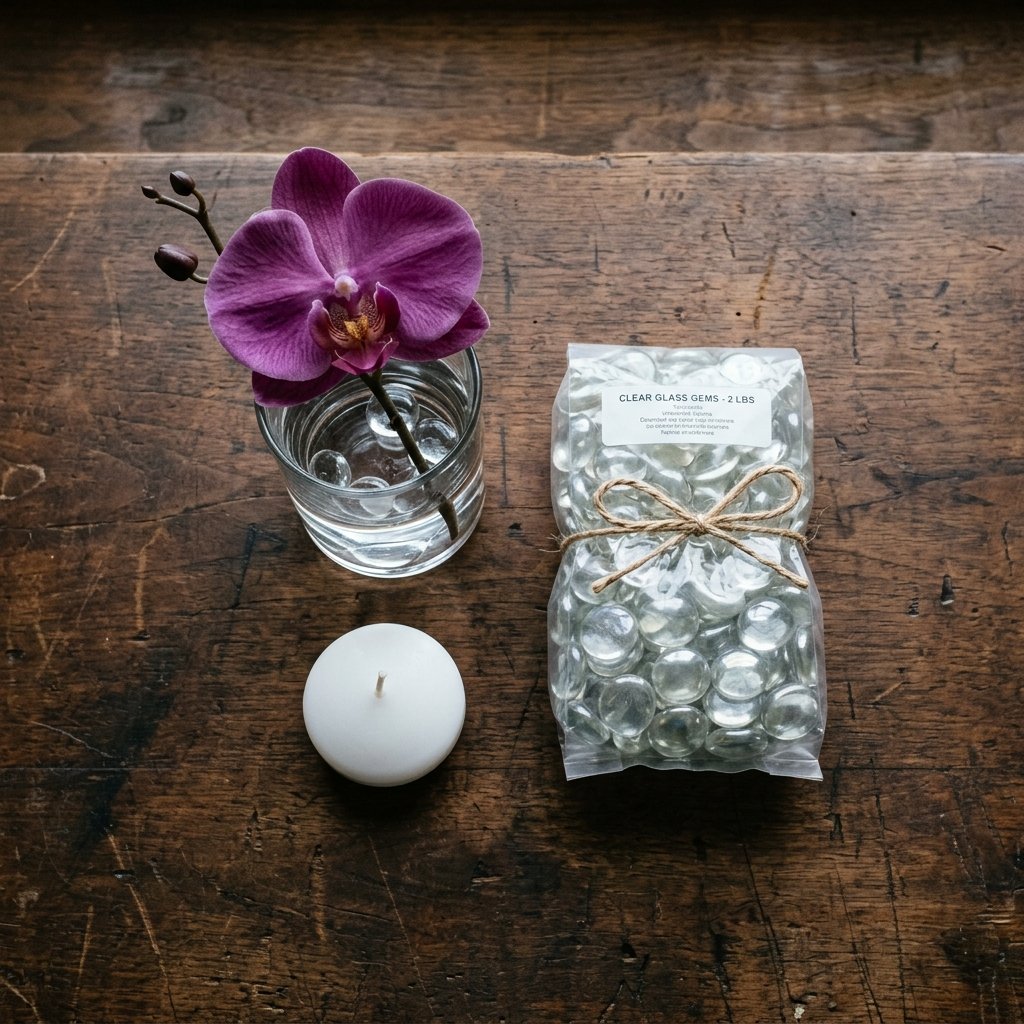
To build a masterpiece, you need to understand the logistics of your supply chain. The magic of the $5 centerpiece relies on sourcing specific ‘blanks’—the raw materials that look like junk on a shelf but like jewels under the right light. We are looking for three main components: the vessel, the floral, and the anchor.
| Material | Source | Estimated Cost |
|---|---|---|
| Glass Cylinder Vase (7-9 inch) | Dollar Tree / Bulk Wholesale | $1.25 |
| Single Silk Orchid Stem (Cut to size) | Craft Store Clearance / Amazon Bulk | $1.50 |
| Distilled Water (per vase) | Grocery Store | $0.25 |
| Floating Candle (White/Unscented) | Bulk Pack | $0.75 |
| Glass Gems or River Stones | Dollar Store | $1.25 |
Pro-Tip: The ‘Real vs. Silk’ Debate
While real orchids are breathtaking, they can ‘bleed’ their color into the water over several hours. For a 100% stress-free setup, high-quality silk orchids are the rugged choice. They won’t wilt, they won’t discolor the water, and you can prep them weeks in advance. If you insist on real blooms, ensure you use distilled water to prevent air bubbles from forming on the petals, which can make them look fuzzy or ‘dirty’ in photos.
Mastering the Submerge: The Step-by-Step Guide to the Perfect Float
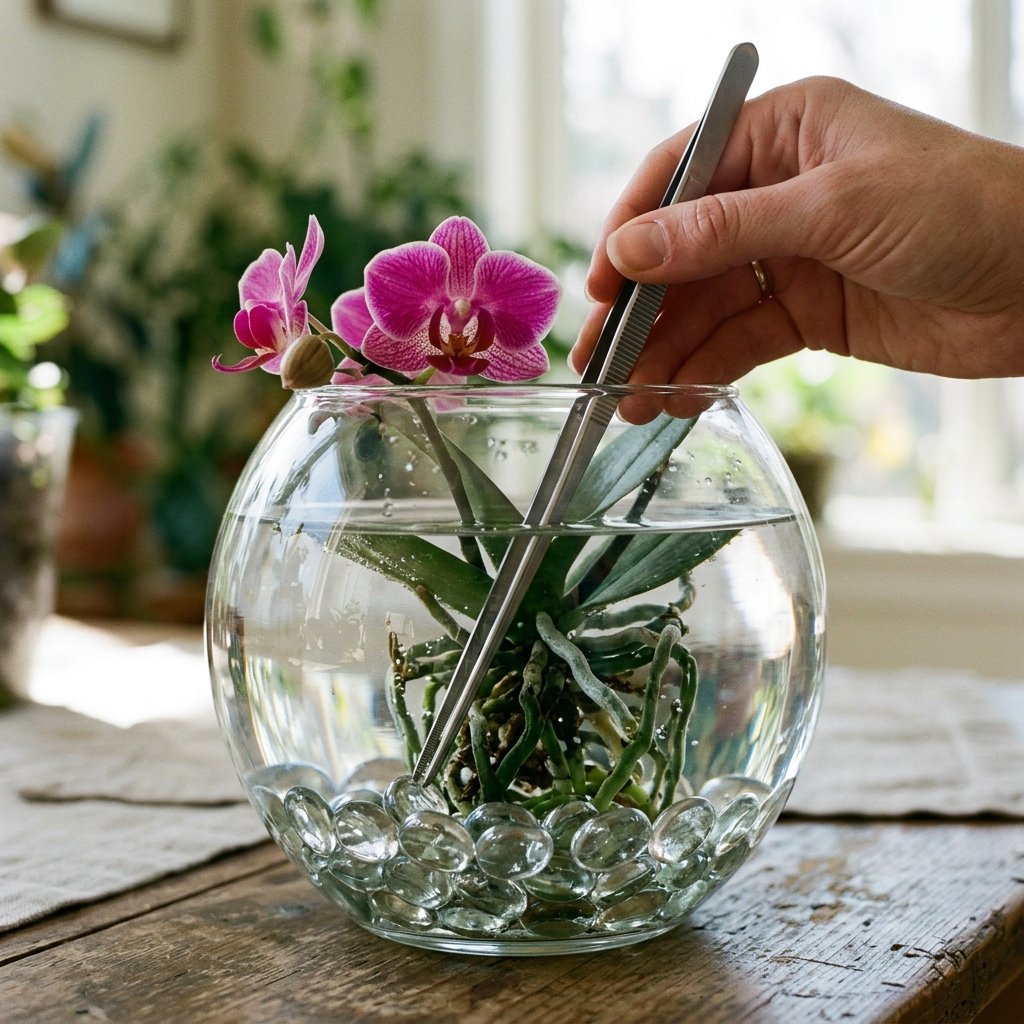
Creating a submerged look isn’t as simple as dropping a flower into a jar. If you do that, the orchid will simply bob at the top like a cork. You need to anchor the stem to ensure it stays ‘frozen’ in the center of the vessel. Follow these precise steps for a professional finish:
- Clean the Vessel: Use a 50/50 mix of vinegar and water to wipe the inside of the glass. Any fingerprints or dust will be magnified ten-fold once the water is added.
- Weight the Stem: Take your orchid stem and wrap a small piece of clear fishing line or a thin floral wire around the base. Attach this to a heavy glass gem or a small river stone.
- The Dry Fit: Place the weighted orchid into the empty vase. Adjust the height by trimming the stem. You want the top of the flower to sit at least 2 inches below the rim to leave room for the candle.
- The Pour: Slowly pour distilled water down the inner side of the glass. Do not pour directly onto the flower, as this creates micro-bubbles that obscure the petals.
- The Finishing Touch: Gently place the floating candle on the surface. Ensure the wick stays dry.
“The key to a high-end DIY is precision. If your orchid is leaning at a 45-degree angle, it looks like a mistake. If it is perfectly vertical and centered, it looks like a curated art piece.”
Illuminating Elegance: Adding Light and Texture
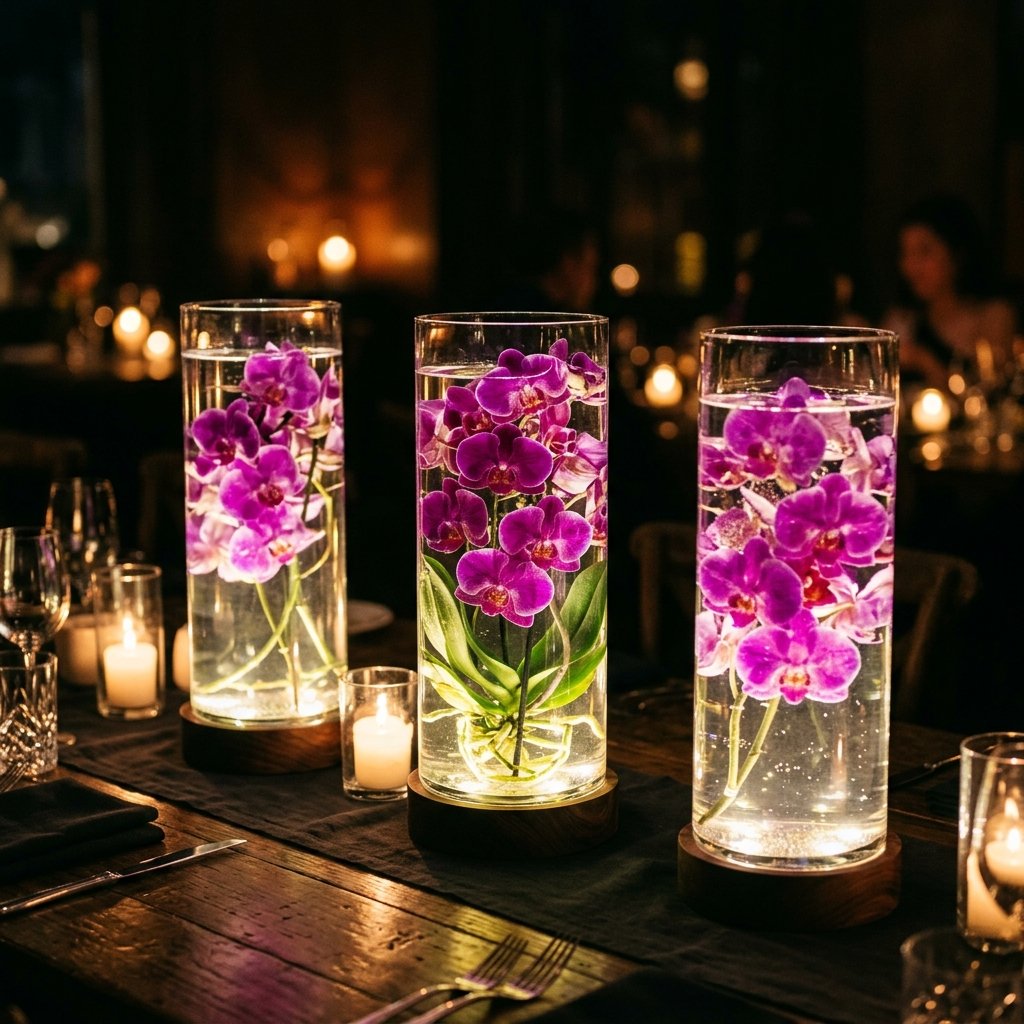
A centerpiece is only as good as its lighting. In a dimly lit reception hall, the water in your vase acts as a fiber-optic cable, carrying light through the arrangement. To truly make these ‘pop,’ consider adding a submersible LED light at the base.
Lighting Comparison: Candle vs. LED
| Feature | Floating Candle | Submersible LED |
|---|---|---|
| Vibe | Romantic, flickering, traditional | Modern, vibrant, glowing |
| Duration | 4-6 hours | 12-24 hours |
| Cost | $0.75 each | $1.50 each |
| Setup | Requires lighting at the event | Turn on during assembly |
If you choose the LED route, hide the plastic light unit under your glass gems or river stones at the bottom of the vase. This creates an ‘uplighting’ effect that makes the orchid appear to glow from within. For a more rugged, masculine-elegant look, use dark slate stones at the base and a warm-toned LED to mimic the glow of a campfire.
Logistics and Longevity: Prep, Transport, and Day-Of Execution
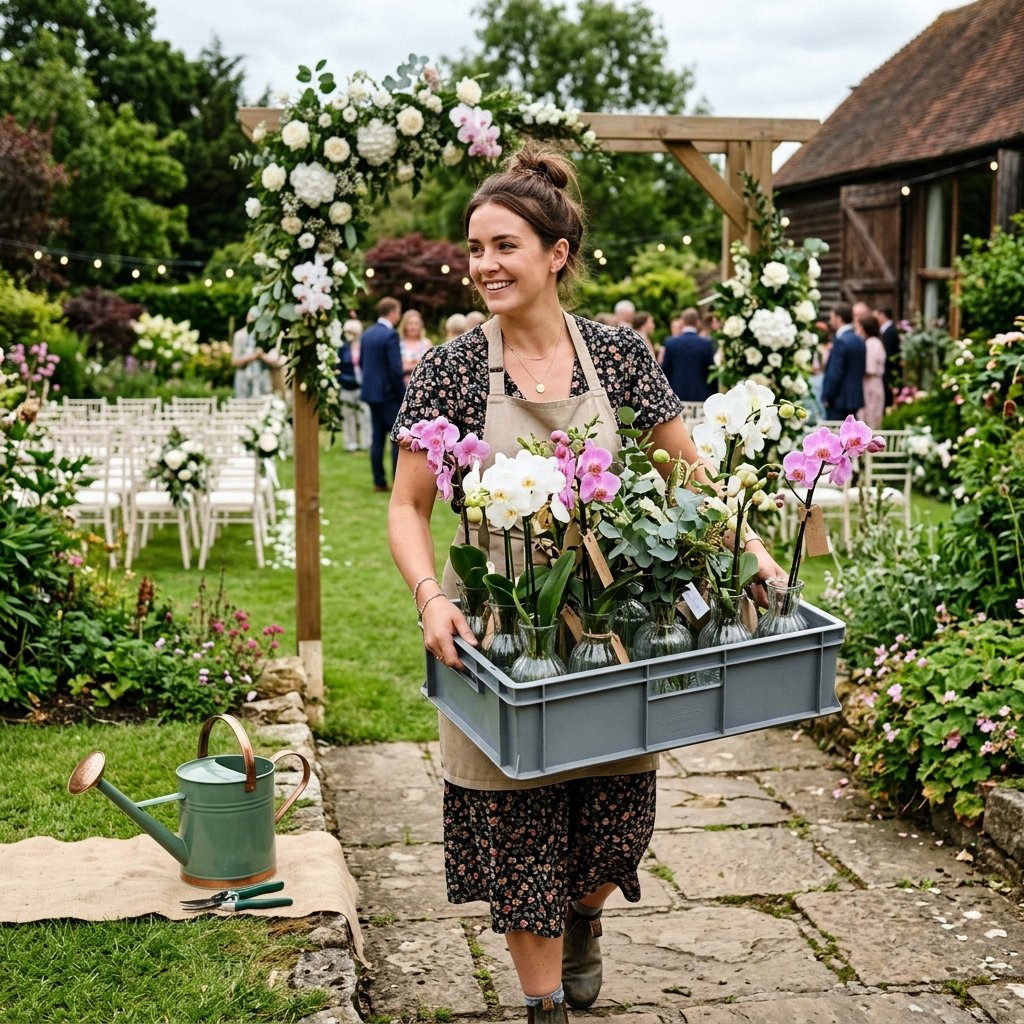
One of the biggest mistakes DIY brides make is trying to assemble water-filled vases at the venue. This leads to spills, soggy table linens, and immense stress. As a crafty expert, you need a tactical plan for transport.
- Pre-Assemble Dry: Place your stones and weighted orchids in the vases at home.
- The Crate Method: Use sturdy plastic milk crates or specialized glassware boxes with dividers. Pack the dry vases tightly so they don’t clink together.
- Water on Site: Bring 1-gallon jugs of distilled water to the venue. Use a long-neck watering can to fill the vases after they are placed on the tables. This prevents the ‘slosh’ factor during the walk from the prep area to the table.
- The Safety Check: Always keep a microfiber cloth in your pocket. As you fill the vases, water droplets will inevitably run down the outside. Wipe them immediately to maintain that crystal-clear professional look.
“Logistics is the difference between a ‘DIY disaster’ and a ‘DIY triumph.’ Plan for the movement, not just the static image.”
Conclusion
The Frugal Bride’s Victory
By choosing these $5 floating orchid centerpieces, you aren’t just saving money; you are demonstrating a level of resourcefulness that is the hallmark of a truly clever creator. You’ve taken basic elements—glass, water, and silk—and transformed them into a sophisticated display that rivals high-end boutique designs. Remember, the beauty of DIY isn’t just in the final product, but in the pride of knowing you built a luxury atmosphere with your own two hands and a sharp budget. Now, go forth, grab those vases, and light up your night without burning through your savings.

Makenzie is the founder and lead writer at MoneyHackTips.com — a personal finance blog dedicated to delivering street-smart financial wisdom for real people on real budgets. With 300+ published articles covering everything from debt management to investing fundamentals, Makenzie’s mission is to make every dollar work harder. When not writing about money hacks, Makenzie is testing frugal living strategies, optimizing side hustles, and helping readers build financial freedom from scratch.