
The Soul of a Handmade Gift
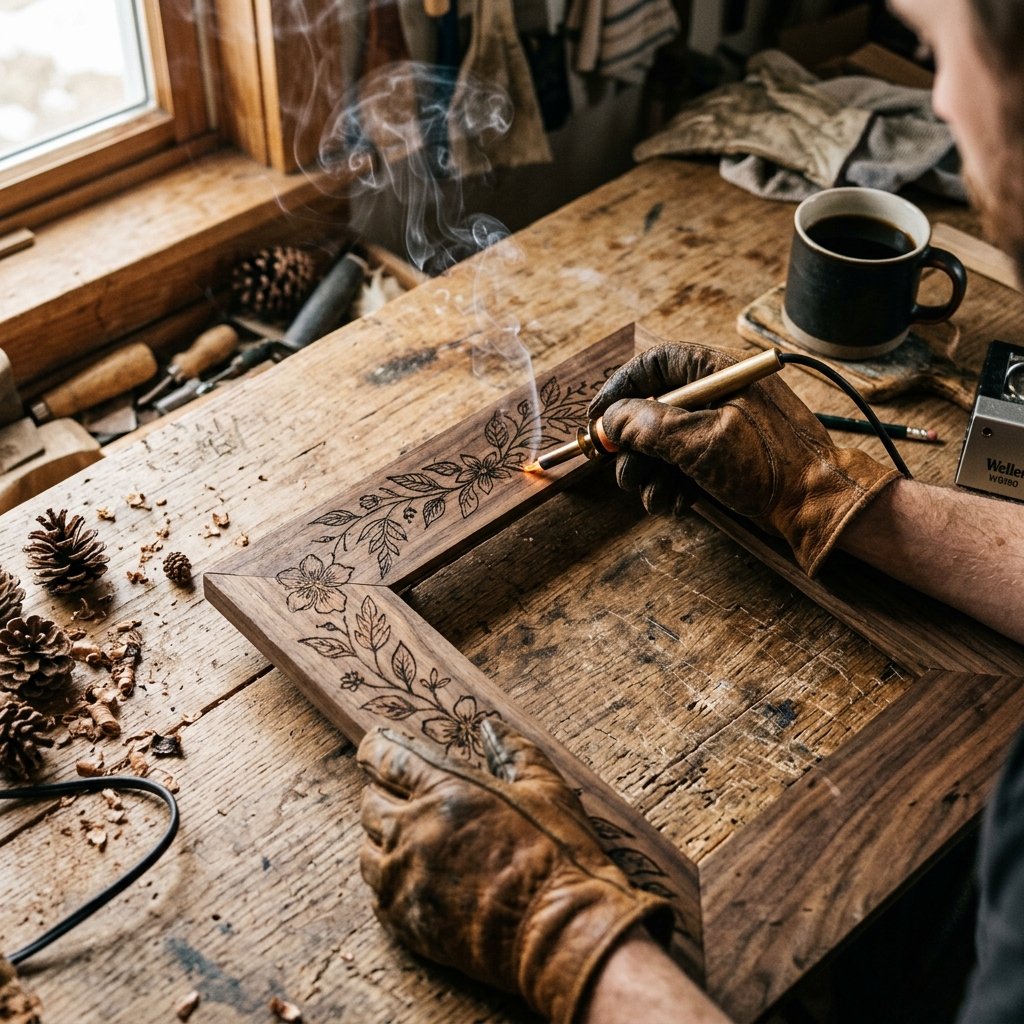
In a world of one-click ordering and mass-produced plastic, there is something profoundly masculine and elegant about the smell of scorched cedar and the grit of sandpaper. An anniversary isn’t just a date on the calendar; it is a milestone of shared history. What better way to honor that history than by etching it permanently into wood? This project isn’t just about making a frame; it’s about the resourceful alchemy of turning a $2 scrap of wood into a $60 boutique-style heirloom. Whether you are a seasoned tinkerer or a total novice, wood burning (or pyrography) offers a tactile, rewarding experience that results in a gift with real weight and character. We are going to bypass the overpriced gift aisles and head straight for the workbench to create a piece that screams ‘bespoke’ without whispering a word about your shoestring budget.
Sourcing Your Canvas: The Rugged Hunter’s Guide to Cheap Wood
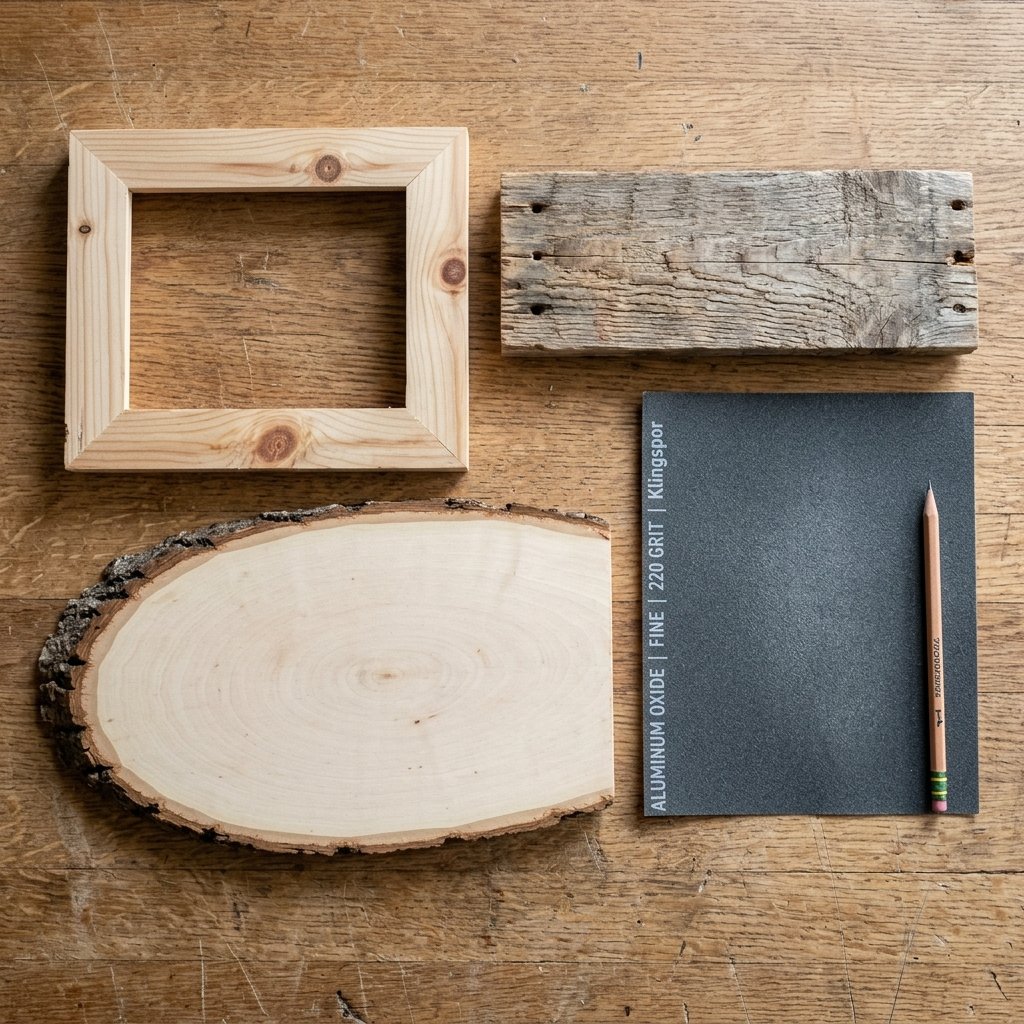
The secret to a high-end look on a budget starts with the wood. You don’t need to visit an expensive lumber yard. In fact, some of the best grains are hiding in plain sight. For this project, we want ‘raw’ wood—unfinished, unsealed, and ready for the heat. If you’re feeling extra scrappy, look for old pallet wood or thrift store frames that you can sand down to the bare grain. If you want a cleaner start, the craft aisle at your local dollar store often carries simple pine or basswood frames for under $5.
Wood Type Compatibility Guide
Not all wood is created equal when it comes to the flame. Use this table to choose your base wisely based on your desired finish and budget.
| Wood Type | Burn Quality | Cost Level | Best For… |
|---|---|---|---|
| Basswood | Excellent (Smooth) | Low-Medium | Intricate detailing and portraits |
| Pine | Good (Grainy) | Very Low | Rustic, bold patterns and lettering |
| Poplar | Moderate | Low | Modern, clean lines |
| Oak | Difficult (Hard) | Medium | Deep, textured grooves |
Remember the Golden Rule of the Budget Crafter: The more time you spend sanding, the less you have to spend on the wood itself. A $1 piece of pine can look like $20 walnut if you prep it with heart.
The Maker’s Toolkit: Professional Results for Pennies
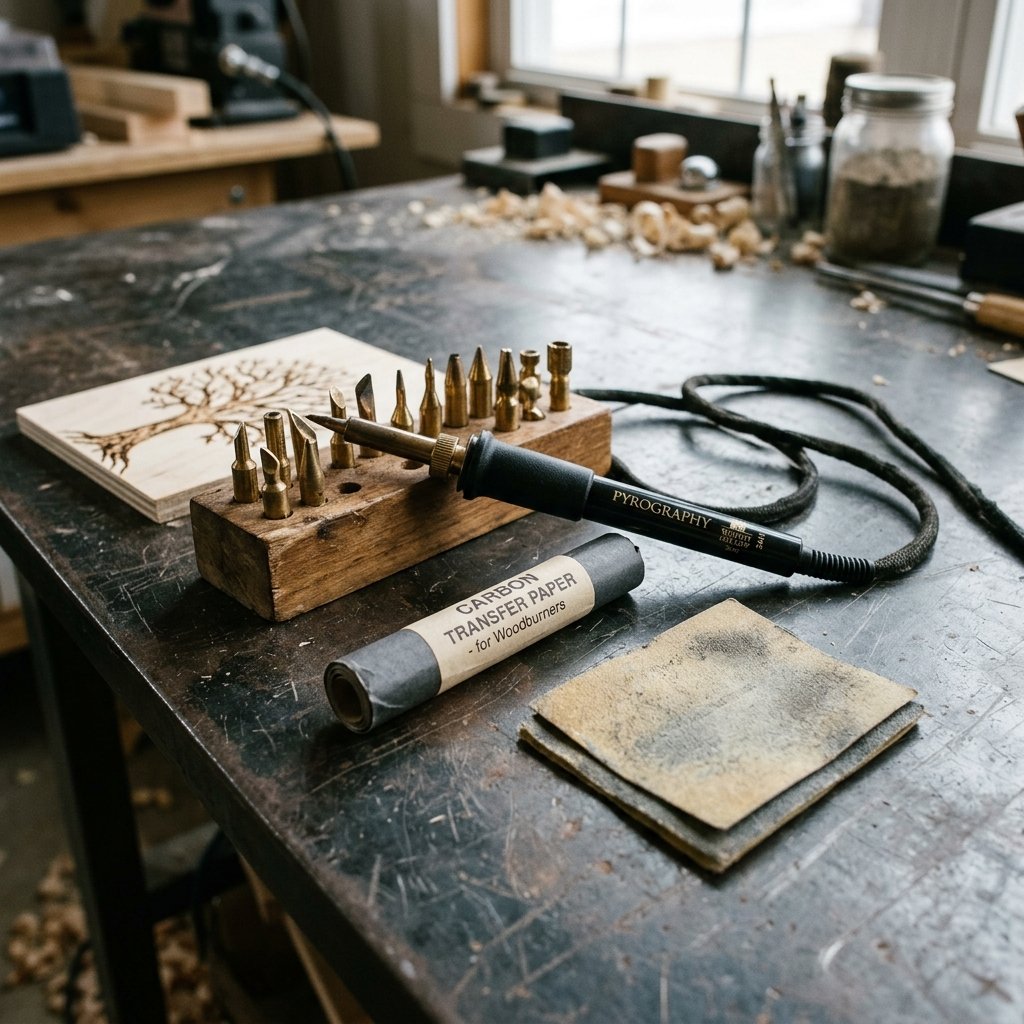
Essential Gear for the Frugal Pyrographer
You don’t need a digital, temperature-controlled burning station to get professional results. A basic $10 to $15 wood-burning pen from any hardware or craft store is more than enough. These ‘soldering iron’ style tools usually come with a variety of tips: a universal point for lines, a flow point for shading, and a calligraphy point for elegant script.
- The Wood Burning Pen: Your primary wand of creation.
- Graphite or Carbon Paper: For transferring your design without needing to be a master illustrator.
- Fine-Grit Sandpaper (220 and 400 grit): To ensure the pen doesn’t ‘skip’ on rough fibers.
- A Metal Ruler: For those crisp, masculine geometric borders.
- Safety Gear: A simple mask and a well-ventilated room.
Safety First: Pyrography creates smoke. Always work in a ventilated area and wear a mask to avoid inhaling wood dust or fumes, especially if you aren’t 100% sure the wood was never treated with chemicals.
The Blueprint: Transferring Your Heartfelt Design
Design Selection and Preparation
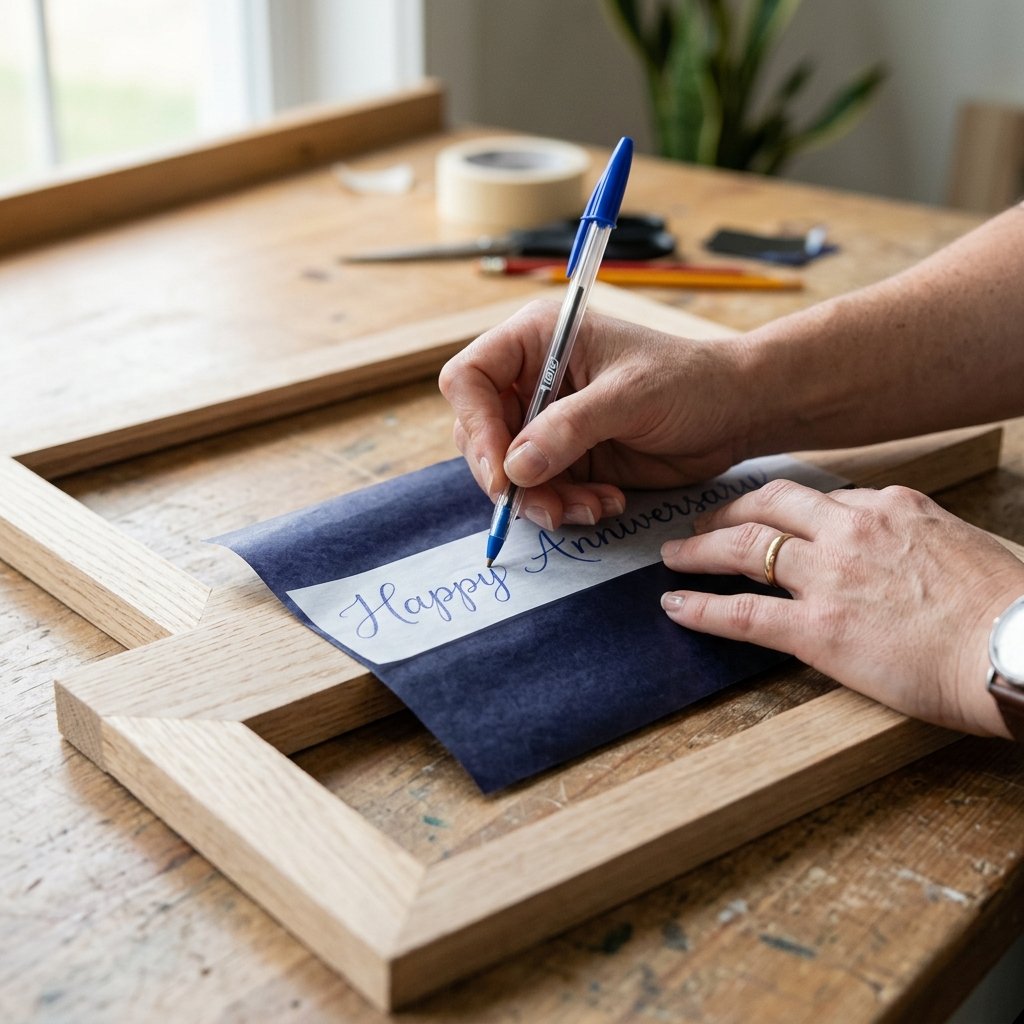
The beauty of this anniversary gift lies in its personalization. Think about ‘your’ things: the coordinates of where you met, your wedding date in Roman numerals, or a simple botanical border that mimics her bridal bouquet. If your freehand drawing skills are more ‘toddler’ than ‘Leonardo,’ don’t fret. This is where the clever crafter’s secret weapon comes in: the carbon transfer.
- Print your design: Use a standard printer to print your text or image in the exact size of the frame.
- Layering: Place the carbon paper (inky side down) on the wood, then place your printed design on top.
- Tracing: Use a ballpoint pen to trace over the design. Press firmly.
- The Reveal: Lift the papers to find a perfect, faint outline on the wood, ready to be immortalized by fire.
Budget Comparison: DIY vs. Custom Engraving
| Service/Item | Professional Engraving Shop | DIY Wood Burned Frame |
|---|---|---|
| Base Frame | $25.00 | $2.00 (Thrifted) |
| Labor/Design Fee | $40.00 | $0.00 (Your Love) |
| Shipping/Tax | $12.00 | $0.00 |
| Total Cost | $77.00 | $2.00 |
The Art of the Burn: Mastering the Flame
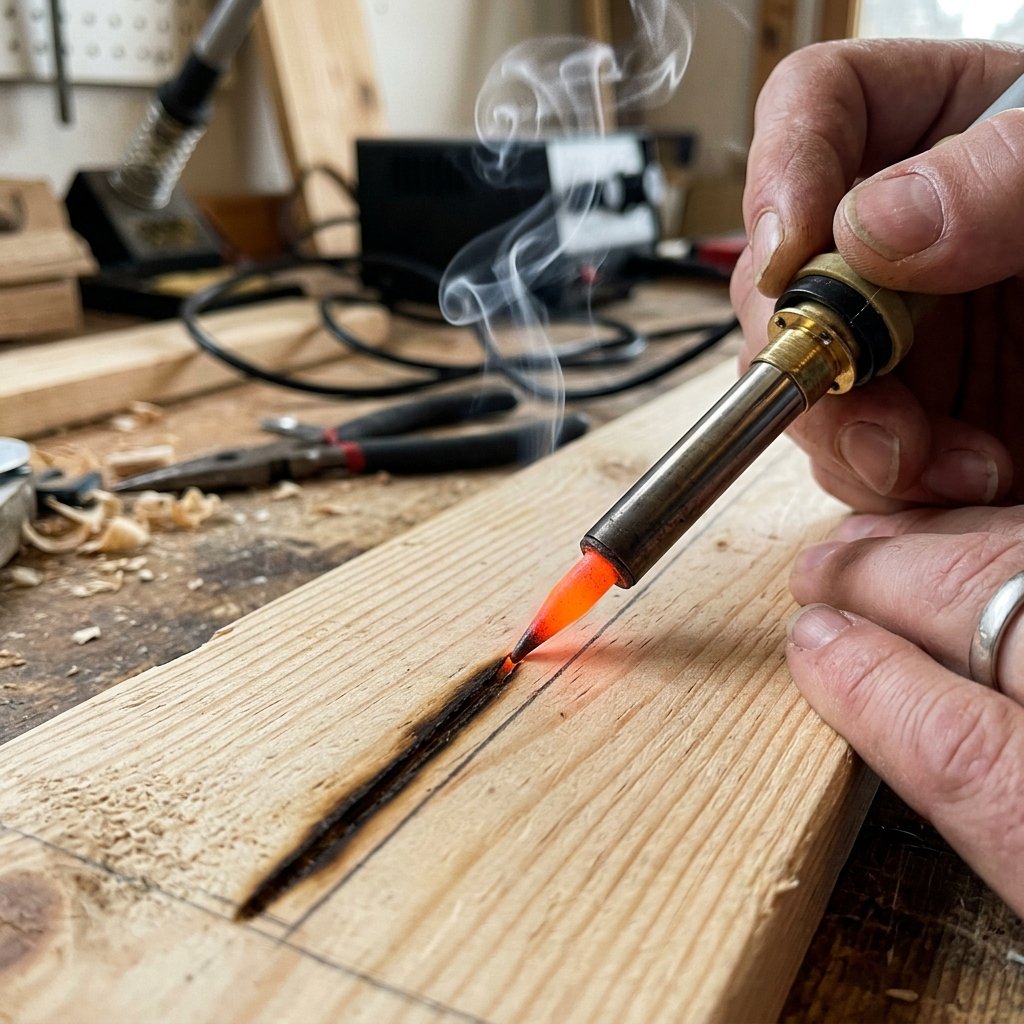
Now comes the most satisfying part. Plug in your tool and let it heat up for at least 5 minutes. The key to a ‘rugged-elegant’ look is consistency. You aren’t ‘drawing’ as much as you are ‘gliding.’ Let the heat do the work; if you press too hard, you’ll bury the tip in the wood and create messy blobs.
Technique Checklist
- Test First: Always use a scrap piece of the same wood to find the right speed.
- Pull, Don’t Push: It is much easier to pull the pen toward you than to push it away.
- Vary Your Tips: Use the ‘cone’ tip for thin lines and the ’rounded’ tip for soft shading in the corners.
- Clean the Tip: Use a brass brush or a damp paper towel (carefully!) to wipe off carbon buildup every 10 minutes.
‘Slow and steady wins the race. The wood will tell you how fast it wants to burn. Listen to the grain.’ — A Budget Crafter’s Mantra
Finishing Touches: Adding Patina and Protection
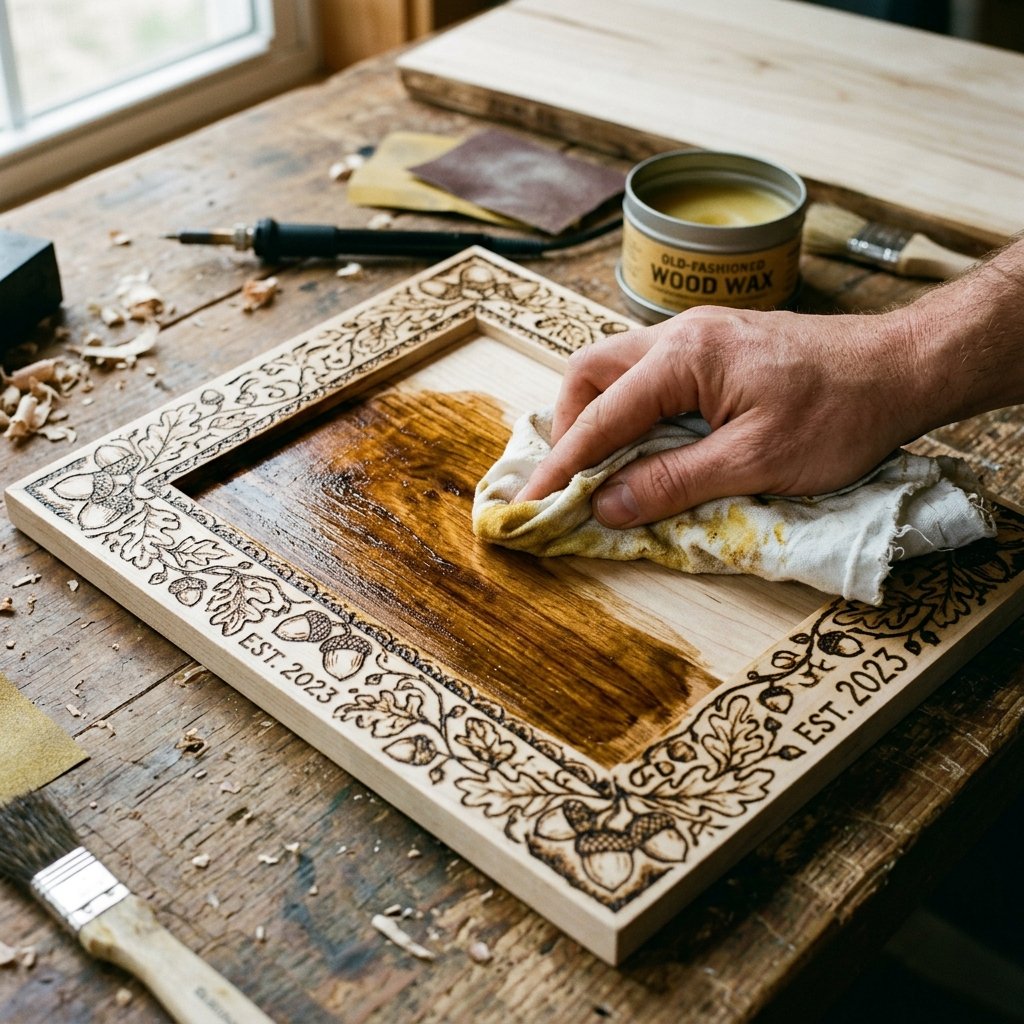
A raw burn is beautiful, but a finished frame is professional. To give your gift that high-end ’boutique’ feel, you need to seal the wood. This protects the burn from fading and gives the wood a rich, deep luster. You don’t need expensive varnishes; a simple kitchen staple or a cheap tin of wax will do.
The Finishing Ratio Table
| Finish Type | Material Needed | Visual Effect | Drying Time |
|---|---|---|---|
| Natural Matte | Beeswax / Olive Oil | Warm, organic glow | 30 Minutes |
| Rustic Antique | Strong Black Tea / Coffee | Aged, weathered look | 1 Hour |
| Sleek Modern | Clear Spray Lacquer | High-gloss, sharp | 15 Minutes |
Apply your chosen finish with a lint-free rag (an old cotton T-shirt is the ultimate upcycler’s tool). Rub in circular motions, ensuring the oil or wax penetrates the burned grooves. This will make the dark lines pop against the natural grain of the wood.
Conclusion
A Legacy in the Making
Congratulations, you’ve just bypassed the consumerist trap of expensive, soul-less gifts. For the price of a cup of coffee and a few hours of focused, creative labor, you have produced a heartfelt masterpiece. This frame doesn’t just hold a photo; it holds the story of your effort, your time, and your resourcefulness. Every time your partner looks at that scorched grain, they will see the hand of a maker who cares enough to build something from scratch. So, grab that wood-burning pen, find a scrap of timber, and start etching your own history. Your anniversary—and your wallet—will thank you.

Makenzie is the founder and lead writer at MoneyHackTips.com — a personal finance blog dedicated to delivering street-smart financial wisdom for real people on real budgets. With 300+ published articles covering everything from debt management to investing fundamentals, Makenzie’s mission is to make every dollar work harder. When not writing about money hacks, Makenzie is testing frugal living strategies, optimizing side hustles, and helping readers build financial freedom from scratch.