
The Botanical Secret to High-End Decor on a Dime
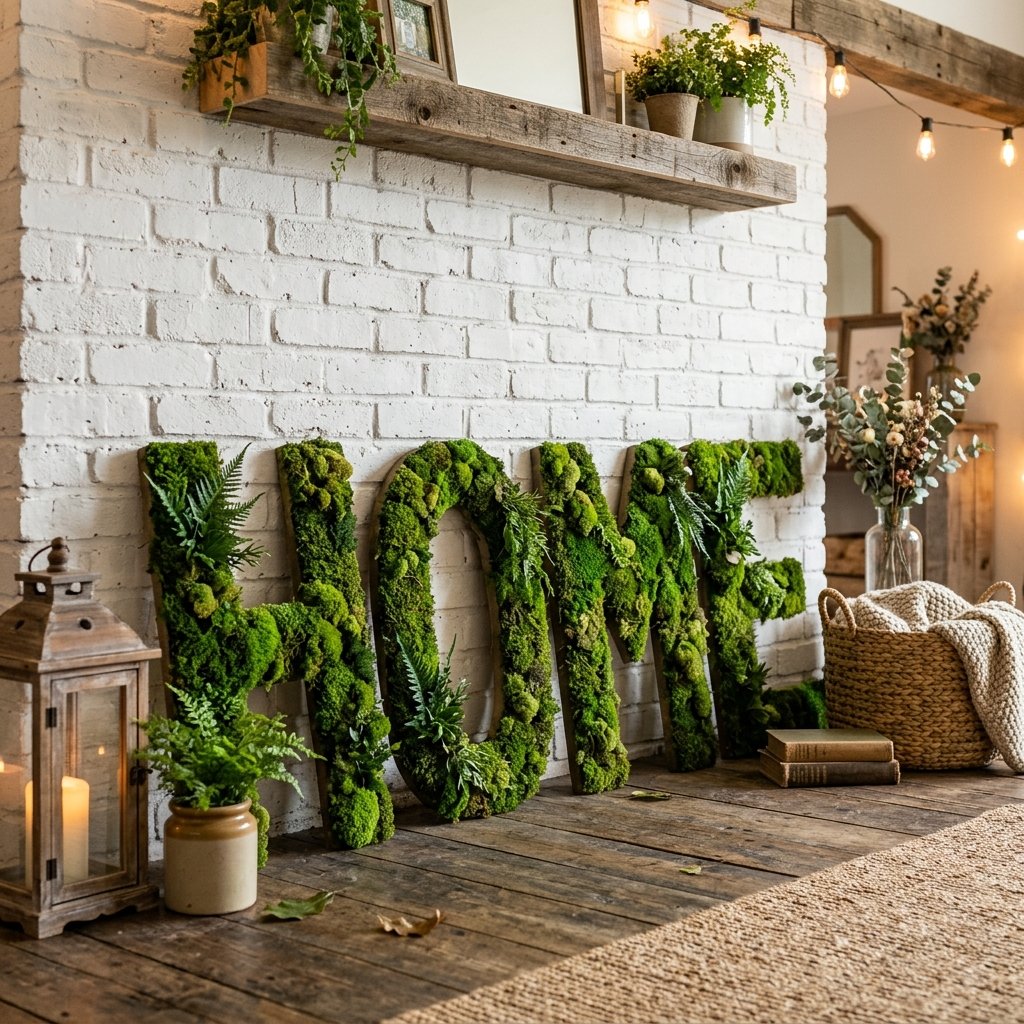
In the world of interior design and luxury event planning, there is one texture that consistently commands a premium price tag: botanical moss. Walk into any high-end boutique or browse a wedding rental catalog, and you will find moss-covered monograms retailing for anywhere between $45 to $150 per letter. For a full name or a wedding backdrop, you could easily spend hundreds, if not thousands, on what is essentially greenery glued to a base. But here is the secret the pros do not want you to know: with a little bit of resourceful grit and some clever crafting, you can replicate that exact ‘Pottery Barn’ or ‘Anthropologie’ look for less than the cost of a fancy latte.
This guide is designed for the frugal DIYer who refuses to compromise on style. Whether you are a budget-savvy bride looking to create a stunning sweetheart table backdrop, or a handy homeowner wanting to bring a touch of the rugged outdoors inside, this project is your ticket to high-end results. We are going to take ‘trash’—literally, old shipping boxes—and turn them into sophisticated, masculine-elegant decor that looks like it was plucked straight from a forest-themed gallery.
The Strategic Blueprint: Cost Comparison and Material List
Before we pick up a glue gun, let us talk numbers. To be truly budget-savvy, we must understand the value of our labor versus the cost of retail. A standard 12-inch moss letter from a luxury retailer is often made of plastic or thin MDF and covered in preserved moss. By sourcing our own ‘trash’ for the base and buying moss in bulk, the savings are staggering.
| Item | Retail Boutique Price | High-End DIY Cost |
|---|---|---|
| 12-Inch Monogram Letter | $65.00 | $0.00 (Upcycled Cardboard) |
| Preserved Sheet Moss | Included | $4.50 (Bulk bag) |
| Adhesive/Hardware | Included | $1.25 (Dollar Tree) |
| Total Per Letter | $65.00 | $5.75 |
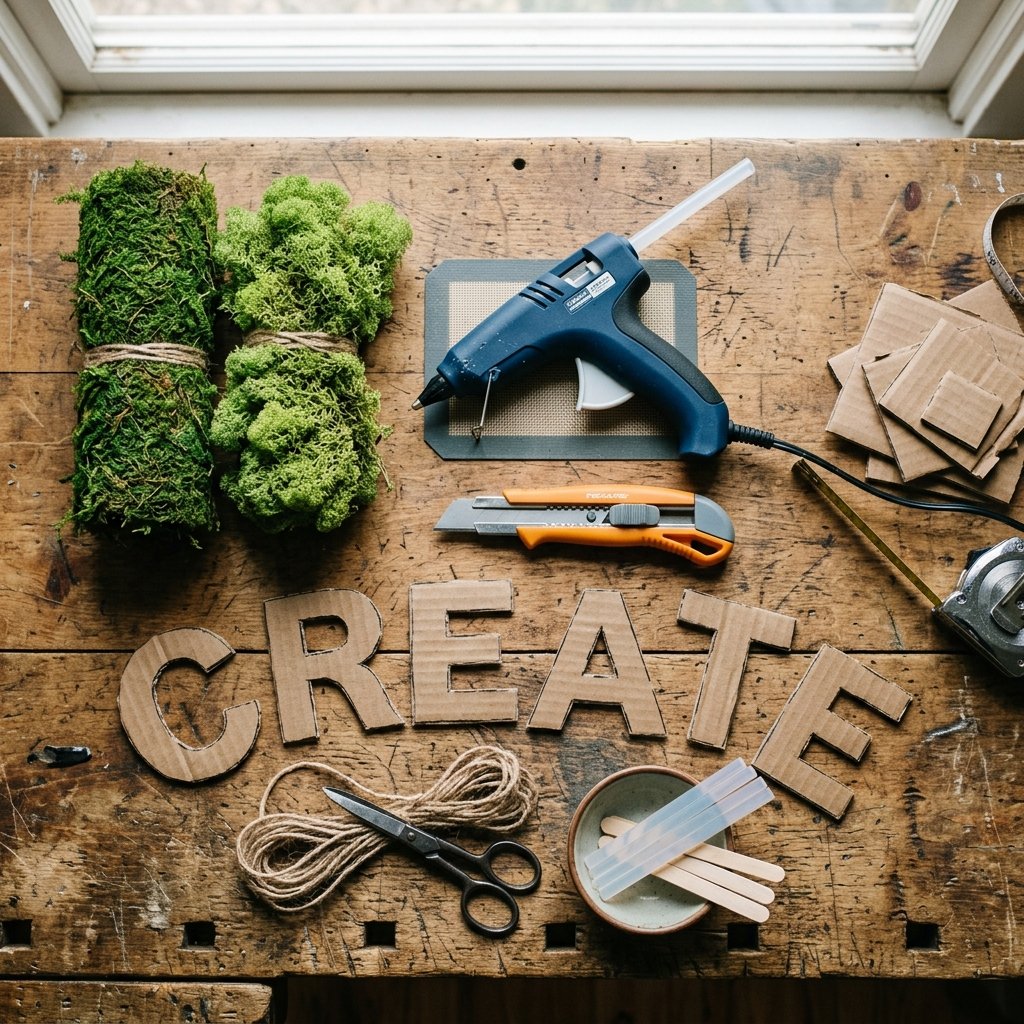
As you can see, you are saving over 90% by doing it yourself. To get started, you will need the following essential supplies:
- Heavy-duty corrugated cardboard (Double-walled shipping boxes are best for a rugged, sturdy base).
- Preserved Sheet Moss or Reindeer Moss (Available at craft stores or dollar shops).
- A high-temp hot glue gun and plenty of extra glue sticks.
- Sharp utility knife or heavy-duty shears.
- Dark green acrylic paint or a dark green permanent marker (The ‘pro’ trick to hide gaps).
- Command strips or sawtooth hangers for mounting.
Foundation Mastery: Creating the Perfect Letter Base
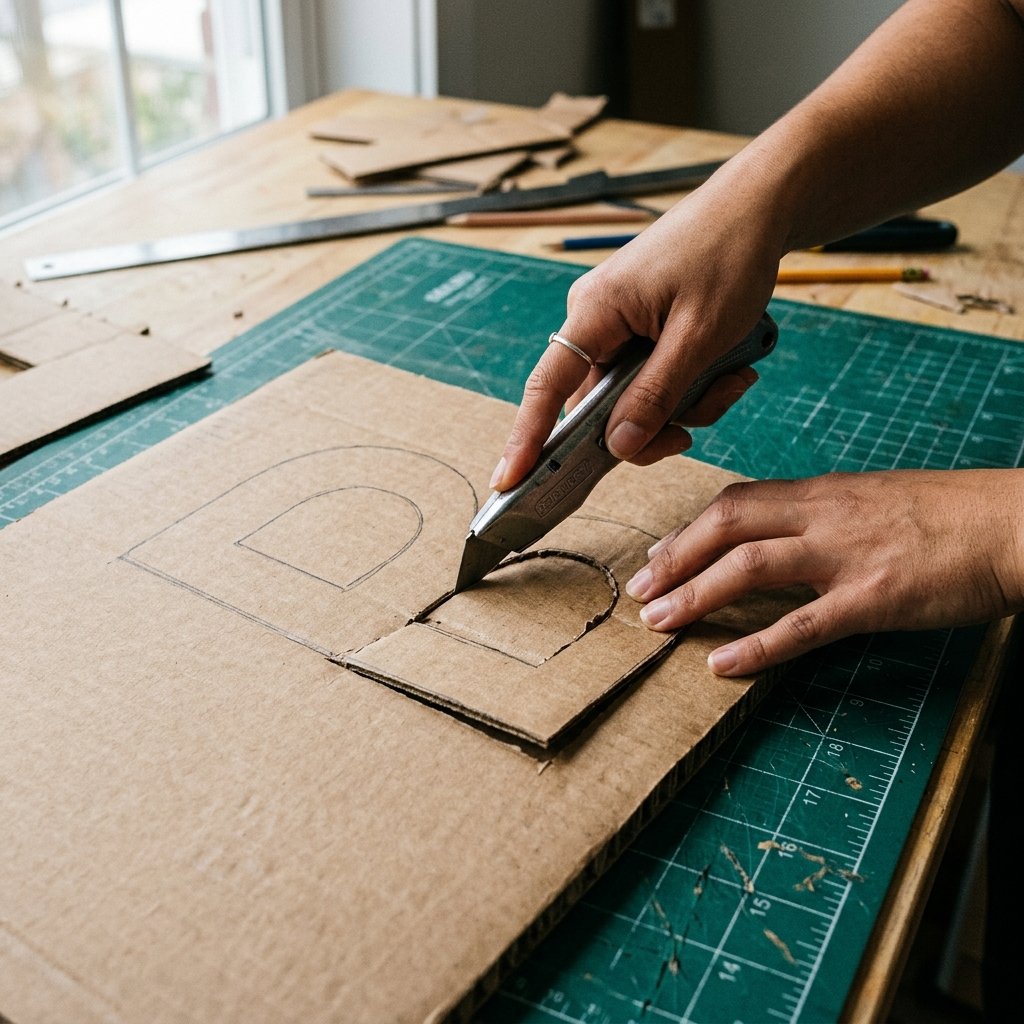
Sourcing and Scaling Your Template
The secret to a high-end look is scale. Small letters look like craft projects; large, bold letters look like architectural statements. Aim for at least 18 to 24 inches in height for maximum impact. You do not need to be an artist to get the font right. Simply use a word processing program to find a bold, serif font (like ‘Playfair Display’ or ‘Georgia’), and print it across multiple sheets of paper to use as a template.
Cutting with Precision
Once your template is taped to your upcycled cardboard, it is time for the rugged work. Use a fresh blade in your utility knife. Safety Note: Always cut away from your body and use a self-healing mat or a sacrificial piece of wood underneath to protect your table.
“To ensure a clean edge that doesn’t crush the cardboard fluting, make three light passes with your knife rather than one heavy, forced cut. This keeps the edges crisp for the moss application.”
After cutting, here is the clever expert tip: paint the edges and the front face of your cardboard a dark forest green. Cardboard is brown, and moss has natural gaps. If the brown peeks through, it looks amateur. If dark green peeks through, it looks like natural shadows in the foliage.
The Green Thumb Technique: Applying the Moss
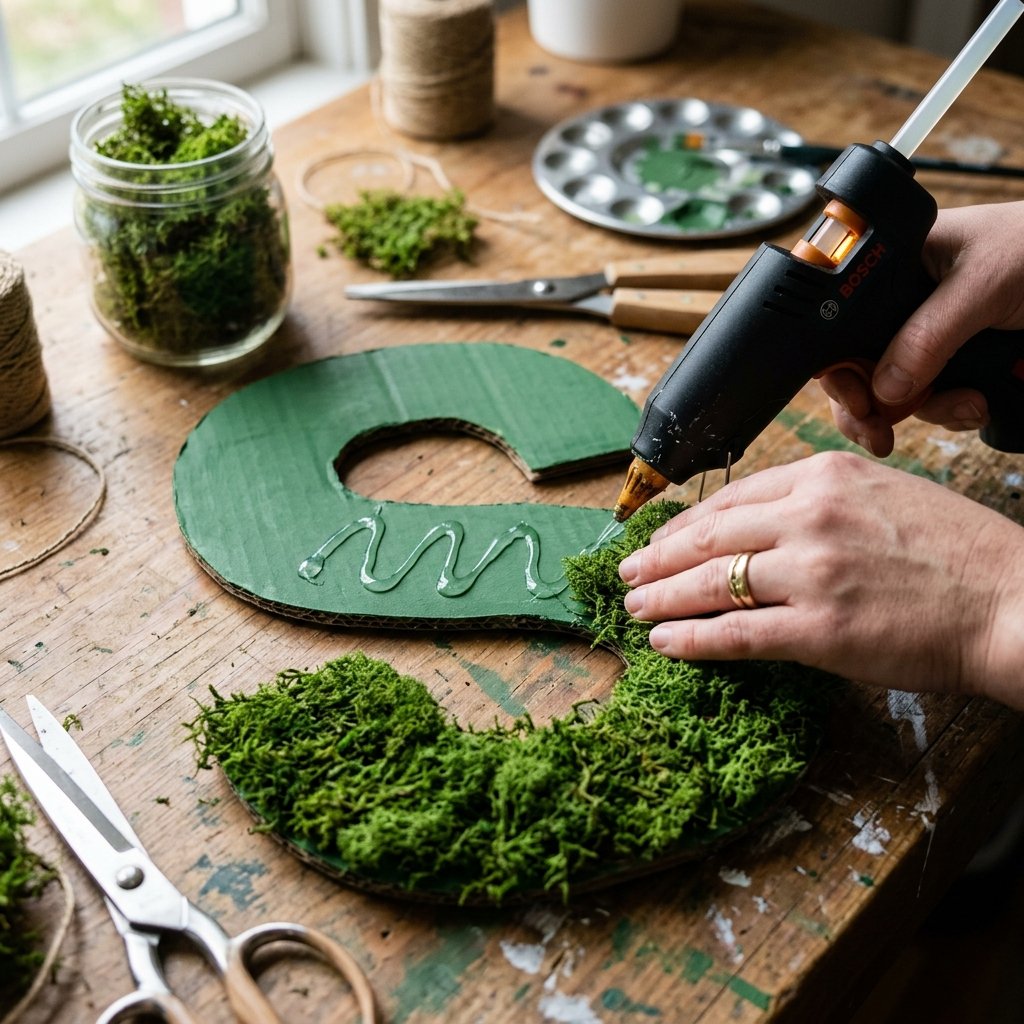
Choosing Your Texture
Not all moss is created equal. For a masculine-elegant, clean look, use Sheet Moss. It comes in flat ‘sheets’ that are easy to wrap. For a more whimsical, 3D ‘Lord of the Rings’ vibe, use Reindeer Moss (the bumpy, sponge-like variety). For the best results, I recommend a 70/30 mix of Sheet Moss for coverage and Reindeer Moss for texture.
The Application Process
- Sectional Gluing: Do not apply glue to the whole letter at once. Work in 4-inch sections. Apply a liberal amount of hot glue to the cardboard.
- The ‘Press and Hold’: Lay the moss over the glue and press firmly for 5 seconds. Be careful of the heat! Use a popsicle stick to press the moss down to keep your fingers safe.
- Wrap the Edges: This is what separates the amateurs from the pros. Ensure your moss pieces are large enough to wrap around the side of the cardboard. This hides the ‘trash’ base entirely and gives the letter a 3D sculptural quality.
- The ‘Haircut’: Once the glue is dry, take a pair of scissors and trim away any ‘wild’ strands of moss that disrupt the shape of the letter. You want it to look manicured, not overgrown.
Structural Integrity: Mounting and Weatherproofing
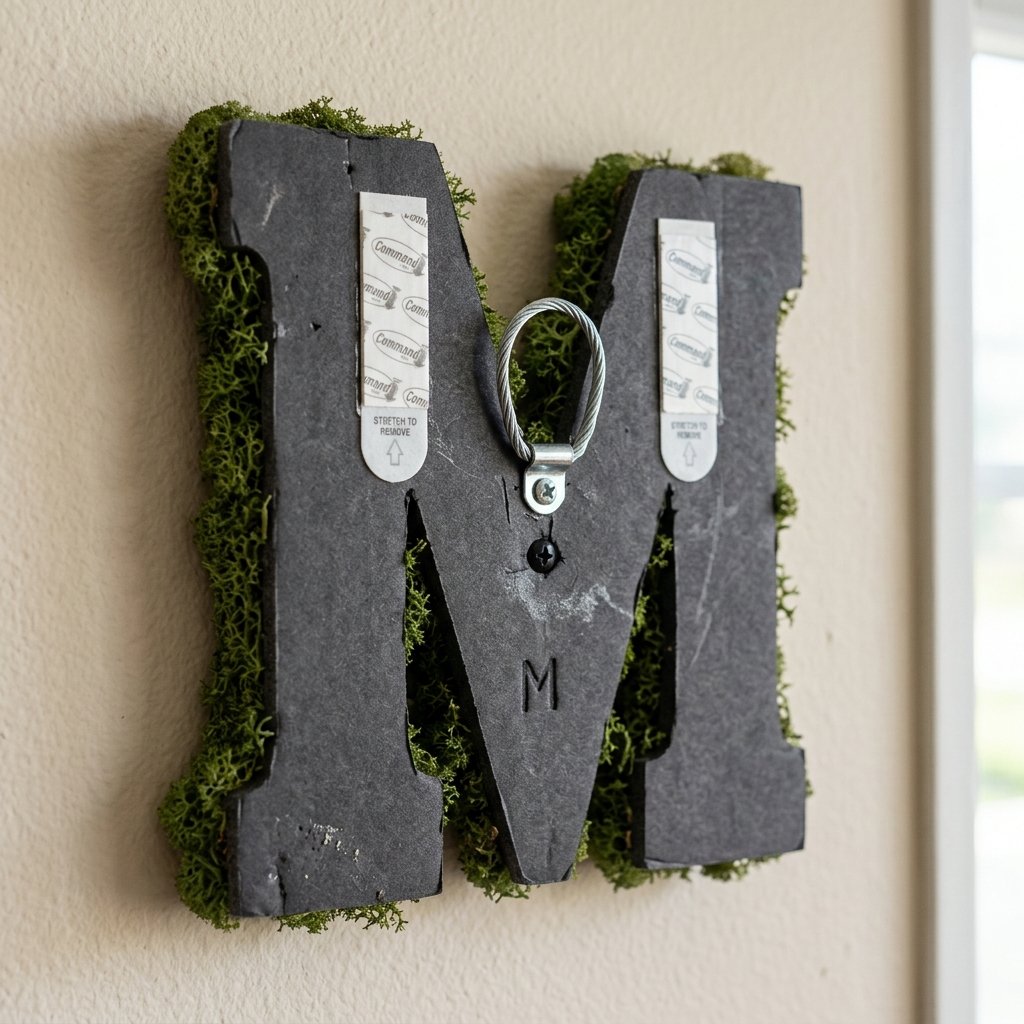
Securing Your Masterpiece
Because these letters are made of cardboard, they are incredibly lightweight. This is a huge advantage for wedding decor or apartment living where you cannot drill heavy holes. For indoor use, Command Strips are your best friend. They will hold the weight easily without damaging the moss or the wall.
Outdoor Event Precautions
If you are using these for an outdoor wedding or a covered porch, you must consider moisture. Cardboard and water do not mix. If rain is a possibility, you have two clever workarounds:
- The Foam Board Swap: Use $1.25 foam core board from the dollar store instead of cardboard. It is plastic-coated and won’t wilt in humidity.
- Clear Coat Sealing: Spray the finished moss with a clear matte floral sealant. This helps keep the moss from shedding and provides a slight moisture barrier.
“Budget Mantra: A true craftsman doesn’t just build for today; they build for the duration of the event. Reinforce your joints with extra glue to ensure no ‘bald spots’ appear during transport.”
Design Scenarios: Styling Your Moss Letters
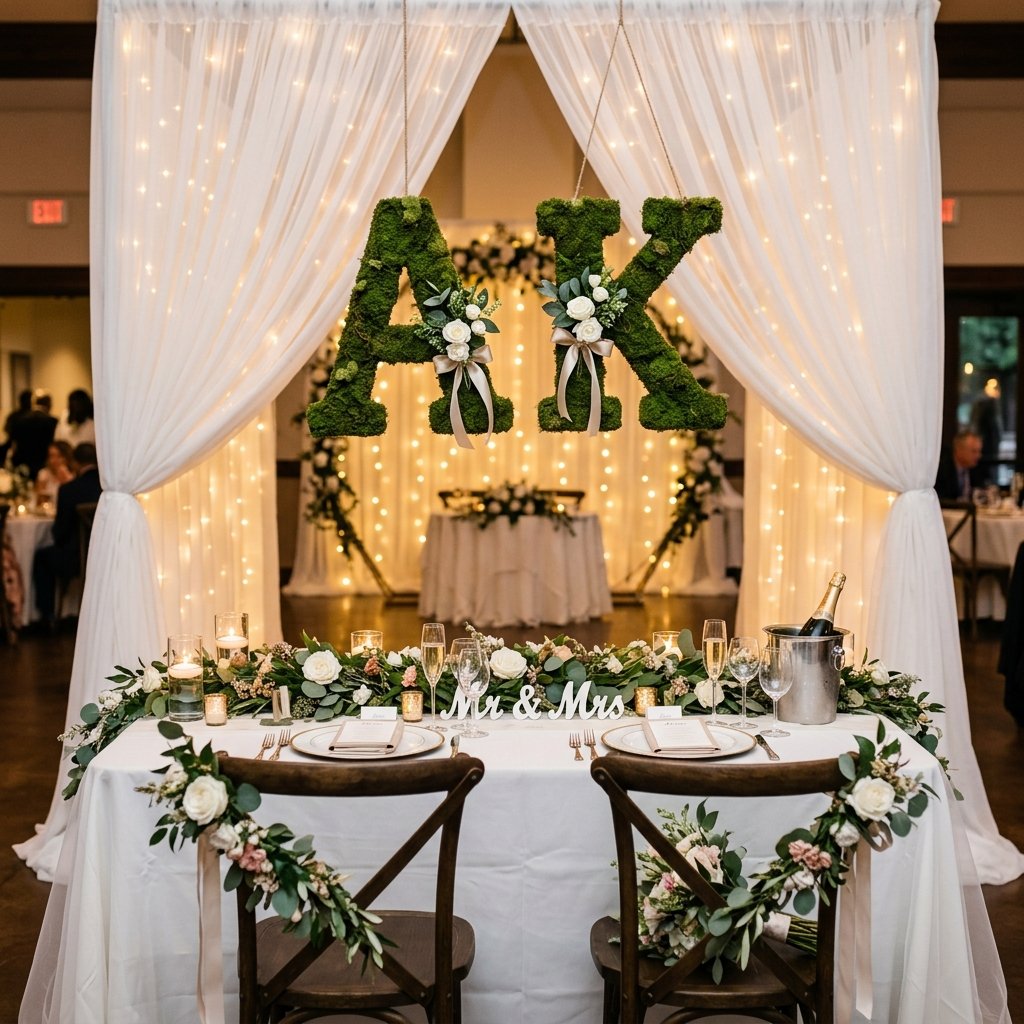
Now that you have mastered the craft, how do you style these to look like a thousand-dollar installation? Here are three high-end scenarios:
1. The Masculine Study
Place a single large monogram on a dark wood bookshelf. Pair it with brass bookends and leather-bound books. The organic green provides a perfect contrast to the rugged, dark textures of a home office.
2. The Head Table Statement
Create the couple’s initials (e.g., J & M) and hang them using invisible fishing line so they appear to float inside a large vintage wooden frame. This creates a high-end focal point for wedding photography for under $20 total.
3. The Vertical Garden Wall
Instead of one letter, create a series of small moss squares and letters to form a ‘living’ gallery wall. This mimics the expensive vertical gardens found in trendy hotel lobbies.
| Style Vibe | Best Moss Type | Accent Material |
|---|---|---|
| Modern Minimalist | Sheet Moss (Flat) | Black Metal Frames |
| Rustic Farmhouse | Reindeer Moss (Chunky) | Reclaimed Wood |
| Whimsical Garden | Spanish Moss (Trailing) | Twinkle Lights |
Conclusion
The Luxury of the Handmade
Creating your own high-end moss-covered letters is more than just a money-saving hack; it is a testament to the power of resourceful creativity. By looking at a cardboard box and seeing a luxury monogram, you have joined the ranks of elite upcyclers who know that style isn’t bought—it is built. You have saved hundreds of dollars, reduced waste, and created a bespoke piece of decor that carries a story. Whether these letters grace your wedding day or your living room mantel, they stand as a rugged and elegant reminder that with a little glue and a lot of vision, you can live a high-end life on a DIY budget. Now, go find some cardboard and get crafting!

Makenzie is the founder and lead writer at MoneyHackTips.com — a personal finance blog dedicated to delivering street-smart financial wisdom for real people on real budgets. With 300+ published articles covering everything from debt management to investing fundamentals, Makenzie’s mission is to make every dollar work harder. When not writing about money hacks, Makenzie is testing frugal living strategies, optimizing side hustles, and helping readers build financial freedom from scratch.