
The Resurrection of Your Favorite Layer
We all have that one hoodie. It’s perfectly broken in, fits like a second skin, and has seen you through countless weekends, gym sessions, and late-night projects. But eventually, the ‘rugged’ look crosses the line into ‘raggedy.’ The cuffs begin to fray, the seams split, and suddenly, your favorite garment looks like it’s ready for the rag bin. Stop right there. Before you spend $60 or more on a replacement, you need to realize that clothing maintenance is a hallmark of the resourceful, modern minimalist. Repairing a hoodie cuff isn’t just about saving money—though you will save plenty—it’s about preserving a piece of your personal history with the precision of a master tailor. In this guide, we are going to dive into the world of invisible mending, darning, and structural reinforcement. Whether you are a frugal DIYer or a parent tired of buying new clothes every season, these techniques will turn a 10-minute repair into years of extra wear.
“Mending is an act of rebellion against the throwaway culture. Every stitch is a statement of value.”
The Anatomy of a Frayed Cuff: Why They Fail
Understanding the Rib-Knit Structure
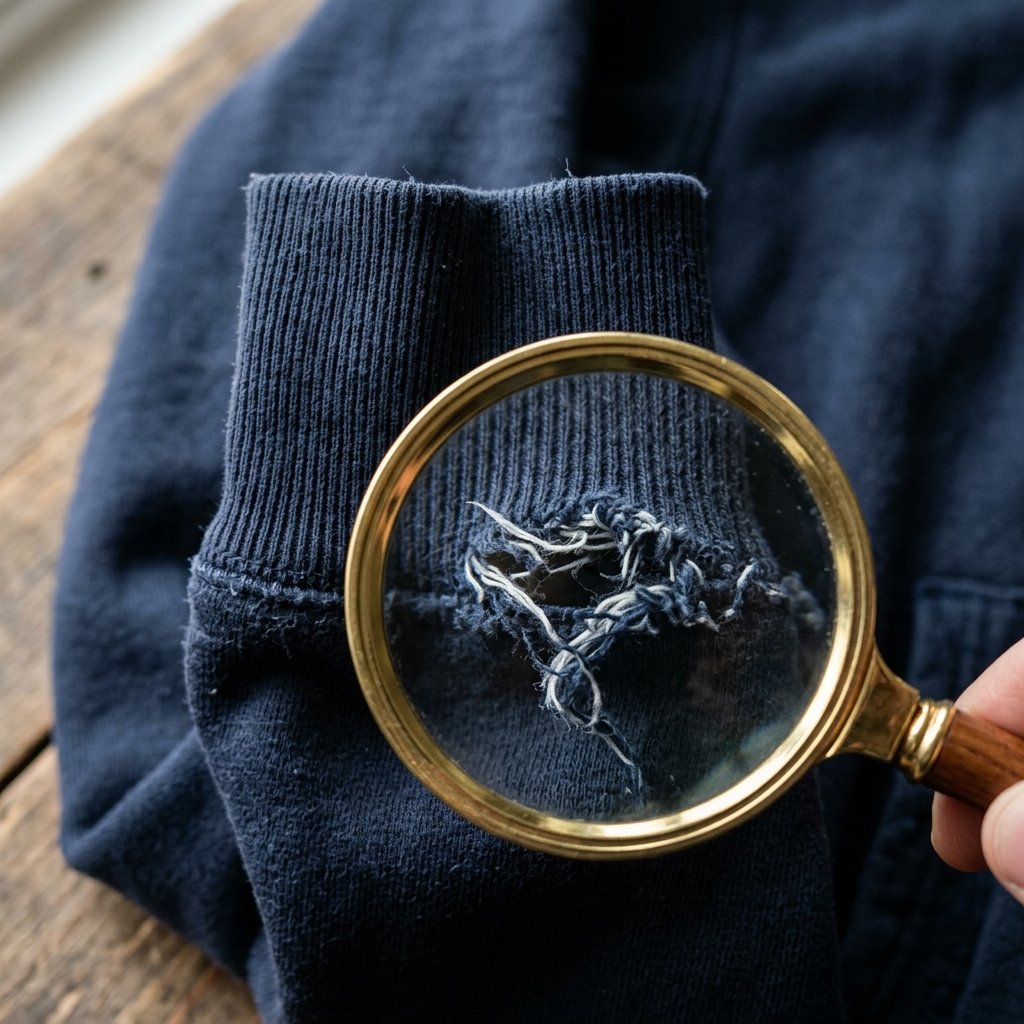
Most hoodie cuffs are made from a ‘rib-knit’ fabric, which is distinct from the jersey knit of the body. Ribbing is designed to be elastic, allowing the cuff to expand over your hand and snap back to your wrist. However, this constant stretching creates high-tension points. When a single thread snaps, the entire structure begins to unravel. Understanding this is the first step to a professional-grade repair.
Common Failure Points
- The Edge Fray: Caused by friction against desks, tables, and your own skin.
- The Seam Split: Where the cuff meets the sleeve, usually due to heavy pulling.
- The ‘Blowout’: A hole that forms in the middle of the ribbing due to snagging.
| Issue Type | Root Cause | Repair Time |
|---|---|---|
| Edge Fraying | Friction/Abrasion | 5-8 Minutes |
| Seam Separation | Tension/Thread Decay | 4 Minutes |
| Ribbing Hole | Snagging/Tearing | 12 Minutes |
The Mender’s Tactical Kit: Tools You Already Own
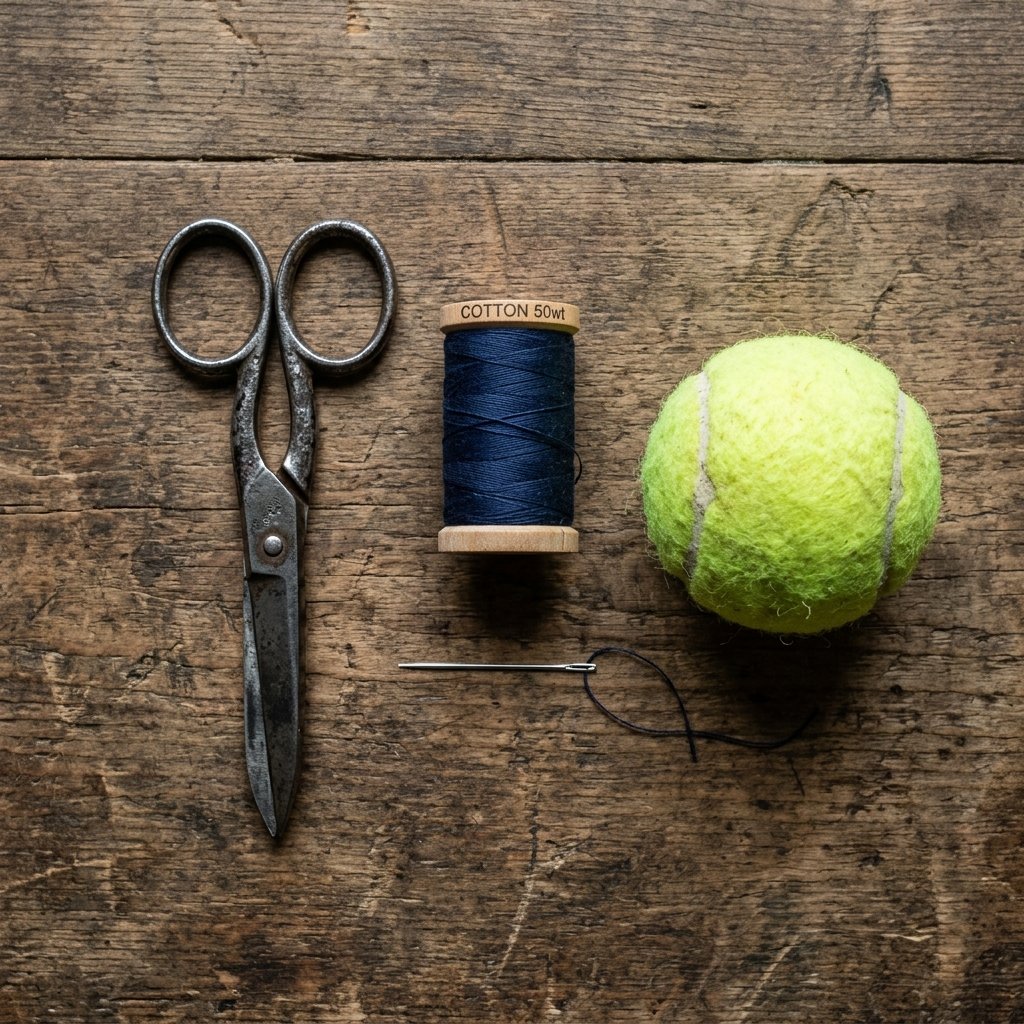
The Zero-Budget Material List
You don’t need a $500 sewing machine to fix a hoodie. In fact, for invisible repairs, a machine is often too clunky. You need the tactile precision of hand-sewing. Most of these items are likely sitting in a junk drawer or a forgotten sewing kit under the sink.
- Heavy-Duty Needle: Look for a ‘sharps’ needle that can pierce thick sweatshirt fleece.
- Polyester Thread: Polyester is superior to cotton for hoodies because it has a slight stretch and much higher durability.
- Small Scissors: For clean snips that prevent further unraveling.
- A ‘Darning Mushroom’ (Or a Lightbulb): To hold the cuff’s shape while you work.
| Tool | DIY Alternative | Estimated Cost |
|---|---|---|
| Sewing Needle | Safety Pin (Emergency only) | $0.05 |
| Matching Thread | Dental Floss (For rugged repairs) | $0.15 |
| Darning Mushroom | Tennis Ball or Lightbulb | $0.00 |
| Total Budget | – | $0.20 |
“The best tool in your kit isn’t the needle—it’s the patience to match your thread color perfectly to the fabric.”
The Invisible Ladder Stitch: A Masterclass in Stealth
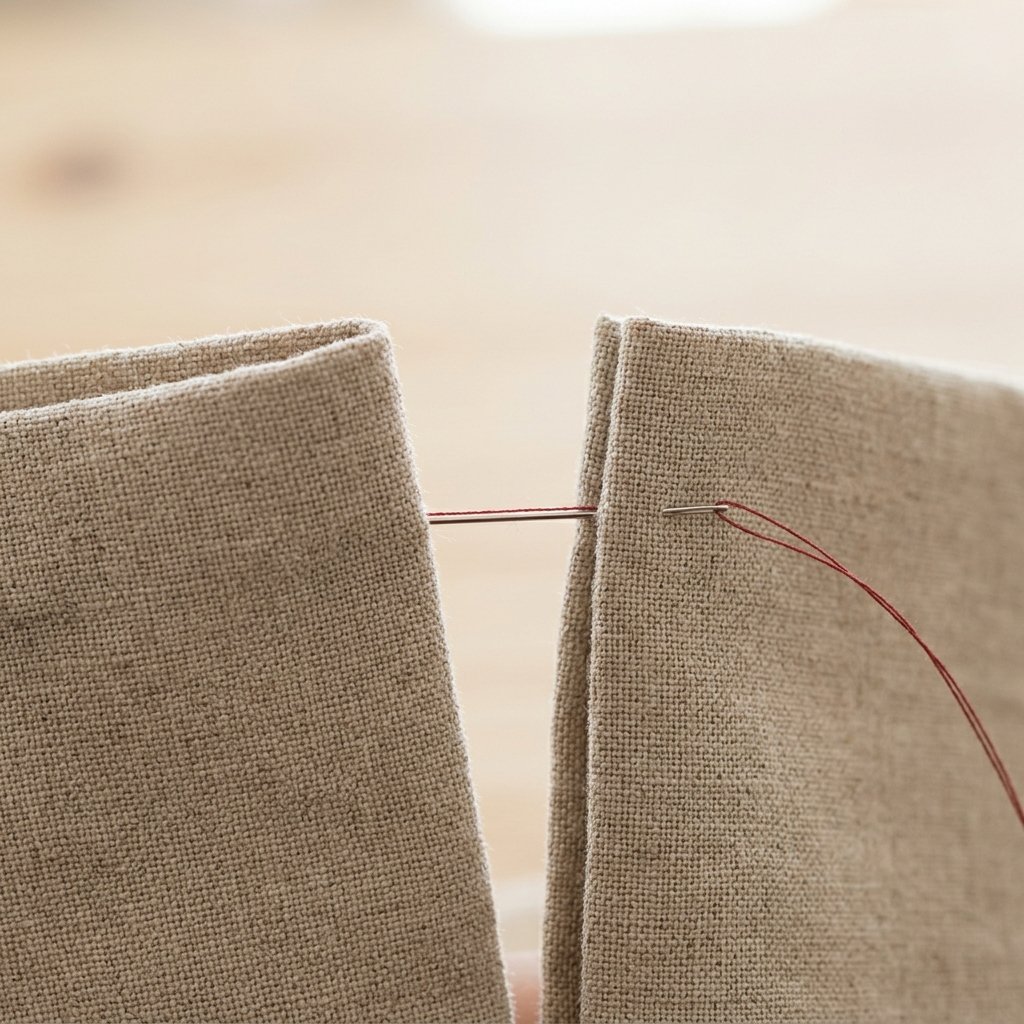
The Secret to ‘Invisible’ Repairs
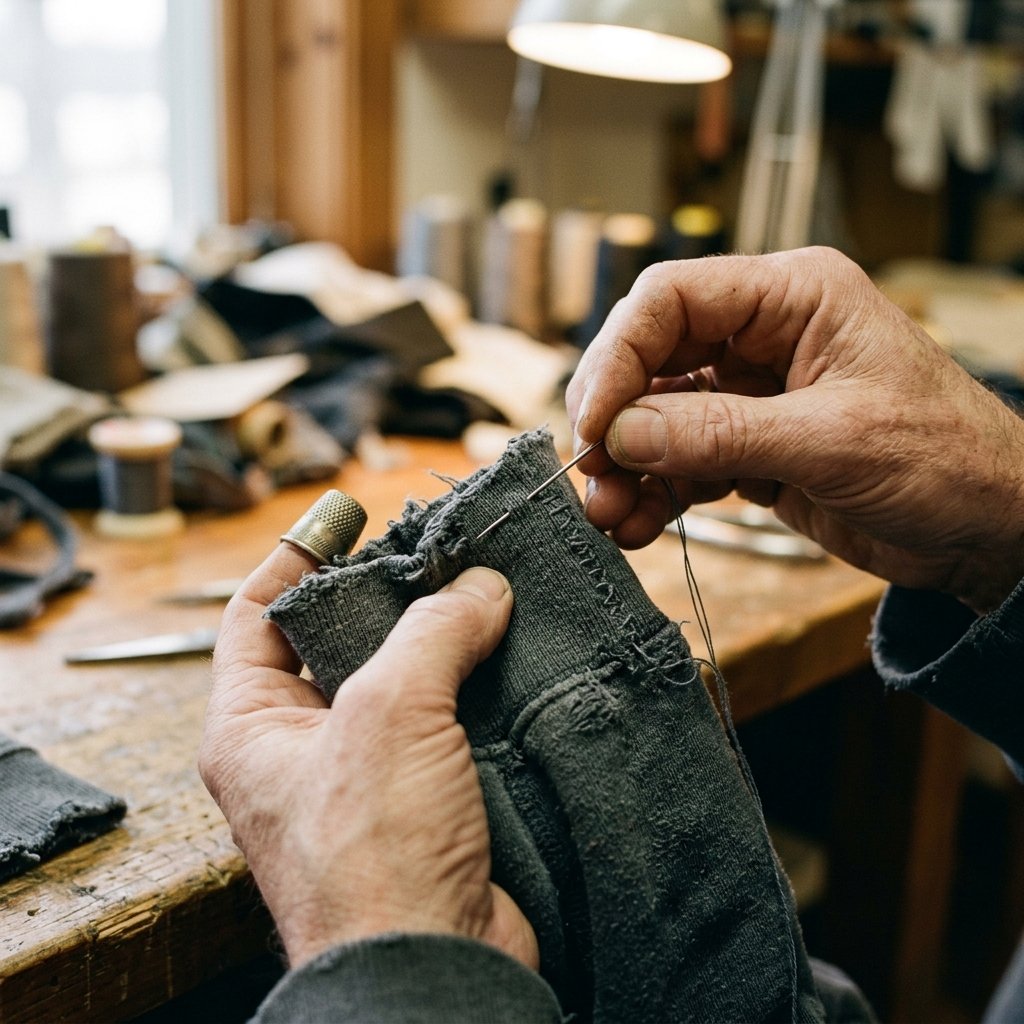
If your cuff has a split seam or a clean tear, the Ladder Stitch (also known as the Slip Stitch) is your best friend. This technique allows you to join two pieces of fabric from the outside so that when the thread is pulled tight, the stitches disappear entirely into the fold.
Step-by-Step Execution
- Anchor the Thread: Start about 1/4 inch behind the tear, inside the fold, to hide your knot.
- The First Bridge: Pass the needle through the opposite side of the tear, moving horizontally.
- The ‘Ladder’ Rungs: Move back to the first side, taking a small stitch parallel to the edge. Repeat this, alternating sides, creating what looks like a ladder.
- The Tension Pull: After 5-6 ‘rungs,’ gently pull the thread. Watch as the two edges zip together perfectly.
- The Lock-Off: Tie a small knot and bury the tail of the thread inside the cuff.
By using this method, you avoid the bulky, ugly seams that come from ‘over-under’ sewing. It looks like the hoodie was never broken.
Darning the Blowout: Weaving New Life into Holes
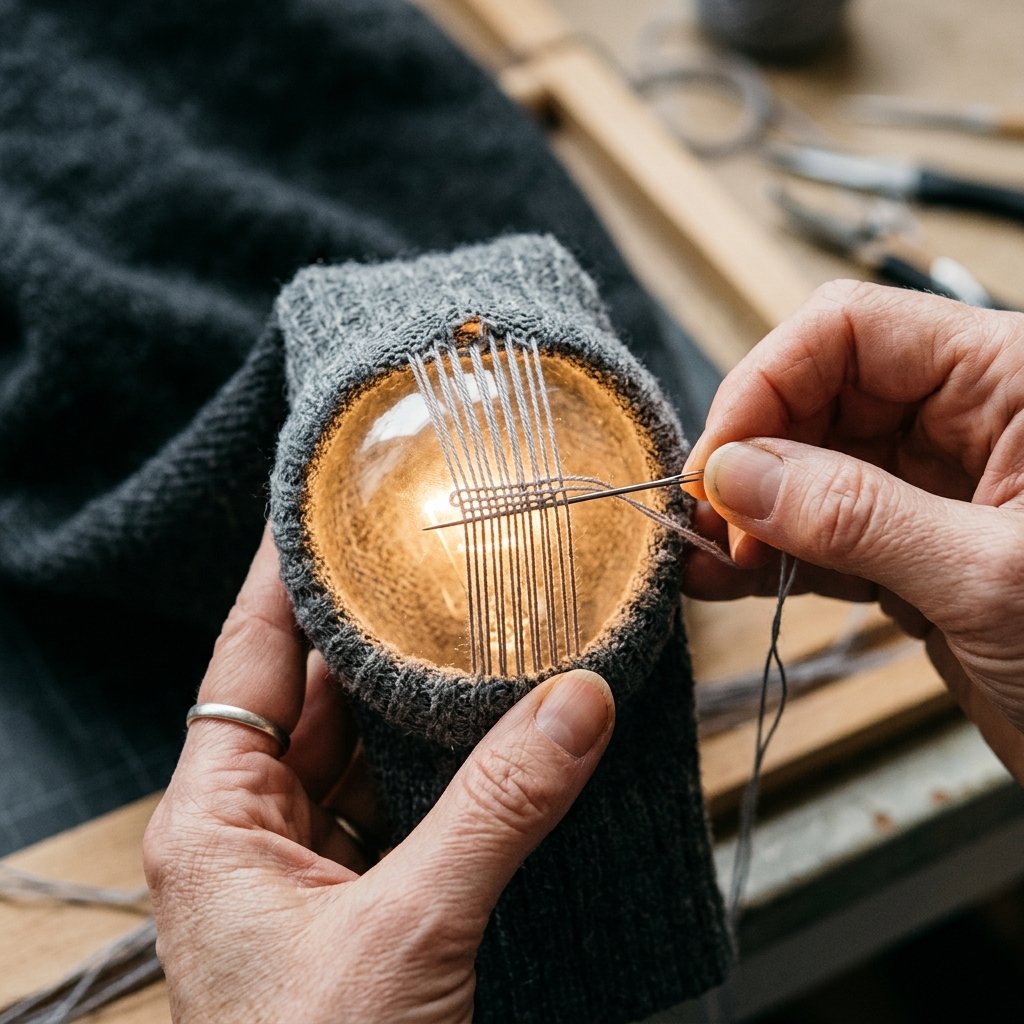
When the Fabric is Gone
Sometimes, a cuff isn’t just torn; it’s missing material. This is where darning comes in. Darning is essentially weaving a small patch of new fabric directly into the hole using thread. It’s a rugged, practical skill that used to be common knowledge.
The Weaving Process
- The Warp: Place your ‘mushroom’ or tennis ball inside the cuff to stretch the hole flat. Run vertical lines of thread across the hole, anchoring them into the healthy fabric on either side.
- The Weft: Now, weave your needle horizontally, going over and under each vertical thread you just created.
- The Pack: Use the tip of your needle to push the threads close together.
The result is a dense, woven patch that is often stronger than the original ribbing. If you match the thread color, it remains nearly invisible. If you use a contrasting color, you’ve entered the world of Sashiko, or functional embroidery, which adds a custom, handcrafted aesthetic to your gear.
The Elastic Resurrection: Fixing Stretched-Out Cuffs
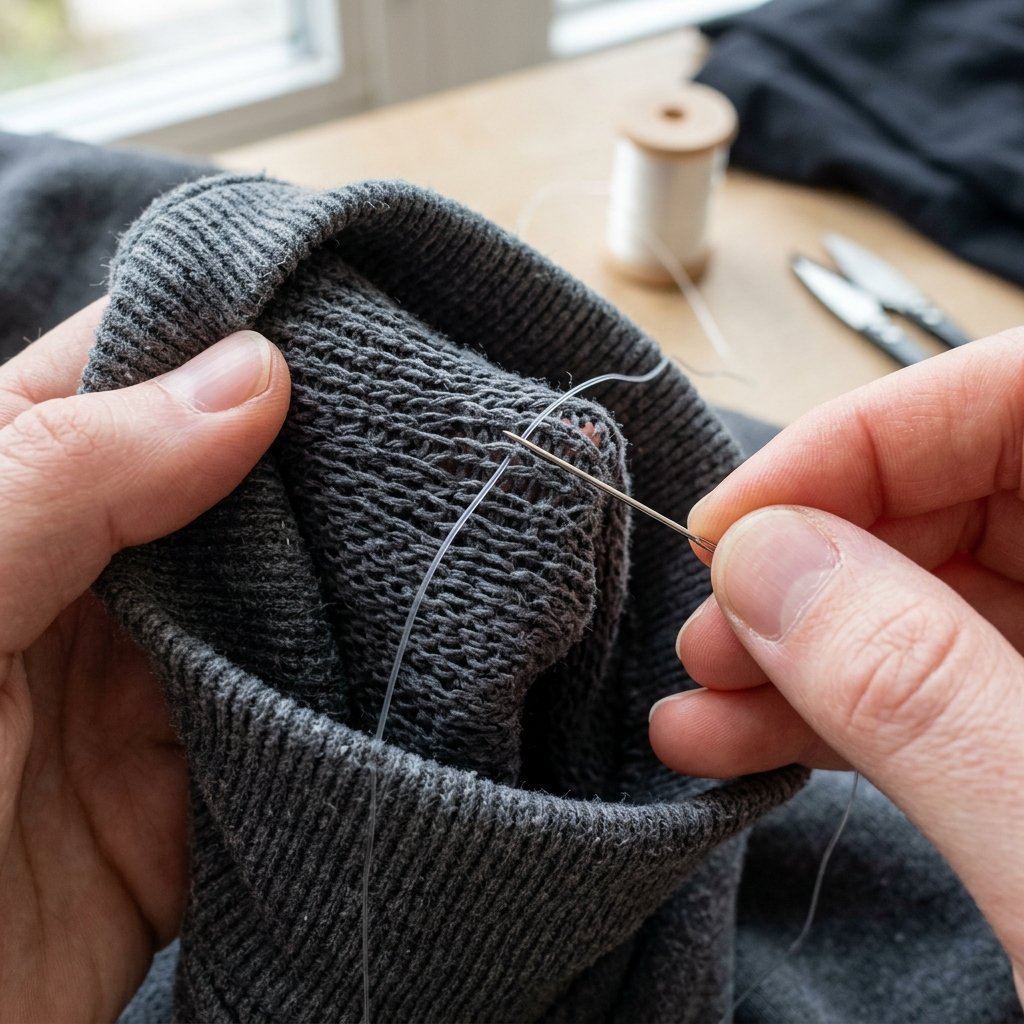
Restoring the Snap
Nothing makes a hoodie feel ‘raggedy’ faster than cuffs that have lost their elasticity and hang loosely around your hands. You don’t need to replace the ribbing. You just need elastic thread.
The ‘Cinch’ Method
This is a clever hack for the budget-savvy crafter. By weaving thin elastic thread through the inside of the ribbing, you can restore the original tension.
- Turn the hoodie inside out.
- Identify the vertical ‘valleys’ in the ribbing.
- Run a needle with elastic thread through these valleys around the entire circumference of the cuff.
- Tie the elastic off with a small amount of tension. Do not over-tighten, or you’ll cut off circulation!
“A well-fitted cuff keeps the heat in and the ‘bum’ look out. It’s the difference between lounge-wear and street-wear.”
Conclusion
Wear It With Pride
By taking 15 minutes to master these few stitches, you’ve saved yourself the cost of a new hoodie and kept a perfectly good garment out of the landfill. This is the essence of being a resourceful DIYer. Your clothes are an investment, and like any investment, they require maintenance. Whether you used an invisible ladder stitch to close a seam or a rugged darning technique to fill a hole, your hoodie now has character and longevity. So, stop wearing raggedy gear. Fix it, refine it, and wear it with the confidence of someone who knows how to handle a needle as well as a hammer. Total savings: $40-$80. Total time: Minimal. Satisfaction: Infinite.

Makenzie is the founder and lead writer at MoneyHackTips.com — a personal finance blog dedicated to delivering street-smart financial wisdom for real people on real budgets. With 300+ published articles covering everything from debt management to investing fundamentals, Makenzie’s mission is to make every dollar work harder. When not writing about money hacks, Makenzie is testing frugal living strategies, optimizing side hustles, and helping readers build financial freedom from scratch.