
The Economics of the Humble Button
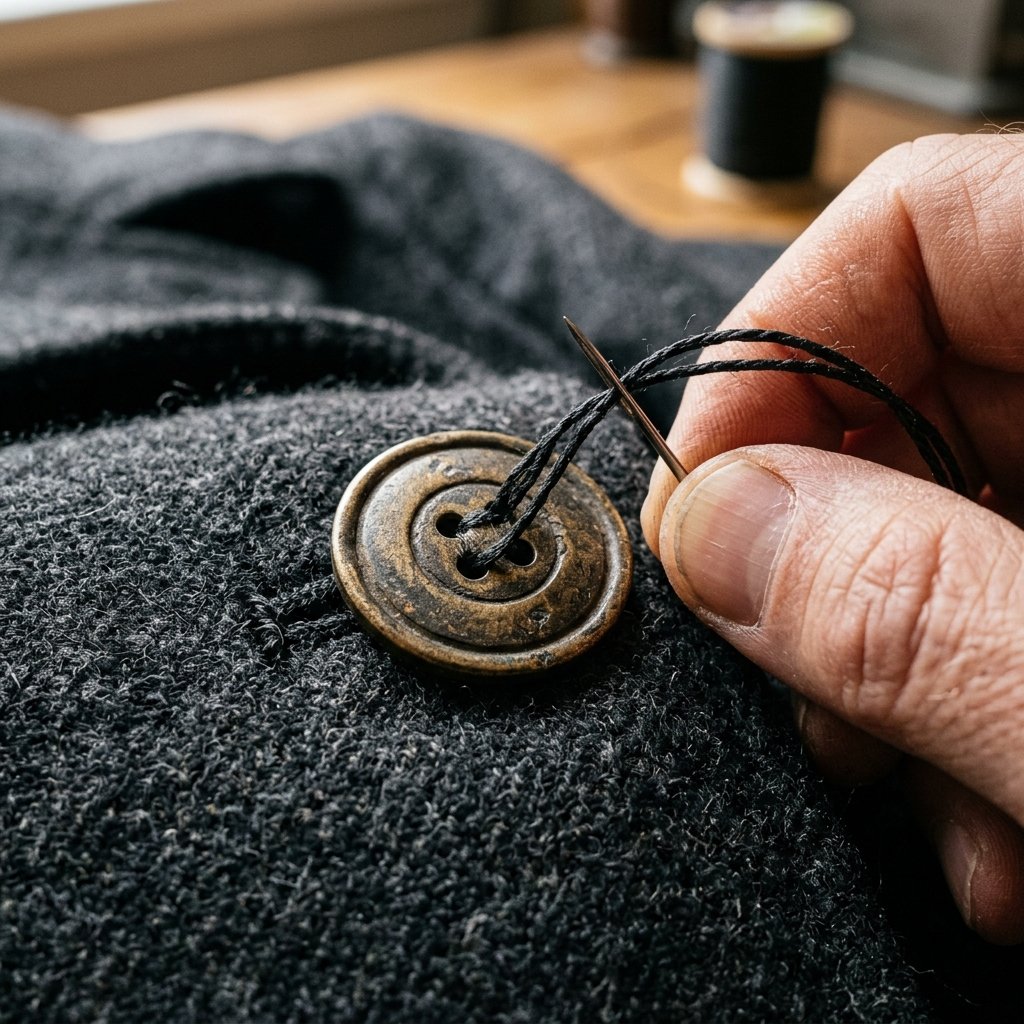
We have all been there: you are rushing out the door, you grab your favorite heavy winter coat, and—snap—a button pops off and disappears into the snowy abyss. It is more than just a minor inconvenience; it is a structural failure of your wardrobe. In a world of fast fashion, the art of the ‘indestructible button’ has been lost. But for the frugal DIYer, a lost button is not a reason to visit a tailor or buy a new coat. It is an opportunity to perform a rugged, practical repair that will likely outlast the garment itself. By spending just 5 minutes and less than $0.50 in materials, you can secure your buttons with a professional-grade technique that resists the heavy tension of thick wool and winter layers. This guide will walk you through the ‘Tailor’s Shank’ method—a secret weapon for anyone who values durability over disposability.
The Tailor’s Toolkit: Rugged Materials for a Lifetime Fix
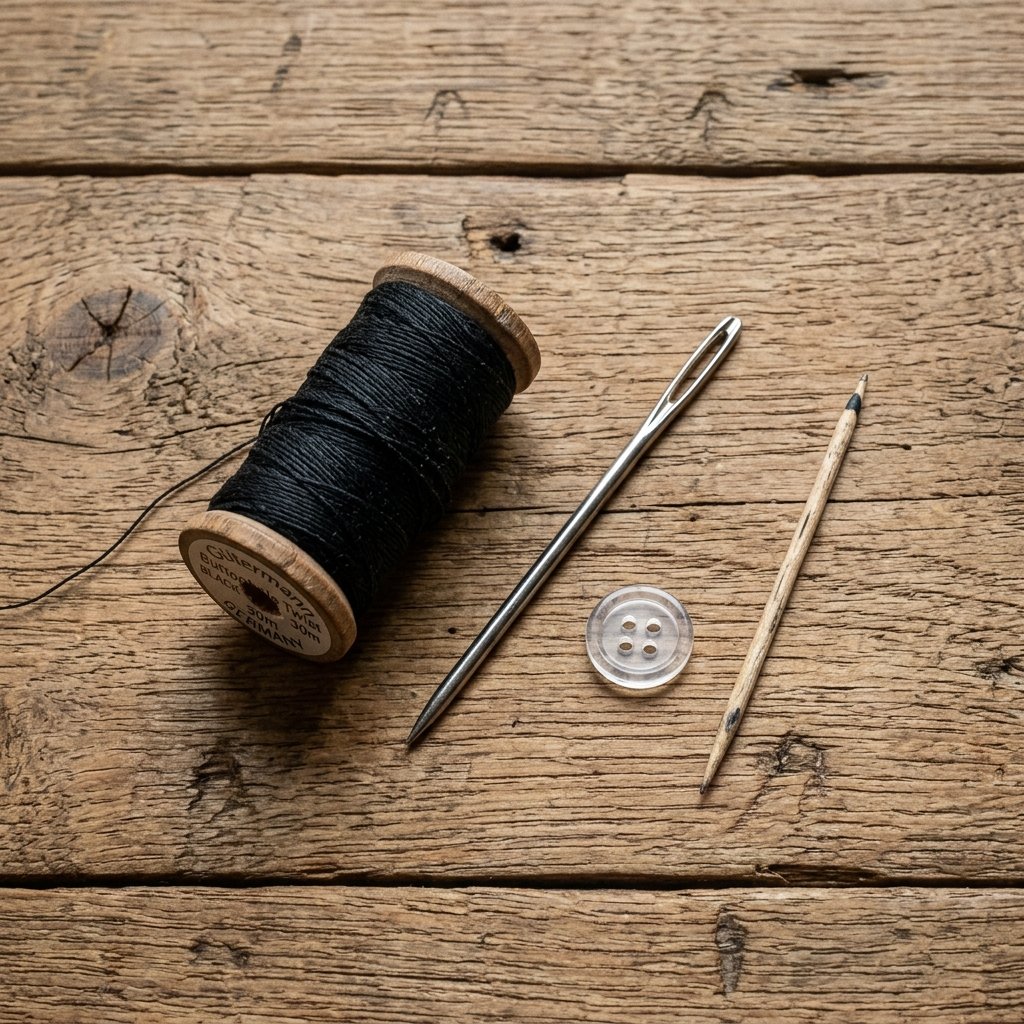
Before you dive into the repair, you must understand that standard all-purpose thread is the enemy of a heavy coat button. Coats endure high tension and constant friction. To ensure a permanent fix, you need materials that can handle the weight. Forget the flimsy kits found in hotel drawers; we are building a structural anchor.
Essential Material List & Budget Breakdown
Most of these items are likely already in your junk drawer or can be purchased for pennies at a local craft store or thrift shop.
| Material | Purpose | Estimated Cost |
|---|---|---|
| Buttonhole Twist or Heavy-Duty Thread | Provides superior tensile strength compared to standard polyester. | $0.10 per repair |
| Thick Hand-Sewing Needle | Must be strong enough to pierce multiple layers of wool or canvas. | $0.50 (Reusable) |
| Small ‘Backer’ Button | Reinforces the fabric from the inside to prevent tearing. | $0.05 (or free from old shirts) |
| Toothpick or Matchstick | Used as a spacer to create the essential ‘shank’. | $0.00 (Household item) |
| Beeswax (Optional) | Coats the thread to prevent tangling and increase durability. | $0.05 |
‘A button is only as strong as the thread that holds it and the tension it relieves. Never sew a coat button flat against the fabric; you are setting it up for failure.’ — The Frugal Mender’s Mantra
The Secret of the Shank: Why Coat Buttons Pop
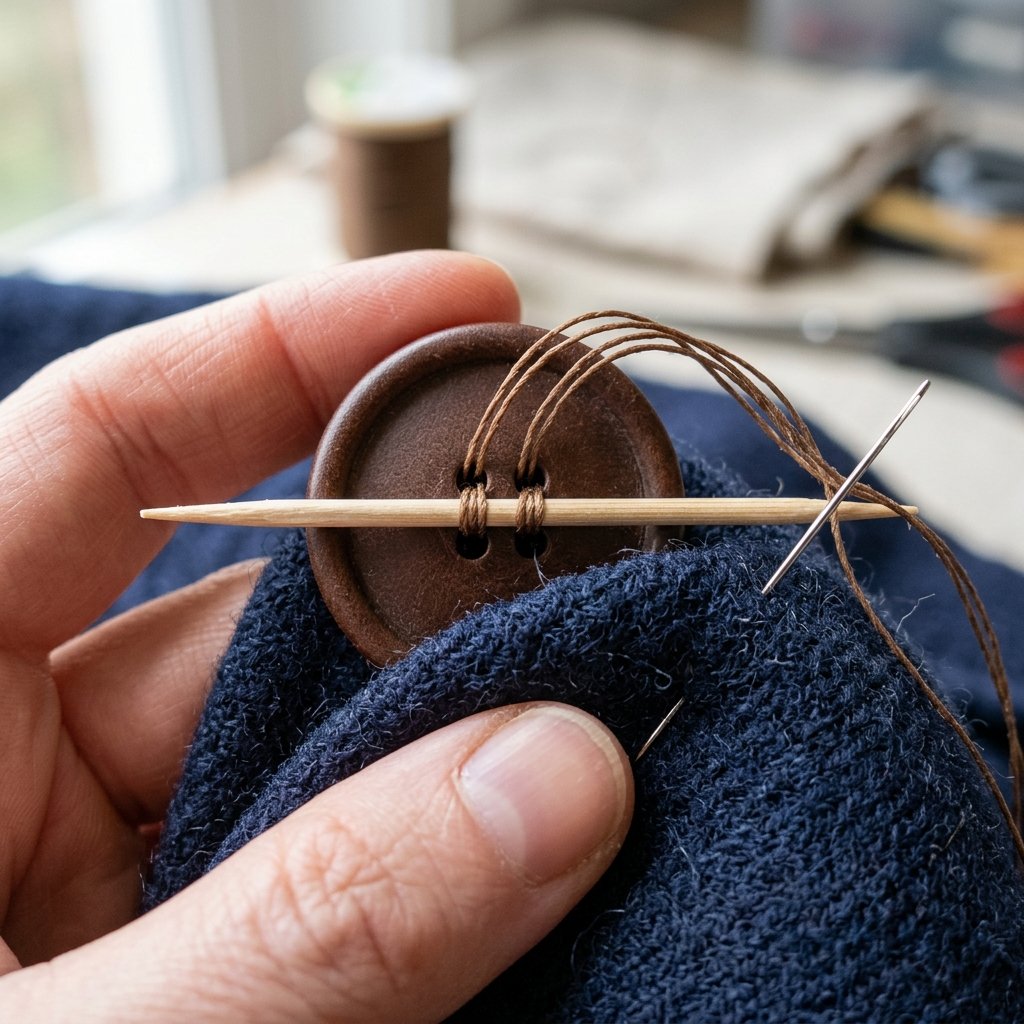
The number one mistake DIYers make is sewing a button flush against the coat fabric. When you button a thick coat, the fabric of the overlapping flap needs space to sit underneath the button. If there is no space, the button pulls against the thread with every movement, eventually snapping it. The solution is a thread shank.
The Physics of the Shank
- Space: The shank creates a ‘neck’ of thread that allows the coat fabric to rest comfortably without prying the button upward.
- Flexibility: It allows the button to pivot, reducing the direct shearing force on the fibers.
- Durability: By wrapping the thread around itself, you create a solid pillar of strength that is nearly impossible to break by hand.
By using a simple spacer like a toothpick during the sewing process, you guarantee that the button has the exact amount of ‘breathing room’ required for heavy garments.
Step-by-Step: The Indestructible ‘Backer Button’ Method
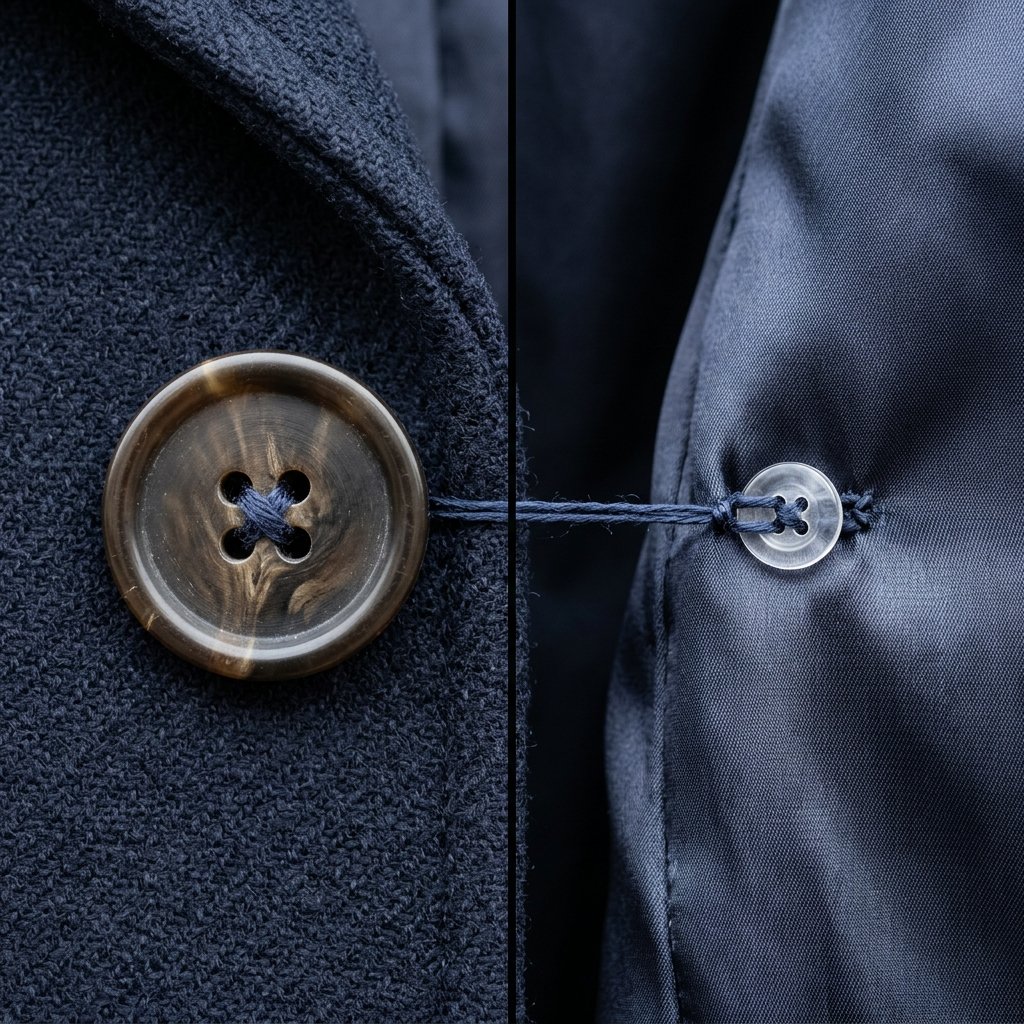
For heavy overcoats, pea coats, or work jackets, the fabric itself often fails before the thread does. The button literally rips a hole through the wool. To prevent this, we use a backer button—a tiny, flat button placed on the inside of the coat. The fabric is then sandwiched between the two buttons, distributing the pressure across a larger surface area.
Execution Steps
- Anchor the Thread: Thread your needle with a double strand of heavy-duty thread (approx. 24 inches). Tie a secure knot at the end. Run the needle through the fabric from the inside to the outside at the exact spot the button belongs.
- Position the Backer: On the inside of the coat, slide your small backer button onto the needle. This button will sit against the lining.
- The Spacer Placement: On the outside, slide your main coat button onto the needle. Before pulling tight, place a toothpick or matchstick across the top of the button (or between the button and fabric).
- The Stitching Pattern: Sew through the holes of the main button and the backer button 6 to 8 times. Ensure you are going through the fabric layers each time. The toothpick keeps the thread loose enough to create the shank later.
- Creating the Shank: Remove the toothpick. Pull the button away from the coat so the slack thread is exposed. Bring your needle up between the button and the fabric.
- The Wrap: Firmly wrap the thread around the exposed ‘pillar’ of threads 5 to 7 times. This creates a solid, reinforced neck.
- The Final Lock: Push the needle through the thread shank, tie a small knot, and bury the tail in the fabric before clipping.
Fabric & Thread Compatibility Guide
Not all coats are created equal. A rugged denim jacket requires a different approach than a soft cashmere blend. Use this table to match your materials to your garment for the most professional result.
| Fabric Type | Recommended Thread | Needle Size | Spacer Height |
|---|---|---|---|
| Wool Overcoat | Buttonhole Twist (Silk or Poly) | Large (Size 1-3) | Thick Matchstick |
| Denim / Canvas | Waxed Polyester or Jean Thread | Mid-size (Size 5) | Standard Toothpick |
| Light Trench Coat | All-purpose Polyester | Small (Size 7-9) | Thin Sewing Pin |
| Leather Jacket | Waxed Nylon / Sinew | Leather/Glover Needle | N/A (Use a built-in shank button) |
Pro-Tip: The Beeswax Trick
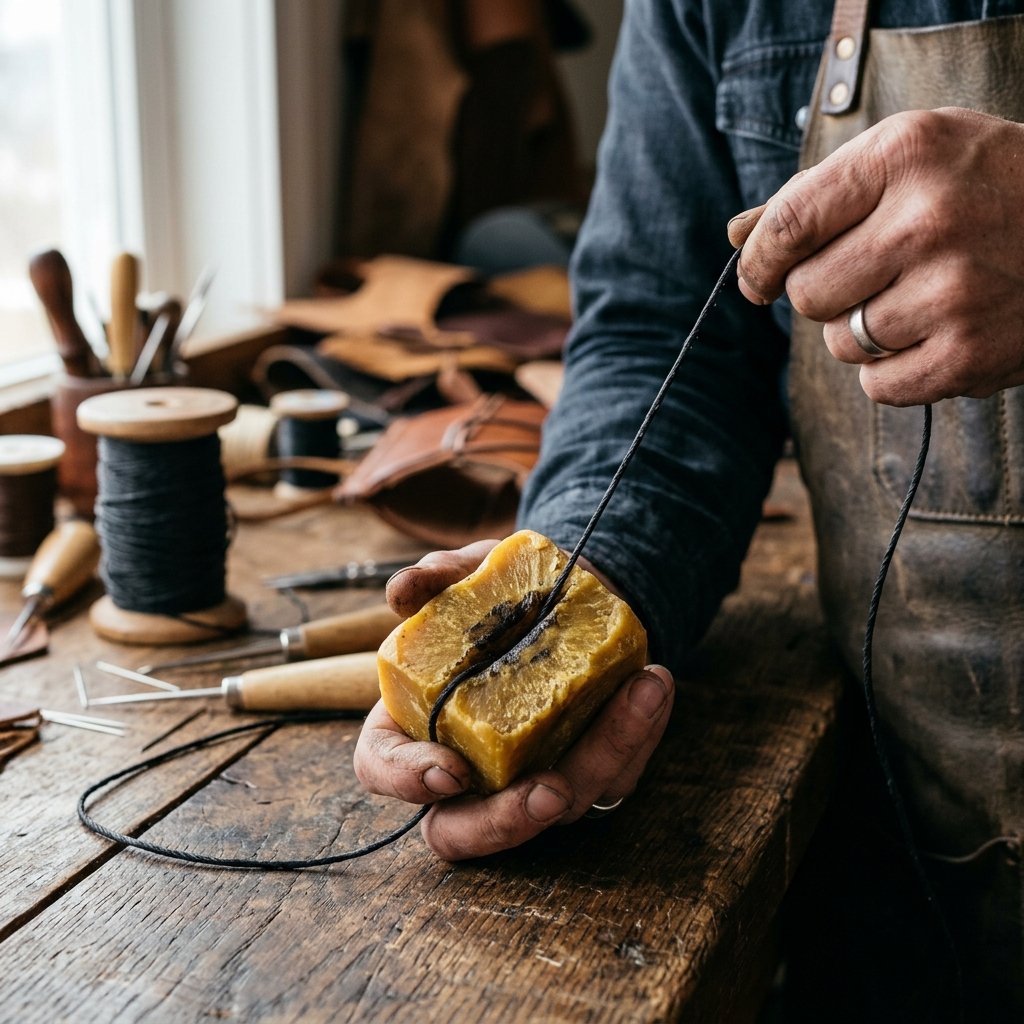
Run your thread through a small block of beeswax before sewing. This coats the fibers, making them water-resistant and significantly reducing the friction that causes thread to fray over time. It is a 30-second step that doubles the life of your repair.
Troubleshooting & Maintenance: Keeping the Fleet Secure
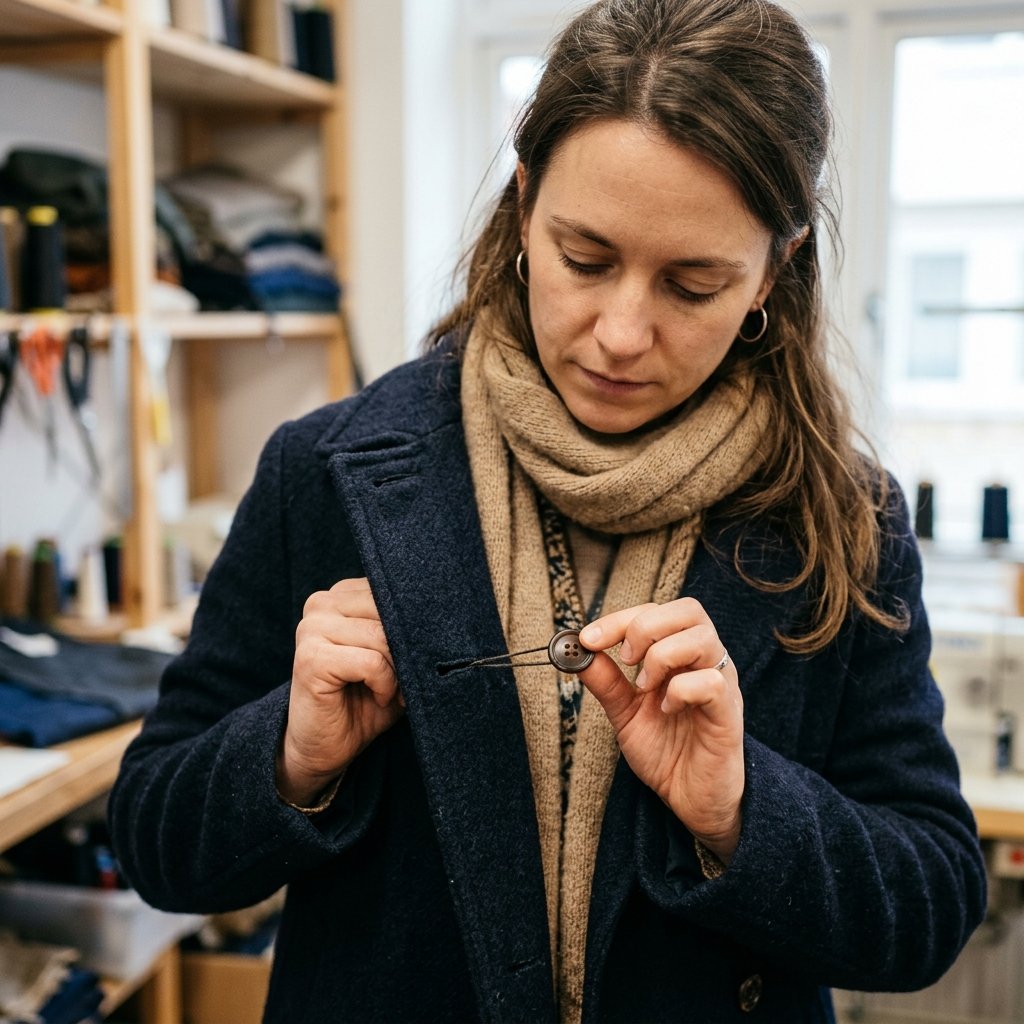
Even the best-sewn buttons should be inspected annually. As a savvy DIYer, you should perform a ‘button check’ at the start of every winter season. This proactive approach saves you from the frustration of losing a unique vintage button that cannot be replaced.
Common Issues & Quick Fixes
- Loose Shank: If the button feels ‘floppy,’ you didn’t wrap the thread shank tightly enough. You can often fix this without re-sewing by simply wrapping more thread around the existing neck and knotting it.
- Fraying Thread: If you see individual fibers sticking out, apply a tiny drop of clear nail polish or specialized ‘fray check’ liquid to the shank to seal it.
- Fabric Tearing: If the fabric is already thinning, you must use a larger backer button or a small square of interfacing (reinforcement fabric) inside the coat to provide a new foundation.
‘True frugality isn’t just about spending less; it’s about making what you have last forever through superior craftsmanship.’
Conclusion
The Mark of a Master Mender
By mastering the thread shank and the backer button technique, you have transitioned from a consumer to a steward of your wardrobe. This simple, rugged skill ensures that your favorite garments remain functional and sharp for decades, saving you hundreds of dollars in professional tailoring fees or premature replacements. Remember, the strength of a coat is found in its smallest details. Next time you see a loose thread, don’t wait for the snap—grab your needle, find a toothpick, and secure your style forever. You’ve got the tools, the technique, and the budget-savvy wisdom to keep your gear in top shape. Happy mending!

Makenzie is the founder and lead writer at MoneyHackTips.com — a personal finance blog dedicated to delivering street-smart financial wisdom for real people on real budgets. With 300+ published articles covering everything from debt management to investing fundamentals, Makenzie’s mission is to make every dollar work harder. When not writing about money hacks, Makenzie is testing frugal living strategies, optimizing side hustles, and helping readers build financial freedom from scratch.