


The Art of the Practical Gift
Let’s be honest: baby registries are a sea of plastic monitors and organic onesies. While those are necessary, there is a certain rugged satisfaction in providing a gift that is both immediately useful and visually stunning. As a frugal DIYer, you know that cash is the most practical gift a new parent can receive, but handing over a plain white envelope feels a bit… uninspired. That is where the money origami baby stroller comes in. This isn’t just paper folding; it is tactical gift-giving. We are taking the cold, hard utility of currency and engineering it into a symbol of new beginnings. In this guide, we will break down the precise folds, the structural secrets, and the presentation hacks to make your gift the talk of the shower without spending a dime over the value of the bills themselves.
The Blueprint: Materials and the Denomination Matrix
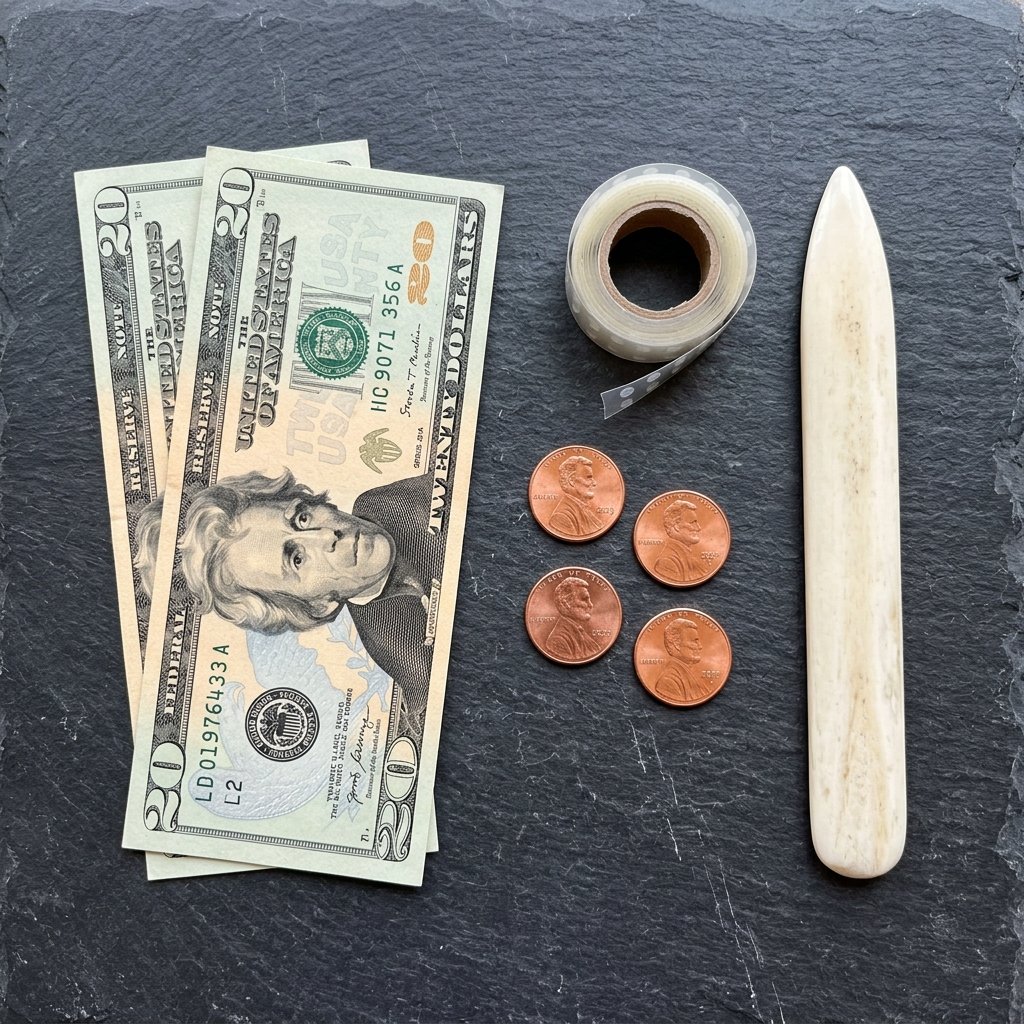
Selecting Your Currency
The success of your money origami depends entirely on the quality of your materials. You cannot build a sturdy structure with limp, circulated bills. You need crisp, uncirculated currency straight from the bank. If the bills are too soft, they won’t hold the ‘memory’ of the fold, and your stroller will look more like a collapsed tent. For this project, you will typically need two bills of the same denomination and four coins (pennies or dimes) to serve as the wheels.
Before we dive into the folds, let’s look at the impact of different denominations. Whether you are gifting $2 or $200, the technique remains the same, but the visual weight changes.
| Total Gift Value | Denominations Used | Visual Impact |
|---|---|---|
| $2.00 | Two $1 Bills | Sweet, symbolic, and budget-friendly. |
| $10.00 | Two $5 Bills | Practical and sturdy for a casual gift. |
| $40.00 | Two $20 Bills | The ‘Gold Standard’ for close friends. |
| $100.00 | Two $50 Bills | High-end, impressive, and substantial. |
“The secret to a professional finish is the ‘Bone Folder’ or the edge of a credit card. Every crease must be sharp enough to cut through the noise of a busy baby shower.”
Phase One: Folding the Stroller Body
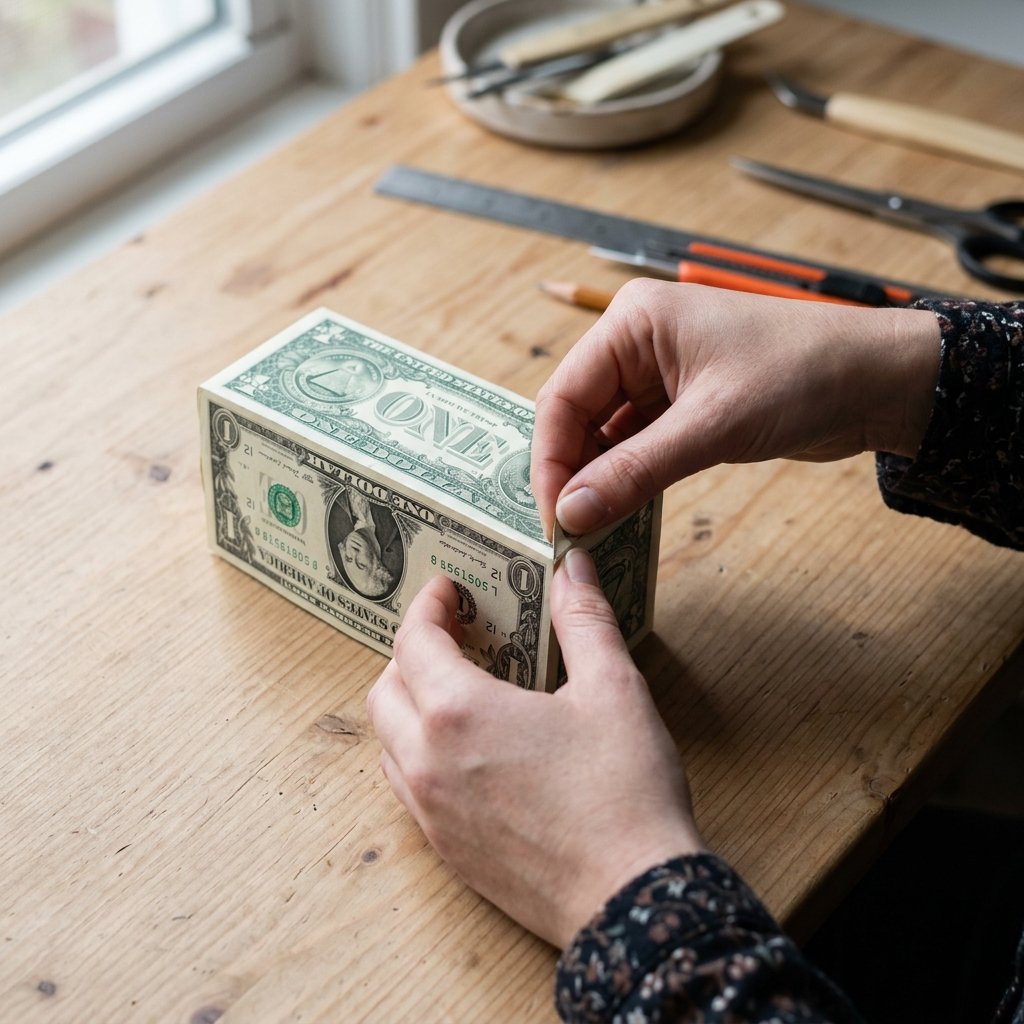
The Foundation Folds
The body of the stroller requires precision. We are aiming for a deep ‘carriage’ look that can sit upright. Follow these steps with focused attention:
- Place your first bill horizontally on a flat surface with the portrait facing up.
- Fold the bill in half lengthwise, creating a strong center crease, then unfold.
- Fold the top and bottom edges inward to meet at that center crease (this is a gate fold).
- Fold the entire bill in half again lengthwise so it is a thin strip, then unfold back to the gate fold position.
- Fold the left and right ends of the bill inward by about 1.5 inches. These will form the front and back of the carriage.
- Open the corners of these end-folds and squash them down to create small triangular ‘pockets’ that allow the bill to stand in a rectangular shape.
By the end of this phase, you should have a rectangular box-like structure. This is the ‘chassis’ of your stroller. Pro Tip: If the bill keeps springing open, use a tiny, pea-sized amount of removable poster tack inside the folds to keep them locked without damaging the currency.
Phase Two: Engineering the Hood and Handle
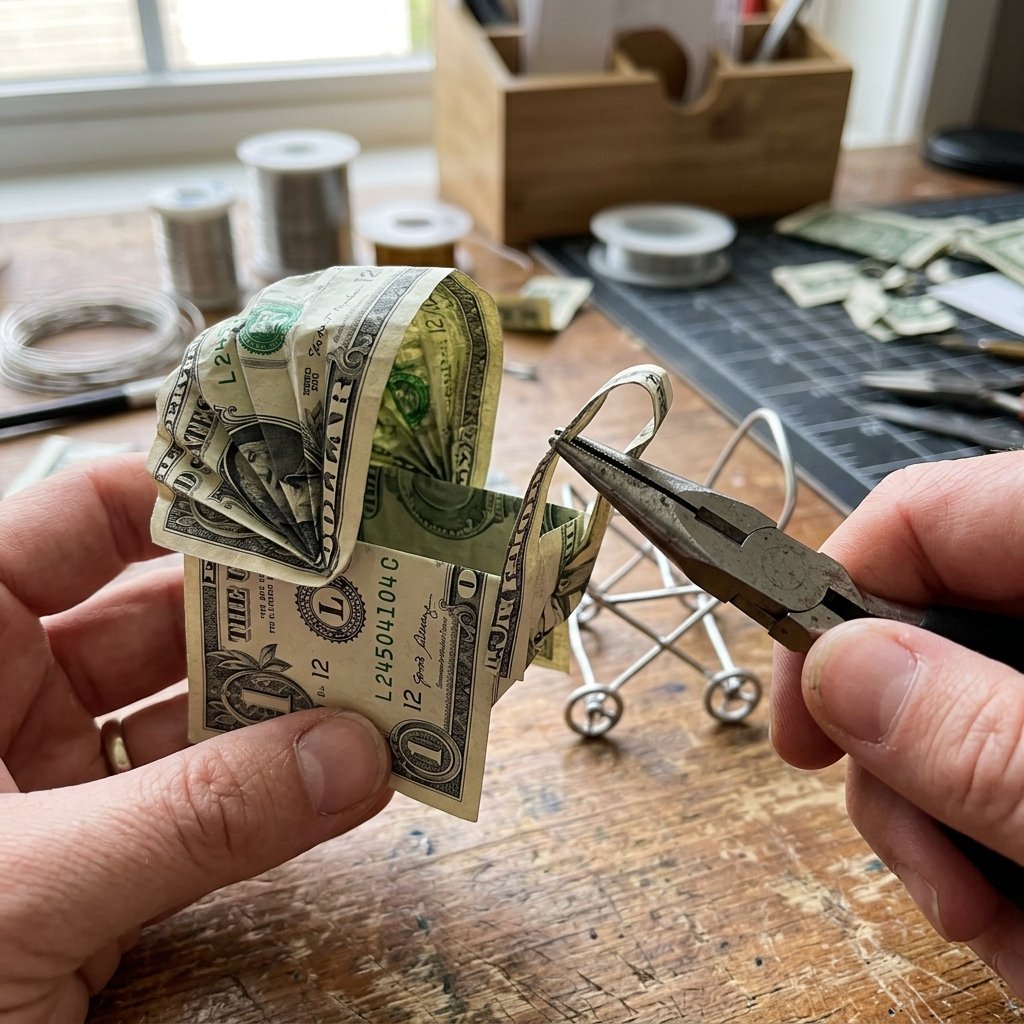
The Artistic Arch
The second bill provides the ‘character’ of the gift—the sun hood and the handle. This is where the crafty-expert skills really shine.
- Take your second bill and fold it in half lengthwise.
- On one end, perform an accordion fold (zigzag) for the first 2 inches. This will create the look of a retractable stroller hood.
- Gently fan out the accordion fold and curve it over the top of your first bill (the body).
- The remaining length of the second bill will be your handle. Fold it into a very thin, tight strip (about 1/4 inch wide).
- Bend the end of this strip into a ‘U’ shape to mimic a push-handle.
- Secure the hood to the back of the stroller body using a small piece of double-sided tape or a miniature paperclip hidden under the fold.
This step transforms the project from a simple box into an unmistakable baby carriage. The rugged elegance of the design comes from the symmetry of the hood folds.
The Final Assembly: Wheels and Stability
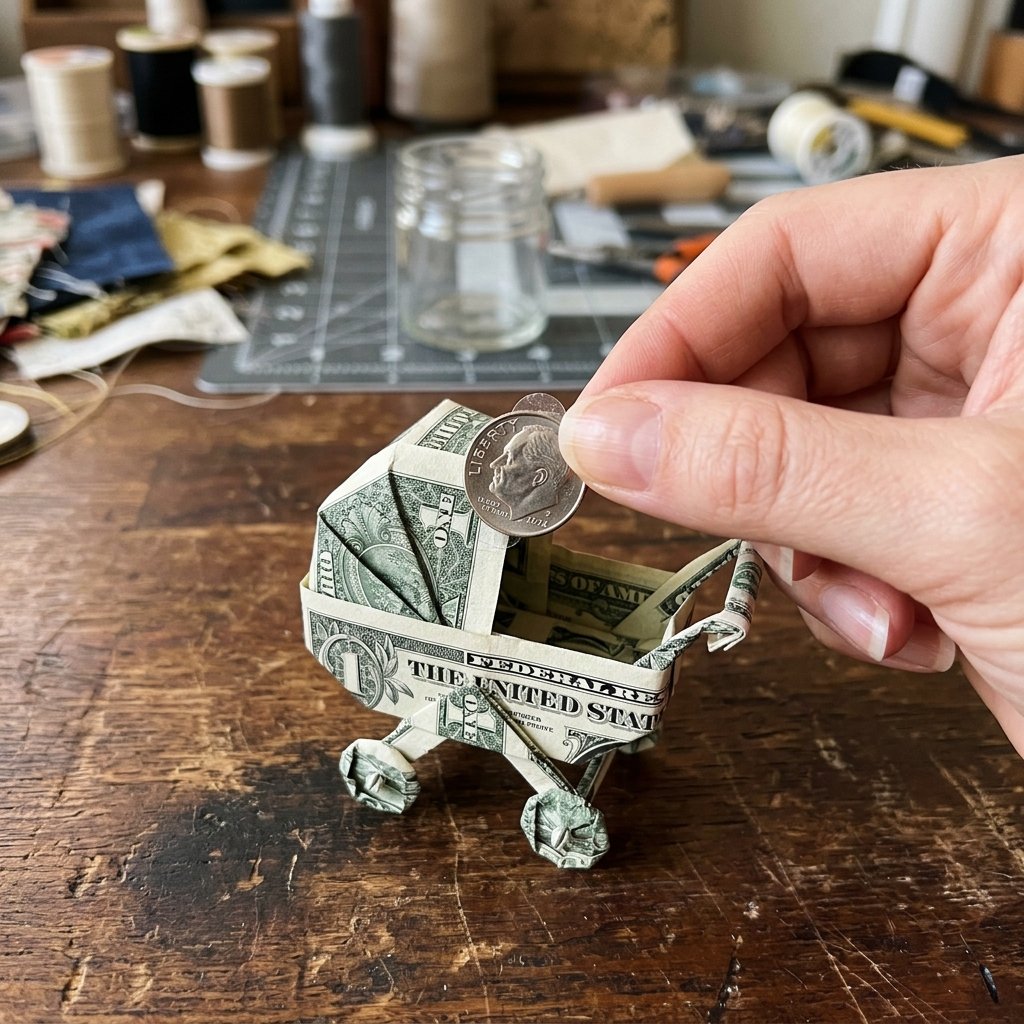
Adding the Rolling Gear
A stroller isn’t a stroller without wheels. This is the clever, budget-savvy trick that adds weight and realism to your gift. We will use four coins to provide a sturdy base.
| Wheel Type | Pros | Cons |
|---|---|---|
| Pennies | Cost-effective; copper color looks ‘vintage’. | Can tarnish; less ‘precious’ feel. |
| Dimes | Shiny and silver; fits the scale perfectly. | Slightly more expensive. |
| Quarters | Very stable; adds significant value. | Can look too large for a single-bill body. |
To attach the wheels, use clear glue dots. Place one dot on the back of each coin and press it firmly onto the bottom corners of the stroller body. Ensure they are level so the stroller doesn’t wobble. If you want to be extra crafty, you can use buttons instead of coins for a more ‘shabby-chic’ aesthetic, though coins are the preferred choice for the resourceful minimalist.
“Stability is key. If your stroller tips over, the magic is lost. Ensure your wheel placement is symmetrical and the center of gravity is low.”
Presentation: The ‘High-End’ Gift Box Hack
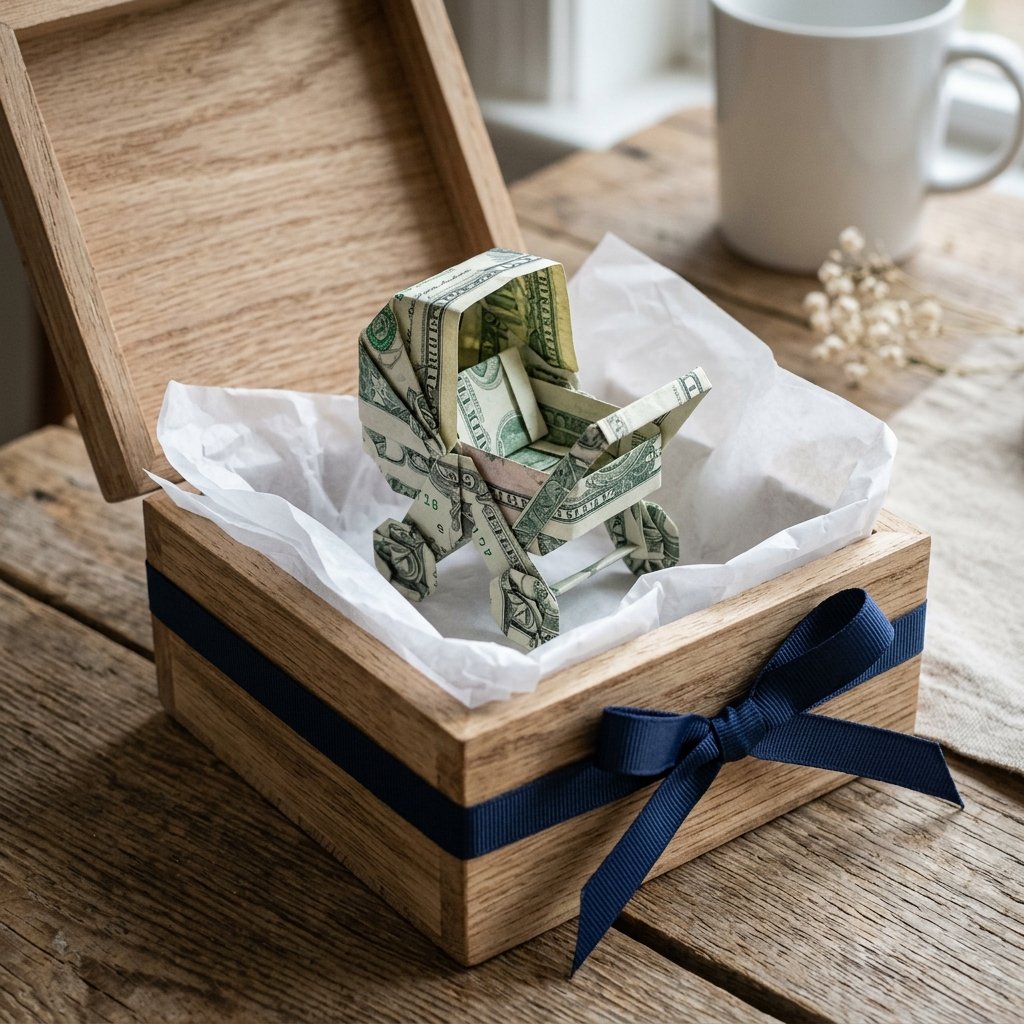
Elevating the Unboxing Experience
You’ve spent 20 minutes on precision folding; don’t ruin it by tossing the stroller into a standard card. As a Dollar Tree Interior Designer at heart, you know that packaging is 90% of the perceived value. Here is how to present it like a pro:
- The Nest: Find a small jewelry box or a clear acrylic cube. Fill the bottom with shredded brown kraft paper or dried moss for a rugged, organic look.
- The Backdrop: Place a small piece of cardstock behind the stroller with a clever pun like, “A little something for the new set of wheels.”
- The Protection: If the shower is outdoors, use a clear cellophane wrap tied with natural twine to keep the bills crisp and dust-free.
This presentation style suggests that the gift is a keepsake, not just a transaction. It encourages the parents to keep the origami intact as a memento for as long as possible before they eventually (and inevitably) need to spend it on diapers.
Conclusion
The Ultimate Trash-to-Treasure Victory
Folding a money origami baby stroller is more than just a craft; it is a testament to the idea that thoughtfulness doesn’t have to be expensive. By using your hands and a bit of clever engineering, you’ve turned a standard cash gift into a conversation piece that honors the new parents. Whether you used two singles or two hundreds, the crafty-expert effort you put into those folds will be remembered long after the gift is spent. Now, go forth and be the hero of the baby shower—one crisp fold at a time.

Makenzie is the founder and lead writer at MoneyHackTips.com — a personal finance blog dedicated to delivering street-smart financial wisdom for real people on real budgets. With 300+ published articles covering everything from debt management to investing fundamentals, Makenzie’s mission is to make every dollar work harder. When not writing about money hacks, Makenzie is testing frugal living strategies, optimizing side hustles, and helping readers build financial freedom from scratch.


