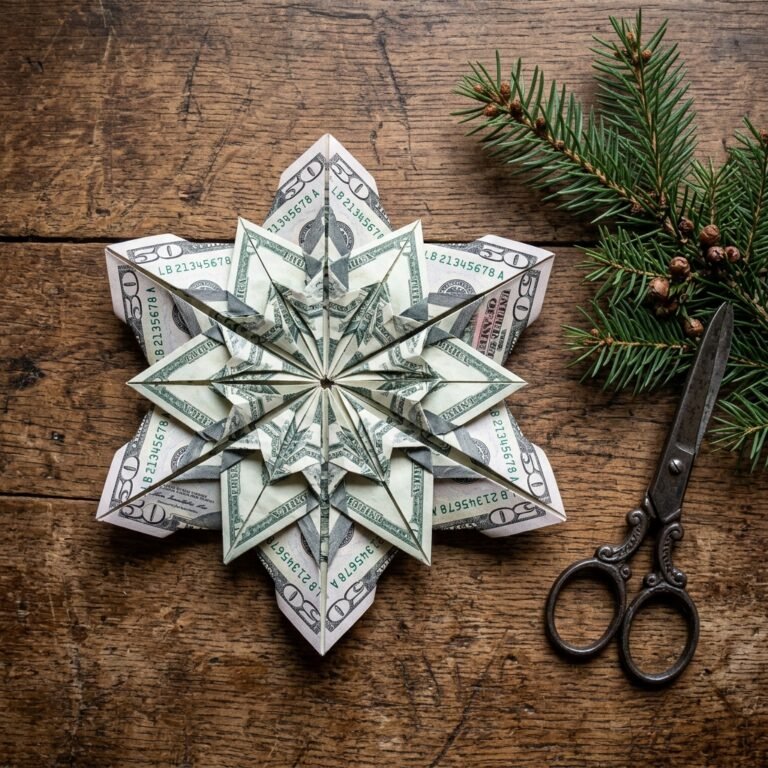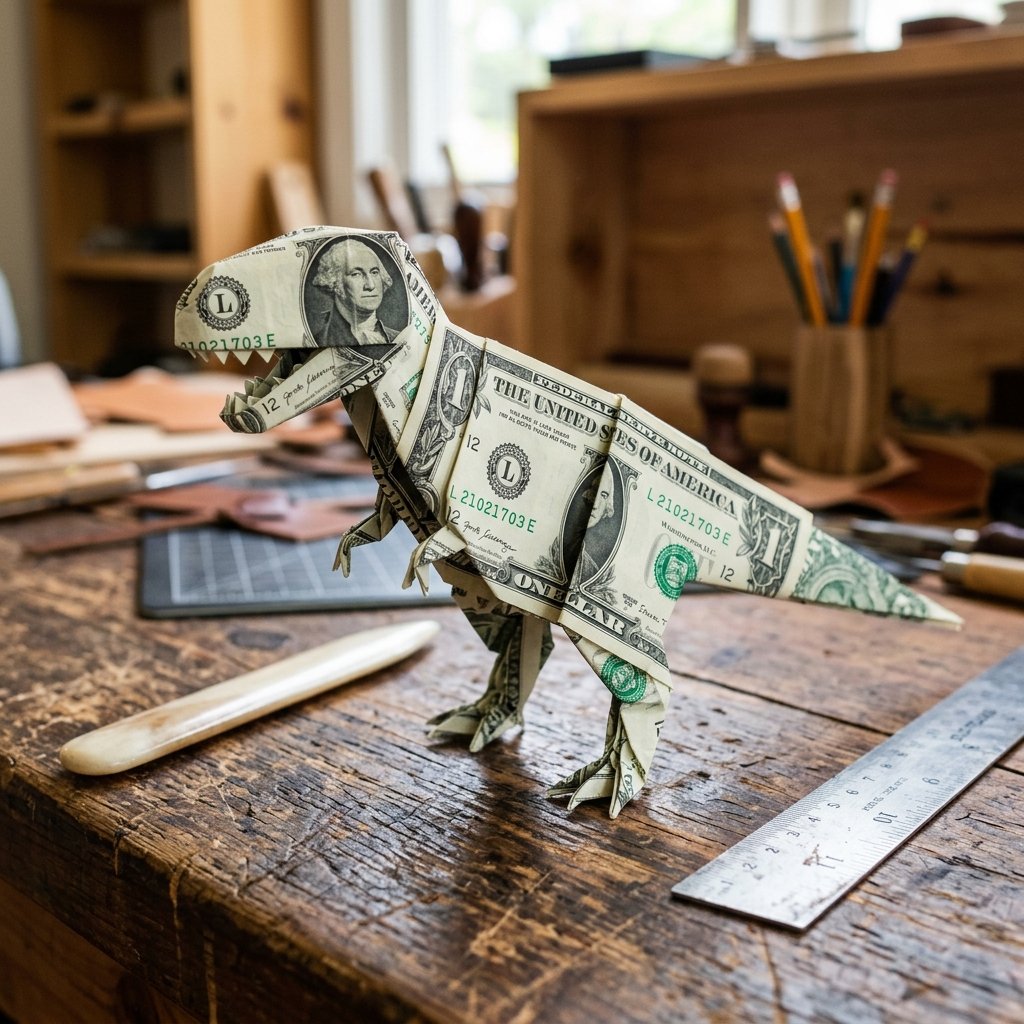

The Ultimate Frugal Flex: Gifting Cash with a Prehistoric Twist
Let us be completely honest with each other: handing a kid a flat, generic greeting card with a loose twenty-dollar bill fluttering out of it is incredibly boring. As handy parents, frugal DIYers, and resourceful crafters, we know that the presentation of a gift is just as important as the gift itself. If you want to be the cool aunt, the legendary uncle, or the budget-savvy parent who always brings the magic, you need to elevate your cash-gifting game. Enter the ultimate trash-to-treasure masterpiece: the Money Origami Dinosaur.
Folding currency into intricate shapes is not just a cheap party trick; it is an art form that merges crafty-expert precision with budget-savvy practicality. By taking a standard legal tender note and employing a few clever folds, you transform $1, $5, or $20 into an unforgettable, 3D prehistoric beast. It costs absolutely nothing extra—your materials budget is exactly the amount you intend to gift! This resourceful approach saves you the $6 you would have wasted on a store-bought card that inevitably ends up in the recycling bin.
“The best gifts do not require a massive budget; they require a massive amount of thoughtfulness. A folded paper dinosaur says ‘I took the time to make this special for you,’ while still delivering the universal appeal of cold, hard cash.”
In this comprehensive, step-by-step guide, we are going to channel our inner origami masters. We will cover everything from prepping your currency for the sharpest creases, to the exact, fold-by-fold instructions for crafting a striking Tyrannosaurus Rex, and finally, how to present your cash carnivore like a true Dollar Tree interior designer. Grab a crisp bill, clear off your workbench, and let us get folding!
Prepping Your Canvas: Choosing and Crisping Your Currency
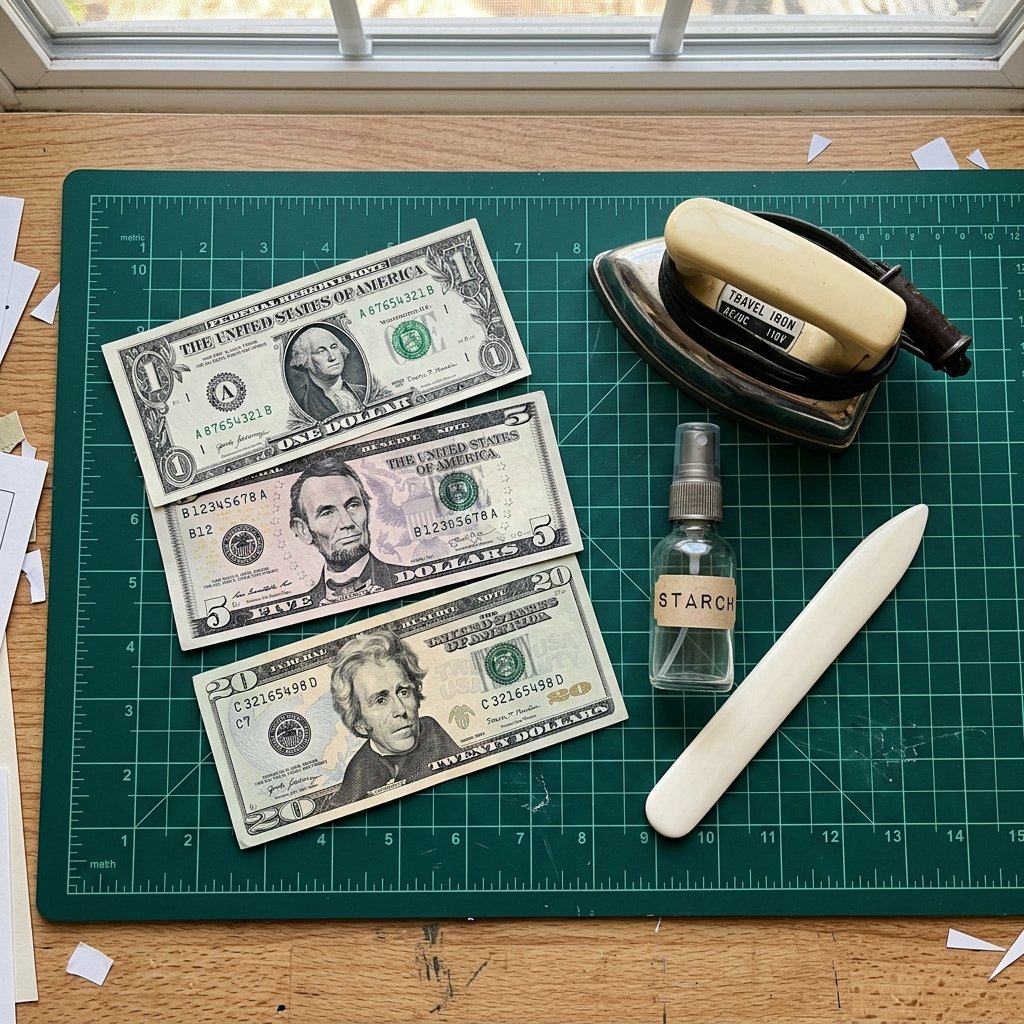
Before we make a single fold, we need to talk about our medium. Money origami requires a specific type of canvas: a notoriously crisp bill. Older, worn-out bills are as soft as fabric; they will not hold a sharp crease, and your mighty T-Rex will end up looking like a deflated balloon. As a frugal DIYer, you know that preparation is the key to a professional-looking result.
The Art of the Crisp Bill
If you cannot get to the bank to request uncirculated bills, do not worry. You can resourcefully restore the crispness of a slightly worn bill right in your own laundry room. It sounds crazy, but laundering and ironing your money is a classic tailor’s trick for origami enthusiasts.
- Step 1: Lightly mist the bill with a tiny amount of water or a very diluted homemade spray starch (1 teaspoon of cornstarch dissolved in 1 cup of water).
- Step 2: Place the damp bill between two pieces of clean, smooth cotton fabric (an old pillowcase works perfectly).
- Step 3: Set your clothing iron to a low, dry heat setting. Do not use steam.
- Step 4: Press the iron firmly over the fabric for 5 to 10 seconds. Check the bill. It should emerge stiff, flat, and ready to hold a mountain fold like a champion.
Safety Note: Currency is made of a cotton-linen blend, which is why it can withstand washing and ironing. However, always use a pressing cloth and low heat to avoid scorching the ink or melting the security threads found in higher denominations!
Choosing the Right Denomination
Different bills offer different visual aesthetics based on their ink colors and watermarks. Here is a handy matrix to help you choose the best bill for your prehistoric project.
| Bill Denomination | Visual Impact & Design Features | Best Occasion / Vibe |
|---|---|---|
| $1 Bill | Classic green. The Great Seal and pyramid add cool geometric textures to the dinosaur’s body. | Stocking stuffers, tooth fairy visits, or practice folding. |
| $2 Bill | Unique and rare. The intricate back design creates a highly detailed, vintage-looking texture. | Special milestones, lucky gifts, or rewarding good grades. |
| $5 Bill | Slight purple/gray hues. Lincoln’s portrait often ends up subtly hidden in the folds. | Birthday parties for elementary-aged kids. |
| $10 Bill | Warm orange and yellow tones. Makes the dinosaur look like it is glowing or has a desert-camo vibe. | Middle school birthdays, minor chore rewards. |
| $20 Bill | Vibrant green and peach. The sharp colors make for a very striking, high-contrast origami piece. | Teenager birthdays, graduation filler gifts. |
| $50 / $100 Bill | Blue/purple security ribbons and bold numbers. Highly impressive but stressful to fold! | Major graduations, weddings, or significant life events. |
Mastering the Foundation: The Dinosaur Base Folds
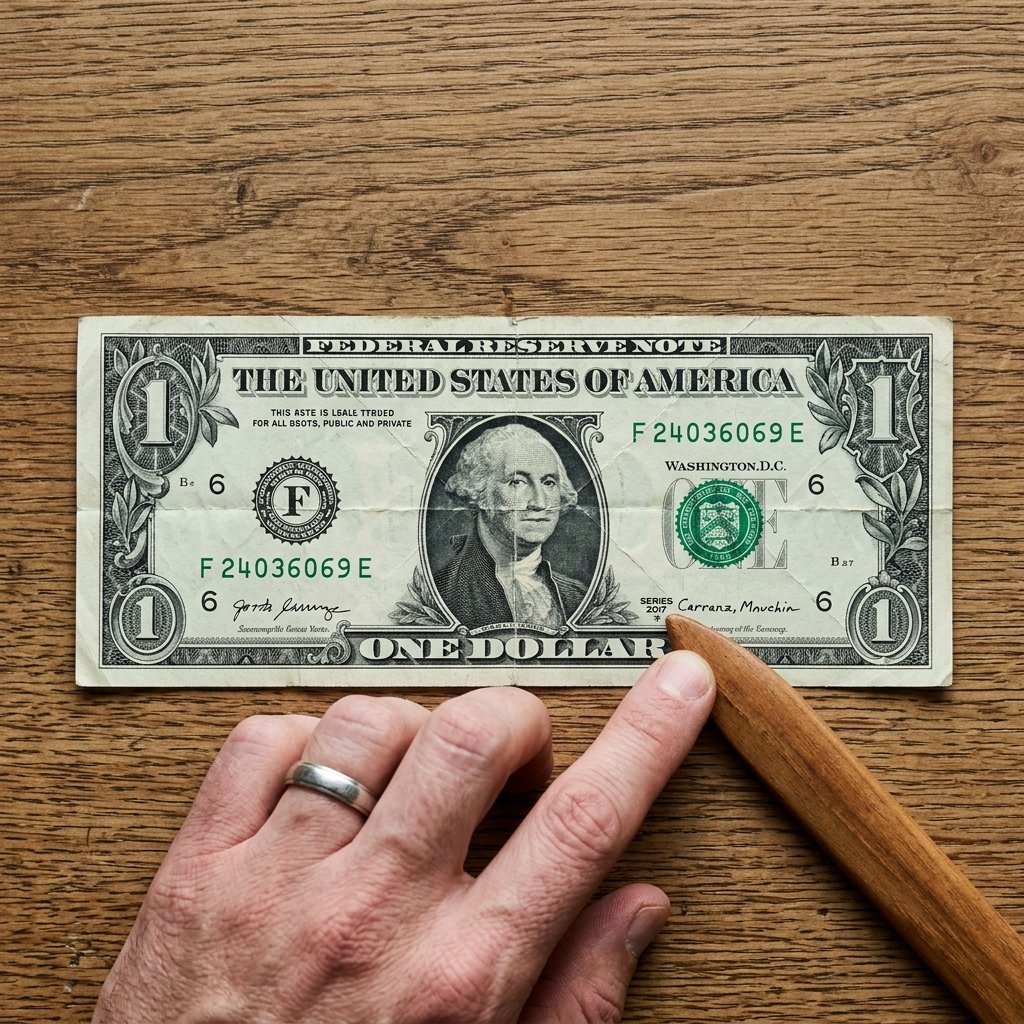
Now that your currency is as crisp as a freshly tailored suit, it is time to establish the foundational folds. In origami, complex models are built upon simple bases. For our money dinosaur, we will be adapting a traditional waterbomb-style base to accommodate the rectangular 7:3 ratio of a US dollar bill. Precision here is non-negotiable; a millimeter off on step one means a lopsided tail on step twenty.
Essential Origami Terminology for the Crafty Expert
Before diving into the numbered steps, let’s establish our rugged, practical folding vocabulary:
- Valley Fold: Folding the paper toward you, creating a “V” shape or a valley.
- Mountain Fold: Folding the paper away from you, creating an inverted “V” or a mountain peak.
- Crease and Unfold: Making a sharp fold and immediately opening it back up. This leaves a “memory” in the paper that guides future steps. Use your thumbnail or a bone folder to make these incredibly sharp.
- Squash Fold: Prying open a flap of paper and pressing it flat to create a new symmetrical shape.
Creating the Initial Grid
- Orient the Canvas: Lay your crisp bill flat on a hard, smooth surface. Position it horizontally (landscape mode) with the portrait facing up.
- The Center Line: Fold the bill exactly in half horizontally (bringing the top edge to the bottom edge). Crease sharply with your thumbnail, then unfold. You now have a horizontal valley fold running through the center.
- The Vertical Halves: Fold the bill in half vertically (bringing the left edge to the right edge). Crease sharply and unfold.
- The Cabinet Folds: Take the left edge and fold it inward so it perfectly meets the vertical center crease you just made. Repeat with the right edge. Your bill should now look like a set of closed double doors. Crease firmly and unfold.
- The Diagonal Guides: Focus on the top left rectangular quadrant created by your creases. Fold the top-left corner diagonally down so the top edge meets the horizontal center line. Crease and unfold. Repeat this for all four corners of the bill.
If you have done this correctly, your bill will be covered in a geometric grid of intersecting lines. These lines are the architectural blueprints of your dinosaur. They may look chaotic now, but trust the process.
Sculpting the Beast: Step-by-Step T-Rex Folding Instructions
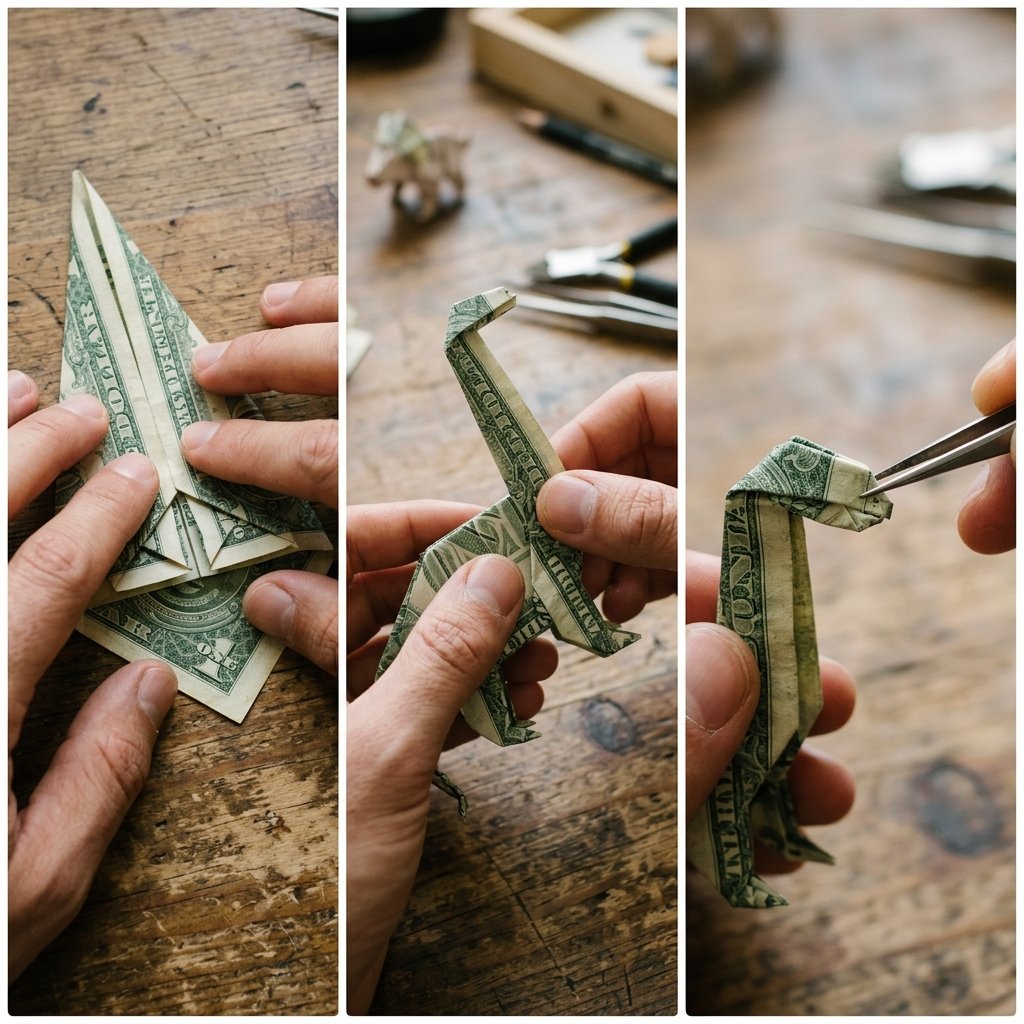
With our foundation set, we move into the structural framing. This is where your flat piece of currency magically transitions into a 3D object. Patience is your best tool here. If a fold feels like it is fighting you, do not force it—gently coax the paper along the creases you have already established.
Forming the Body and Legs
- Collapse the Base: Using the diagonal creases you made in the previous section, pinch the top and bottom edges of the left side of the bill and push them together toward the center line. The paper will naturally want to collapse into a triangle pointing to the left. Press it flat. This is a classic waterbomb base adaptation.
- Repeat on the Right: Do the exact same collapsing fold on the right side of the bill. You should now have a shape that looks somewhat like a diamond or a double-pointed arrow.
- Narrowing the Torso: Take the top and bottom edges of the central square (the area between the two triangular points) and fold them inward to meet the horizontal center line. This narrows the body of the dinosaur and creates the thick, muscular core of the T-Rex.
- Creating the Hind Legs: Focus on the right-pointing triangle. Fold the top flap of the triangle downward at a 90-degree angle. This flap will become one of the massive hind legs. Flip the model over and repeat on the other side. You should now have two “legs” pointing downward.
- Shaping the Feet: To give the dinosaur stability so it can stand on your kid’s nightstand, make a small horizontal valley fold at the very tip of each leg flap. Fold it up about 1/4 inch to create flat feet.
Crafting the Head, Neck, and Tiny Arms
- The Neck Raise: Now focus on the left-pointing triangle. We need to angle this upward to form the neck. Perform an inside reverse fold: open the paper slightly, push the tip of the triangle upward and inward, and close the paper back around it. The neck should now point up at roughly a 45-degree angle.
- The Snout: To make the iconic T-Rex head, perform another inside reverse fold at the very tip of the neck. Fold the tip downward so it sits parallel to the ground.
- The Jaw: For extra crafty-expert detail, make a tiny crimp fold (a small valley fold followed immediately by a mountain fold) just under the snout to create the illusion of a lower jaw.
- Those Tiny Arms: The T-Rex is famous for its comically small arms. Look at the chest area just below the neck. There should be a small flap of excess paper. Gently pull this flap forward and pinch it to create a small, pointed arm. Repeat on the other side.
“Origami is a game of millimeters. When folding the head and arms, use a pair of tweezers if your fingers feel too bulky. It adds that rugged, model-maker precision to your work.”
Refining the Roar: Troubleshooting and Detailing
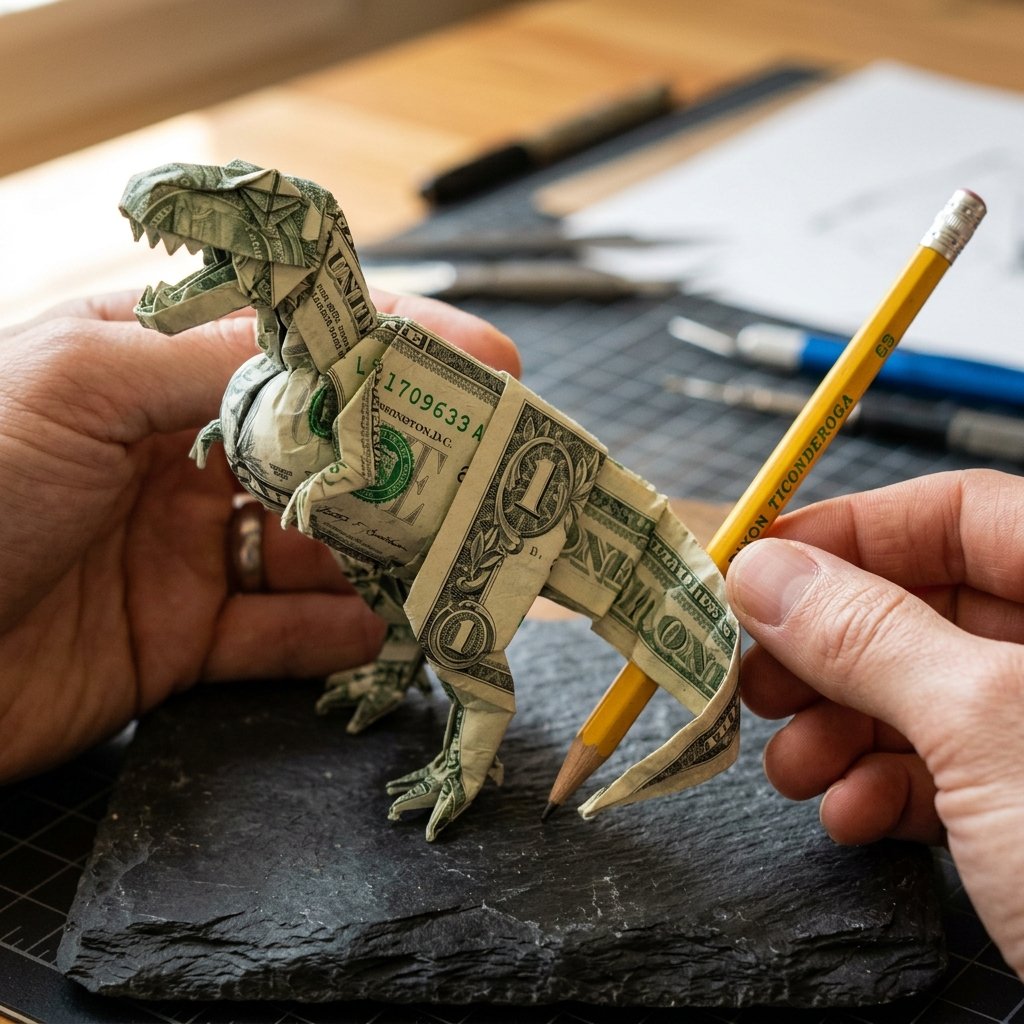
You have successfully engineered the basic shape of the T-Rex. But right now, it might look a little flat, or perhaps it is refusing to stand up on its own. Do not panic; even master tailors have to hem and adjust their garments. Here is how we refine the origami dinosaur to give it that high-end, museum-quality finish.
The Balance Check: Making It Stand
The most common issue with money origami animals is gravity. If your T-Rex keeps face-planting, the center of mass is too far forward.
- Adjust the Tail: The tail (the rear portion of the body) acts as a counterbalance. If the dinosaur falls forward, crimp the tail slightly upward or pull it further back to shift the weight.
- Widen the Stance: Gently pull the two hind legs slightly apart. A wider base of support instantly increases stability. Ensure the 1/4 inch foot folds you made earlier are perfectly flat and parallel to the ground.
Adding 3D Volume
Currency is incredibly resilient. To make the dinosaur look less like a flat bookmark and more like a rugged, 3D toy, we need to add volume.
- Rounding the Ribcage: Place your thumb inside the bottom opening of the dinosaur’s torso. Gently push outward while pinching the top ridge (the spine). This puffs out the chest and gives the T-Rex a muscular, intimidating posture.
- Curving the Tail: Instead of leaving the tail stick-straight, pinch the end of the tail and gently curl it around a pencil or a chopstick. This gives the model a dynamic, lifelike sense of movement.
What if the Paper Tears?
Because currency is made of cotton-linen, it rarely tears unless it is already compromised. However, if you accidentally rip a small seam during a complex squash fold, do not reach for the tape! Tape ruins the bill and looks sloppy. Instead, gently dab a microscopic amount of washable school glue on the tear with a toothpick and press it together. It will dry clear, hold the fold, and easily wash off when the recipient eventually spends the cash.
Jurassic Presentation: Clever & Frugal Ways to Gift Your Origami Dino
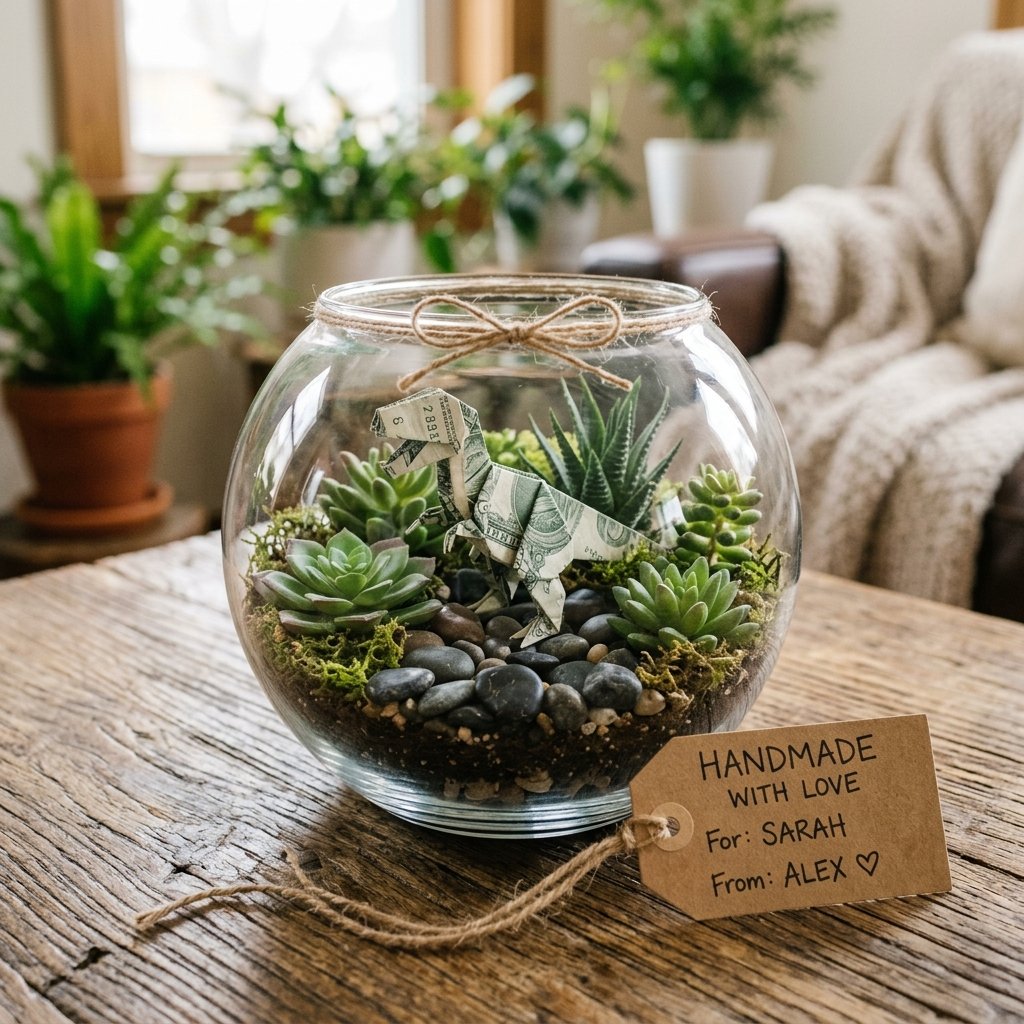
You have spent 15 minutes meticulously folding a masterpiece. Tossing it into a standard white envelope would be a crime against crafting. As a Dollar Tree interior designer and budget-savvy gift-giver, you know that the packaging is the final punchline of the gift. Here are a few resourcefully-creative, ultra-frugal ways to present your cash carnivore.
1. The Dollar Tree Terrarium Diorama
Turn your cash gift into a piece of high-end room decor that the kid can keep long after they spend the money.
| Materials Needed (Dollar Tree) | Estimated Cost | Purpose |
|---|---|---|
| Small Glass Fishbowl or Mason Jar | $1.25 | The enclosure for your Jurassic park. |
| Bag of Decorative River Rocks | $1.25 | Creates the rugged, prehistoric terrain. |
| Faux Succulents or Moss | $1.25 | Adds greenery and jungle vibes. |
| Your Origami Dinosaur | Free (The Gift) | The star of the show. |
Assembly: Wash and dry the glass bowl. Layer the river rocks at the bottom (about 1 inch deep). Snip a few pieces of the faux succulents and wedge them between the rocks. Carefully place your money origami T-Rex in the center, ensuring it stands proudly on the stones. You have just created a $3.75 gift box that looks like it came from a boutique!
2. The “Dino Egg” Surprise
If you are gifting this for a birthday or a fun scavenger hunt, camouflage the gift.
- Take a large, plastic Easter egg or a cheap hollow paper-mache egg from the craft store.
- Paint the outside with a quick coat of matte green or brown acrylic paint. Speckle it with a toothbrush dipped in black paint for a realistic, rugged texture.
- Nestle the folded dinosaur inside on a bed of shredded brown paper (upcycled from a grocery bag). When they crack open the egg, they get a prehistoric payday!
3. The “Emergency Funds” Shadow Box
For teenagers or high school graduates, adopt a practical, masculine-elegant aesthetic. Buy a cheap, deep picture frame from a thrift store (usually under $2). Remove the glass, paint the frame matte black, and pin the origami dinosaur to the fabric backing. Add a printed label underneath that reads: “In Case of Emergency, Unfold T-Rex.” It is hilarious, stylish, and highly functional.
Conclusion: Unleash Your Crafty, Prehistoric Gifting Power

Gone are the days of thoughtless gift cards and uninspired envelopes. By taking a few minutes to learn the art of money origami, you have completely transformed a simple financial transaction into a memorable, interactive experience. You have utilized your crafty-expert skills, maximized your budget, and created a gift that brings genuine surprise and joy.
The beauty of the money origami dinosaur is its versatility. Whether you are folding a $1 bill to leave under a pillow for the tooth fairy, or carefully creasing a $100 bill for a high school graduation, the impact remains the same. It is a testament to the fact that resourcefulness, creativity, and a little bit of elbow grease will always outshine a store-bought alternative.
So, the next time you need to give cash to a kid, a teen, or even a fun-loving adult, do not just hand over the paper. Iron it out, channel your inner prehistoric sculptor, and give them a roaring good time. Happy folding, frugal friends!
Conclusion
Conclusion: Unleash Your Crafty, Prehistoric Gifting Power
Gone are the days of thoughtless gift cards and uninspired envelopes. By taking a few minutes to learn the art of money origami, you have completely transformed a simple financial transaction into a memorable, interactive experience. You have utilized your crafty-expert skills, maximized your budget, and created a gift that brings genuine surprise and joy.
The beauty of the money origami dinosaur is its versatility. Whether you are folding a $1 bill to leave under a pillow for the tooth fairy, or carefully creasing a $100 bill for a high school graduation, the impact remains the same. It is a testament to the fact that resourcefulness, creativity, and a little bit of elbow grease will always outshine a store-bought alternative.
So, the next time you need to give cash to a kid, a teen, or even a fun-loving adult, do not just hand over the paper. Iron it out, channel your inner prehistoric sculptor, and give them a roaring good time. Happy folding, frugal friends!

Makenzie is the founder and lead writer at MoneyHackTips.com — a personal finance blog dedicated to delivering street-smart financial wisdom for real people on real budgets. With 300+ published articles covering everything from debt management to investing fundamentals, Makenzie’s mission is to make every dollar work harder. When not writing about money hacks, Makenzie is testing frugal living strategies, optimizing side hustles, and helping readers build financial freedom from scratch.