Let us face a practical, undeniable truth: babies grow at a spectacular, almost terrifying rate. You blink, and that adorable, overpriced boutique onesie you bought last week is suddenly too tight to snap over their diaper. It is a financial hemorrhage that leaves many handy parents and budget-savvy families wondering if there is a better way. The good news? There absolutely is.
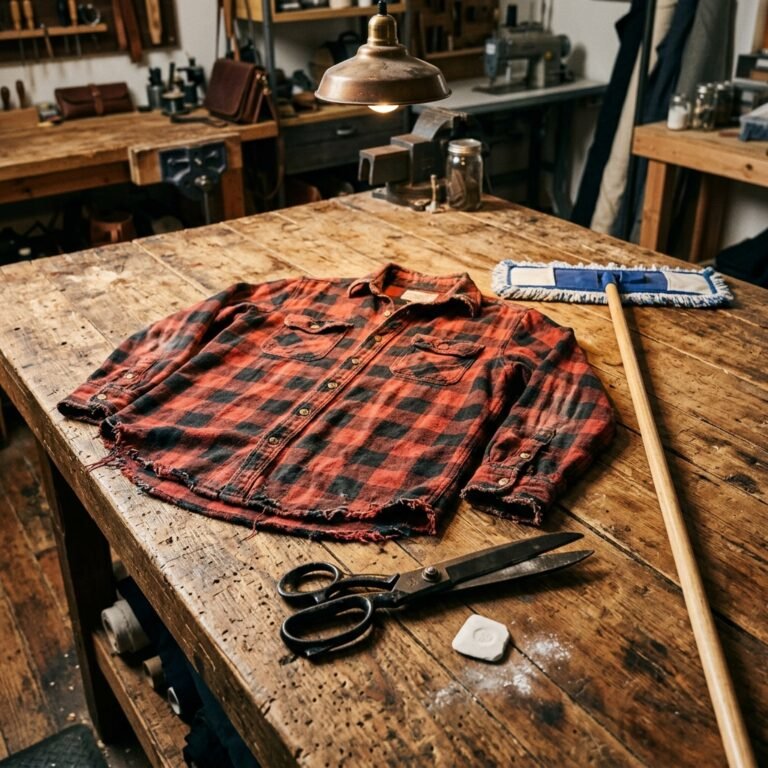
Welcome to the ultimate workshop of resourceful parenting. Before you toss that worn-out flannel shirt with the frayed collar, or that vintage band tee with a mystery stain on the sleeve, look closer. You are not looking at trash; you are looking at raw, high-quality textile yardage. Upcycling your old shirts into custom, rugged, and ridiculously cute baby rompers is not just a crafty weekend project—it is a sustainable rebellion against the fast-fashion baby industry.
In this comprehensive masterclass, we are going to channel our inner tailor and frugal DIYer. We will take those forgotten garments from the back of the closet and engineer them into bespoke baby wear. Whether you are a handy dad wanting to pass down a miniature version of his favorite rugged work shirt, or a crafty mom looking to stretch the family budget, this guide will walk you through every cut, stitch, and snap. Grab your fabric shears, thread your needle, and let us turn your wardrobe cast-offs into heirloom-quality treasure.
The Frugal Parent’s Secret: Why Upcycling Beats Buying Retail
When you start crunching the numbers on infant clothing, the reality is staggering. A standard baby goes through roughly six different clothing sizes in their first year alone. If you are buying retail, even at discount box stores, you are burning through cash for garments that have a functional lifespan of 8 to 12 weeks.
The True Cost of Outfitting an Infant
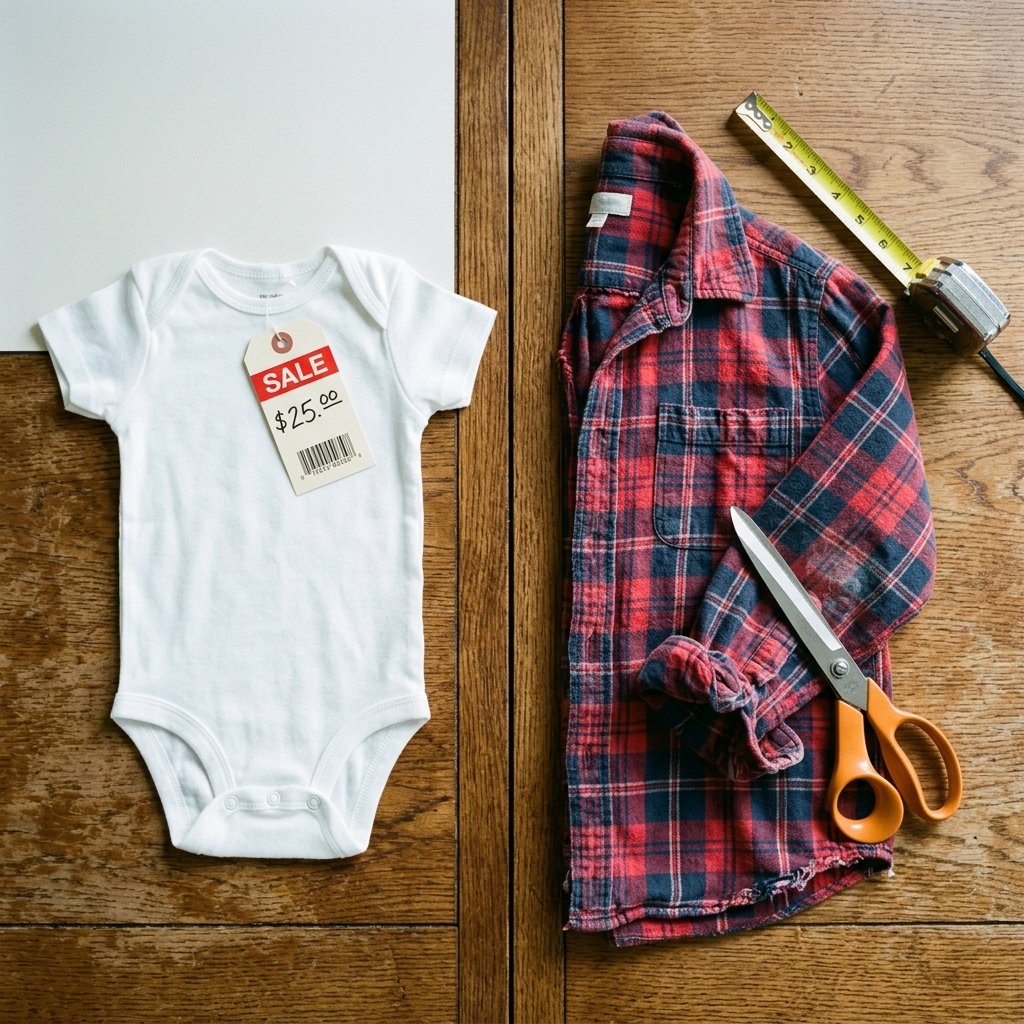
Let us break down the economics of a baby romper. A mid-tier, store-bought romper can easily run you $15 to $35. By harvesting materials from your own closet, your cost plummets to the pennies required for thread and perhaps a few snap closures. This is the essence of budget-savvy craftsmanship.
| Expense Category | Store-Bought Boutique Romper | Zero-Budget DIY Upcycled Romper |
|---|---|---|
| Primary Fabric | $25.00 (Included in retail price) | $0.00 (Upcycled from your closet) |
| Buttons / Snaps | $0.00 (Included) | $1.50 (Or $0.00 if harvesting from the old shirt) |
| Labor & Time | 0 minutes (Just shopping time) | 60 to 90 minutes of rewarding craft time |
| Environmental Impact | High (Fast fashion waste, shipping footprint) | Zero (Keeping textiles out of landfills) |
| Sentimental Value | Low (Mass-produced, generic) | Priceless (Wearing dad’s old flannel or mom’s favorite tee) |
| Total Estimated Cost | $25.00+ per outfit | $0.00 – $1.50 per outfit |
Beyond the undeniable financial savings, upcycling old shirts into baby clothes taps into a deeply rewarding, masculine-elegant tradition of mending and making. It is about self-reliance. When you construct a garment with your own hands, you are not just saving $25; you are building a tangible skill set and creating a garment with a story.
Scavenging Your Closet: Selecting the Perfect Shirt
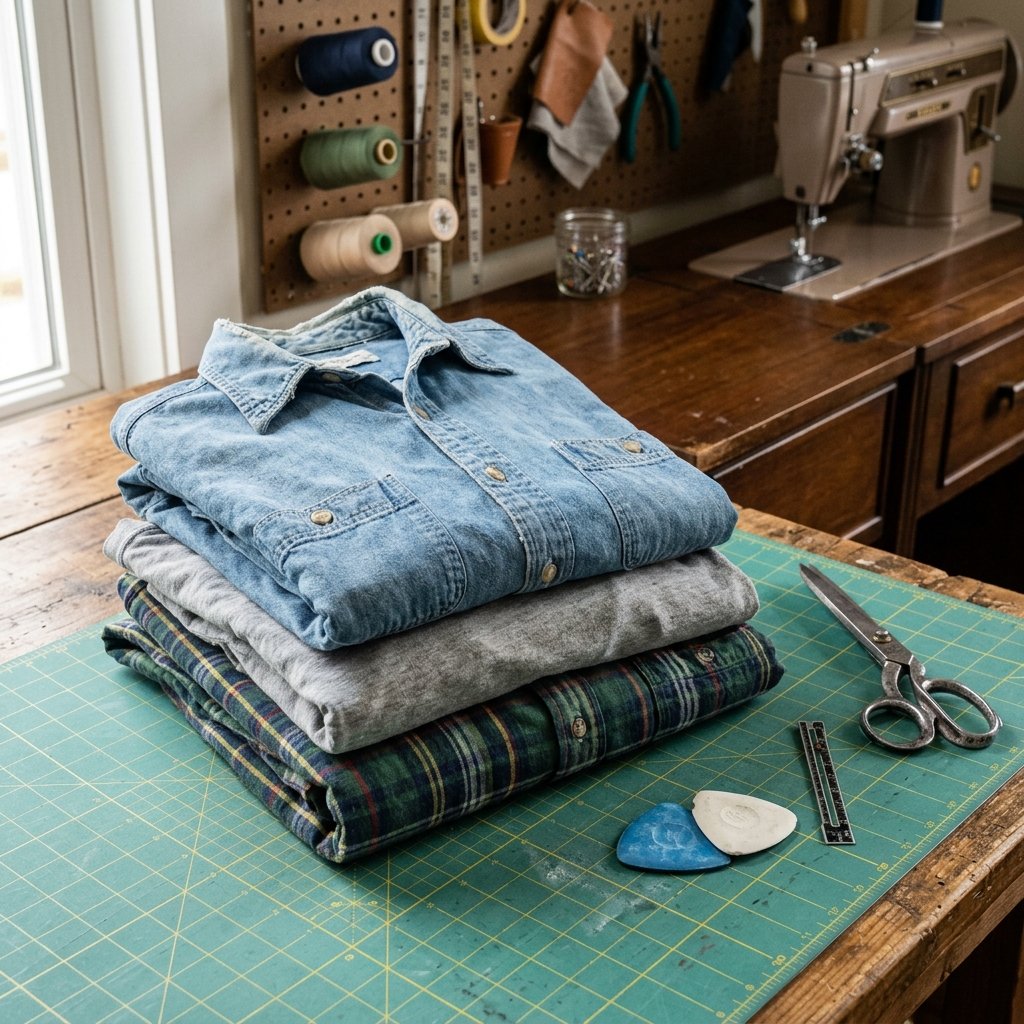
Not all shirts are created equal when it comes to upcycling. The success of your DIY baby romper hinges entirely on selecting the right base material. You want fabrics that are durable, soft against sensitive skin, and visually appealing when scaled down to miniature proportions.
The Fabric Hierarchy
- The Rugged Flannel (100% Cotton): The absolute gold standard for a handsome, practical winter romper. Old flannel work shirts are incredibly soft from years of washing and offer a fantastic, lumberjack-chic aesthetic. They are easy to sew, do not slip under the presser foot, and hold up exceptionally well to crawling and washing.
- The Classic Oxford Button-Down: Perfect for a lightweight, breathable summer romper. A men’s dress shirt provides ample yardage. The beauty of using a button-down is that you can position your pattern to utilize the existing button placket, saving you the hassle of sewing a new closure!
- The Vintage Jersey T-Shirt: Stretchy, comfortable, and perfect for active babies. Working with knits requires a bit more care (a zigzag stitch or a serger is highly recommended), but a worn-in band tee makes for an incredibly cool, edgy baby outfit.
What to Avoid
Steer clear of fabrics with heavy synthetic blends that might irritate baby skin. Avoid anything with thick, stiff embroidery right in the center, or fabrics that are so threadbare they might tear at the seams during a diaper change. Remember, we are looking for the sweet spot between broken-in and worn-out.
Crafty Expert Tip: When scavenging a shirt, look at the details. Can you salvage the breast pocket to make a tiny, functional pocket on the romper? Can you reuse the original cuffs for the leg bands? Resourcefulness is about maximizing every element of the original garment.
Essential Tools of the Upcycling Trade
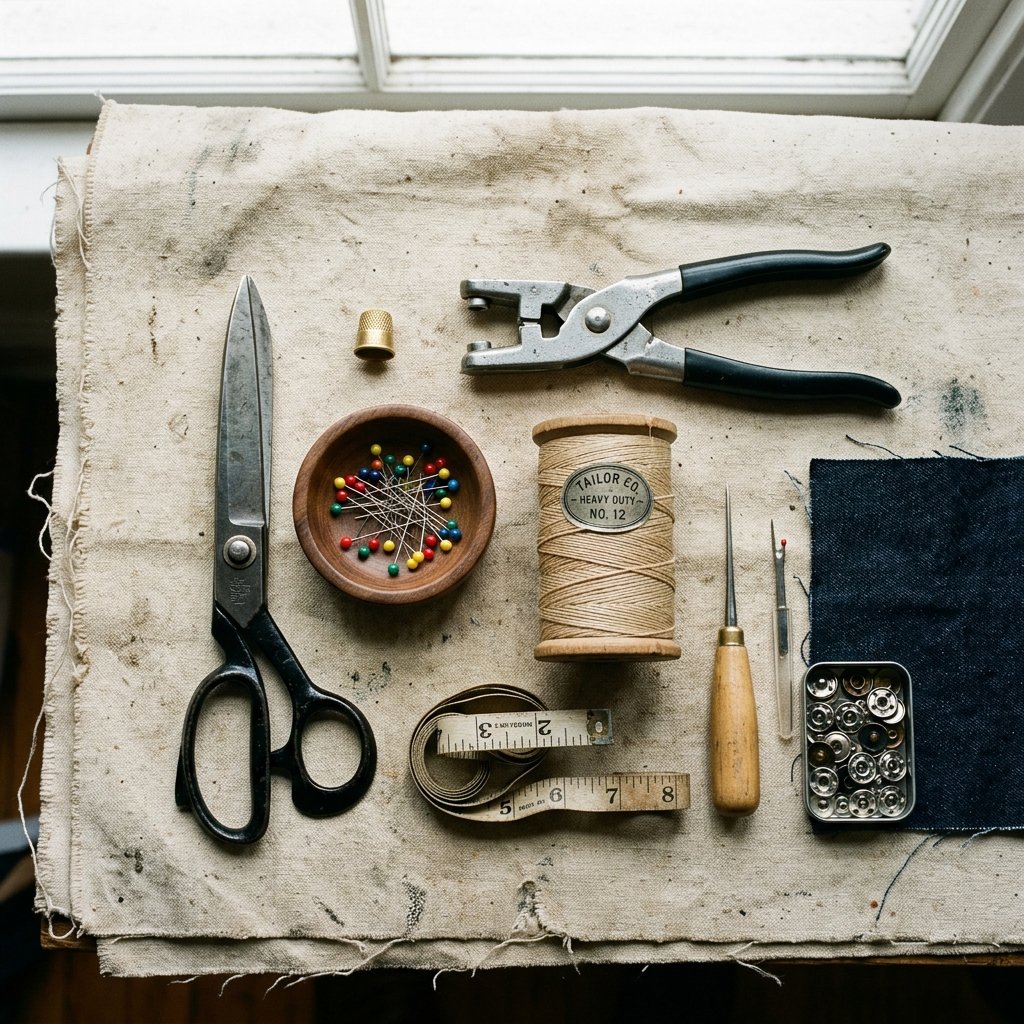
You do not need a high-end, computerized sewing studio to pull this off. Our approach is practical, frugal, and accessible. Whether you are firing up a basic sewing machine or relying on the time-honored tradition of hand-sewing, here is the workshop inventory you will need.
The Maker’s Toolkit
| Tool / Material | Purpose in Project | Budget-Savvy Alternative |
|---|---|---|
| Fabric Shears | Precision cutting of the old shirt. | Any sharp scissors (but designate them for fabric only!). |
| Glass Head Pins | Holding pattern and fabric layers securely. | Binder clips or masking tape in a pinch. |
| Polyester/Cotton Thread | Strong, durable seams to withstand baby gymnastics. | Harvest thread from an old, unused spool; ensure it passes the snap test. |
| Snap Fasteners & Pliers | Creating the crotch opening for easy diaper changes. | Sew-on Velcro strips or harvesting buttons from the collar of the old shirt. |
| Sewing Machine | Rapid assembly of the bodice and legs. | A hand-sewing needle and a strong backstitch (adds 45 minutes to project time). |
Safety Note: If you are using snap pliers or working with sharp fabric shears, keep them well out of reach of curious toddlers. Always double-check that your snaps are securely crimped onto the fabric so they do not become a choking hazard.
If you are choosing the hand-mending route, embrace the process. A tight, even backstitch is incredibly strong and was the standard for garment construction long before machines existed. It is a quiet, meditative process that yields a genuinely handmade piece.
Preparing the Blueprint: Creating Your Romper Pattern
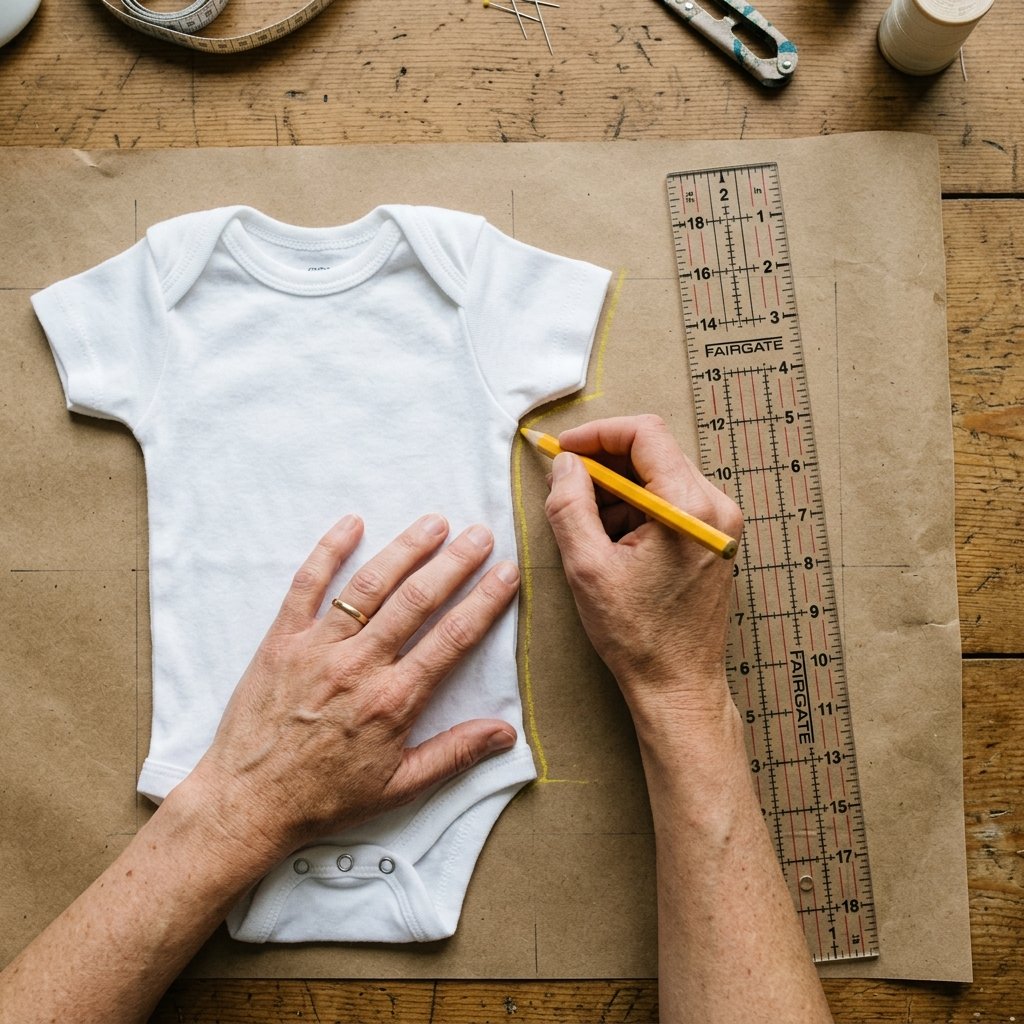
Forget buying a $15 paper pattern from the craft store. We are going to reverse-engineer a pattern using a garment you already own. This is the ultimate tailor’s hack for guaranteeing a perfect fit without spending a dime.
The Cloning Process
- Select the Master Garment: Dig into your baby’s current wardrobe and find a onesie or romper that fits them perfectly right now (or one size up if you want them to grow into it). It should be a simple silhouette without excessive ruffles or complex pleats.
- Prep the Workspace: Lay out a large sheet of craft paper, parchment paper, or even flattened cardboard from a cereal box. Smooth it out completely.
- Fold and Trace: Fold your master garment perfectly in half vertically. Lay it flat on the paper. Using a pencil, trace the outline of the folded garment. You will need to trace the main body, and then trace the sleeve separately.
- Add Seam Allowances: This is the most critical step! The garment you traced is the finished size. You must add a 1/2 inch border all the way around your traced line to account for the fabric that will be eaten up by the seams. If you forget this, your romper will be two sizes too small!
- Cut the Blueprint: Carefully cut out your paper pattern pieces. You should have one piece for the front body, one for the back body (often the same as the front, just with a slightly higher neckline), and one for the sleeve.
By creating your own pattern blocks, you are building a reusable library. You can use this exact cardboard template to churn out ten different rompers from ten different shirts, creating a complete capsule wardrobe for $0.
The Master Cutter: Slicing the Old Shirt with Precision
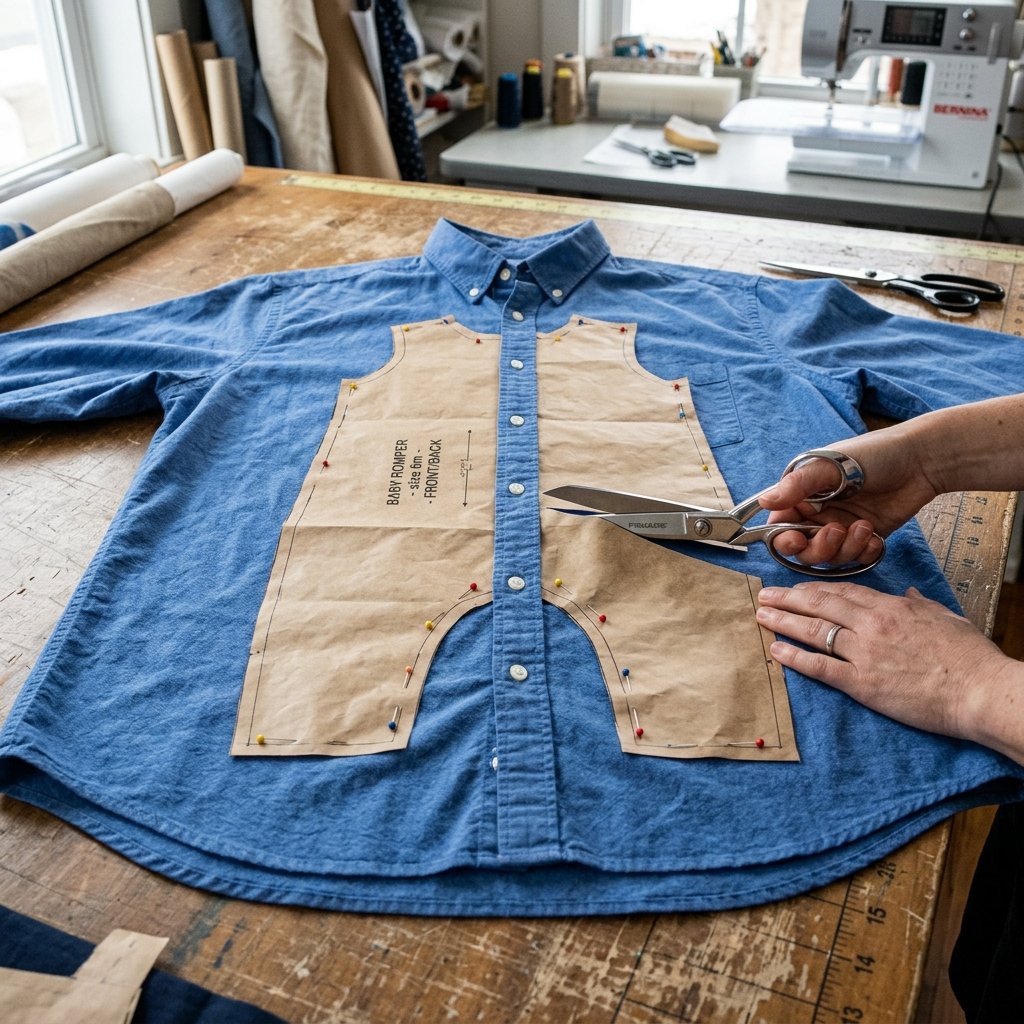
This is where the magic happens—the transformation of a grown man’s work shirt into a miniature canvas. Cutting is an exercise in strategy. You want to align your pattern pieces to take advantage of the shirt’s existing architecture.
Strategic Pattern Placement
If you are using a button-down shirt, here is a genius time-saving hack: align the center front of your paper pattern exactly over the existing button placket of the shirt. By doing this, you instantly give your baby romper a fully functional, professionally finished button-down front without having to sew a single buttonhole!
Step-by-Step Cutting Instructions
- Step 1: Iron the Shirt. Do not skip this. A wrinkled shirt will result in distorted pattern pieces. Press the fabric flat, ensuring the grainline is straight.
- Step 2: Pin the Pattern. Lay the shirt flat on your cutting table. Place your paper templates onto the fabric. If utilizing the button placket, pin the front pattern piece directly over the closed buttons. Pin the back piece on the large expanse of the shirt’s back panel.
- Step 3: Cut with Confidence. Using your fabric shears, cut smoothly around the paper templates. Keep the lower blade of the scissors in contact with the table to prevent lifting and distorting the fabric.
- Step 4: Harvest the Extras. Before tossing the scraps into your rag bin, cut off the original breast pocket, the cuffs, and any extra buttons. These are premium embellishments we will use later.
Take a moment to admire the cut pieces. You have successfully dismantled a garment and prepped the raw materials for something entirely new. It is a deeply satisfying, resourceful milestone in the project.
The Crafty Assembly: Sewing the Bodice, Sleeves, and Legs
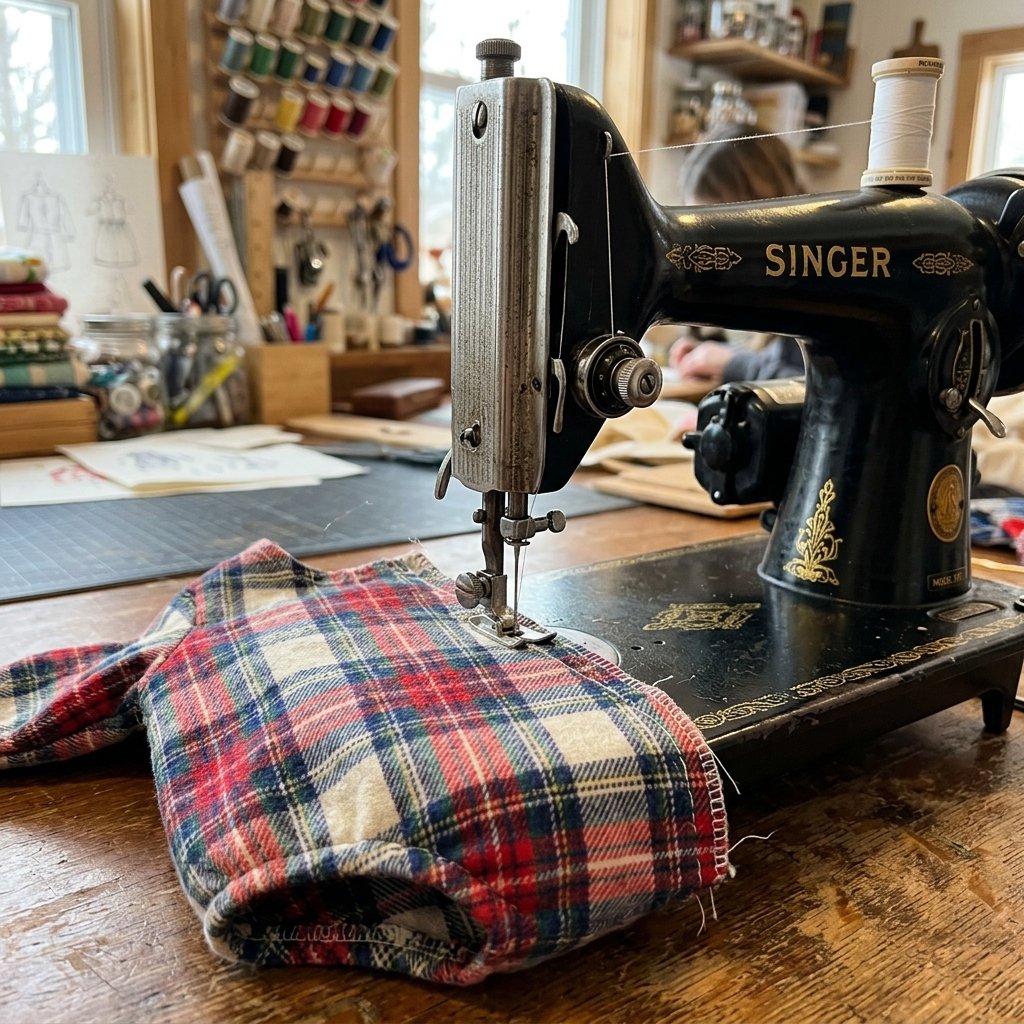
With our pieces cut, it is time to head to the sewing machine (or thread your hand-sewing needle). The assembly phase is all about order of operations. We are going to construct this romper using techniques that ensure durability and comfort.
Constructing the Romper
- Shoulder Seams First: Place the front bodice and back bodice pieces right sides together. Pin the shoulders. Sew a straight stitch across each shoulder using a 1/2 inch seam allowance. Finish the raw edge with a zigzag stitch to prevent fraying.
- Attach the Sleeves: Open the bodice so it lies flat, right side up. Take your sleeve piece and find the top center curve. Pin this center point to the shoulder seam, right sides together. Pin the rest of the sleeve curve down into the armhole. Sew carefully along the curve.
- The Side Seams: Fold the garment back in half, right sides together. Pin from the bottom hem of the sleeve, all the way up through the armpit, and down the side of the bodice to the leg opening. Sew this entire line in one continuous seam. Repeat on the other side.
- Hemming the Legs and Sleeves: Fold the raw edges of the sleeves and leg openings up by 1/4 inch, press with an iron, then fold another 1/4 inch to enclose the raw edge. Stitch close to the folded edge. This creates a clean, professional hem.
- The Crotch Snaps: For a baby romper, easy diaper access is non-negotiable. Fold the raw edges of the crotch tabs inward and stitch them down to create a reinforced band. Using your snap pliers, install 3 to 4 snaps evenly spaced along the crotch. Always test the snaps by pulling them firmly to ensure they are secure.
Tailor’s Secret: If you are working with a lightweight cotton and want to protect the baby’s skin from scratchy seams, consider using French seams. It requires sewing the seam twice—once wrong sides together, then right sides together—but it completely encloses the raw edge in a soft fabric envelope.
Rugged & Clever Customizations: Pockets, Patches, and Trims

A basic romper is great, but a custom, masculine-elegant, or highly stylized romper is a masterpiece. This is where you can flex your creative muscles and make the garment truly unique, utilizing the scraps you harvested earlier.
Upcycled Embellishments
- The Miniature Breast Pocket: Take the original breast pocket from the adult shirt. It is likely too large for the baby romper, so cut it down to a 2×2 inch square, fold the edges under, and topstitch it onto the chest of the romper. It is ridiculously cute and perfect for holding a single pacifier.
- Faux Leather Elbow Patches: If you have an old leather purse or a worn-out wallet destined for the trash, cut two small ovals from the material. Hand-stitch them onto the sleeves of a flannel romper using a thick embroidery thread and a blanket stitch. This adds a rugged, professor-chic vibe that looks incredibly high-end.
- Contrast Cuffs: If the original shirt sleeves were too damaged to use, cut the sleeves from a contrasting scrap of fabric (like a grey jersey tee paired with a red plaid flannel body). This color-blocking technique looks intentional and modern.
These finishing touches are what elevate a DIY project from a simple craft to a boutique-quality garment. It proves that with a little resourcefulness and a budget-savvy mindset, you can create clothing that is far superior to anything you could buy in a big-box store.
Troubleshooting Common Upcycling Mistakes
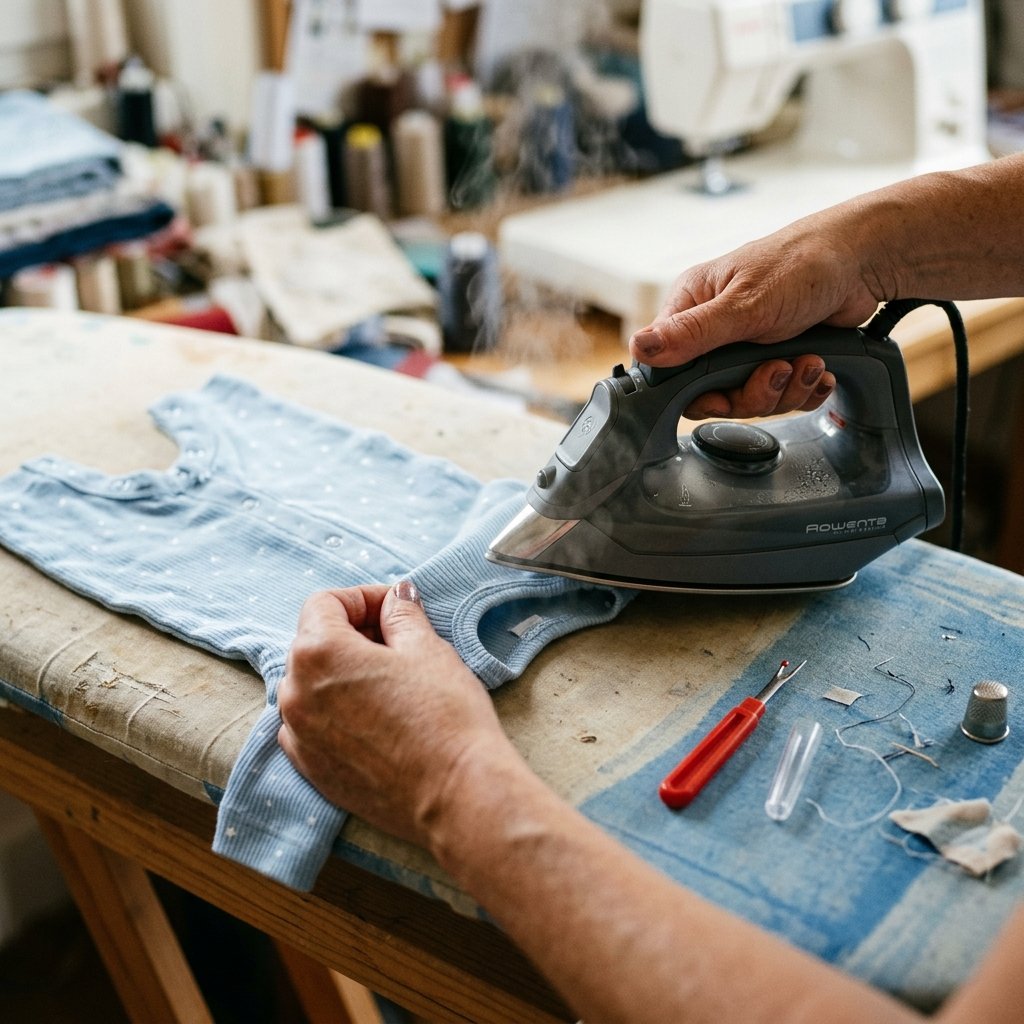
Even the most seasoned frugal DIYers run into snags when working with repurposed textiles. Old fabrics have quirks, and converting adult patterns to miniature sizes can sometimes yield unexpected results. Here is your handy troubleshooting guide to ensure your project stays on track and out of the scrap bin.
Common Pitfalls and Tailor-Made Solutions
- The Stretched Neckline: If you used an old t-shirt and the neck opening looks wavy or stretched out after sewing, you likely pulled the fabric while stitching. The Fix: Steam the seam heavily with your iron to shrink the fibers back into place, or sew a small line of clear elastic into the seam allowance to gather it slightly.
- Misaligned Button Plackets: You tried the clever button-down hack, but the buttons are off-center on the baby’s chest. The Fix: Always pin the placket closed before cutting your pattern. If it is already cut and off-center, lean into it! Add an asymmetrical pocket on the opposite side to make it look like an intentional, edgy design choice.
- Snaps Tearing Through Fabric: Vintage fabrics can be thin. If your crotch snaps are pulling through the fabric during diaper changes, the material lacks structural integrity. The Fix: Always reinforce the snap area. Cut a small square of heavy scrap fabric (like denim or canvas) and iron it to the inside of the crotch tabs using fusible webbing before installing the snaps.
Remember, in the workshop of upcycling, there are no mistakes—only unexpected design opportunities. A tear becomes a patch, a misaligned seam becomes a pleat. Approach every snag with a resourceful mindset.
Conclusion
Congratulations. You have just successfully navigated the ultimate trash-to-treasure transformation. By upcycling that old, forgotten shirt into a custom baby romper, you have done more than just save $25. You have kept textiles out of the landfill, you have practiced the time-honored skill of tailoring, and you have crafted a one-of-a-kind garment infused with history and love.
This frugal, DIY approach to baby clothing is addictive. Once you realize that your closet is essentially a free fabric store, you will never look at an old button-down, a stretched-out sweater, or a vintage t-shirt the same way again. Every worn collar is an opportunity; every torn sleeve is a raw material waiting to be repurposed.
So keep those fabric shears sharp, save those extra buttons in a glass jar, and continue to build that zero-budget wardrobe. You are not just a parent or a crafter; you are a resourceful maker proving that the best things in life—and the best clothes in the nursery—are made by hand, not bought on a shelf.

Makenzie is the founder and lead writer at MoneyHackTips.com — a personal finance blog dedicated to delivering street-smart financial wisdom for real people on real budgets. With 300+ published articles covering everything from debt management to investing fundamentals, Makenzie’s mission is to make every dollar work harder. When not writing about money hacks, Makenzie is testing frugal living strategies, optimizing side hustles, and helping readers build financial freedom from scratch.