
The Secret to High-End Romance on a Shoestring Budget
Let us be brutally honest for a moment: the wedding industry loves to slap a massive premium on anything labeled ‘bridal.’ If you want a stunning, cascading floral wall or a custom ethereal backdrop for your sweetheart table, professional event rentals will quickly ask you to part with a small fortune. But what if I told you that you could achieve that exact same jaw-dropping, Pinterest-worthy aesthetic using something sitting in your kitchen pantry right now? Enter the humble coffee filter.
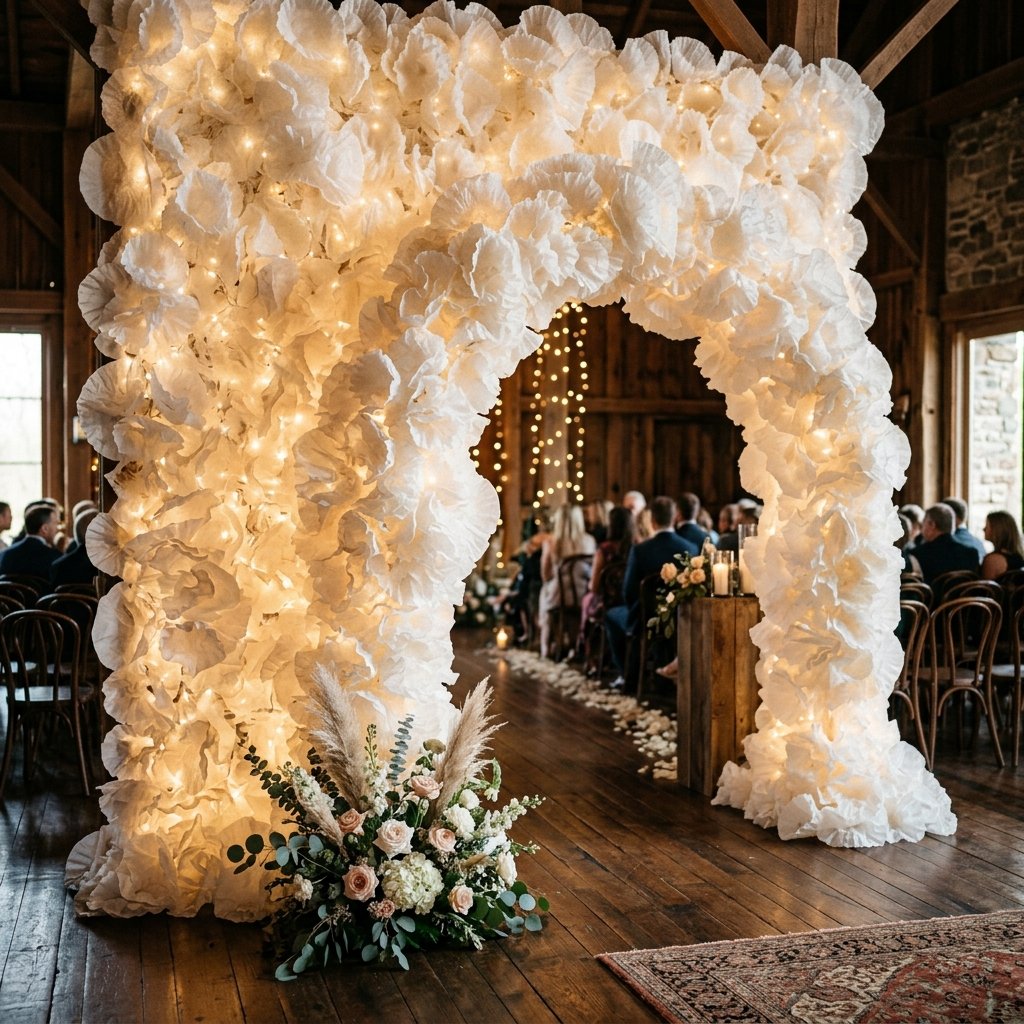
This is not your third-grade art class project. When meticulously strung together, layered, and illuminated, cheap paper coffee filters transform into a breathtaking, voluminous cloud wall that looks incredibly expensive. As frugal DIYers and budget-savvy creators, we know that true elegance does not require a massive budget; it simply requires a little bit of resourcefulness, some elbow grease, and a clever vision. For under $30, you can build a massive, romantic backdrop that will have your guests convinced you hired a luxury event stylist.
The golden rule of budget wedding decor: It is never about what the material is; it is entirely about how you manipulate, light, and present it.
Whether you are a budget bride planning a rustic barn wedding, a handy parent designing a magical baby shower, or a crafty gift-giver helping a friend set up a photo booth, this coffee filter cloud wall is the ultimate trash-to-treasure masterpiece. In this comprehensive masterclass, we are going to break down every single step, from sourcing the cheapest materials to building a rugged structural frame, stringing the clouds, and adding that magical fairy-light glow. Roll up your sleeves, grab a warm cup of coffee, and let us turn hundreds of filters into an unforgettable romantic masterpiece.
The Master Budget: Store-Bought vs. Zero-Budget DIY
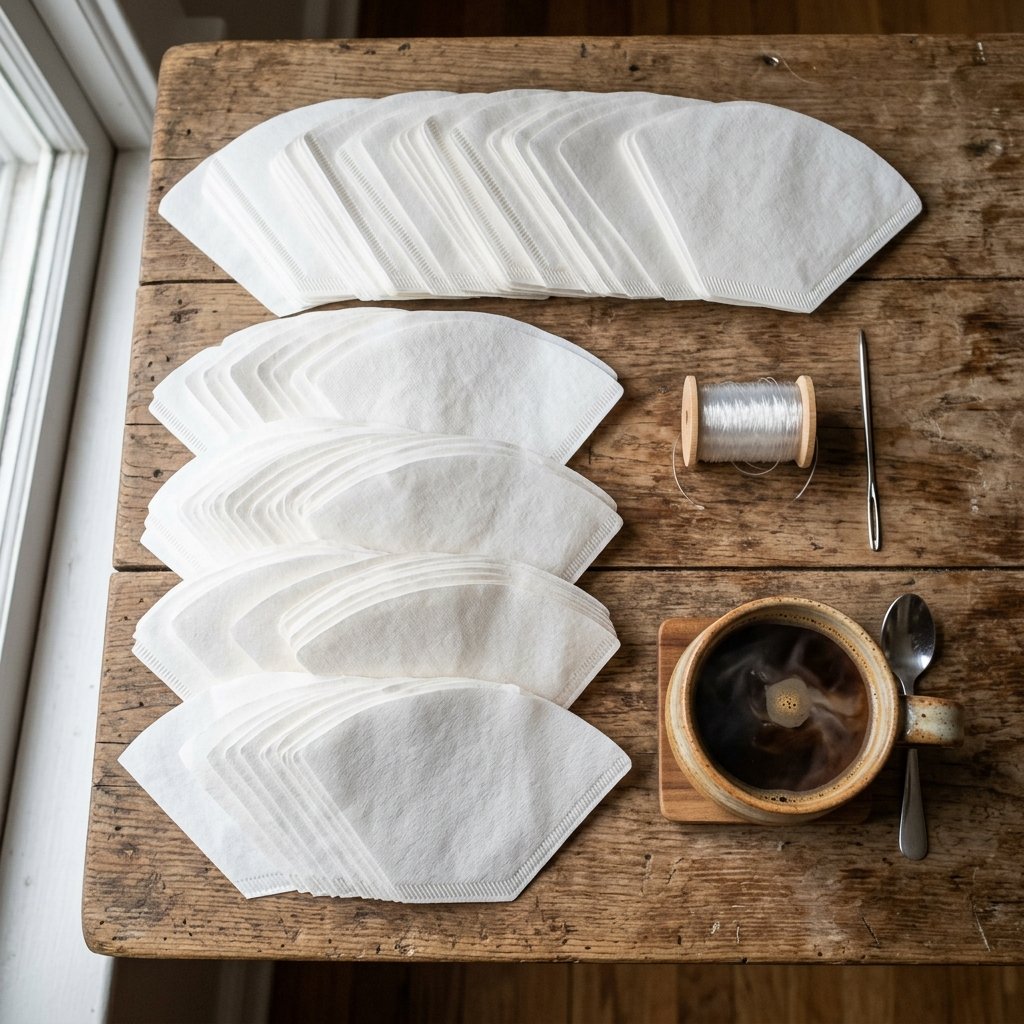
Before we dive into the beautiful, messy process of crafting, let us talk numbers. A resourceful creator always calculates the return on investment. Professional flower walls or custom fabric cloud installations can absolutely decimate a wedding budget. By choosing to build this yourself, you are retaining your hard-earned cash for things that truly matter, like your honeymoon or a down payment on a house.
Below is a stark look at the financial reality of event decor, proving exactly why this clever upcycle is worth your time. We are talking about thousands of dollars in savings for an afternoon of crafting.
| Material / Service | Professional Rental Cost | Our Clever DIY Cost | Total Savings |
|---|---|---|---|
| Backdrop Frame (8×8 ft) | $150 – $250 (Rental) | $18.50 (PVC Pipe Build) | $131.50+ |
| Faux Floral / Cloud Material | $800 – $1,500 | $6.00 (1000 Coffee Filters) | $794.00+ |
| Stringing & Hardware | $50 (Included in setup) | $3.50 (Fishing Line & Needle) | $46.50 |
| Backlighting (Fairy Lights) | $100 (Lighting Tech fee) | $12.00 (Amazon Copper Lights) | $88.00 |
| Total Estimated Cost | $1,100 – $1,900 | $40.00 | $1,060.00+ Saved! |
As you can see, the profit margin on your own creativity is staggering. For roughly $40 and 4 to 6 hours of your time, you are generating a high-end focal point. Plus, the materials are lightweight, highly portable, and entirely forgiving if you make a mistake.
Step 1: Sourcing and Prepping Your Paper Clouds
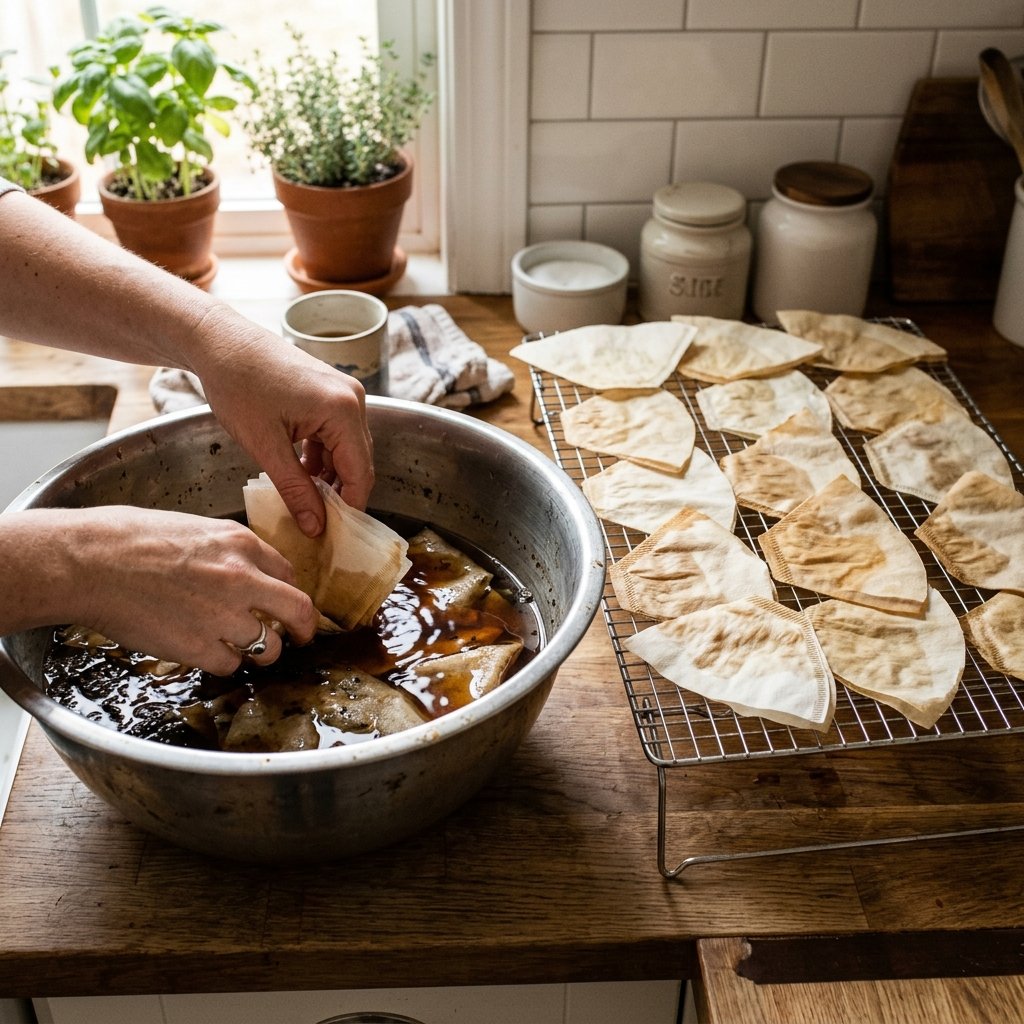
The foundation of this project relies on bulk purchasing. You will need standard, basket-style white coffee filters. The 8-to-12 cup size works perfectly. Do not buy the unbleached brown ones unless you are specifically going for a highly rustic, woodland, or steampunk aesthetic. The crisp white filters reflect light beautifully and mimic the natural fluffiness of clouds or white hydrangeas.
Dyeing Your Filters (The Frugal Expert’s Upgrade)
While crisp white is stunning and modern, some brides prefer a vintage, romantic, or blush-toned aesthetic. Because coffee filters are designed to absorb liquid without immediately disintegrating, they are the perfect canvas for budget dyeing. You do not need expensive fabric dyes; you can use what is in your kitchen.
- For Vintage Ivory: Brew a strong pot of cheap black tea. Dip stacks of 10-15 filters into the tea for 30 seconds, squeeze out the excess, and lay them flat on a baking sheet to dry.
- For Romantic Blush: Use highly diluted red food coloring or steep hibiscus tea bags. The paper will take on a delicate pink hue.
- For Moody Tones: Water down cheap acrylic paint from the Dollar Tree. A teaspoon of navy paint in a gallon of water will give you beautiful, stormy grey-blue clouds.
Pro Tip: Always dye a small test batch of 5 filters and let them dry completely before committing. Paper dries significantly lighter than it looks when wet!
Once your filters are dry (or if you are keeping them white), it is time for the ‘Scrunch.’ This is where you can enlist the help of your handy partner, your kids, or your bridesmaids. Take a single filter, pinch it dead in the center of the bottom, and pull the fluted edges upward, twisting the base slightly. It should look like a little paper carnation. You will need to do this to all 1,000 filters. It sounds tedious, but throw on a good movie, and you will knock it out in under 2 hours.
Step 2: Building a Rugged, Reusable PVC Frame
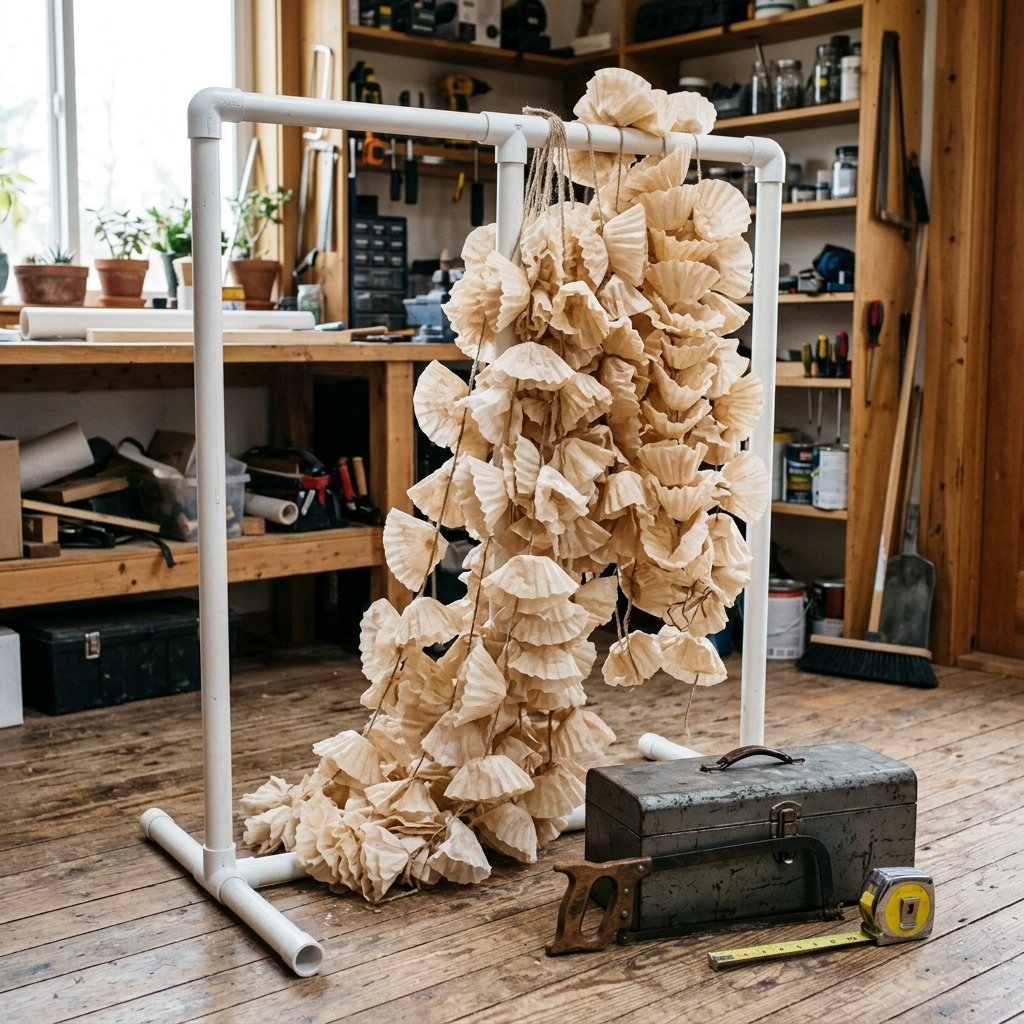
You cannot hang a masterpiece without a solid foundation. While you could tack these to a wall, many wedding venues have strict rules against using nails, tape, or command hooks on their pristine paint. As a practical upcycler, you need a freestanding, rugged frame that can be assembled and broken down in minutes. We are going to build a heavy-duty PVC pipe frame. It is masculine, structural, and costs pennies compared to renting a heavy metal pipe-and-drape system.
The Hardware Store Shopping List:
- Three (3) 10-foot lengths of 3/4-inch PVC pipe (approx. $3.50 each)
- Two (2) 3/4-inch PVC T-joints
- Two (2) 3/4-inch PVC Elbow joints
- A simple hacksaw or PVC cutter
The Build Process:
- Cut one 10-foot pipe down to 8 feet. This is your top crossbar.
- Cut the second 10-foot pipe into two 5-foot sections. These are your side posts.
- Cut the third 10-foot pipe into four 2.5-foot sections. These will form the ‘feet’ of your stand.
- Assemble the base: Attach two 2.5-foot sections to either side of a T-joint. Repeat for the other side. This creates two wide, stable bases.
- Insert the 5-foot side posts into the top of the T-joints.
- Cap the top of the side posts with the Elbow joints, and connect them with the 8-foot crossbar.
You now have a sturdy, lightweight 8×5 foot frame. If you are hosting the event outdoors and expect wind, slip a couple of cheap sandbags or decorative heavy planters over the base legs to anchor it. This frame is a handy DIYer’s best friend—after the wedding, you can repurpose it as a backyard movie screen frame, a kids’ fort structure, or a photography backdrop stand!
Step 3: The Stringing Technique – From Paper to Fluffy Clouds
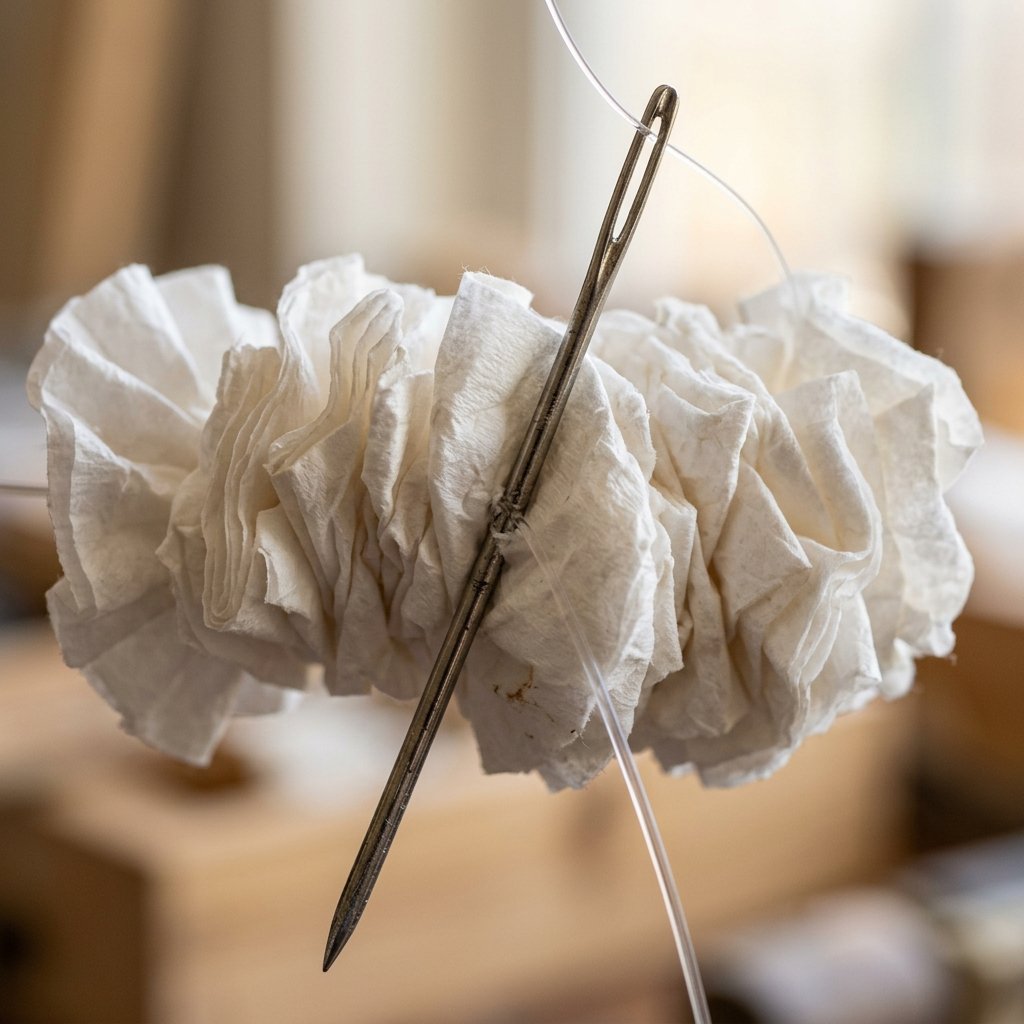
This is where the magic happens. To create that dense, ethereal cloud effect, you cannot just tape filters to a wall. You need to thread them onto clear fishing line so they cascade beautifully, catching the breeze and the light. Fishing line is incredibly strong, virtually invisible, and extremely cheap.
Tools for the Threading Phase:
- A spool of 10lb clear monofilament fishing line (the clearer, the better).
- A large, sharp upholstery needle or a doll-making needle. (Safety Note: These needles are very sharp and thick. Keep them away from young children and watch your fingers!)
- A thimble to protect your pushing finger.
The Technique:
- Cut a length of fishing line about 6 feet long. Tie a large, quadruple knot at the bottom, or tie the end around a small bead or button to act as a ‘stopper’.
- Thread your upholstery needle with the other end of the line.
- Take your scrunched coffee filters. Pierce the needle directly through the twisted base (the pointy end) of the filter and pull it all the way down to your stopper knot.
- Repeat this process, nesting the base of the second filter inside the ruffled cup of the first filter.
- Continue stacking. You will notice that as they nest together, they start to look like a dense, ruffled lei or a continuous fluffy cloud.
- For a highly textured, organic look, occasionally string a filter on backward (piercing through the open cup side first). This breaks up the uniform pattern and makes the garland look thicker and more cloud-like.
The Crafty Expert’s Ratio: It takes approximately 40 to 50 coffee filters to create one foot of dense, high-impact garland. Do not skimp on the density! The tighter you pack them, the more expensive and luxurious the final product looks.
Once you have filled the line, tie off the top leaving about 8 inches of bare string. This tail will be used to tie the garland directly to your PVC crossbar. Repeat this process until you have enough garlands to cover the width of your frame. For an 8-foot wide frame, you will want about 30 to 40 garlands hung close together.
Step 4: Illuminating the Romance with Fairy Lights
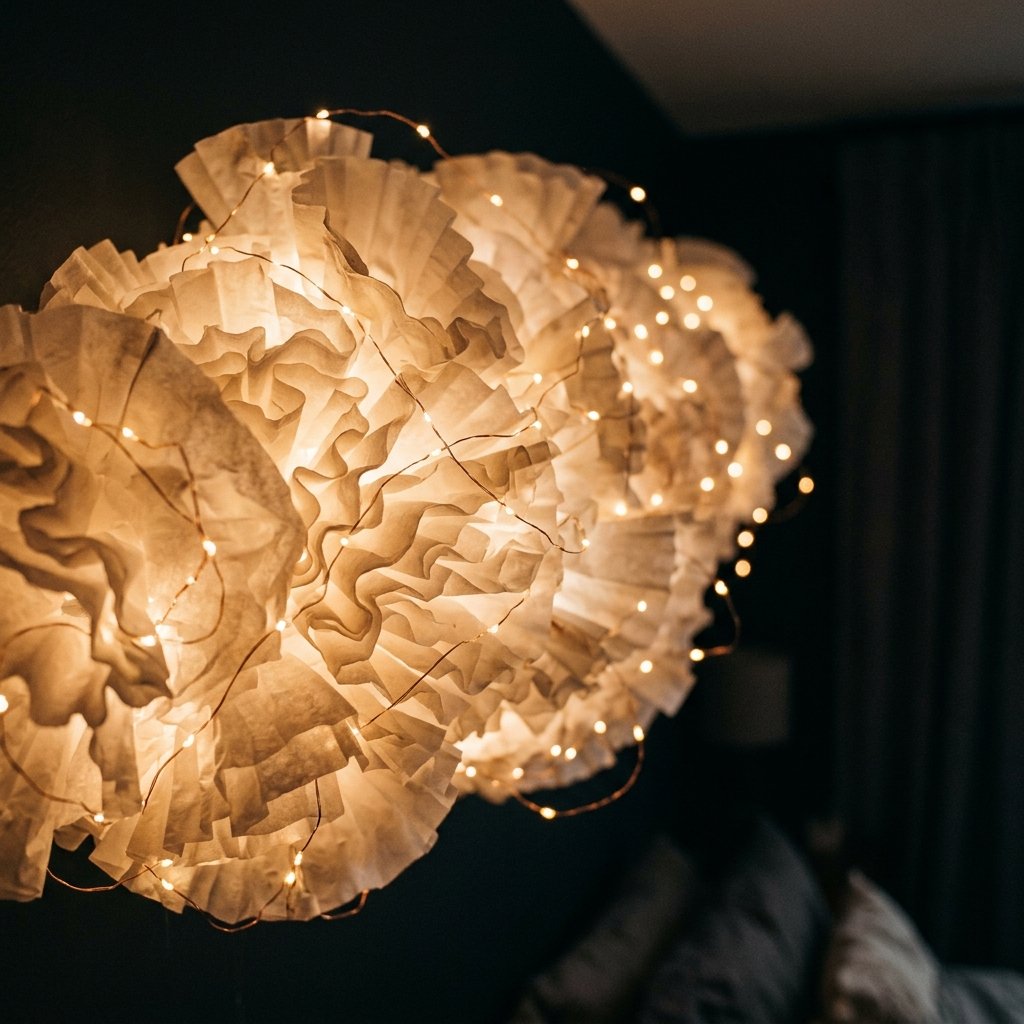
A cloud wall is beautiful on its own, but to elevate it from ‘craft project’ to ‘romantic wedding centerpiece,’ you must incorporate lighting. Coffee filters are translucent, meaning they diffuse light in a way that mimics high-end frosted glass or delicate silk. By placing lights behind and within the garlands, the entire backdrop will glow from within.
For the most budget-savvy and visually stunning effect, purchase a pack of copper wire LED fairy lights (warm white is the most flattering for photography). You can find multi-packs on Amazon for around $12 to $15.
How to Layer the Lighting:
- The Backlight: Before hanging your coffee filter garlands, drape a sheer white Dollar Tree plastic tablecloth or a cheap thrifted bedsheet over the back of the PVC frame. Pin your fairy lights in a zigzag pattern across this backing. When the garlands hang in front, the light will push through the paper softly.
- The Intertwine: For a truly magical look, take a few strands of battery-operated fairy lights and literally wrap them around a few of the fishing line garlands as you hang them. Hide the small battery packs at the top of the PVC frame using white electrical tape.
When the venue lights dim for the reception or the evening party, your $40 backdrop will radiate a warm, inviting, and spectacularly romantic glow that will serve as the perfect photo booth or sweetheart table background.
Step 5: Transportation and Day-Of Venue Setup
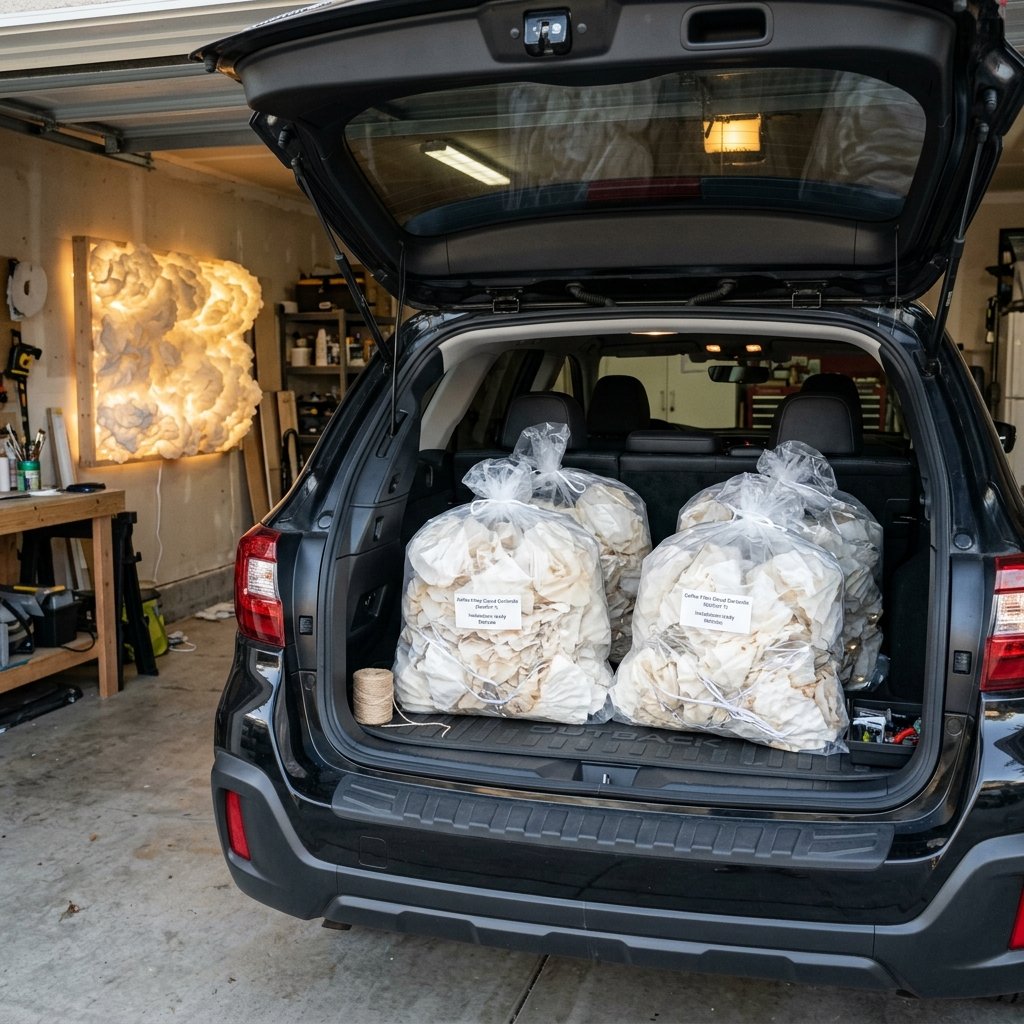
One of the biggest challenges for the frugal DIYer is logistics. You have built this massive, delicate masterpiece in your living room—how on earth do you get it to the wedding venue without crushing it into a wrinkled mess? Fear not, the crafty upcycler always has a practical solution.
The Trash Bag Transport Hack
Because the garlands are strung on flexible fishing line, they are incredibly easy to transport. Purchase a box of extra-large, clear recycling bags (ensure they are brand new and unscented!).
- Take one finished garland and gently lower it into the bag, allowing it to coil naturally at the bottom.
- You can safely fit about 5 to 7 garlands per bag. Do not compress them!
- Leave the top ‘tails’ (the bare string you will use for tying) hanging outside the top of the bag.
- Tie a loose knot in the top of the bag, securing the tails so they don’t fall in and get tangled.
On the day of the event, setup is a breeze. Have your handy partner assemble the PVC frame in under 5 minutes. Then, simply take a bag, untie the top, grab a tail, and tie it to the top crossbar of the frame. Gently pull the bag down and away, letting the garland drop perfectly into place. It is like unboxing pure magic.
Day-Of Emergency Kit: Always pack a pair of scissors, extra clear fishing line, a roll of white tape, and a few dozen spare scrunched filters. If a gap appears in your wall, you can easily hot-glue or tape a few loose filters directly onto the existing garlands to patch the hole invisibly.
Conclusion
Your Frugal Masterpiece Awaits
Creating a jaw-dropping, elegant event space does not require maxing out your credit cards or hiring a team of expensive designers. By looking at everyday items through a lens of creativity and resourcefulness, you can engineer moments of pure beauty for pennies on the dollar. This DIY coffee filter wedding backdrop is the ultimate testament to the Frugal Crafter’s philosophy: with a little bit of time, a solid plan, and a whole lot of scrunched paper, you can build a romantic cloud wall that will leave your guests speechless.
So grab that bulk pack of filters, brew a fresh pot of coffee, and start scrunching. Not only are you crafting a stunning piece of decor, but you are also crafting memories, saving your hard-earned money, and proving that the most memorable wedding details are often the ones made entirely by hand. Happy crafting, and congratulations on your beautiful, budget-savvy celebration!

Makenzie is the founder and lead writer at MoneyHackTips.com — a personal finance blog dedicated to delivering street-smart financial wisdom for real people on real budgets. With 300+ published articles covering everything from debt management to investing fundamentals, Makenzie’s mission is to make every dollar work harder. When not writing about money hacks, Makenzie is testing frugal living strategies, optimizing side hustles, and helping readers build financial freedom from scratch.