
The Sparkle Revolution: High-End Wedding Glam on a Shoestring Budget
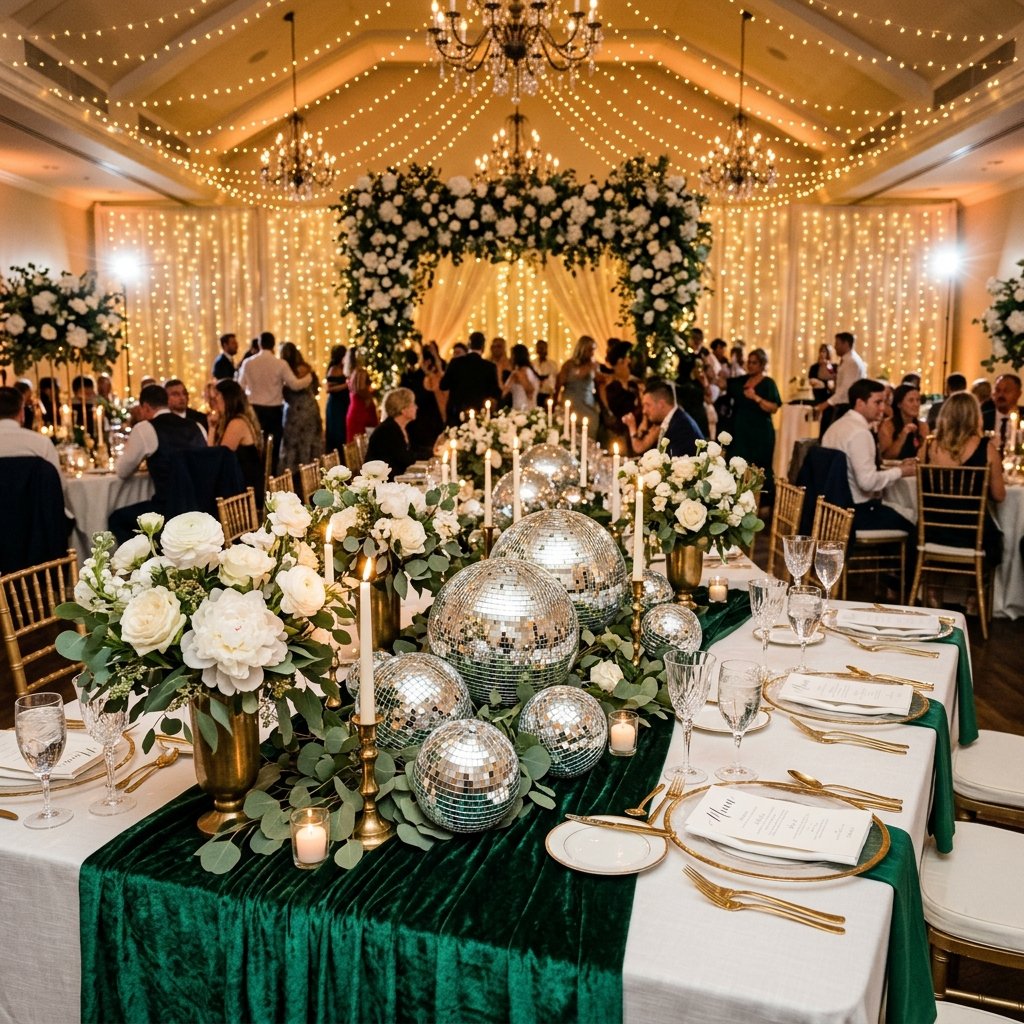
Planning a wedding often feels like a constant battle between your champagne tastes and your beer budget. But here is a crafty secret: you do not need a $50,000 decor budget to create a reception that leaves guests breathless. The ‘Disco Wedding’ trend is currently taking the bridal world by storm, blending retro nostalgia with modern sophistication. By resourcefully upcycling everyday items and leveraging the power of mirror tiles, you can create centerpieces that rival those found in luxury bridal magazines for a fraction of the cost.
As a seasoned frugal DIYer, I have learned that the key to ‘masculine-elegant’ and ‘rugged-chic’ decor lies in the contrast of textures. We are talking about pairing the sharp, cold glint of mirrors with soft velvet, raw concrete, or wild greenery. This guide will walk you through 10 insanely glam projects that prove being budget-savvy is the ultimate creative superpower. Whether you are a handy parent helping with a daughter’s big day or a budget bride yourself, these projects are designed to be practical, sturdy, and undeniably expensive-looking.
“Budget is not a limitation; it is a creative boundary that forces you to be more clever than the person with the open checkbook.”
The Material Masterlist: Sourcing Your Sparkle
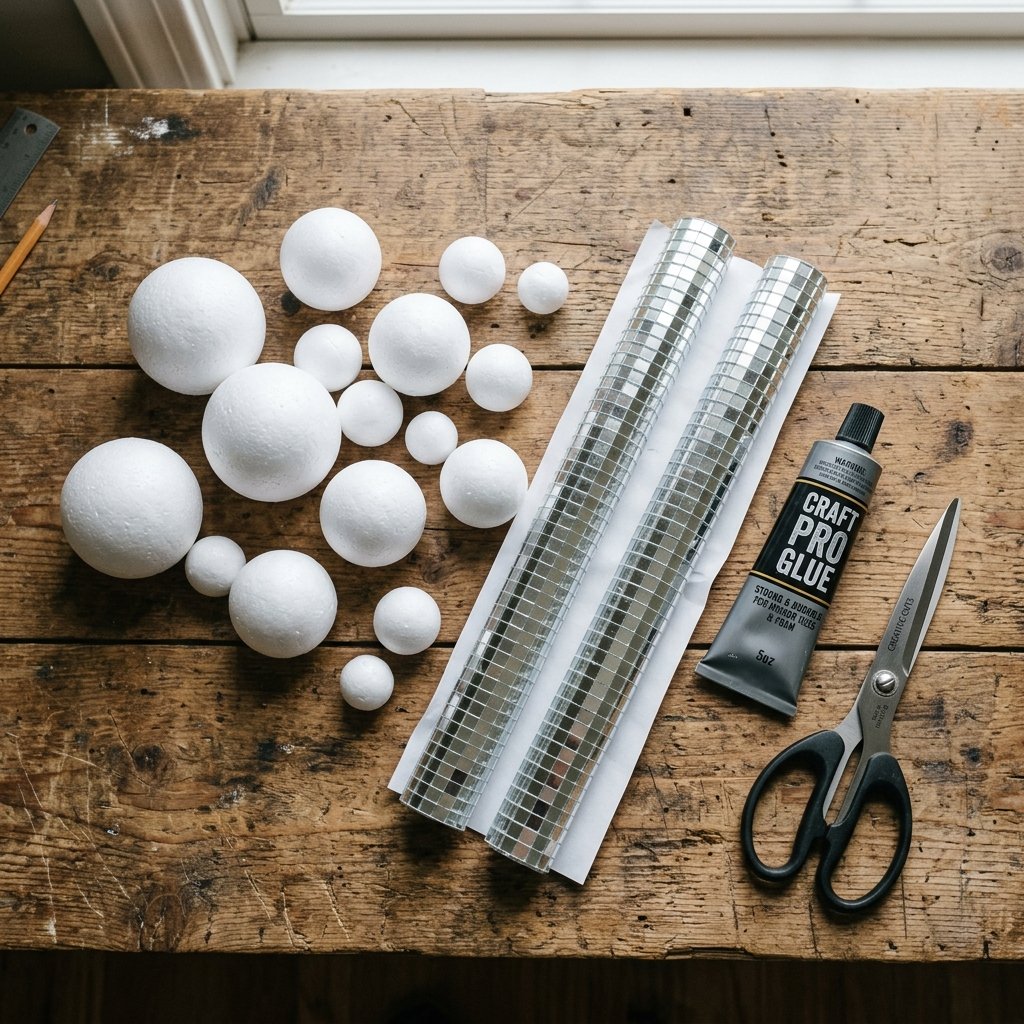
Building Your Crafty Arsenal
Before we dive into the specific designs, let us talk about sourcing. To keep these projects under $10 per unit, you must be a clever shopper. Bulk mirror tiles from online wholesalers or discount craft stores are your best friend. Instead of buying pre-made disco balls, which can be pricey, we will often use foam spheres and adhesive mirror sheets to save 70% on costs.
| Material | Source | Estimated Cost |
|---|---|---|
| Foam Spheres (Bulk) | Dollar Store / Wholesale | $1.25 each |
| Self-Adhesive Mirror Tiles | Online Bulk Order | $5.00 per roll |
| E6000 Industrial Adhesive | Hardware Store | $8.00 (lasts 20+ projects) |
| Thrifted Glass Vases | Goodwill / Yard Sales | $0.50 – $2.00 |
| Concrete Mix | Hardware Store | $6.00 per 50lb bag |
Always keep an eye out for ‘ugly’ glass vases at thrift stores. A bit of spray paint or a layer of mirror tiles can transform a $0.50 vessel into a high-end designer piece. Remember, the goal is to look for the shape and silhouette, not the current color or finish.
Project 1: The ‘Floating’ Floral Disco Orb
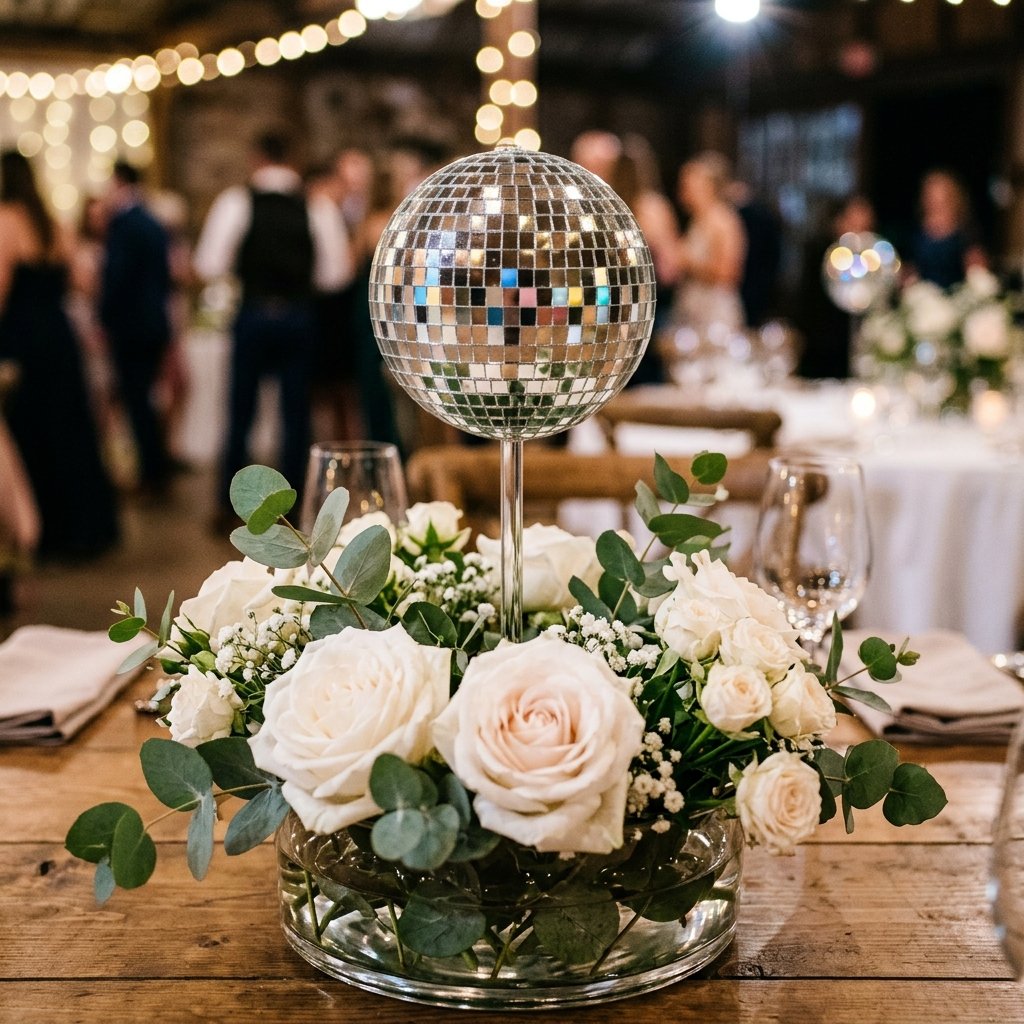
Gravity-Defying Elegance
This centerpiece uses a clever trick with acrylic stands or heavy-duty fishing line to make the disco ball appear as if it is hovering above a bed of lush greenery. It creates a sense of wonder and keeps the table feeling airy and open.
- Prepare the Base: Use a low-profile glass dish from the dollar store. Fill it with floral foam soaked in water.
- Insert the Support: Take a clear acrylic rod (or a sturdy dowel painted silver) and secure it into the foam.
- Mount the Ball: Use E6000 to attach a 4-inch disco ball to the top of the rod. Ensure it is perfectly centered for balance.
- Cover the Mechanics: Surround the base of the rod with eucalyptus, white roses, or baby’s breath to hide the foam.
“When working with adhesives, always ensure your workspace is well-ventilated. A rugged crafter is a safe crafter!”
By using a clear rod, the mirror ball seems to float at eye level, catching the light from every angle. This setup would cost $150+ from a professional florist, but you can assemble it for under $8.
Project 2: The Industrial Concrete & Chrome Pedestal
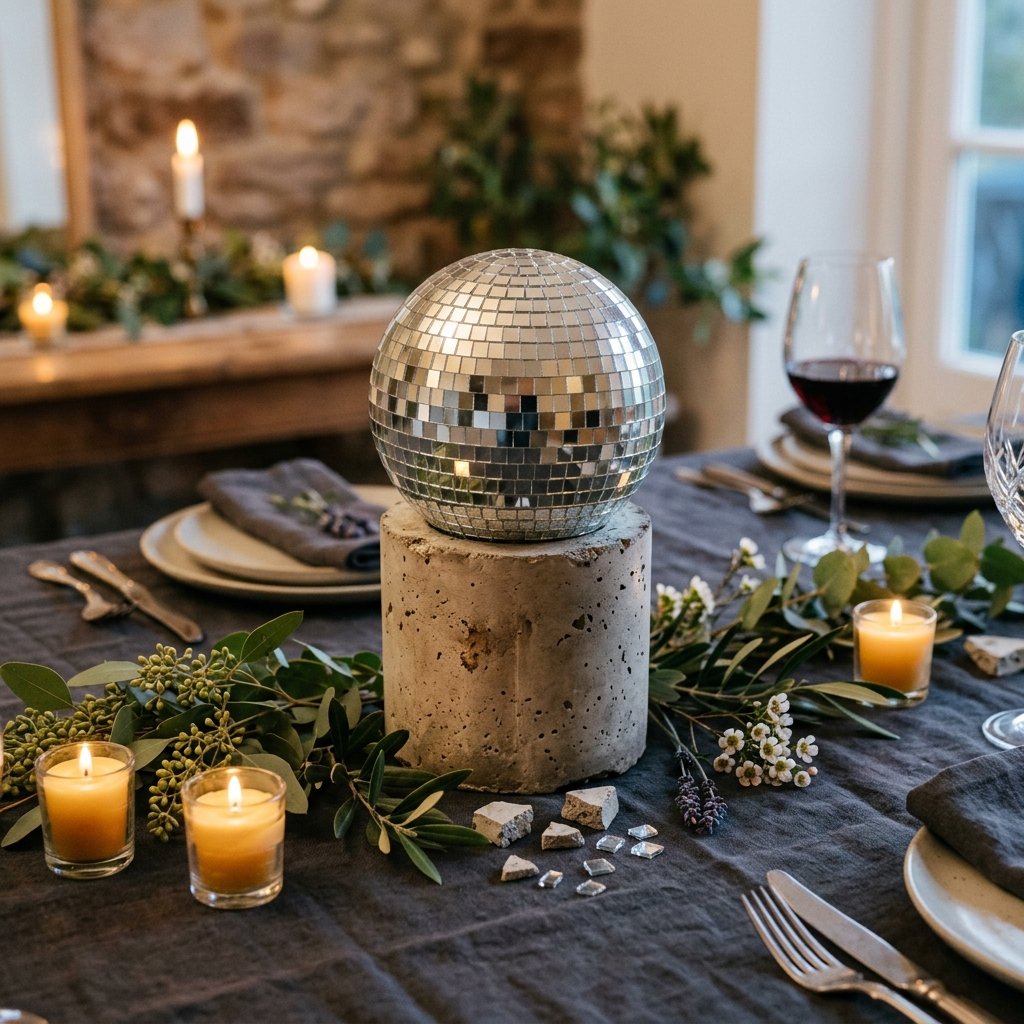
Rugged Masculine-Elegant Contrast
For a wedding that leans into the ‘Industrial Chic’ aesthetic, nothing beats the pairing of raw, grey concrete with the high-shine of mirrors. It is a sophisticated look that feels both grounded and glamorous.
| Step | Action | Pro Tip |
|---|---|---|
| 1. Casting | Pour concrete into a clean yogurt container. | Tap the sides to remove air bubbles! |
| 2. Setting | Let cure for 24 hours. | Keep in a cool, dry place. |
| 3. Assembly | Glue a 6-inch disco ball to the top. | Use a generous amount of construction adhesive. |
| 4. Detail | Add a single sprig of dried lavender. | The purple pops against the grey and silver. |
This project is incredibly budget-savvy because a single bag of concrete can make 20-30 pedestals. The weight of the concrete also ensures that your centerpieces won’t tip over if the dancing gets rowdy!
Project 3: The Nested Glass Cylinder & Mirror Fill
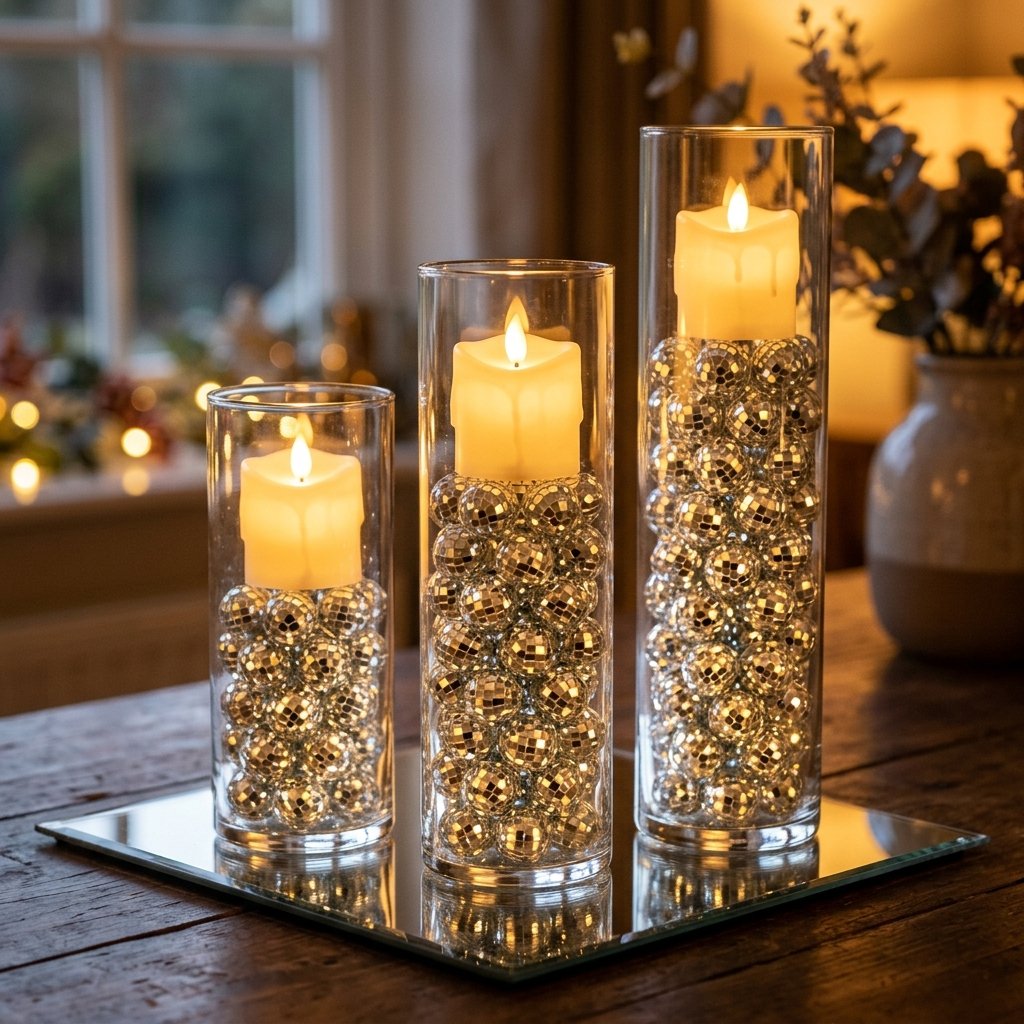
The Ultimate Dollar Tree Replica
This is a classic ‘dupe’ of high-end hotel lobby decor. By using different sizes of glass cylinders and filling the gaps with miniature disco balls, you create a multi-dimensional light show.
- Step 1: Buy three glass cylinders of varying heights ($1.25 each at Dollar Tree).
- Step 2: Place a slim LED pillar candle in the center of each.
- Step 3: Fill the space between the candle and the glass with 1-inch mini disco balls.
- Step 4: Cluster the three cylinders on a round mirror plate to double the reflection.
The total cost for this triple-threat centerpiece is approximately $9.00. A similar arrangement at a boutique home store would easily retail for $65.00. It is a clever way to use volume to create a high-impact visual without spending a fortune.
Project 4: The Mossy Disco Woodland Fusion
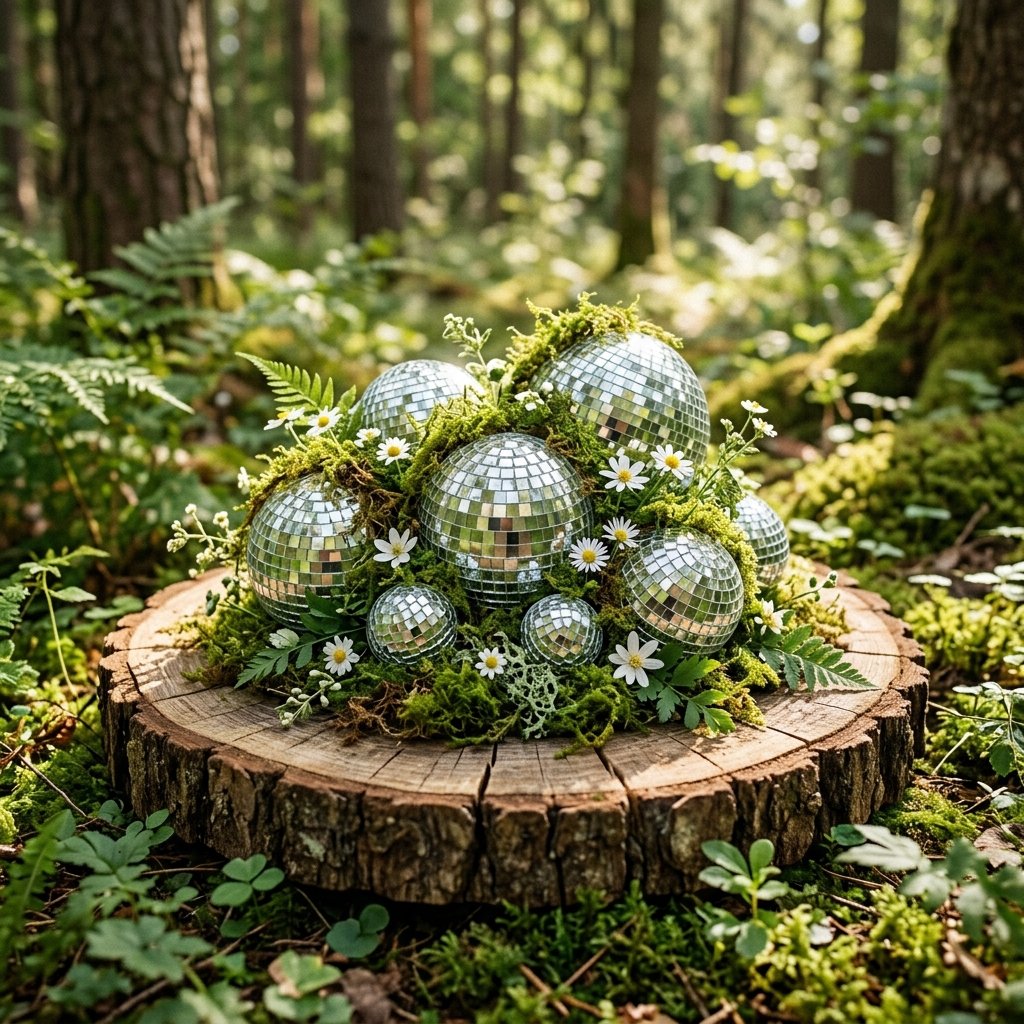
Bringing the Outdoors In with a Twist
For the ‘Enchanted Forest’ bride who still wants a bit of party vibe, this centerpiece is the perfect solution. It combines the organic textures of moss and wood with the synthetic sparkle of the disco era.
“Nature doesn’t do straight lines, so don’t be afraid to let your moss spill over the edges of your disco balls. It adds to the ‘overgrown’ luxury feel.”
Start with a natural wood slice as your base. Glue three disco balls of different sizes (3″, 4″, and 5″) in a cluster. Use hot glue to tuck preserved reindeer moss into the crevices between the balls. The result is a ‘disco-fungi’ look that is incredibly trendy and costs almost nothing if you source the wood slices from a fallen branch in your backyard.
Project 5: The ‘Melting’ Disco Ball Art Piece
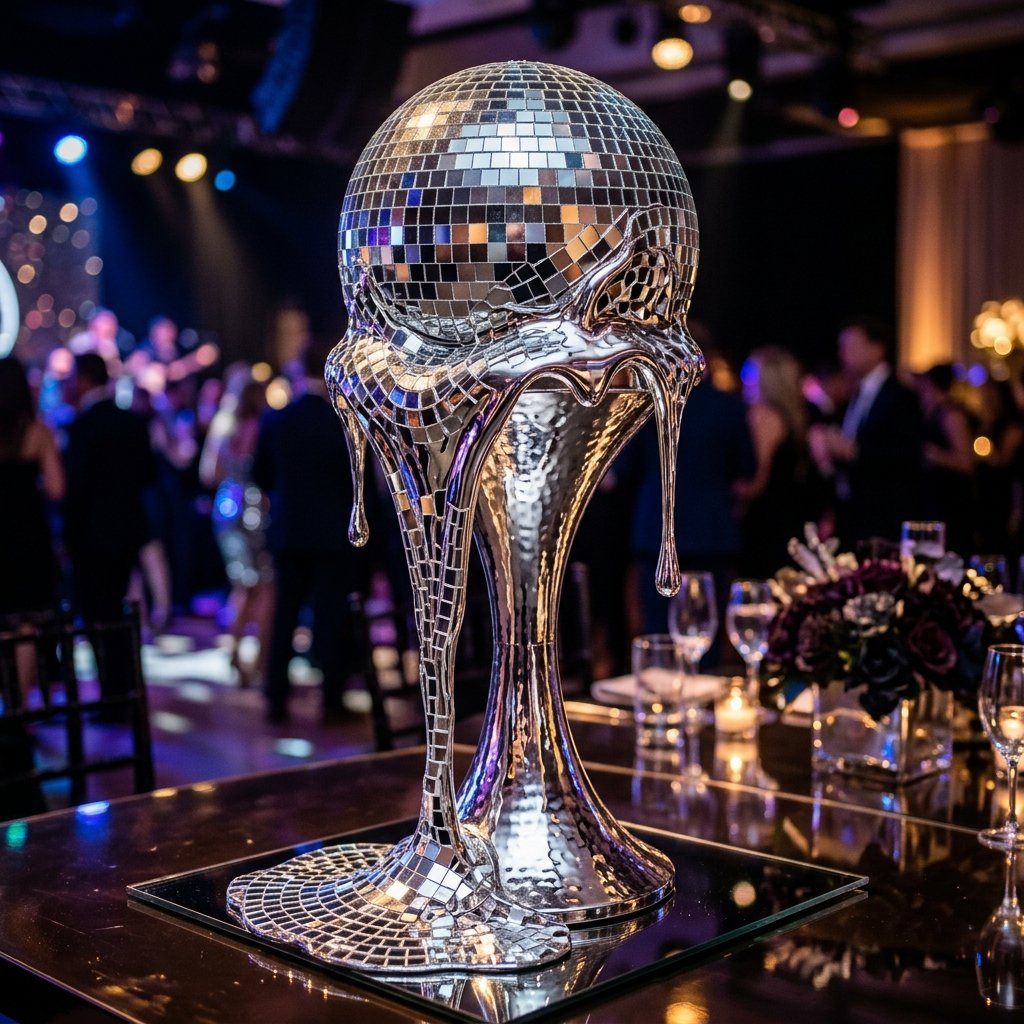
A High-Fashion Statement on a Dime
This is for the bold, creative gift-givers and decorators. The ‘melting’ disco ball looks like a piece of contemporary art. You can achieve this by cutting a foam sphere in half and mounting it at an angle against a draped fabric base or a ‘puddle’ of silver resin.
To save money, use silver-painted caulking to create the ‘melted’ drips coming off the side of the mirror ball. Once it dries, it looks like liquid chrome. It is a crafty expert move that looks like it belongs in a gallery, but only costs about $6.00 in materials.
Pro-Tips for Transport and Longevity
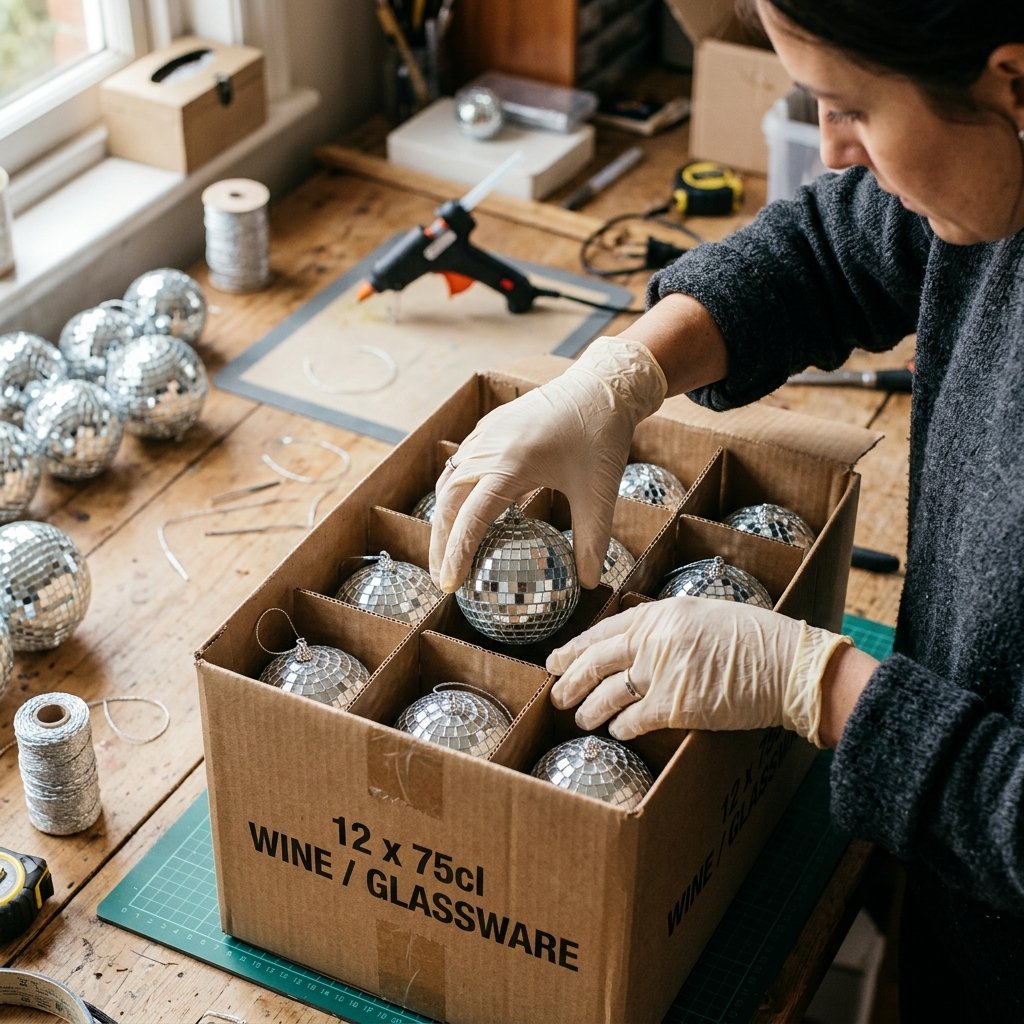
Ensuring Your Masterpieces Survive the Night
Nothing is worse than a centerpiece losing its tiles before the cake is cut. Here are a few rugged, practical tips for the handy DIYer:
- Seal the Tiles: If you are using individual mirror tiles, a light spray of clear gloss acrylic sealer can help keep them from snagging on guests’ clothing.
- The Transport Hack: Use egg cartons or wine boxes with cardboard dividers to transport your disco balls. This prevents them from rubbing against each other and scratching the mirrors.
- Weight Matters: If your centerpiece is top-heavy, glue a few heavy washers or fishing weights to the inside of the base.
Safety Note: Mirror tiles can have sharp edges. Always wear thin protective gloves when handling broken tiles or applying large quantities of adhesive sheets to avoid small nicks.
Conclusion
Final Thoughts: Your Million-Dollar Reception Awaits
Creating 10 insanely glam DIY disco ball wedding centerpieces is not just about saving money; it is about infusing your celebration with your own resourceful spirit and creative flair. By combining the rugged practicality of concrete, the organic beauty of moss, and the timeless shimmer of mirrors, you have created a wedding aesthetic that is uniquely yours. Remember, the most memorable weddings aren’t the ones with the biggest budgets, but the ones with the most thoughtful, handcrafted details.
So, grab your glue gun, head to the thrift store, and start building your disco dream. Your guests will never guess that those million-dollar looks were crafted for the price of a latte. Happy crafting, and here is to a wedding day that shines as bright as your centerpieces!

Makenzie is the founder and lead writer at MoneyHackTips.com — a personal finance blog dedicated to delivering street-smart financial wisdom for real people on real budgets. With 300+ published articles covering everything from debt management to investing fundamentals, Makenzie’s mission is to make every dollar work harder. When not writing about money hacks, Makenzie is testing frugal living strategies, optimizing side hustles, and helping readers build financial freedom from scratch.