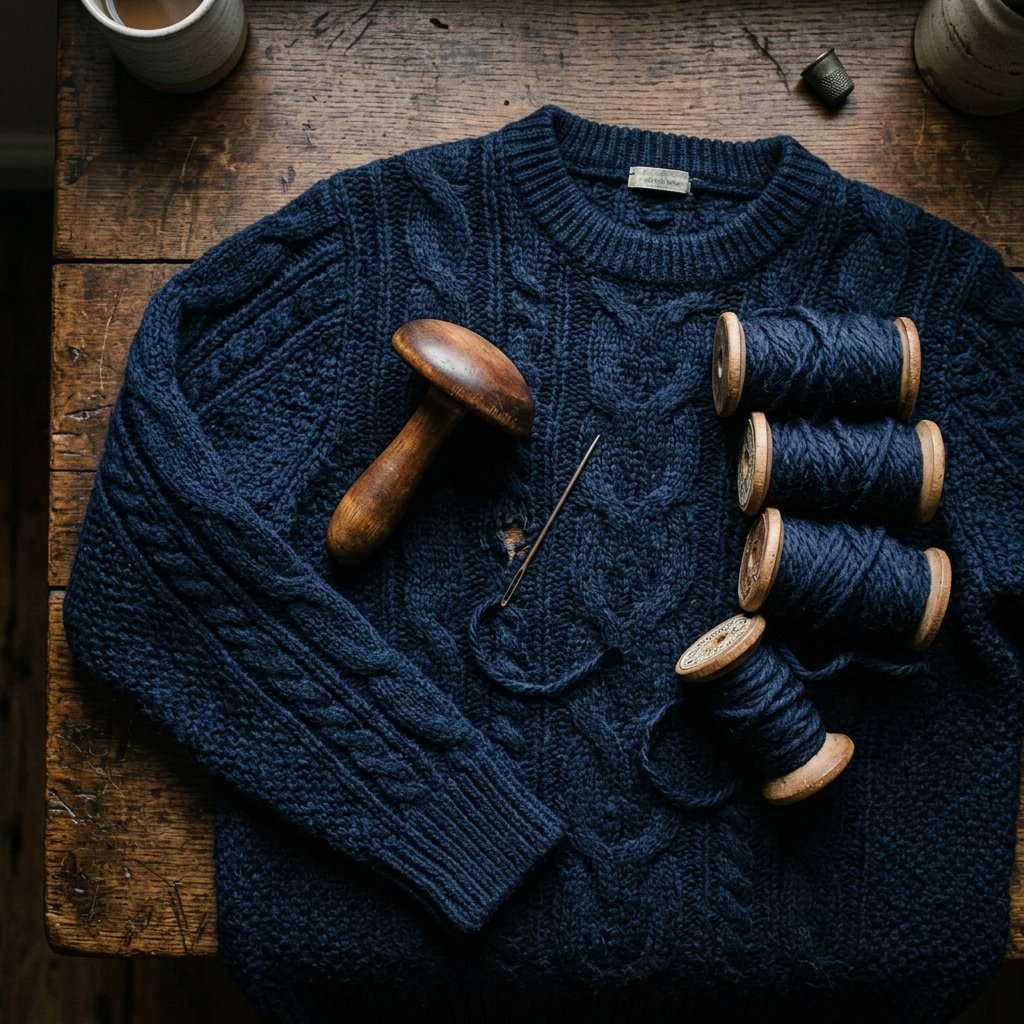

There is nothing quite as heartbreaking as pulling your favorite heirloom wool sweater out of storage only to find a constellation of tiny, jagged holes. It feels like a personal betrayal by the very moths you thought you had outsmarted. But before you relegate that cashmere masterpiece to the rag bin or spend $50 at a professional tailor, stop. As a frugal DIYer, you possess the power to restore your garments to their former glory with nothing more than a needle, some thread, and about 15 minutes of your time. This isn’t just about saving money; it is about the rugged satisfaction of stewardship—taking something broken and making it whole again. In this guide, we will master the art of ‘Invisible Mending,’ a technique that blends craft and practicality to ensure your wardrobe lasts a lifetime.
The Detective Work: Identifying the Damage and the Culprit
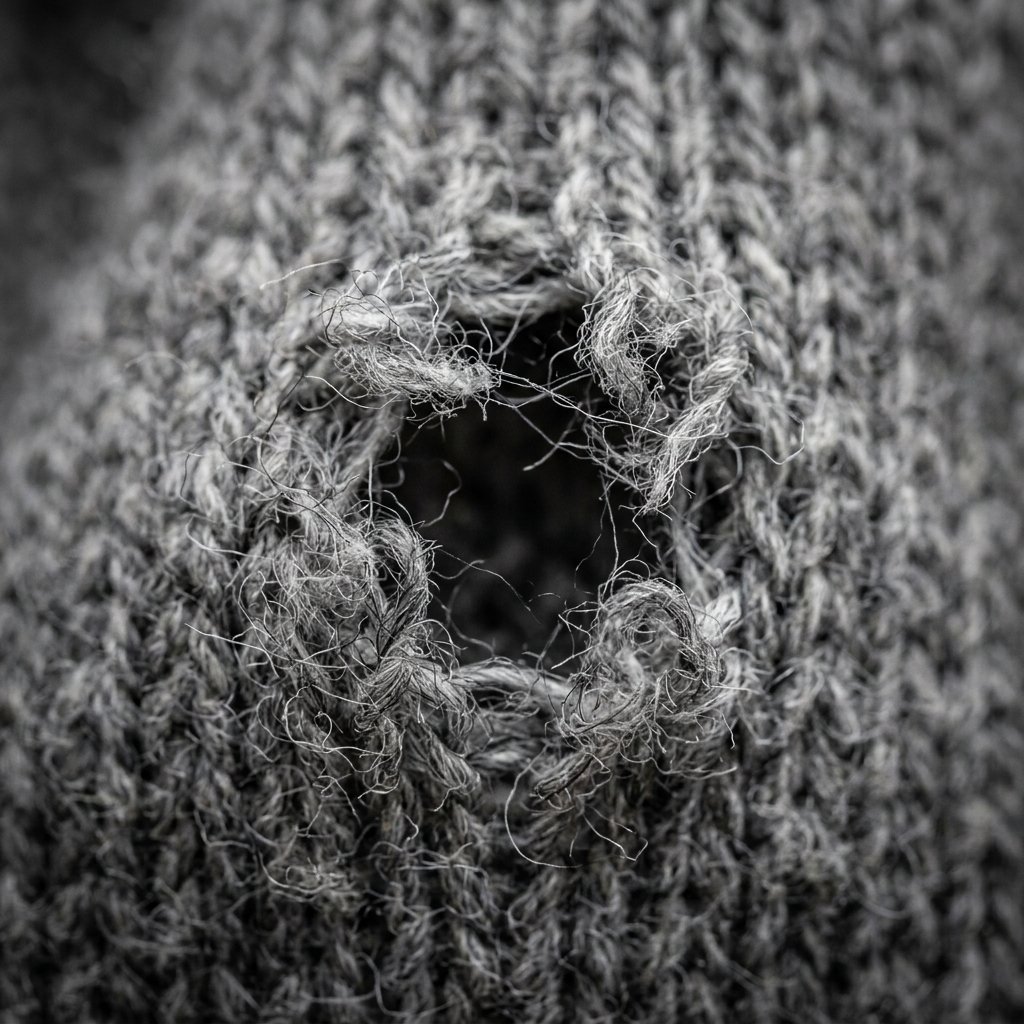
Before we pick up a needle, we must understand what we are dealing with. Not all holes are created equal. A snag from a zipper looks different than the slow erosion caused by Tineola bisselliella—the common clothes moth. Identifying the source is the first step in a budget-savvy restoration project.
Moth Damage vs. Mechanical Wear
- Moth Holes: Usually irregular in shape, often appearing in clusters. You might find ‘grazing’ where the moth ate the top layer of fibers but didn’t go all the way through.
- Snags: Typically a single hole with a visible ‘run’ or pulled thread nearby.
- Wear and Tear: Found in high-friction areas like elbows or underarms, characterized by thinning fabric before the hole appears.
If you suspect moths, you must quarantine the garment immediately. Freeze the sweater in a sealed bag for 72 hours to kill any remaining larvae before you begin your repair. This costs $0 and saves your entire closet from infestation.
The $0 Tailor’s Kit: Scavenging Your Darning Supplies

You do not need an expensive sewing machine or a specialized kit to perform a seamless fix. In fact, some of the best tools are already sitting in your kitchen or junk drawer. A clever crafter knows that the ‘tool’ is secondary to the technique.
| Necessary Item | Professional Cost | Frugal DIY Alternative | Savings |
|---|---|---|---|
| Darning Mushroom | $25.00 | Lightbulb or Smooth Stone | 100% |
| Embroidery Hoop | $8.00 | A Jar Lid and Rubber Band | $8.00 |
| Mending Yarn | $6.00 | Thread from the Sweater’s Seam | $6.00 |
| Total | $39.00 | $0.00 | $39.00 |
The Secret to Matching Yarn
The hardest part of a ‘seamless’ fix is the color match. Here is a crafty expert tip: Look at the inside seams of your sweater. Often, manufacturers leave a long tail of yarn at the shoulder or side seam. You can carefully harvest a few inches of this original yarn for a perfect, invisible match. If that’s not an option, split a multi-ply embroidery floss to match the thickness of your sweater’s knit.
Master the Woven Darn: The Foundation of Invisible Repair
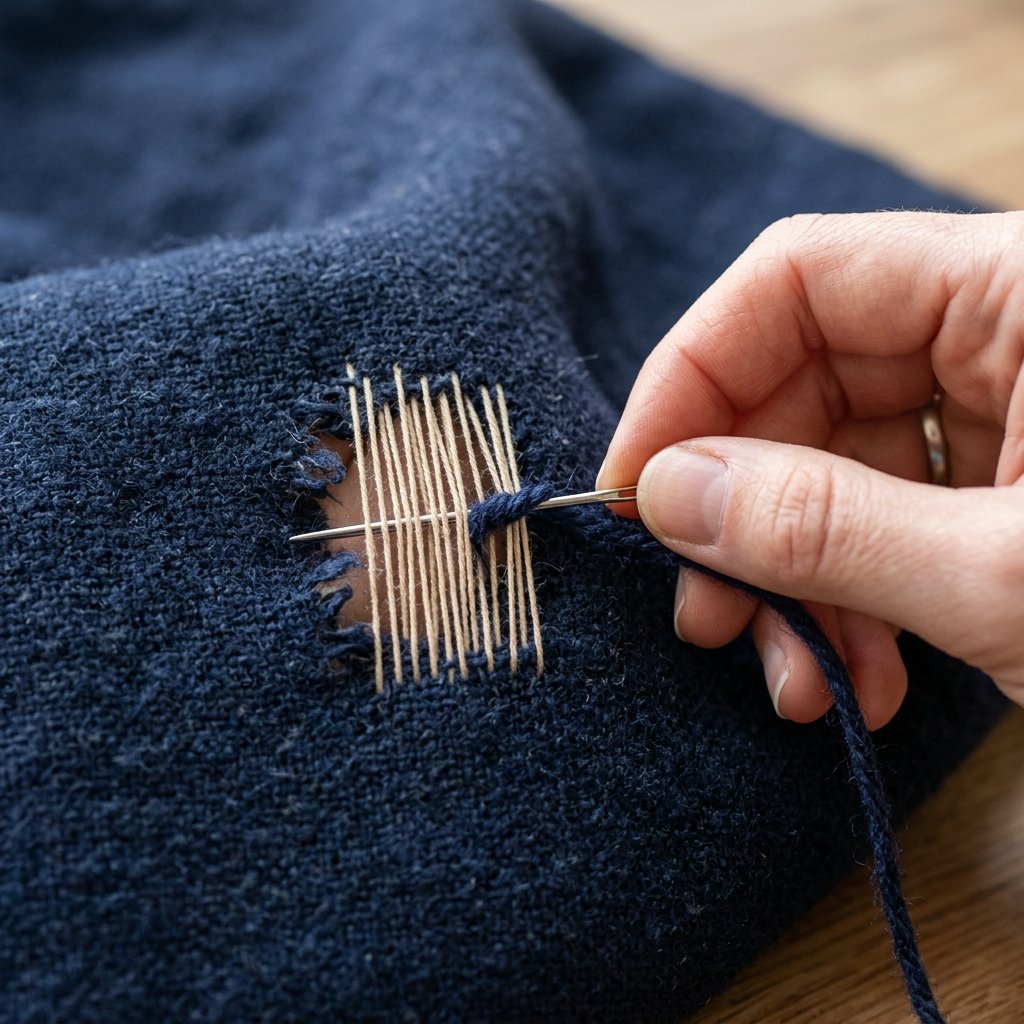
The woven darn is the ‘bread and butter’ of mending. It is a rugged, structural fix that works best on small to medium-sized holes. The goal is to recreate the fabric by weaving new threads over the gap.
Step-by-Step Woven Darning
- Prep the Area: Insert your darning mushroom (or lightbulb) under the hole. This provides a firm surface and prevents you from accidentally sewing the two sides of the sweater together.
- The Warp (Vertical): Start 1/4 inch outside the hole. Run vertical parallel lines of thread across the gap. Keep the tension firm but not tight enough to pucker the fabric.
- The Weft (Horizontal): Now, weave your needle horizontally. Go over the first vertical thread, under the second, and so on. On the next pass, reverse the pattern (under then over).
- The Finish: Gently tap the weave with your needle to pack the threads together. Secure the thread on the underside with a tiny, hidden knot.
“A good darn should be felt, not seen. Tension is your best friend—too tight and it puckers, too loose and it sags. Aim for the middle path.”
The Swiss Darn: Achieving a Truly Seamless Finish
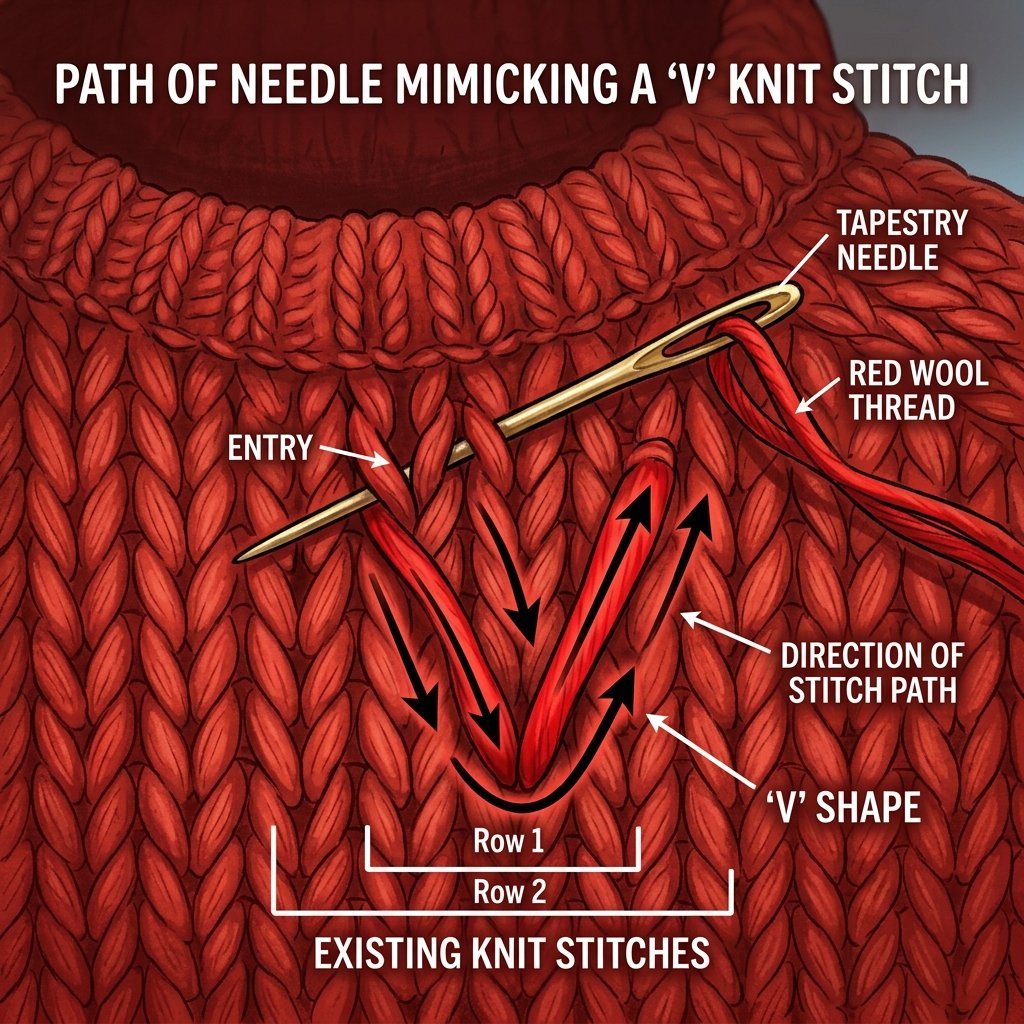
For the ‘Masculine-Elegant’ look, the Swiss Darn (also known as the Duplicate Stitch) is the gold standard. Instead of weaving a patch, you are literally recreating the knit stitches. This technique is so effective that even a seasoned pro will have trouble finding the repair.
How to Execute the Duplicate Stitch
This method works best when the hole is small or the ‘ladders’ of the knit are still intact. You are following the path of the original yarn.
- Identify the ‘V’: Look at the stitches surrounding the hole. They look like little ‘Vs’.
- Trace the Path: Bring your needle up through the bottom of the ‘V’ below the hole.
- Loop Behind: Pass the needle behind the two legs of the stitch above it.
- Complete the Stitch: Bring the needle back down into the same hole you started from. You have just ‘duplicated’ a knit stitch.
Repeat this process across the gap. Because you are using matching yarn and following the existing geometry of the sweater, the repair disappears into the texture of the garment.
Creative Mending: When the Hole is Too Big to Hide
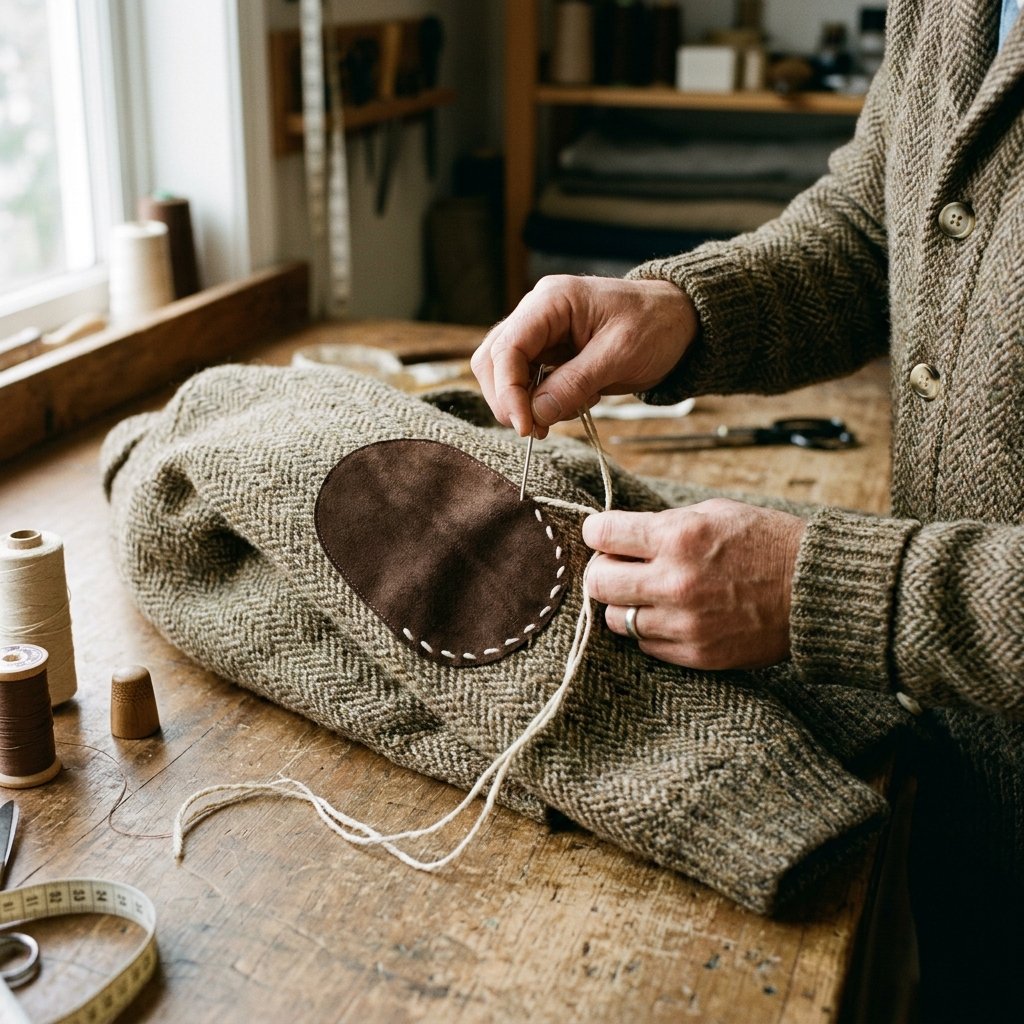
Sometimes, a moth gets greedy, and the hole is simply too large for an invisible fix. This is where we pivot from ‘Seamless’ to ‘Sophisticated Upcycling.’ If you can’t hide it, highlight it with a rugged, intentional patch.
| Hole Size | Recommended Fix | Aesthetic Style |
|---|---|---|
| < 5mm | Swiss Darn | Invisible / Professional |
| 5mm – 15mm | Woven Darn | Clean / Functional |
| > 15mm | Leather or Felt Patch | Rugged / Academic |
The Leather Elbow Patch Trick
If you have multiple holes on the sleeves, don’t bother darning them all. Instead, cut two ovals of scrap leather or suede. Use a blanket stitch to attach them over the holes. This not only fixes the damage but adds a ‘Pottery Barn’ or ‘Professor’ vibe to an old cardigan for the cost of a few scraps of leather (often found at thrift stores for $1).
The Frugal Guru’s Guide to Pest Prevention

Repairing a sweater is a victory, but preventing the next attack is a strategy. You don’t need expensive chemical mothballs that smell like a nursing home. Use nature’s armory to protect your hard work.
- Cedar Blocks: Sand them down every 6 months to reactivate the protective oils.
- Lavender Sachets: Moths hate the scent. You can make these for pennies using scrap fabric and dried lavender from your garden.
- Airtight Storage: Store off-season woolens in vacuum-sealed bags or plastic bins with tight lids.
- The Clean Rule: Never store a sweater that hasn’t been washed. Moths are actually attracted to skin oils and food spills more than the wool itself.
“An ounce of prevention is worth a pound of darning. Keep it clean, keep it sealed, and keep your cedar fresh.”
Conclusion
Mending is more than a chore; it is a quiet rebellion against a throwaway culture. By spending 30 minutes and $0 to fix a moth hole, you are preserving a piece of your history and keeping high-quality materials out of the landfill. Whether you choose the surgical precision of the Swiss Darn or the rugged charm of a leather patch, your sweater now has a story to tell. You’ve transitioned from a consumer to a craftsman. So, the next time you find a hole, don’t despair—reach for your lightbulb and needle, and get to work. Your wardrobe, and your wallet, will thank you.

Makenzie is the founder and lead writer at MoneyHackTips.com — a personal finance blog dedicated to delivering street-smart financial wisdom for real people on real budgets. With 300+ published articles covering everything from debt management to investing fundamentals, Makenzie’s mission is to make every dollar work harder. When not writing about money hacks, Makenzie is testing frugal living strategies, optimizing side hustles, and helping readers build financial freedom from scratch.