
Let’s be honest: the world is drowning in cheap, disposable fashion. You buy a $20 backpack at a big-box store, and within three months, the zipper splits, the lining shreds, and the straps start to fray. It’s a cycle that drains your wallet and clutters the planet. But what if you could break that cycle using nothing more than a pile of old cotton shirts and a single crochet hook? Welcome to the ultimate trash-to-treasure project.
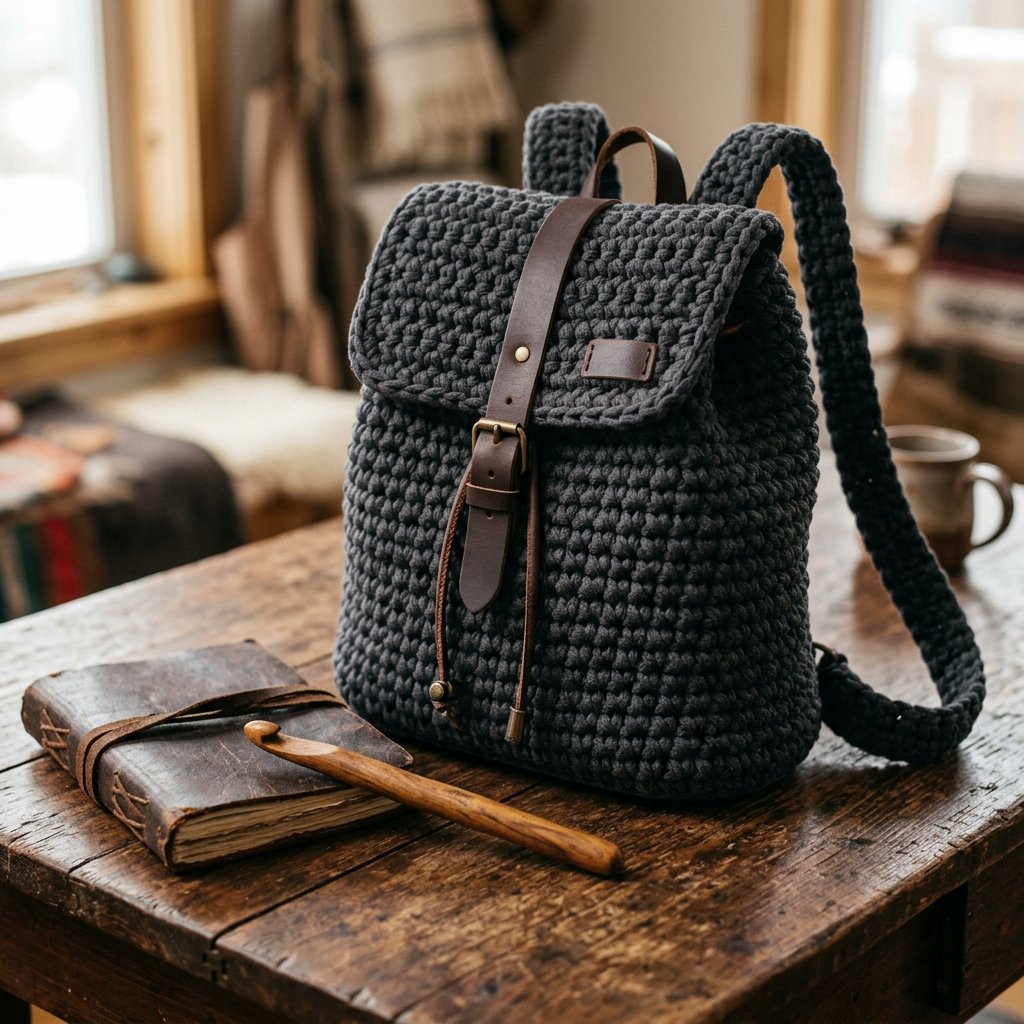
We aren’t talking about a flimsy, lacy bag that looks like a grocery sack. We are building a rugged, structured, and masculine-elegant backpack that commands attention. By utilizing the incredible tensile strength of T-shirt yarn (or “Tarn”), you can create a piece of gear that is virtually indestructible, completely machine washable, and looks like it stepped out of a high-end boutique. This weekend, we’re going to stop being consumers and start being creators. Grab your shears and your 10mm hook—it’s time to build something that lasts.
The Economics of Upcycling: Why T-Shirt Yarn Wins
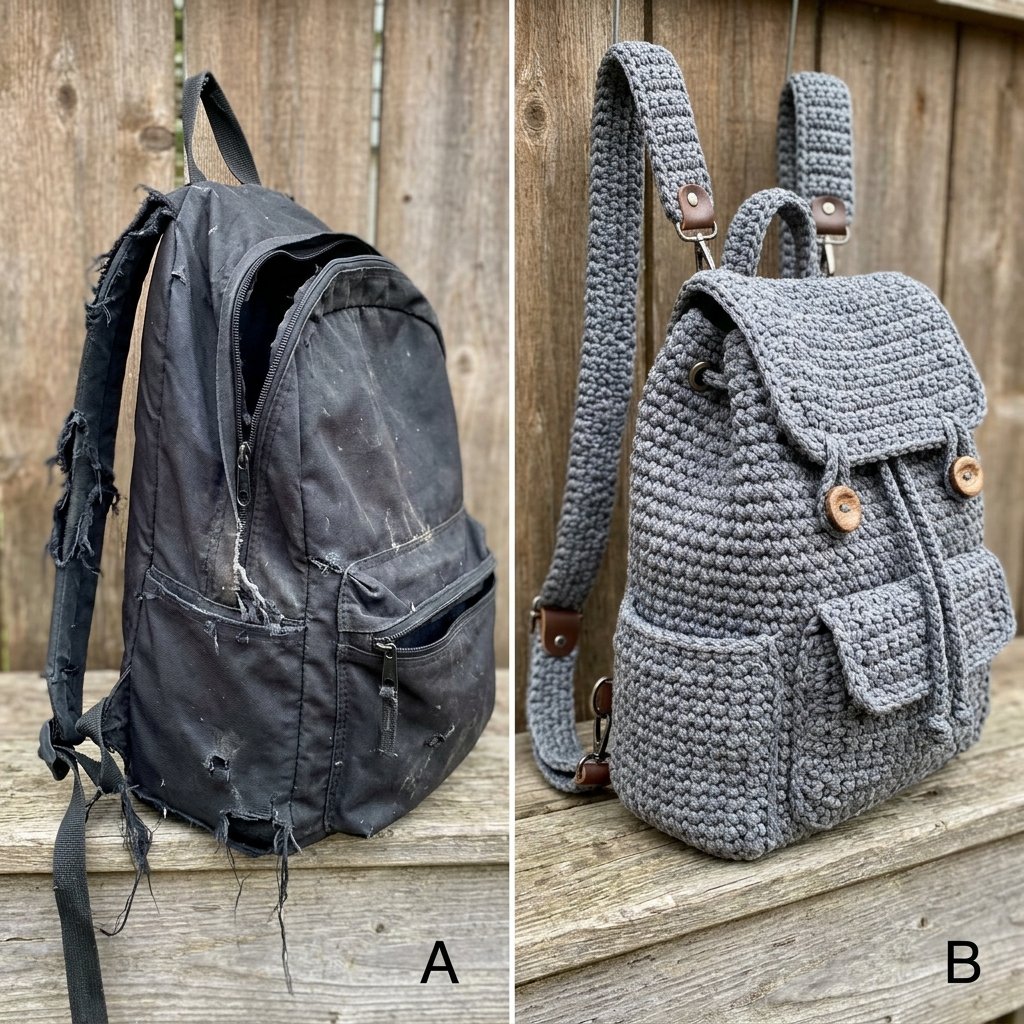
Before we pick up the hook, let’s talk numbers. A high-quality, sustainable cotton backpack can easily retail for $80 to $150. Meanwhile, a standard “cheap” bag costs $25 but lasts less than a year. By upcycling old T-shirts, your material cost drops to near $0. Even if you buy premium T-shirt yarn, you are still looking at a fraction of the cost for a far superior product.
| Feature | Store-Bought Cheap Bag | DIY T-Shirt Yarn Backpack |
|---|---|---|
| Material Cost | $25 – $45 | $0 – $15 |
| Durability | Low (Synthetic fabrics) | High (Interlocked Cotton) |
| Customization | None | 100% (Size, Color, Pockets) |
| Repairability | Non-existent | Easy (Hand-mendable) |
| Sustainability | Negative (Landfill bound) | Positive (Upcycled) |
The secret lies in the weight and elasticity of the yarn. T-shirt yarn is bulky, meaning the project grows fast. You can realistically finish a full-sized backpack in a single weekend of focused crafting. It’s the ultimate win for the frugal DIYer: high-end aesthetic, rugged utility, and zero waste.
Harvesting Your Material: The Art of the Continuous Strip
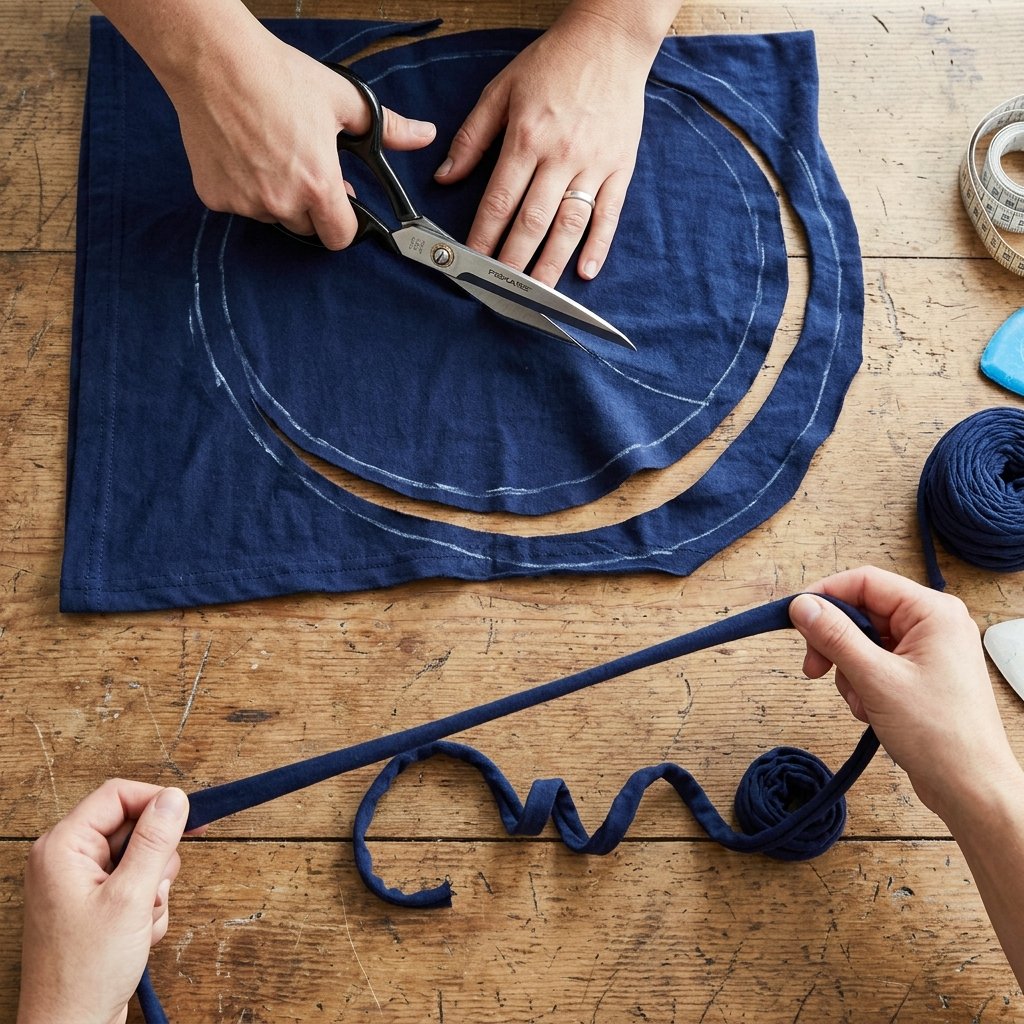
You can buy T-shirt yarn, but for the true budget-savvy crafter, we make it. You’ll need about 5 to 8 large 100% cotton T-shirts. Avoid shirts with side seams if possible, as they create weak points in your yarn. If they do have seams, don’t worry—we’ll just work around them.
The Continuous Cut Method
- Prep the Canvas: Lay the shirt flat and cut off the bottom hem and the top part (from the armpits up). You are left with a fabric tube.
- The Slit Technique: Fold the tube in half, but leave about 1 inch of the bottom layer sticking out past the top layer.
- The Fringe Cut: Cut strips about 1 inch wide from the folded edge toward the protruding 1-inch flap. Stop cutting once you hit that flap. Do not cut all the way through!
- The Diagonal Connection: Open the shirt so the uncut 1-inch center strip is facing you. Cut diagonally from the first slit to the second, the second to the third, and so on. This creates one unbroken, continuous strand of yarn.
- The Stretch: Pull the yarn firmly. The raw edges will curl inward, creating a rounded, professional-looking cord.
“The secret to great Tarn is the stretch. Pulling the fabric transforms a flat ribbon into a durable, cylindrical yarn that hides imperfections in your stitches.”
The Rugged Stitch: Choosing the Right Crochet Technique
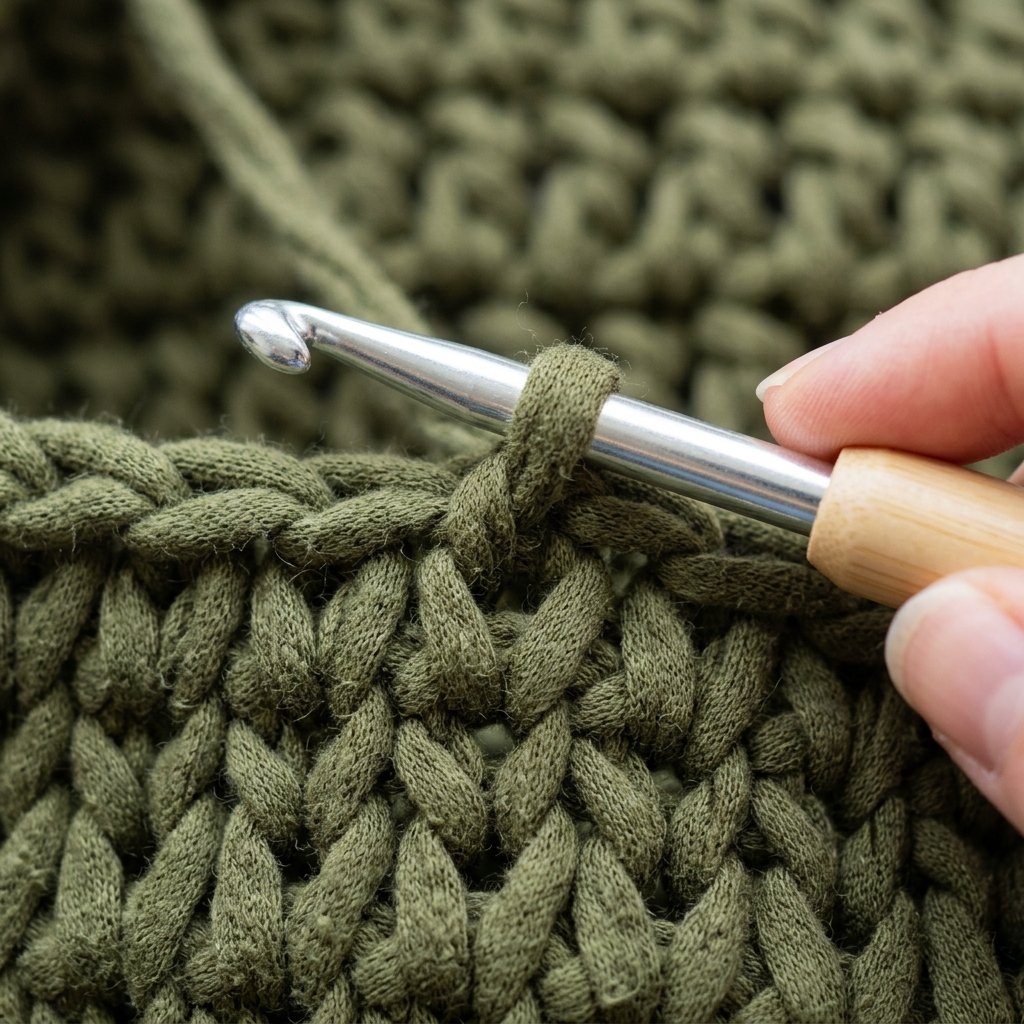
For a backpack, we need structure. Standard single crochet can be a bit holey and stretchy. To get that store-bought, rigid look, we use the Waistcoat Stitch (also known as the Center Single Crochet). This stitch mimics the look of a knit “V” and creates a thick, armor-like fabric that won’t sag even when loaded with heavy gear.
Essential Tools for the Build
- Hook: 10mm or 12mm (depending on your yarn thickness). Pro-tip: Use a wooden or ergonomic hook to prevent hand fatigue with this heavy material.
- Stitch Markers: Essential for keeping track of your rounds in a spiral. Budget Hack: Use a paperclip or a scrap of contrasting yarn.
- Tapestry Needle: A large, blunt-tipped needle for weaving in those thick ends.
Remember, we are aiming for a tight tension. If your stitches feel loose, drop down a hook size. We want the bag to stand up on its own when empty. This is the hallmark of a high-quality build.
The Weekend Blueprint: Step-by-Step Construction
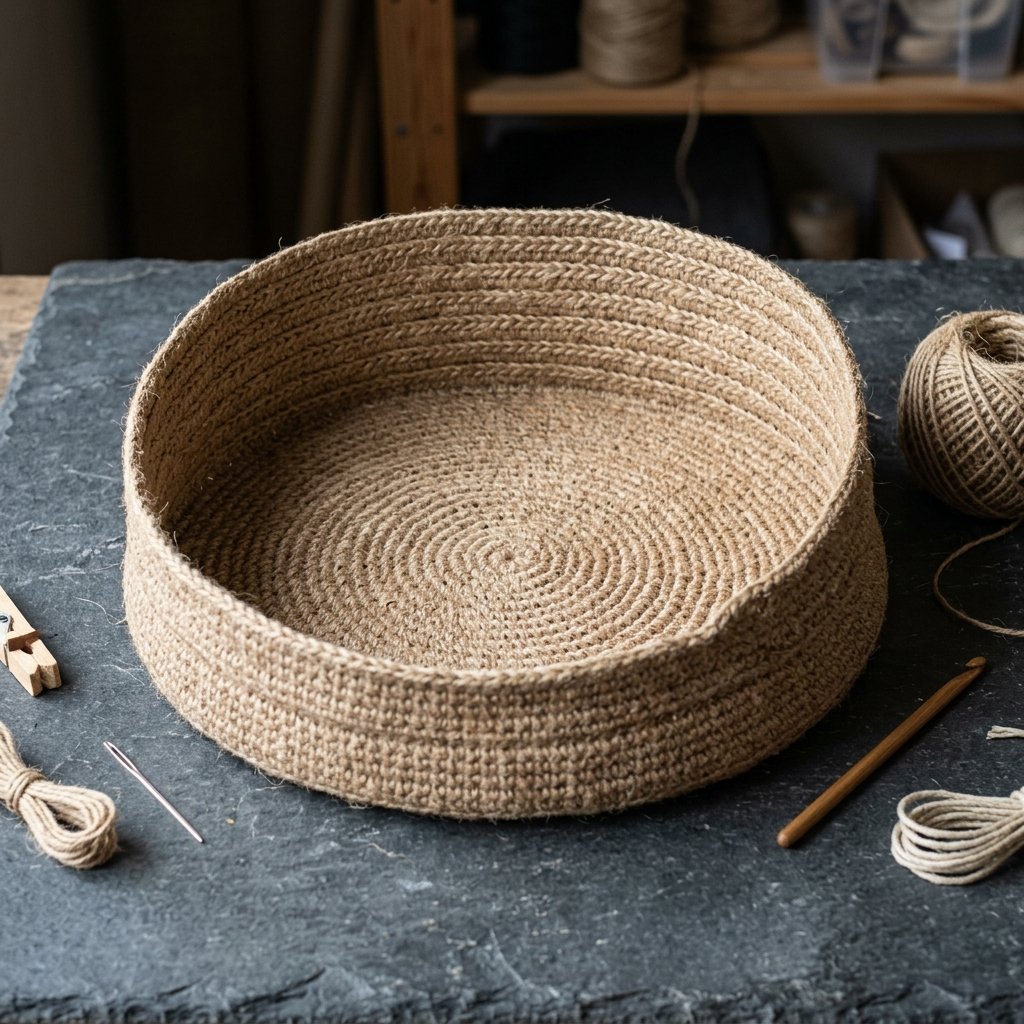
We will build this in three main parts: the Oval Base, the Body Cylinder, and the Flap & Straps. This modular approach makes it easy to manage the weight of the project.
Phase 1: The Reinforced Base
Create a foundation chain of 15. Work in a spiral around both sides of the chain, increasing at the ends to create a flat oval. Continue until the base is roughly 10 inches long. This provides a solid footprint for your gear.
Phase 2: The Vertical Climb
Stop increasing and work one round in the Back Loops Only (BLO). This creates a sharp 90-degree turn, forming the “wall” of your backpack. Continue in the Waistcoat Stitch for 12 to 14 inches of height. This is where the bag gains its rugged character.
Phase 3: The Drawstring & Flap
In the final two rounds, create “eyelets” by chaining 1 and skipping a stitch every 3 inches. This allows you to thread a T-shirt yarn cord through to cinch the bag shut. Crochet a separate rectangular flap and attach it to the back rim using a Slip Stitch join for maximum strength.
“Strength isn’t just in the yarn; it’s in the join. Always reinforce your strap attachment points with a ‘Box-X’ stitch pattern using heavy-duty thread or extra yarn.”
Hardware & Accents: Elevating Your Build to Boutique Quality
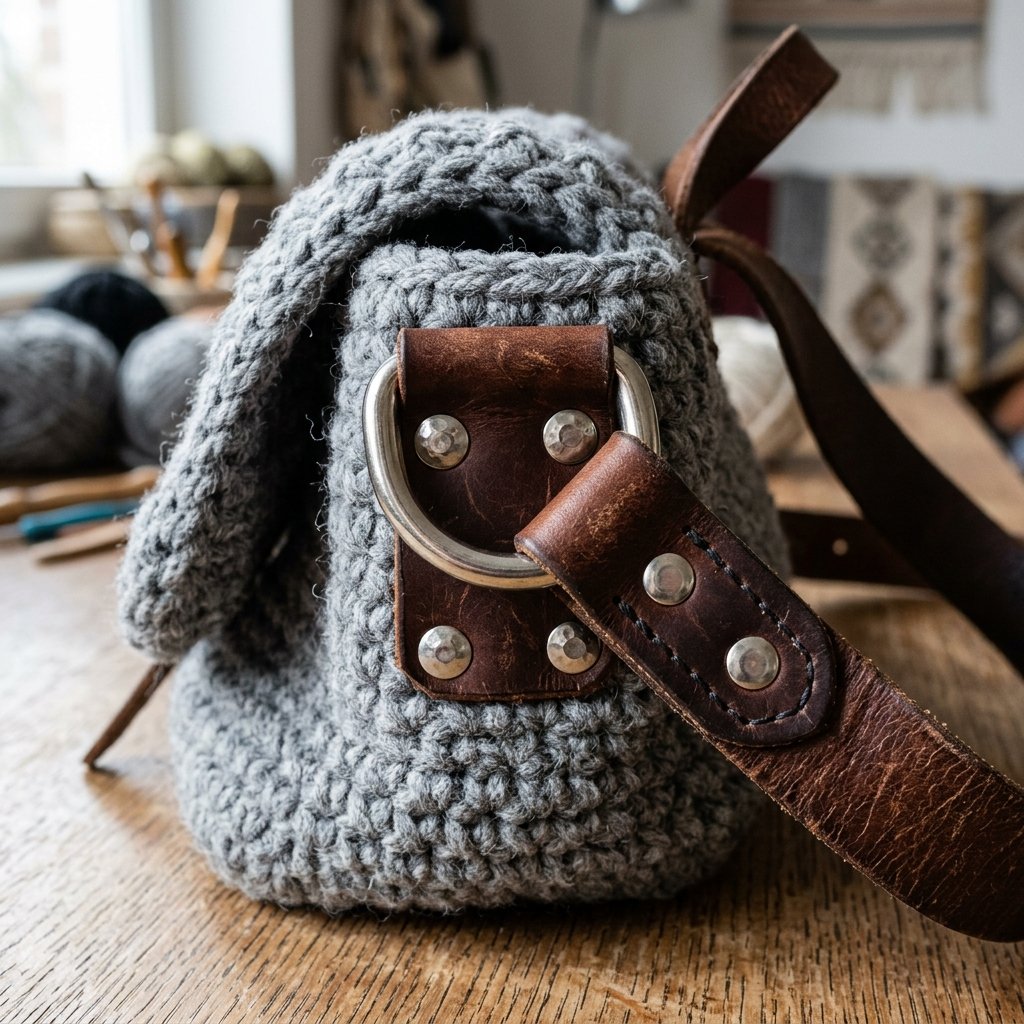
To move this from “homemade” to “hand-crafted luxury,” we need to add functional hardware. This is where the Masculine-Elegant aesthetic really shines. Don’t settle for plastic; go for metal and leather.
| Accent Item | Budget Source | Impact |
|---|---|---|
| Magnetic Snap | Repurposed from an old purse | Professional closure |
| Leather Straps | An old thrift store belt ($2) | Rugged durability & style |
| Metal Buckles | Hardware store D-rings ($1) | Adjustable, industrial look |
| Internal Lining | An old flannel shirt | Prevents small items from slipping through |
Safety Note: When using a needle to sew leather straps onto your crochet, use a thimble. T-shirt yarn is dense, and pushing a needle through multiple layers can be tough on the fingers.
By adding a simple leather strap and a brass buckle, you instantly double the perceived value of the bag. It transforms the piece from a simple crochet project into a designer-level accessory that looks like it belongs in an upscale boutique.
Conclusion
Your journey from a pile of discarded T-shirts to a stunning, functional backpack is complete. By choosing to upcycle, you’ve saved money, reduced waste, and mastered a skill that combines the delicacy of craft with the ruggedness of utility. This backpack isn’t just a container for your things; it’s a statement that quality doesn’t have to be bought—it can be built.
Take your new bag out on a hike, to the farmer’s market, or use it as your daily commuter. When people ask where you bought it (and they will), you can tell them with pride: “I didn’t buy it. I made it.” Now, what else is in your rag bin waiting to be transformed? Happy crafting!

Makenzie is the founder and lead writer at MoneyHackTips.com — a personal finance blog dedicated to delivering street-smart financial wisdom for real people on real budgets. With 300+ published articles covering everything from debt management to investing fundamentals, Makenzie’s mission is to make every dollar work harder. When not writing about money hacks, Makenzie is testing frugal living strategies, optimizing side hustles, and helping readers build financial freedom from scratch.