
The Art of the High-End Illusion
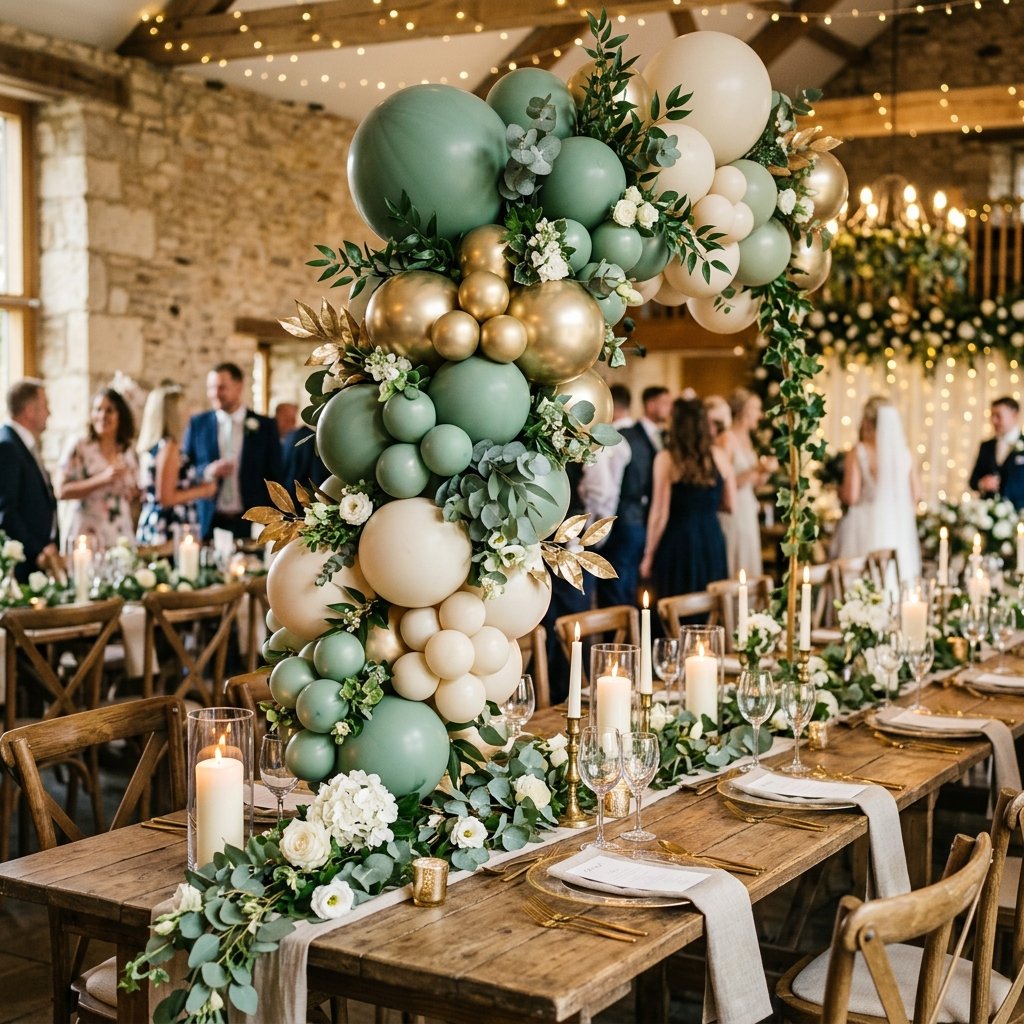
In the world of event planning, there is a massive gap between what things cost and what they *look* like they cost. If you have ever called a professional balloon stylist, you know the sticker shock is real. We are talking $300 to $1,200 for a single installation. But here is the secret: the materials are surprisingly humble. As a resourceful DIYer, you do not need a massive budget; you need a clever strategy. By raiding the aisles of your local Dollar Tree and applying a few ‘pro-level’ engineering tricks, you can create a centerpiece that commands the room for less than the cost of a takeout pizza. This guide is about more than just blowing up balloons; it is about structural integrity, color theory, and the rugged persistence of a maker who refuses to overpay.
“Budget is not a limitation; it is a creative challenge that forces better design.”
The $15 Blueprint: Your Dollar Tree Shopping List

To pull off this heist of high-end aesthetics, you need to know exactly what to look for. We are moving past the basic birthday party look and into the realm of ‘organic’ styling. This requires a mix of sizes and textures. At Dollar Tree, your primary targets are the balloon packs, but do not sleep on the hardware aisle. You will need a sturdy base to ensure your arch does not succumb to gravity halfway through the toast.
| Item Description | Purpose | Estimated Cost |
|---|---|---|
| 12-inch Latex Balloons (3-4 packs) | The main body of the arch | $5.00 |
| 5-inch Small Balloons (2 packs) | Filling gaps and adding depth | $2.50 |
| Hula Hoop or PEX Tubing | The structural frame | $1.25 |
| Clear Packing Tape / Fishing Line | Securing the clusters | $1.25 |
| Faux Greenery Sprays | Hiding the mechanics and adding ‘luxury’ | $2.50 |
| Total Investment | Professional Look | $12.50 |
Pro-Tip: The Double-Stuffing Trick
If you want those expensive, matte, custom colors seen on Pinterest, use the double-stuffing method. Place a black or tan balloon inside a colored one before inflating. This creates an opaque, high-end finish that looks like expensive designer rubber rather than translucent plastic.
The Skeleton: Building a Sturdy Frame from Scraps
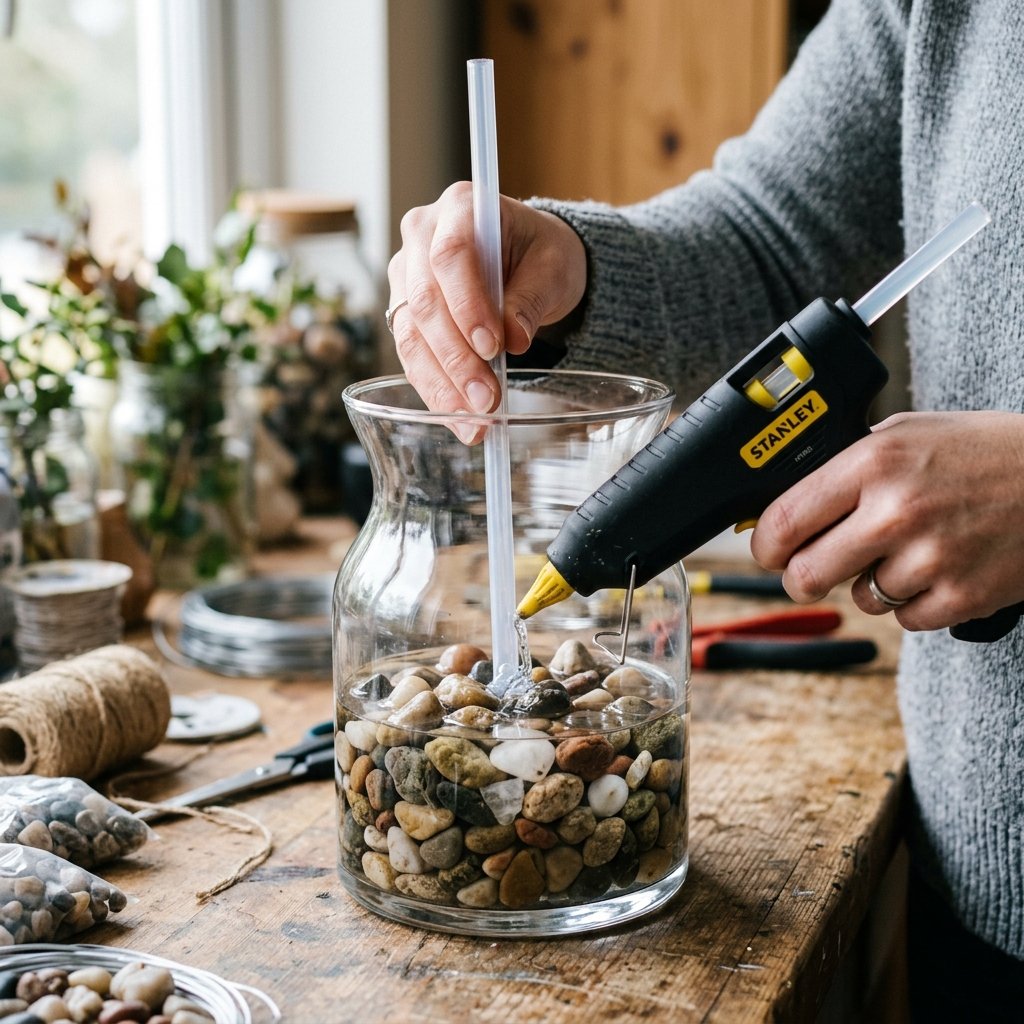
A centerpiece that flops over is a DIY disaster. To keep your arch upright and elegant, you need a rigid skeleton. While pros use heavy metal base plates, we are going to be more resourceful. A $1.25 hula hoop cut in half or a length of flexible PEX tubing from the plumbing section makes a perfect semi-circle. To secure it to the table, we use ‘gravity anchors’—heavy items hidden inside decorative containers.
- Step 1: Cut your hula hoop at one point to create a long, flexible rod.
- Step 2: Use two heavy glass vases from the Dollar Tree. Fill them with sand, stones, or even water.
- Step 3: Secure the ends of your hoop into the vases using a generous amount of hot glue or industrial-strength tape.
- Step 4: Cover the vases with fabric or extra balloons later to hide the ‘engine room’ of your craft.
Safety Note: When using hot glue on plastic hoops, ensure the glue is not so hot that it melts the structural integrity of the plastic. A low-temp setting is your best friend here.
The Cluster Method: Achieving that Organic, High-End Look

The biggest mistake beginners make is stringing balloons together like a grocery store grand opening. High-end arches are ‘organic,’ meaning they have varied sizes and shapes. We achieve this through the Cluster Technique. Instead of one long string, we build ‘quads’ and ‘duos’ that we then nestle together like a puzzle.
- Inflate in Pairs: Blow up two balloons to slightly different sizes. Tie them together at the necks. This is a ‘duo.’
- Create Quads: Take two duos and twist them around each other to create a cluster of four balloons.
- Size Variation: Ensure some quads are large and others are significantly smaller. This creates the ‘expensive’ undulating texture.
- The Friction Fit: Slide your quads onto your frame. The tension of the balloons against each other should hold them in place, but you can use a bit of fishing line for extra security.
By varying the inflation levels (some full, some half-full), you mimic the sophisticated look of a professional installation that usually costs $25 per linear foot.
The Secret Sauce: Adding Texture and Greenery
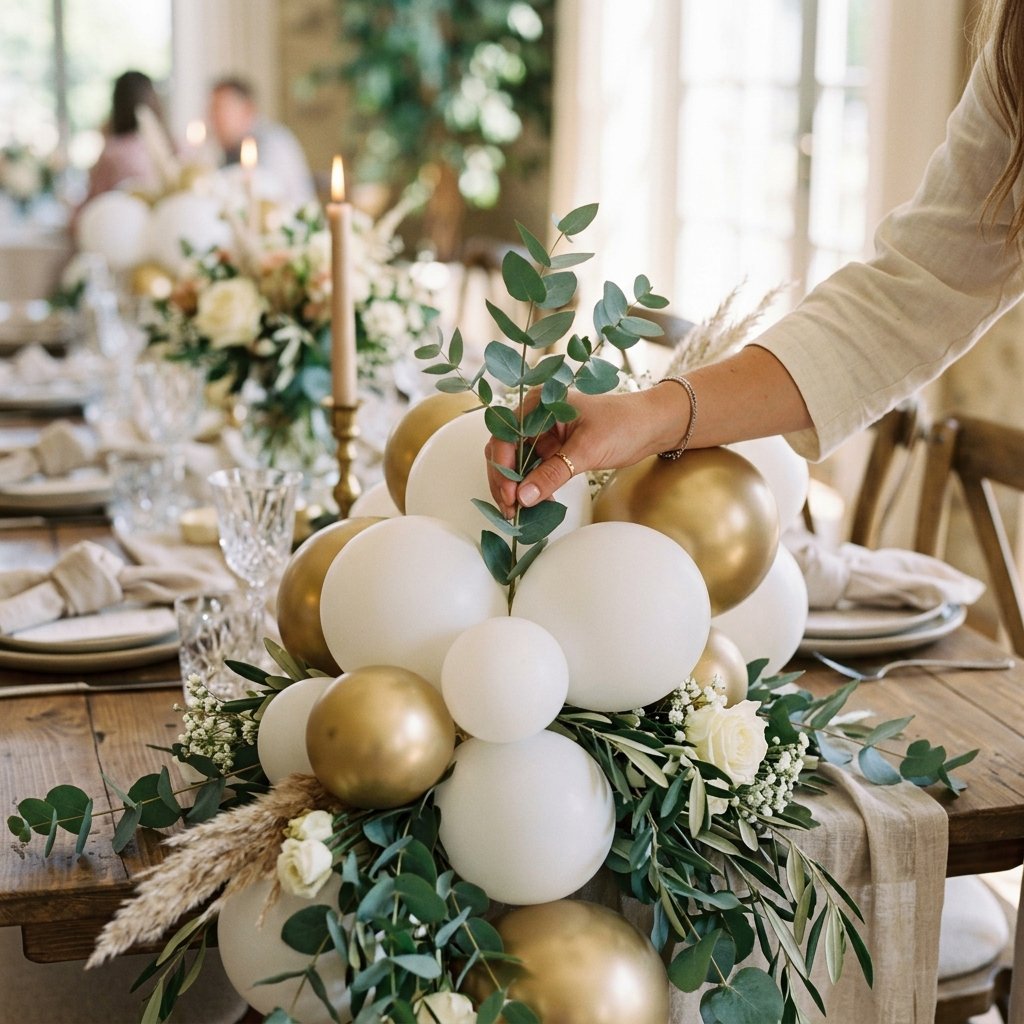
What separates a ‘balloon arch’ from a ‘designer centerpiece’ is the finishing touches. In the floral section of the Dollar Tree, look for eucalyptus, ferns, or baby’s breath. These organic elements break up the roundness of the balloons and add a touch of masculine elegance and rugged texture. You can also use metallic spray paint to give a few select balloons a ‘chrome’ finish if the store is out of gold.
How to Layer for Depth
- Tuck and Tape: Use small pieces of clear tape to nestle greenery into the ‘valleys’ between balloon clusters.
- Small Fillers: Use your 5-inch balloons to cover any visible parts of the frame or the vases.
- Reflective Accents: Place your gold or metallic balloons in a ‘S’ curve pattern through the arch to lead the eye.
This layering process adds visual weight and makes the centerpiece look like a custom-commissioned piece of art rather than a collection of $1 items.
Installation Mastery: Ensuring Your Arch Stays Put
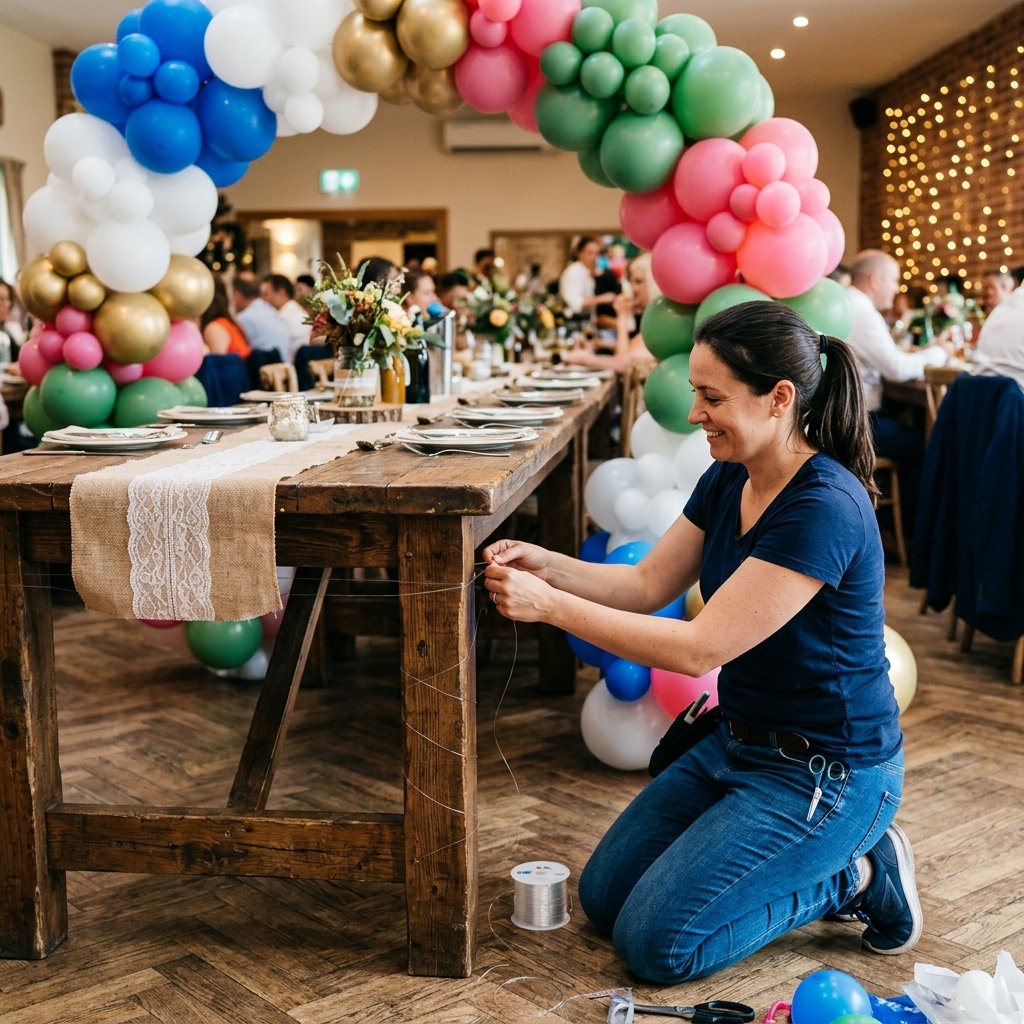
If you are setting this up for a wedding or a large dinner, you cannot afford a collapse. Structural failure is the enemy of the budget crafter. If your centerpiece is long, use Command hooks (or the Dollar Tree equivalent) to create ‘invisible’ tether points to the table or the wall behind it. This is especially important for outdoor events where a light breeze can turn your arch into a sail.
| Condition | Fix/Stabilizer | Risk Level |
|---|---|---|
| Outdoor Wind | Fishing line tethers to table legs | High |
| Indoor Drafts | Heavy base weights (2lbs+) | Medium |
| Long-Term Display | Hi-Float treatment (optional) | Low |
Remember, the goal is rugged durability disguised as delicate beauty. Check your tension points every hour during setup to ensure nothing has shifted.
Conclusion
Victory on a Dime
You have just saved hundreds, if not thousands, of dollars by embracing the mindset of a crafty expert. This DIY Dollar Tree balloon arch centerpiece proves that with a bit of ingenuity, a few hula hoops, and the right cluster technique, anyone can achieve a luxury aesthetic. You have turned ‘trash’ into a treasure that will be the focal point of your event. Now, stand back, admire your handiwork, and prepare for everyone to ask which high-end florist you hired. Just smile and keep your budget-savvy secrets close—or better yet, teach them how to do it too. Happy crafting!

Makenzie is the founder and lead writer at MoneyHackTips.com — a personal finance blog dedicated to delivering street-smart financial wisdom for real people on real budgets. With 300+ published articles covering everything from debt management to investing fundamentals, Makenzie’s mission is to make every dollar work harder. When not writing about money hacks, Makenzie is testing frugal living strategies, optimizing side hustles, and helping readers build financial freedom from scratch.