
The Magic of the Humble Cardboard Box
Let’s be honest: we have all been there. You spend $50 on a flashing, beeping, plastic mountain of a toy, only for your toddler to spend the next three hours playing with the shipping box it came in. It is a classic parenting irony, but it is also a golden opportunity for the resourceful DIYer. As a crafty expert and a budget-savvy parent, I have learned that the most engaging toys aren’t bought; they are engineered from the recycling bin. Today, we are going to lean into that rugged, practical sensibility and build a Fine Motor Activity Board that costs exactly $0. This isn’t just about saving money—though saving 100% of the cost is a massive win—it’s about creating a bespoke developmental tool that targets the pincer grasp, wrist rotation, and hand-eye coordination. We are going to take that ‘trash’ and turn it into a high-end, masculine-elegant piece of ‘toddler tech’ that will keep your little one quiet and focused for hours. Grab your utility knife and a cup of coffee; it is time to build something brilliant from nothing.
The Psychology of the Cardboard Box: Why Simple Wins Every Time
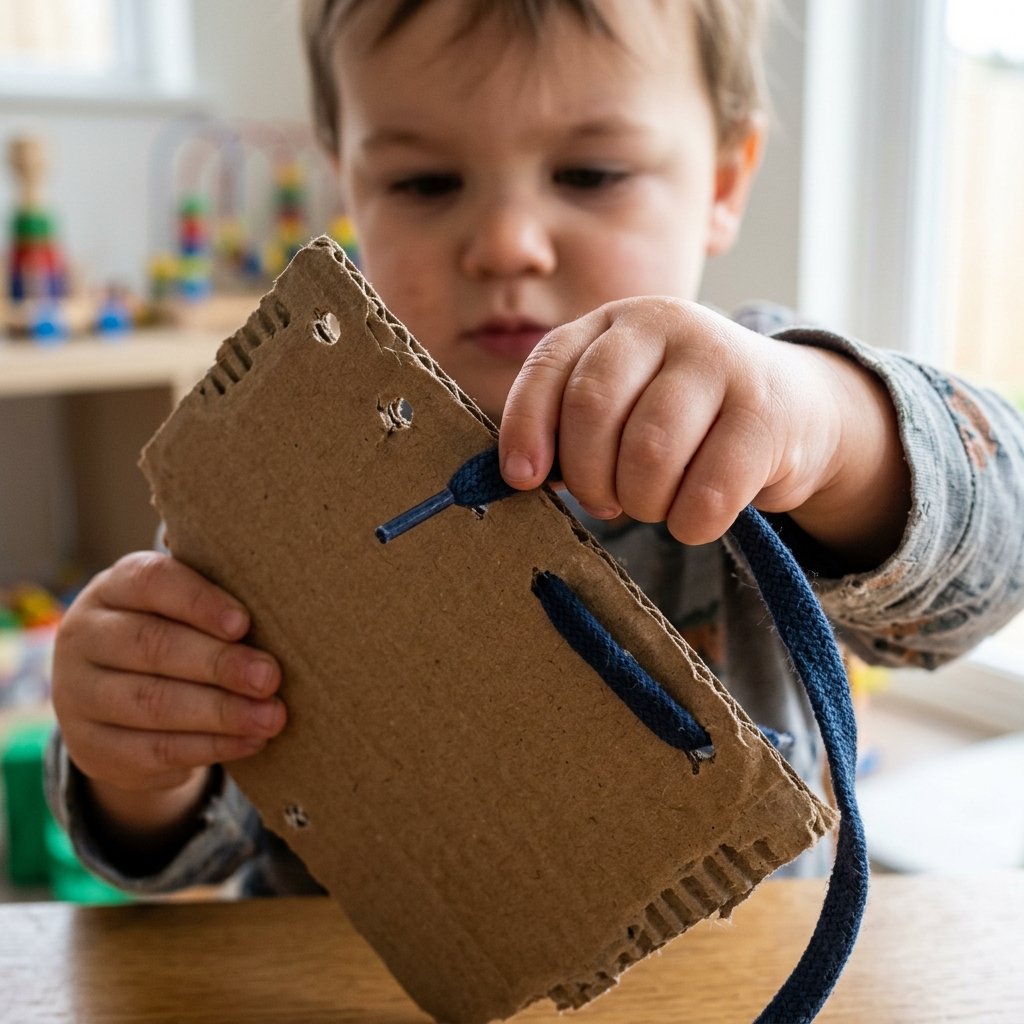
Before we dive into the construction, we need to understand why this project is so effective. Toddlers are naturally drawn to real-world objects. While commercial toys often over-stimulate with lights and sounds, cardboard offers a neutral, tactile experience that encourages deep focus. By using recycled materials, we are not only being frugal; we are being clever. We are teaching our children that creativity isn’t something you buy at a big-box store; it is something you manifest with your own two hands. This project is the epitome of the ‘Trash-to-Treasure’ philosophy. We are looking for structural integrity, varied textures, and mechanical simplicity.
“Frugality is not about doing without; it is about doing more with what you already have. A box is never just a box; it is a canvas for engineering.”
When we build this toy, we are focusing on four key developmental pillars: The Pincer Grasp, Bilateral Coordination, Object Permanence, and Problem Solving. By using everyday items like bottle caps and old ribbons, we provide a ‘rugged’ reality that plastic toys simply cannot replicate. Below is a comparison of why the DIY route beats the store-bought alternative every single time.
| Feature | Store-Bought Plastic Toy | DIY Cardboard Station |
|---|---|---|
| Cost | $35 – $120 | $0.00 |
| Customization | None (Static) | Infinite (Add what they love) |
| Sustainability | Landfill bound | 100% Recyclable |
| Engagement | Short-term (Passive) | Long-term (Active) |
The $0 Tool Kit: Mining Your Recycling Bin for Gold
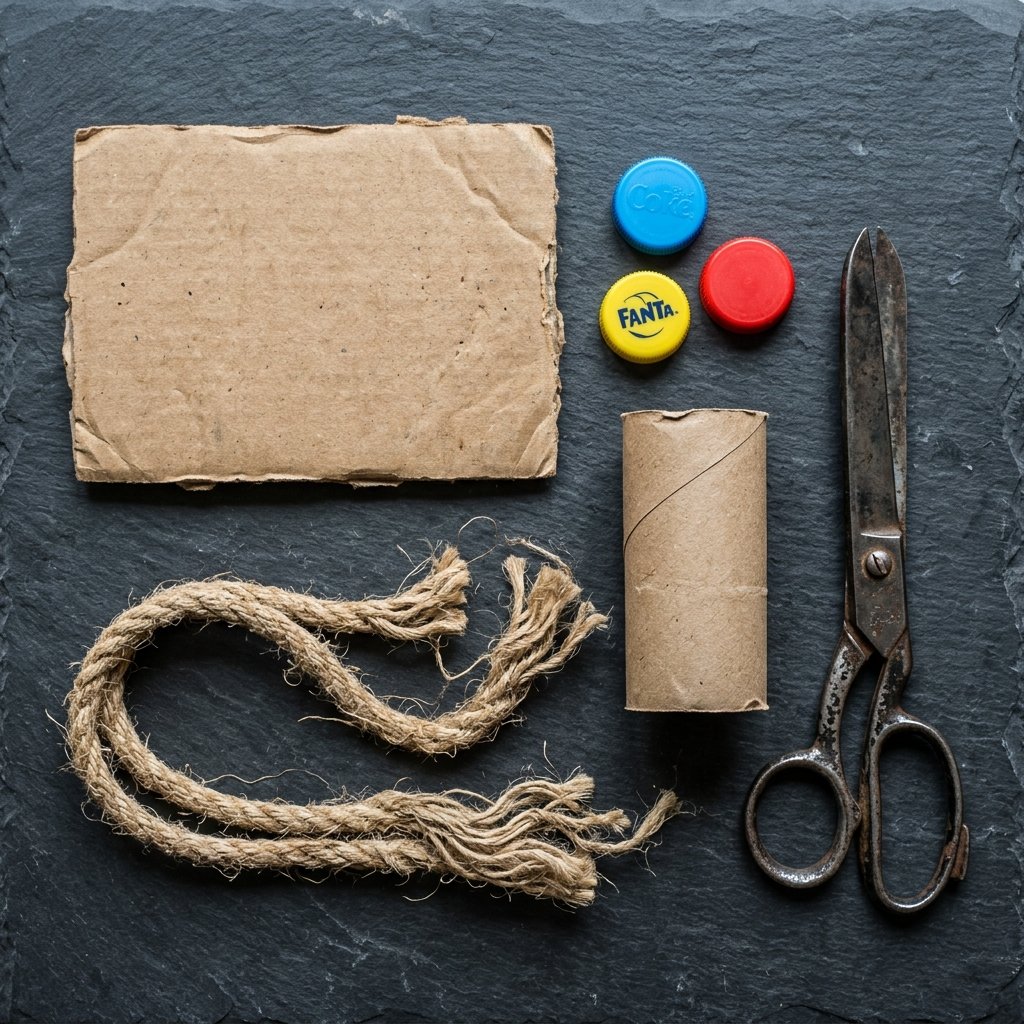
To keep the cost at exactly $0, we are going to act as scavengers in our own homes. You do not need a trip to the craft store. You need a keen eye and a bit of resourcefulness. The goal is to find items that offer different mechanical ‘actions’—pushing, pulling, twisting, and sliding. Look for items that have reached the end of their primary life but still have structural ‘spirit’ left in them.
Essential Scavenged Materials
- Double-Walled Cardboard: This is your chassis. Look for heavy-duty shipping boxes (like those from large appliance deliveries or bulk grocery hauls). You want something thick enough to handle some rugged play.
- Plastic Bottle Caps & Spouts: Save the tops from milk cartons, juice pouches, or water bottles. These are perfect for practicing wrist rotation.
- Old Shoelaces or Twine: These provide the ‘pull’ factor. Even a discarded hoodie string works perfectly.
- Empty Toilet Paper Rolls: These become ‘tunnels’ for the Object Permanence section of our board.
- Fabric Scraps: An old denim hem or a piece of burlap adds tactile variety.
Safety Note: Always ensure that any small parts (like bottle caps) are either securely fastened to the board or used under direct supervision to prevent choking hazards. Use a high-strength adhesive (like a hot glue gun you already own) for maximum durability.
Blueprint for Success: Mapping Out Your Toddler’s Activity Board
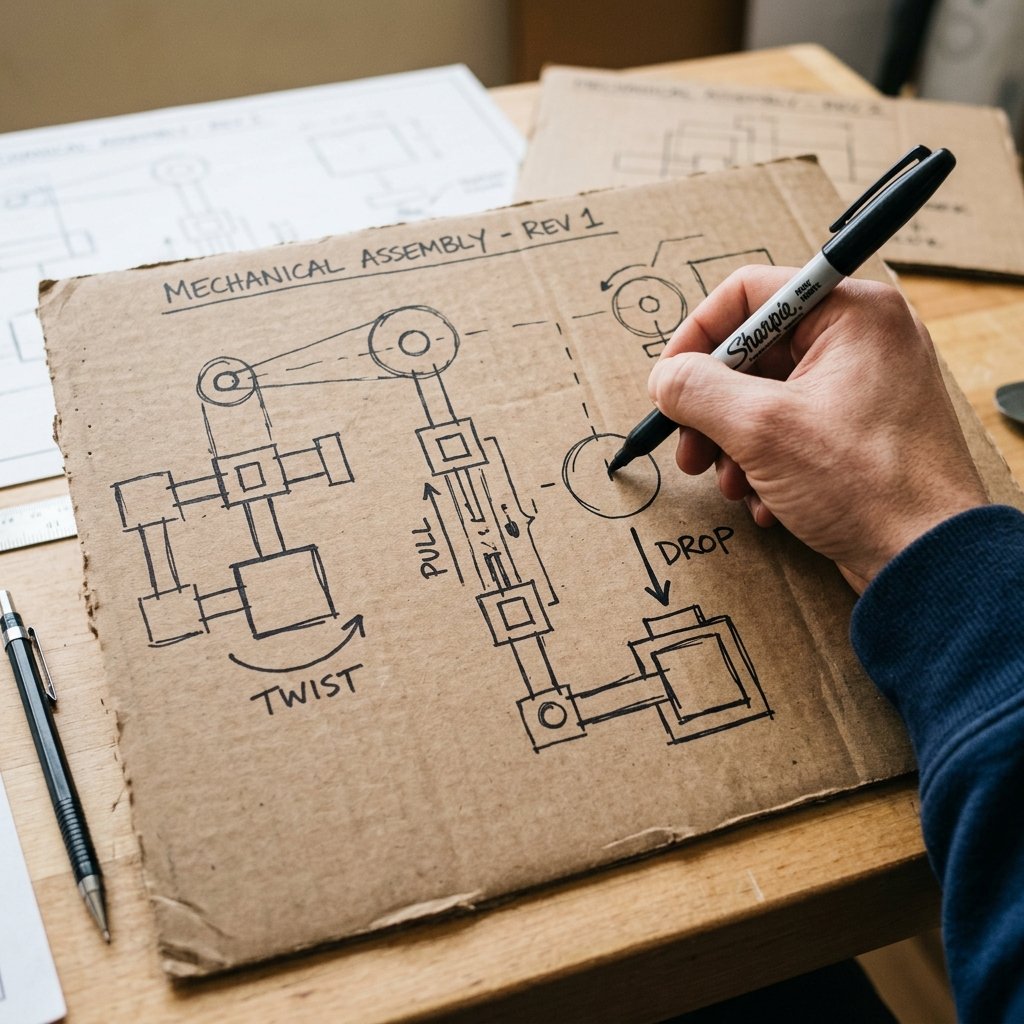
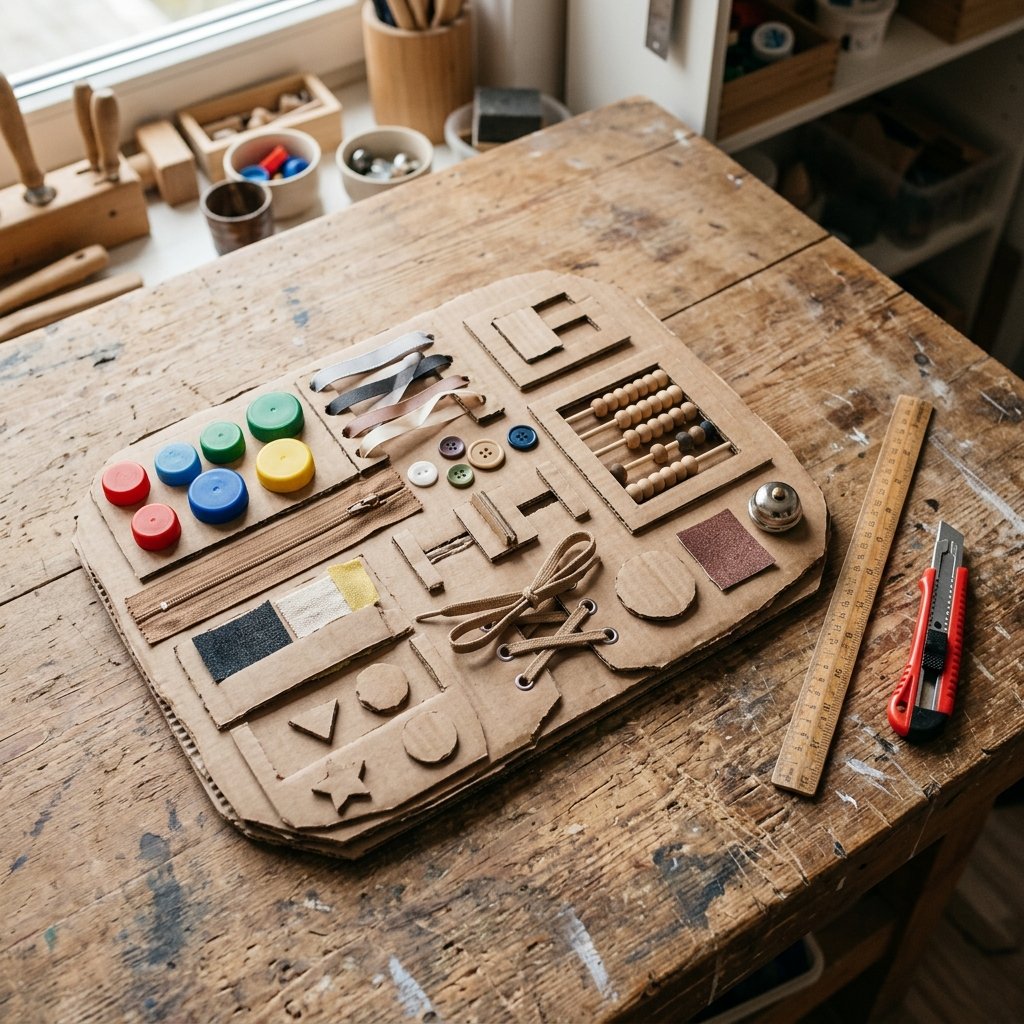
A master craftsman never starts without a plan. To keep a toddler quiet for hours, you need a variety of ‘stations’ on a single board. If the board only does one thing, they will be bored in 5 minutes. We want to create a ‘tactical’ layout. Think of this as a cockpit for a tiny pilot. We are going to divide our cardboard slab into four quadrants, each focusing on a different fine motor skill.
The Four-Quadrant Strategy
- The Twist Zone: Using glued-down bottle spouts, the toddler learns to screw and unscrew caps. This is elite-level hand-eye coordination.
- The Pull Station: Threading ribbons or laces through punched holes. This requires bilateral coordination (using both hands together).
- The Drop Chute: A vertical tube where they can drop pom-poms, pebbles, or even pasta shapes. This teaches cause and effect.
- The Texture Slide: A series of different materials (cardboard ridges, fabric, smooth plastic) for sensory exploration.
By mapping this out first with a pencil, you ensure the board is balanced and that the ‘mechanical’ elements don’t interfere with each other. It’s about practical elegance—making something that looks intentional and organized, even if it is made of scraps.
Construction Phase: Transforming Trash into a Fine Motor Masterpiece
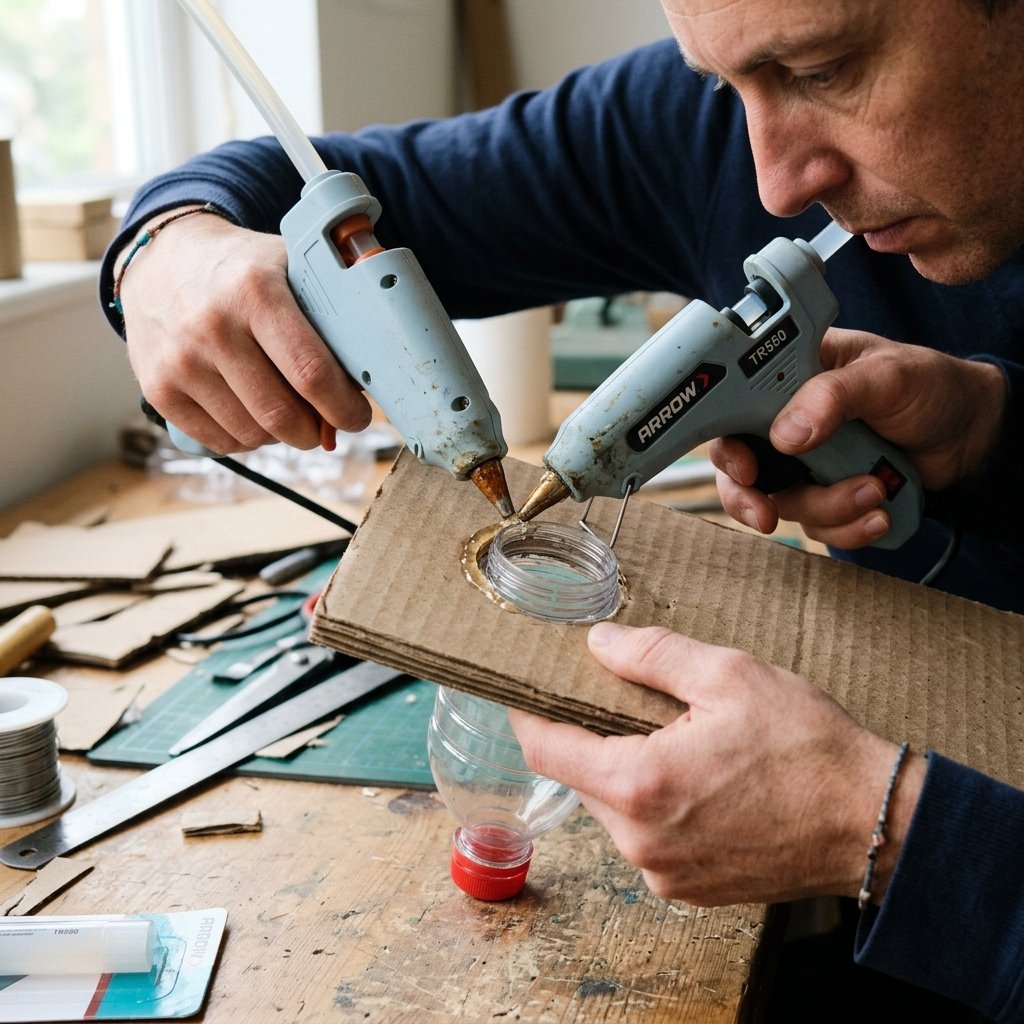
Now we get our hands dirty. This is where the crafty-expert in you shines. Follow these steps to assemble the board. Remember, we are aiming for a rugged build that can withstand the enthusiastic ‘testing’ of a two-year-old.
Step-by-Step Assembly
- Prepare the Chassis: Cut a large rectangle of double-walled cardboard (approx 18″ x 24″). If your cardboard is thin, glue two layers together to create a heavy-duty base.
- Install the Twist Zone: Cut the necks off plastic bottles (keep the cap on). Use your utility knife to cut a hole in the cardboard just large enough for the neck to fit through. Secure it from the back with a generous amount of hot glue. Total cost: $0.
- The Ribbon Pull: Use a screwdriver or a punch tool to create two parallel rows of holes. Thread your shoelace through them in a ‘zigzag’ pattern. Knot the ends on the back so they cannot be pulled out.
- The Gravity Chute: Take your toilet paper roll and glue it at a 45-degree angle. Place a small ‘catch basin’ (like the bottom of a cut-up cereal box) at the bottom.
- The Finishing Touch: Use a black permanent marker to draw ‘control panels’ or ‘gears’ around the elements. This adds a masculine-elegant aesthetic that makes the toy look like a piece of custom equipment rather than a pile of trash.
| Activity | Material Used | Skill Targeted |
|---|---|---|
| Cap Twist | Milk Jug Top | Wrist Strength |
| Lace Pull | Old Shoelace | Pincer Grasp |
| Tube Drop | TP Roll | Visual Tracking |
| Slot Push | Cardboard Scraps | Spatial Awareness |
Safety First: The Handy Parent’s Guide to Durable Cardboard Engineering
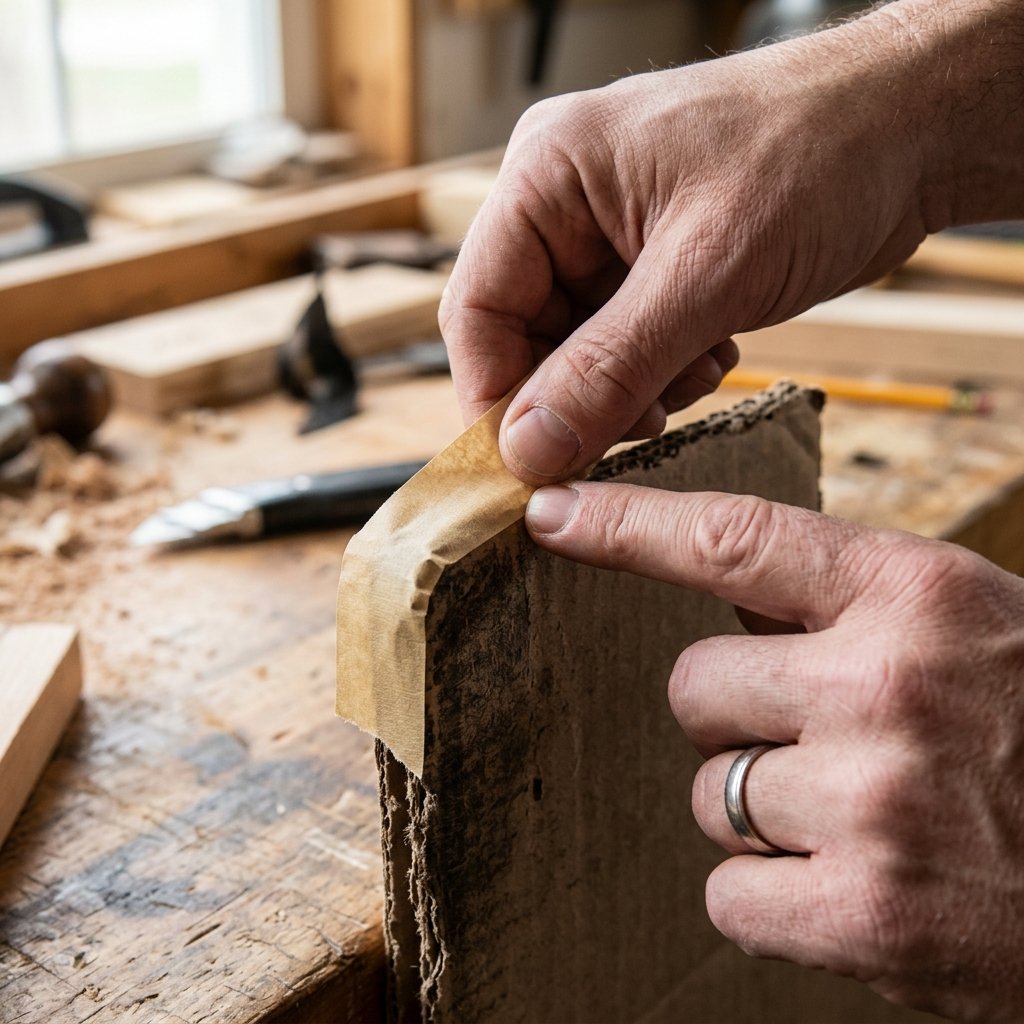
As a handy parent, safety is your top priority. While this project is budget-savvy, it must also be ‘toddler-proof.’ Cardboard can have sharp edges, and old materials can be brittle. Take 5 minutes to perform a ‘stress test’ on your creation.
“Build it like you mean it. If it can’t survive a toss across the living room, it isn’t ready for a toddler.”
First, run your finger along all cut edges of the cardboard. If they feel sharp, use a bit of masking tape (which you likely already have) to ‘hem’ the edges. Second, ensure all ‘drop’ items are large enough that they cannot fit through a toilet paper roll—this is the standard ‘choke tube’ test. Finally, make sure the board is either played with on the floor or securely leaned against a wall. A resourceful tip: use leftover adhesive velcro strips to attach the board to the back of a chair or a low table for a ‘standing desk’ experience.
The Engagement Secret: Rotating Activities Without Spending a Dime

The beauty of the $0 Cardboard Board is its modularity. When your toddler eventually masters the current layout, you don’t go to the store. You go back to the recycling bin. You can ‘upgrade’ the board by cutting out one section and hot-gluing a new activity in its place. This keeps the toy ‘fresh’ and the toddler quiet for hours as they encounter new challenges.
- The Penny Slot: Cut thin slits and provide large cardboard ‘coins’ for them to post.
- The Zipper Hack: If you have an old pair of ‘un-mendable’ work pants, cut out the zipper and glue the fabric strips to the board. It’s a rugged and satisfying tactile activity.
- The Door Hinge: Use a piece of cardboard as a ‘door’ and a piece of tape as a ‘hinge.’ Hide a picture of the family underneath for a ‘peek-a-boo’ surprise.
By constantly evolving the board, you are providing a high-end educational experience that adapts to your child’s growing brain—all while keeping your bank account untouched.
Conclusion
The Ultimate Win for the Frugal Maker
Building this DIY Cardboard Fine Motor Toy is more than just a afternoon project; it is a statement of intent. It proves that you don’t need a massive budget to provide a rich, engaging, and educational environment for your children. By being resourceful, clever, and budget-savvy, you have turned $0 of materials into countless hours of quiet, focused play. You have saved money, reduced waste, and exercised your ‘crafty-expert’ muscles. So, next time a delivery arrives at your door, don’t just see a box. See the potential for a new ‘twist station,’ a ‘gravity chute,’ or a ‘texture slide.’ Your toddler—and your wallet—will thank you. Now, sit back, enjoy the silence, and watch that little engineer at work. Happy building!

Makenzie is the founder and lead writer at MoneyHackTips.com — a personal finance blog dedicated to delivering street-smart financial wisdom for real people on real budgets. With 300+ published articles covering everything from debt management to investing fundamentals, Makenzie’s mission is to make every dollar work harder. When not writing about money hacks, Makenzie is testing frugal living strategies, optimizing side hustles, and helping readers build financial freedom from scratch.