
The Magic of the Humble Cardboard Box
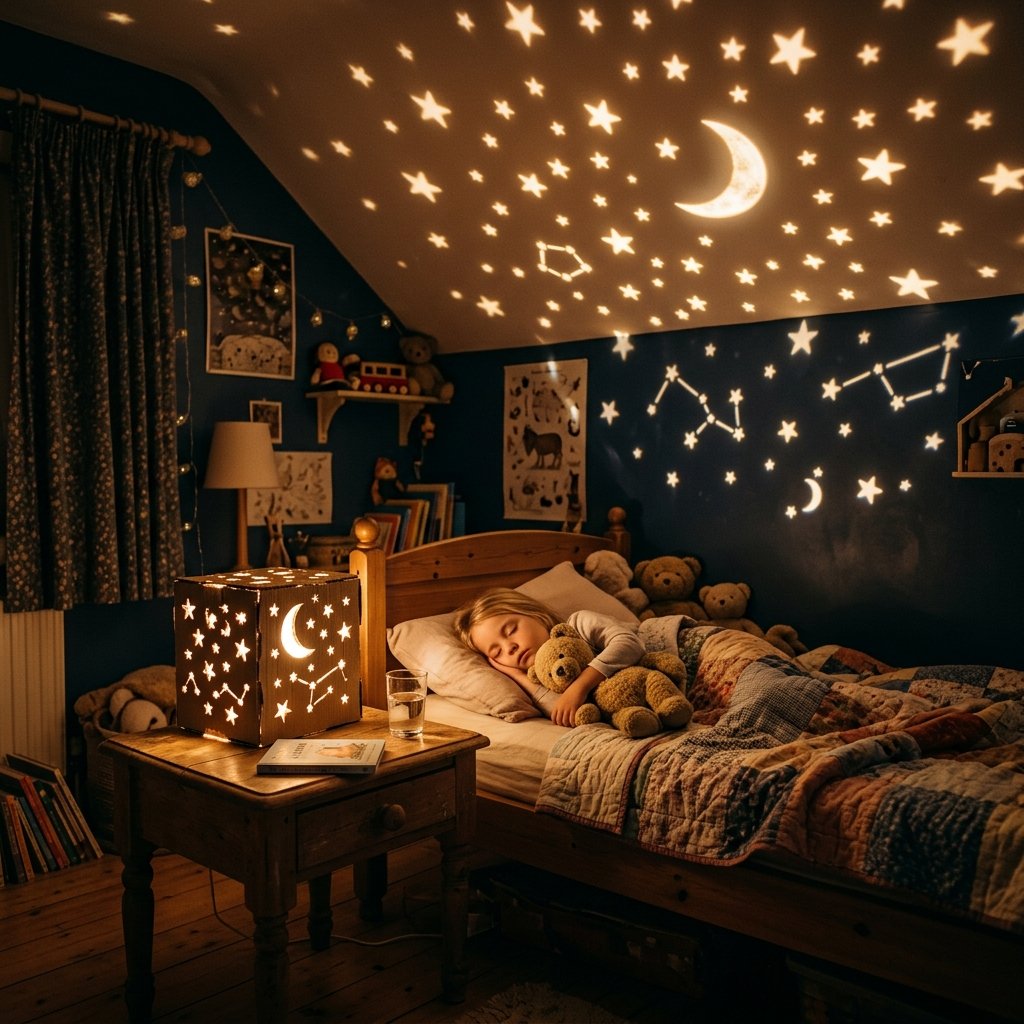
We’ve all been there: you buy a high-end toy, and your child spends more time playing with the box than the gadget itself. As a frugal DIYer, I’ve learned that the most magical experiences don’t come from a price tag; they come from resourceful creativity. Today, we are going to take that shipping box sitting in your recycling bin and transform it into a high-end DIY Projection Night Light. Why spend $40 or $50 on a plastic star projector when you can engineer a custom, rugged, and personalized version for literally $0? This project is about more than just a light; it’s about teaching your kids that with a little craftiness, anything is possible. We’re going to dive into the physics of light, the art of the perfect perforation, and the satisfaction of a trash-to-treasure victory.
The Blueprint: Selecting Your Chassis and Planning the Glow
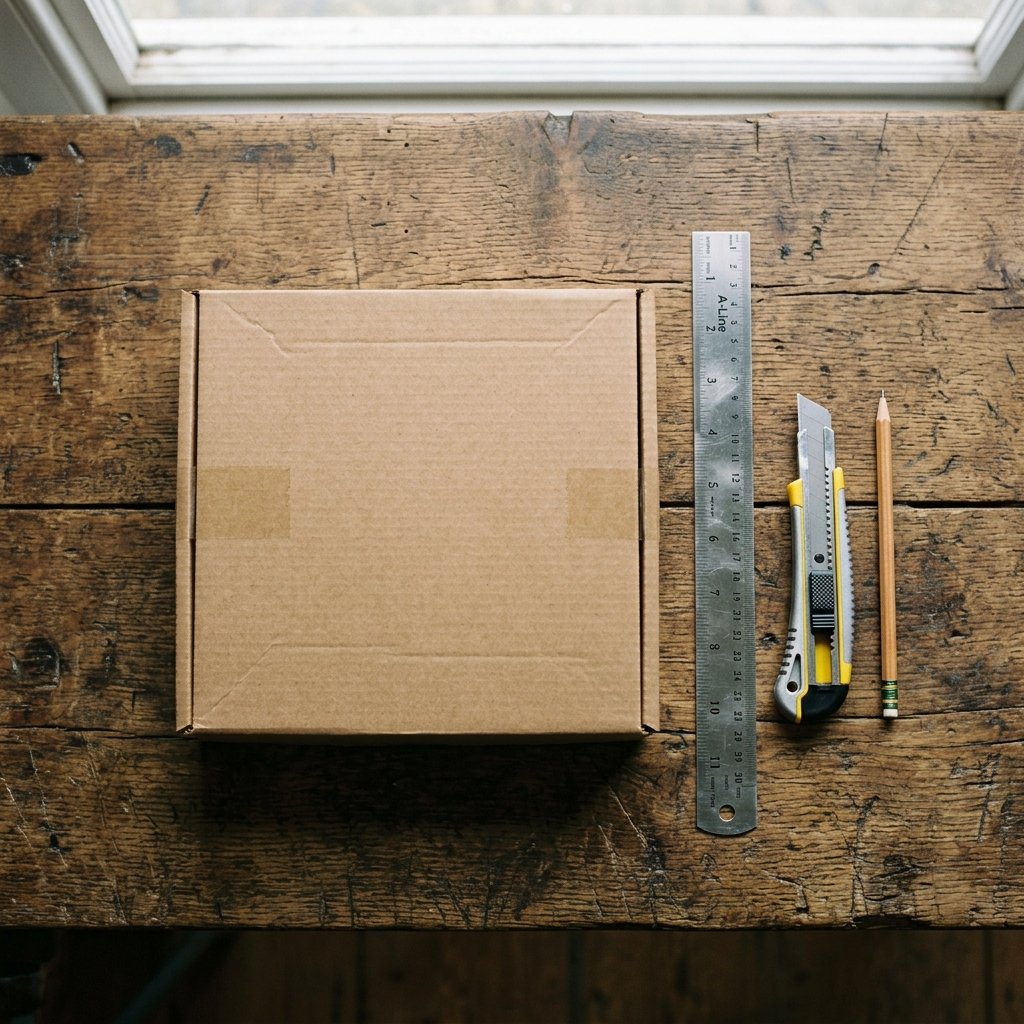
Not all cardboard is created equal. For a projection light, you want a box that is structurally sound but not so thick that you’ll need a power saw to get through it. A standard single-wall corrugated box (like a medium shipping box) is the gold standard. It provides enough opacity to keep the light contained while remaining easy to manipulate with a utility knife.
Why DIY Beats Store-Bought
When you buy a projector, you are stuck with their patterns. When you build one, you are the architect. You can project your child’s name, their favorite constellations, or even a silhouette of a dragon. Let’s look at the cost breakdown to see just how much you’re saving by being a budget-savvy maker.
| Feature | Store-Bought Projector | DIY Cardboard Projector |
|---|---|---|
| Cost | $25 – $60 | $0 – $2 |
| Customization | Limited/None | Infinite |
| Durability | Fragile Plastic | Easily Repairable |
| Eco-Impact | High (Plastic Waste) | Zero (Upcycled) |
The secret to a great projection is the distance between the light source and the holes. The closer the light, the larger the stars. The further away, the sharper they become.
The Tool Kit: Essential Gear for the Crafty Expert
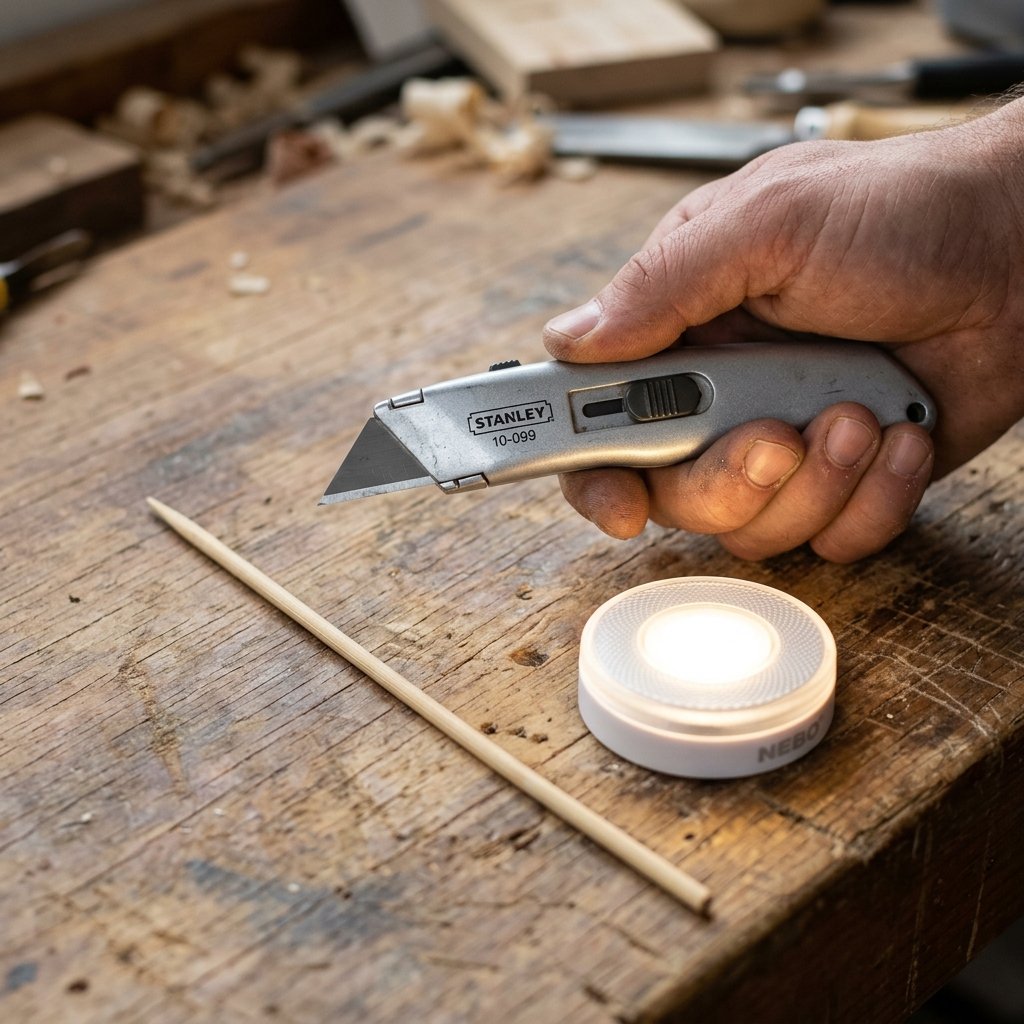
To pull this off with a masculine-elegant finish, you need the right tools. We aren’t just hacking at cardboard; we are precision-crafting. Gather these items from your junk drawer and tool chest:
- The Box: A square or rectangular shipping box (approximately 8x8x8 inches is ideal).
- The Light Source: A high-lumen LED puck light or a battery-operated flashlight. IMPORTANT: Never use real candles or incandescent bulbs that generate heat.
- The Puncture Tools: A wooden skewer, a large sewing needle, or a small screwdriver for varying hole sizes.
- The Cutting Edge: A fresh blade in your utility knife or X-Acto knife.
- The Finish: Black matte spray paint or a dark fabric scrap to line the inside for maximum light contrast.
A Note on Safety
Always supervise children during the cutting phase. Ensure your light source is cool-to-the-touch LED to prevent any fire hazards within the cardboard structure. Safety is the hallmark of a true handy parent.
Starlight Engineering: The Art of the Perforation
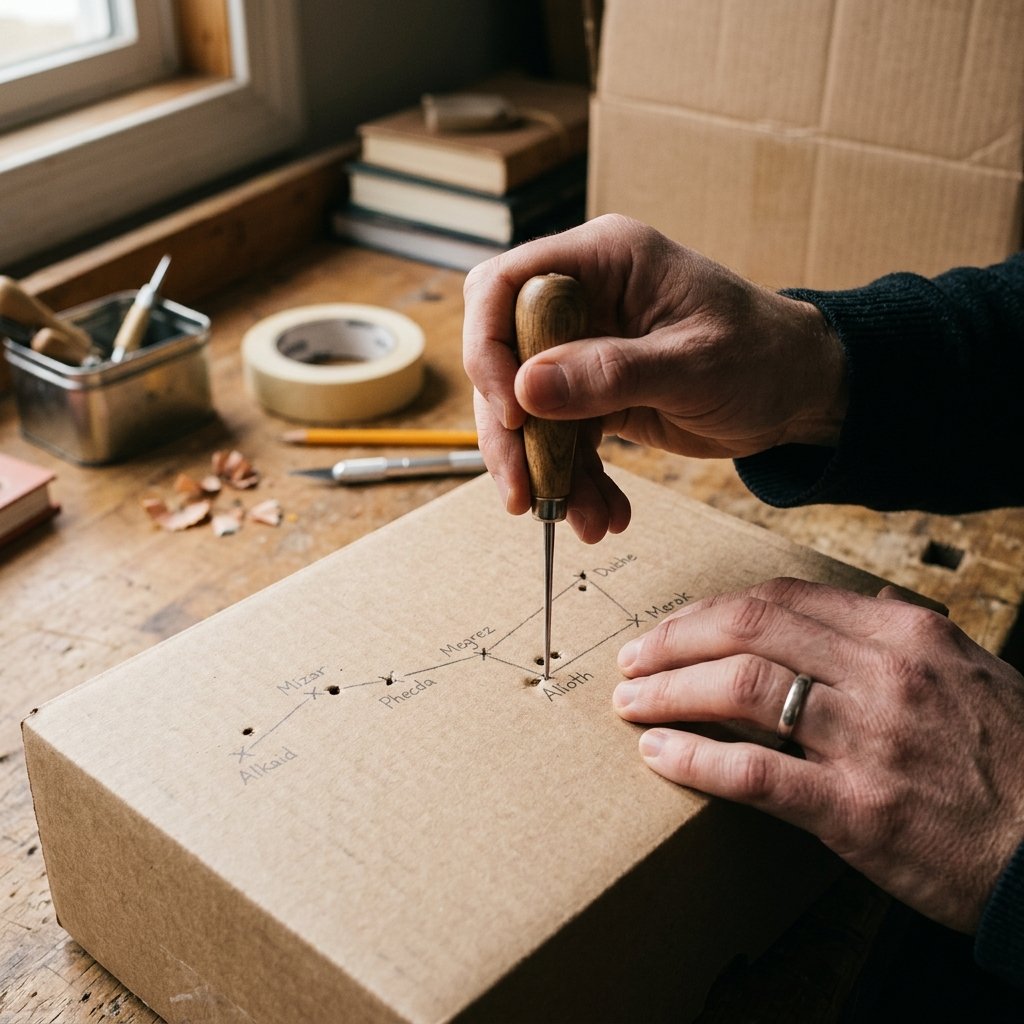
This is where the magic happens. To get those crisp, clear stars on the ceiling, you need to understand perforation density. If you poke too many holes, the light bleeds together and you lose the effect. If you poke too few, the room stays too dark.
Step-by-Step Perforation Guide:
- Sketch the Pattern: Use a pencil to lightly mark where you want your stars. I recommend using actual constellation maps like the Big Dipper or Orion for an educational touch.
- Vary the Diameters: Use different tools (skewer vs. needle) to create stars of different magnitudes. This adds depth and realism to the projection.
- Angle the Punctures: For the side walls, poke the holes at a slight upward angle. This ensures the light travels toward the ceiling and the upper parts of the walls rather than just hitting the floor.
- The Centerpiece: On the top flap of the box, cut out a larger shape—like a crescent moon—and cover it with a piece of wax paper or vellum to create a soft, diffused glow alongside the sharp stars.
Illumination Strategy: Maximizing the Glow
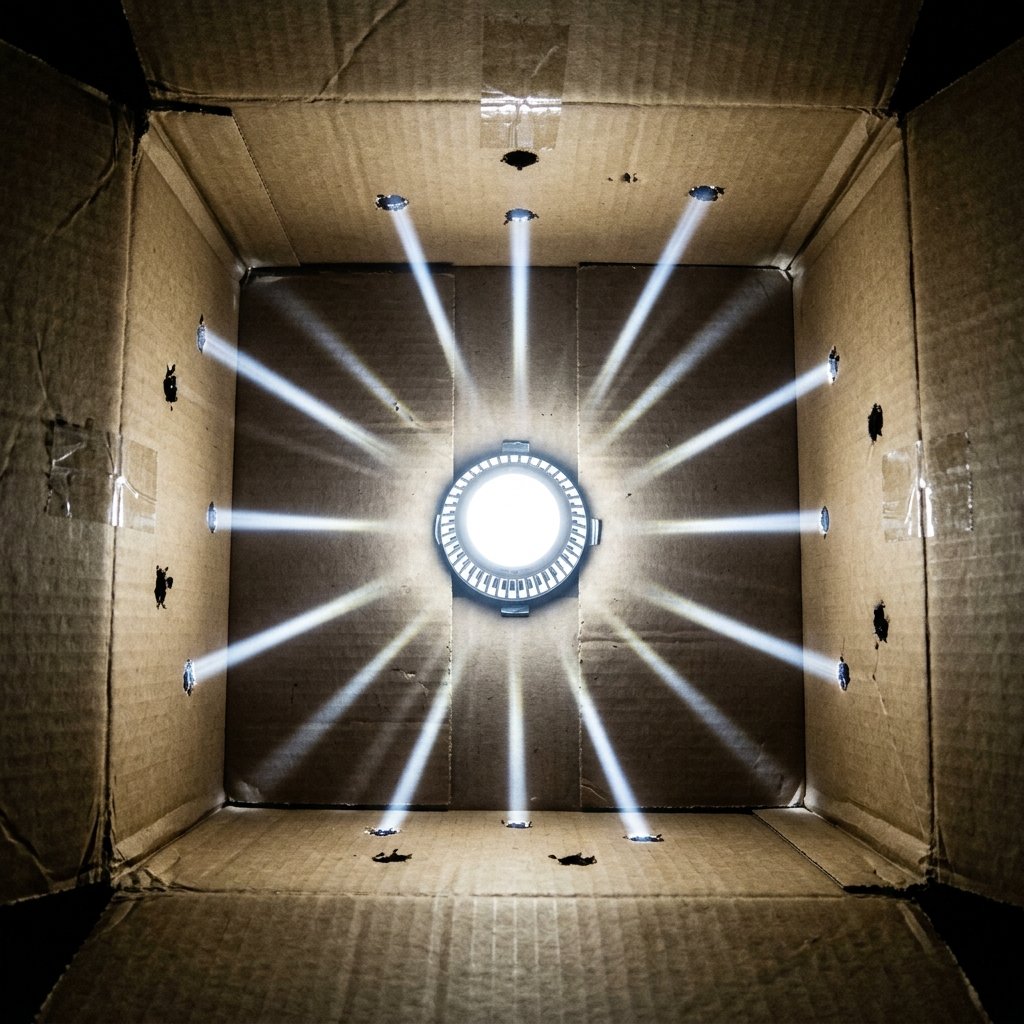
The light source is the engine of your projector. For a rugged and practical setup, I recommend a $1.25 LED puck light from the dollar store. They are bright, battery-operated, and perfectly flat, making them easy to mount to the bottom of your box.
Positioning for Success:
Place your light source exactly in the center of the bottom flap. If the light is off-center, your stars will look stretched (distorted). Use a small piece of Velcro or double-sided tape to secure the light so it doesn’t slide around when the box is moved.
| Light Type | Pros | Cons |
|---|---|---|
| Phone Flashlight | Free, very bright | Ties up your phone |
| LED Puck Light | Cheap, portable, safe | Requires batteries |
| Battery String Lights | Whimsical effect | Less sharp projection |
If you want a multi-colored galaxy, try placing a few pieces of colored cellophane over the LED. This is a clever, budget-savvy way to get that high-end RGB look without the electronics.
Aesthetic Overhaul: Making it Look Like Designer Decor
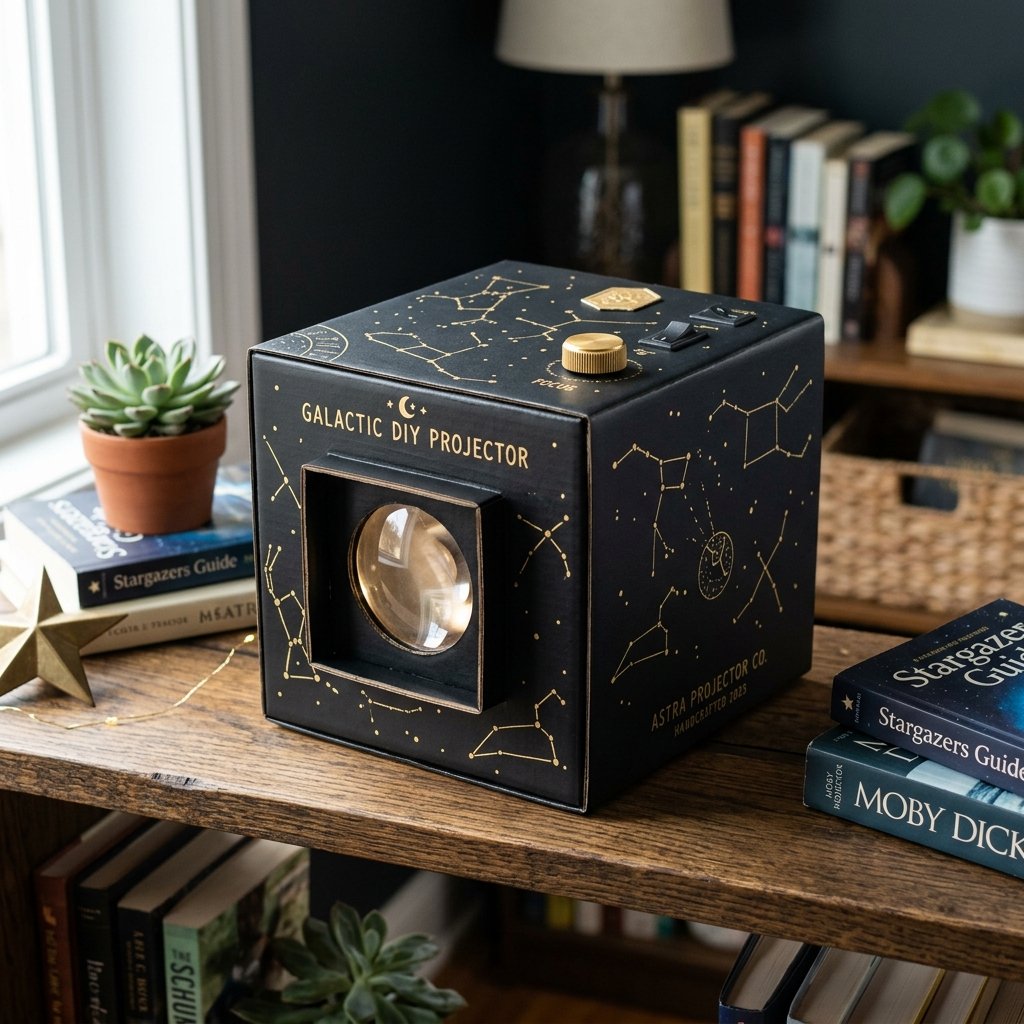
We don’t want a box that looks like trash; we want a piece of masculine-elegant decor. The goal is for someone to walk into the room and ask, “Where did you buy that?”
The Finishing Touches:
- The Midnight Coat: Paint the exterior of the box with matte black or deep navy acrylic paint. This hides the cardboard texture and makes the light leaks more dramatic.
- Metallic Accents: Use a gold or silver permanent marker to draw thin lines connecting your constellations on the outside of the box. It adds a sophisticated, astronomical-tool vibe.
- Reinforced Edges: Use black electrical tape or duct tape along the seams. This not only prevents light from leaking out of the corners but also adds a rugged, industrial aesthetic that holds up to kids’ play.
By taking these extra 10 minutes, you elevate the project from a ‘craft’ to a ‘product’. It’s the difference between a temporary toy and a childhood keepsake.
Troubleshooting the Glow: Optimization for Maximum Magic
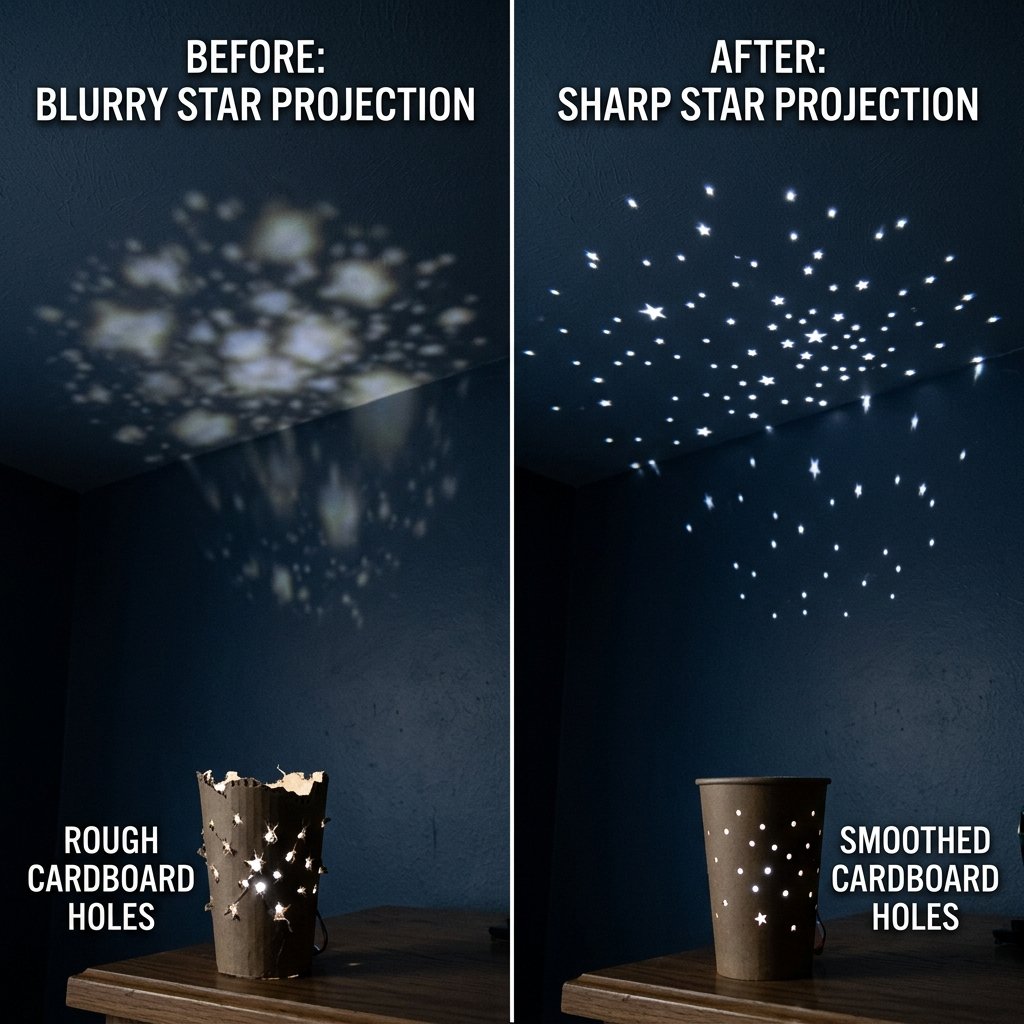
If your projection looks blurry, don’t panic. This is the crafty-expert phase of the build. Blurriness usually happens because the light source is too large or too diffused. Here is how to fix it:
The Pro-Fix List:
- Shadow Masking: If you have too much ambient light inside the box, line the interior with aluminum foil (shiny side in). This reflects all internal light toward your holes, making the stars significantly brighter.
- Hole Clean-up: If your holes have ‘burrs’ (little bits of cardboard sticking out), the light will be distorted. Take a small piece of sandpaper or a nail file and smooth the exit points of the holes.
- The Distance Factor: Remind your kids that the further the box is from the wall, the bigger the stars. For a small bedroom, place it on the floor in the center of the room for a full 360-degree experience.
Budget Mantra: A little bit of foil and a sharp needle can outperform a $50 motor any day of the week.
Conclusion
A Legacy of Light and Resourcefulness
You’ve done it. You’ve taken a piece of waste and turned it into a magical, celestial experience for your children. This DIY Projection Night Light is more than just a budget-savvy alternative to a store-bought toy; it’s a testament to your skills as a handy parent. In a world of disposable plastic, you chose to build something with your hands, using your wits and a few household scraps. Every night when those stars hit the ceiling, your kids will be reminded of the magic you created. So, keep that utility knife sharp and your eyes open—your next trash-to-treasure masterpiece is likely sitting in your mailbox right now. Happy crafting!

Makenzie is the founder and lead writer at MoneyHackTips.com — a personal finance blog dedicated to delivering street-smart financial wisdom for real people on real budgets. With 300+ published articles covering everything from debt management to investing fundamentals, Makenzie’s mission is to make every dollar work harder. When not writing about money hacks, Makenzie is testing frugal living strategies, optimizing side hustles, and helping readers build financial freedom from scratch.