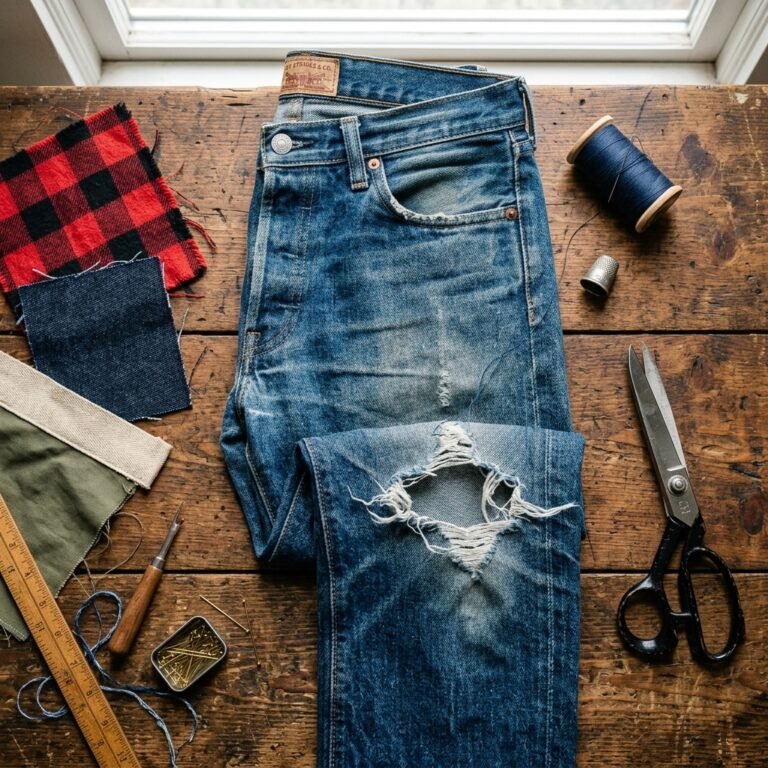

The Heartbreak of the Blown-Out Denim Pocket
There is a unique kind of heartbreak that happens when you hear that unmistakable sound: the harsh, sudden rip of thick cotton canvas. You reach into the chest pocket of your favorite, perfectly broken-in denim jacket to grab your sunglasses or a trusty field notes journal, and suddenly your finger pokes right through the bottom corner. The pocket has blown out. For many, this signals the end of the garment’s life, relegating a beautiful piece of outerwear to the donation bin or the back of the closet. But for the resourceful upcycler, the handy parent, and the frugal DIYer, a tear is not a death sentence. It is an invitation.
Welcome to the rugged, practical world of machine-free hand-mending. We are going to tackle the easiest, most durable way to mend a pocket tear on your favorite denim jacket without ever touching a sewing machine. Denim is a remarkably resilient fabric, woven with a twill pattern that practically begs to be repaired and worn for decades. By taking matters into your own hands, you are not just saving the $50 to $150 it would cost to buy a new jacket; you are adding a layer of personalized, masculine-elegant character to your clothing.
The most sustainable and budget-savvy piece of clothing you own is the one already hanging in your closet. Hand-mending isn’t just about saving money; it is about honoring the craftsmanship of the garments that protect us from the elements.
In this comprehensive guide, we will walk you through the grandma-approved, tailor-tested secrets to invisible mending and rugged structural repair. You do not need expensive equipment, a dedicated craft room, or years of tailoring experience. With a few simple supplies that cost less than a cup of coffee, you can restore your denim to its former glory—and make it even stronger than the day you bought it.
Understanding the Anatomy of a Denim Tear
Why Do Denim Pockets Tear?
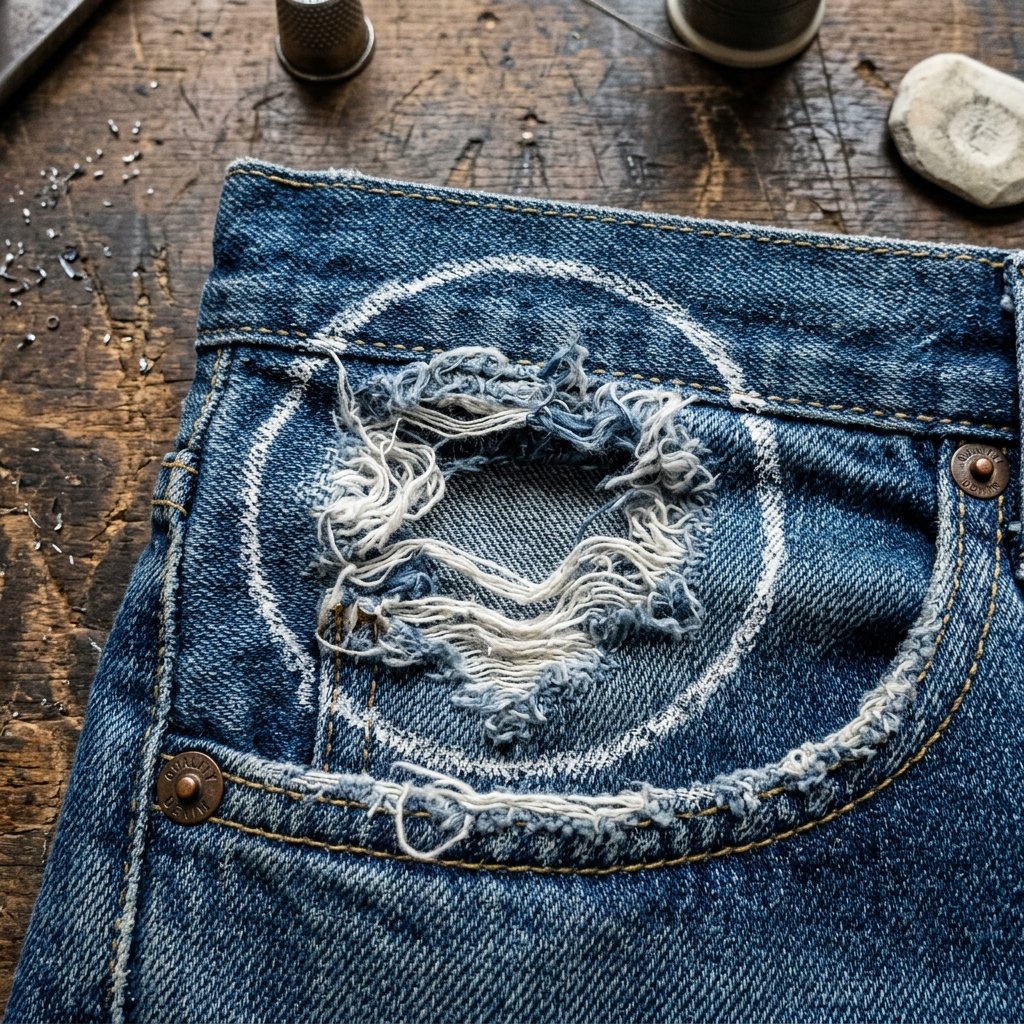
Before we thread our needles, we must understand the battlefield. Denim jackets are built for utility, but pocket corners are notorious stress points. Every time you shove your hands into the pockets, pull out a heavy set of brass keys, or stuff a bulky wallet inside, you are applying sheer force to a very small area of stitching. Over time, the heavy cotton threads begin to weaken, the warp and weft of the denim fabric start to separate, and eventually, the structural integrity gives way.
This is why machine sewing a torn pocket corner can sometimes do more harm than good. A sewing machine punches hundreds of tiny holes into an already weakened area, potentially creating a perforated line that will just rip again under pressure. Hand-sewing allows you to intuitively feel the tension of the fabric, navigating around the weakened fibers and anchoring your repair to the strong, intact denim surrounding the tear. It is a methodical, crafty-expert approach that yields superior results.
Problem vs. Tailoring Solution Guide
To ensure you are using the right technique for your specific denim disaster, consult our frugal mender’s matrix below. This will help you identify exactly what kind of intervention your jacket requires.
| Type of Denim Damage | Recommended Hand-Stitching Solution |
|---|---|
| Pocket Corner Blowout (Detached) | Reinforced Backstitch with Scrap Denim Backing |
| Frayed Collar or Cuff Edge | Whipstitch or Visible Sashiko Threading |
| Straight Line Rip (Clean Cut) | Invisible Ladder Stitch or Zig-Zag Hand Stitch |
| Large Missing Fabric Hole | Darning or Full Patch Applique |
For the purpose of this guide, we are focusing on the classic Pocket Corner Blowout, which requires a combination of structural reinforcement and heavy-duty stitching. This method ensures that the repair can handle the daily abuse of tools, phones, and cold hands.
The Frugal Mender’s Toolkit: Gather Your Arsenal

High-Quality Repairs on a Dollar Tree Budget
You might think that repairing heavy-duty workwear requires an industrial machine or expensive specialty tools. The truth is delightfully budget-savvy. For under $5, you can assemble a hand-mending toolkit that will last you for years and save you hundreds of dollars in clothing replacement costs. Here is exactly what you need to gather from your craft stash or the local discount store.
- Heavy-Duty Thread: Standard all-purpose polyester thread will snap under the tension of heavy denim. You need heavy-duty button thread, upholstery thread, or topstitching thread. If you want the repair to blend in, match the color to the indigo of your jacket. If you want a rugged, visible mend, choose a contrasting gold or bright red. Cost: $2.50.
- Denim Needles (Sharps): Denim is thick. Attempting to push a flimsy, thin needle through three layers of denim will result in bent metal and punctured fingers. Invest in a pack of assorted hand-sewing needles and select the thickest, sharpest one available. Cost: $1.50.
- A Sturdy Thimble: This is non-negotiable for hand-sewing denim. A metal or thick leather thimble will protect your pushing finger from the blunt end of the needle. Cost: $1.00.
- Scrap Fabric (The Reinforcement): Look in your scrap bin for a small piece of old denim, heavy canvas, or cotton twill. This will act as the structural bridge behind the tear. Cost: 100% Free.
- Straight Pins: For holding the fabric in place before you stitch. Cost: Already in your drawer.
Pro Tip: If you are completely out of heavy-duty thread and need an emergency fix, reach for unflavored dental floss! It is incredibly strong, abrasion-resistant, and perfect for a rugged, punk-rock style visible mend on the fly.
With your toolkit assembled, find a comfortable chair with excellent lighting. Hand-sewing is a meditative, deeply satisfying process. Pour yourself a cup of black coffee or a glass of budget-friendly bourbon, and let’s get to work.
Prepping the Pocket: The Secret to a Seamless Mend
Preparation is the Ultimate Crafty-Expert Move
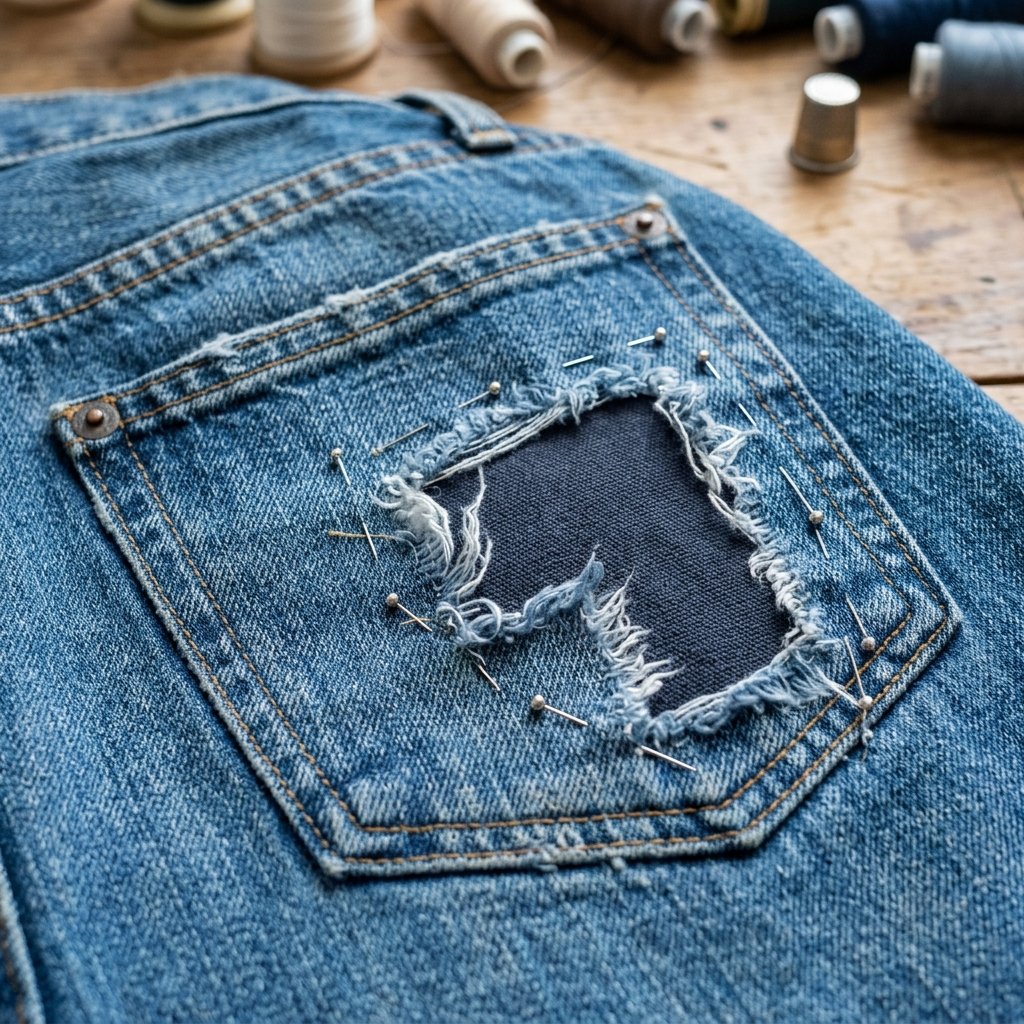
The biggest mistake novice menders make is threading the needle and immediately attacking the tear. Rushing the process leads to puckered fabric, misaligned pockets, and repairs that fail within a week. Taking 5 minutes to properly prepare the site of the blowout will guarantee a professional-grade, masculine-elegant finish that looks intentional rather than sloppy.
- Clean the Area: Ensure the jacket is reasonably clean. Dirt and grit embedded in the denim fibers can dull your needle and weaken your thread over time.
- Trim the Fray: Using sharp fabric scissors, carefully trim away the long, wild white threads (the weft) that are hanging out of the tear. Do not cut into the solid blue fabric! You just want to give yourself a clean visual workspace so your stitching doesn’t get tangled in the fluff.
- Cut the Backing Patch: Take your scrap fabric (denim or canvas) and cut a square that is at least one inch larger than the tear on all sides. This patch will live inside the jacket, directly behind the tear, acting as a hidden anchor.
- Pin it in Place: Slide the backing patch inside the jacket so it covers the hole from the inside. Carefully align the torn corner of the pocket back to its original position on the jacket body. Use straight pins to secure all three layers together (the jacket body, the pocket corner, and the backing patch).
Why the Backing Patch is Crucial
When a pocket tears, it usually rips a hole in the main body of the jacket. If you simply sew the pocket back onto the frayed edges of the hole, the tension will immediately rip the frail threads again. The backing patch acts as a new foundation. You will be sewing the pocket through the jacket body and into the sturdy patch behind it, distributing the weight and stress across a much wider, stronger area. It is a classic, practical engineering trick applied to textiles.
The Rugged Backstitch: Executing the Repair
Mastering the Strongest Hand Stitch in the Game
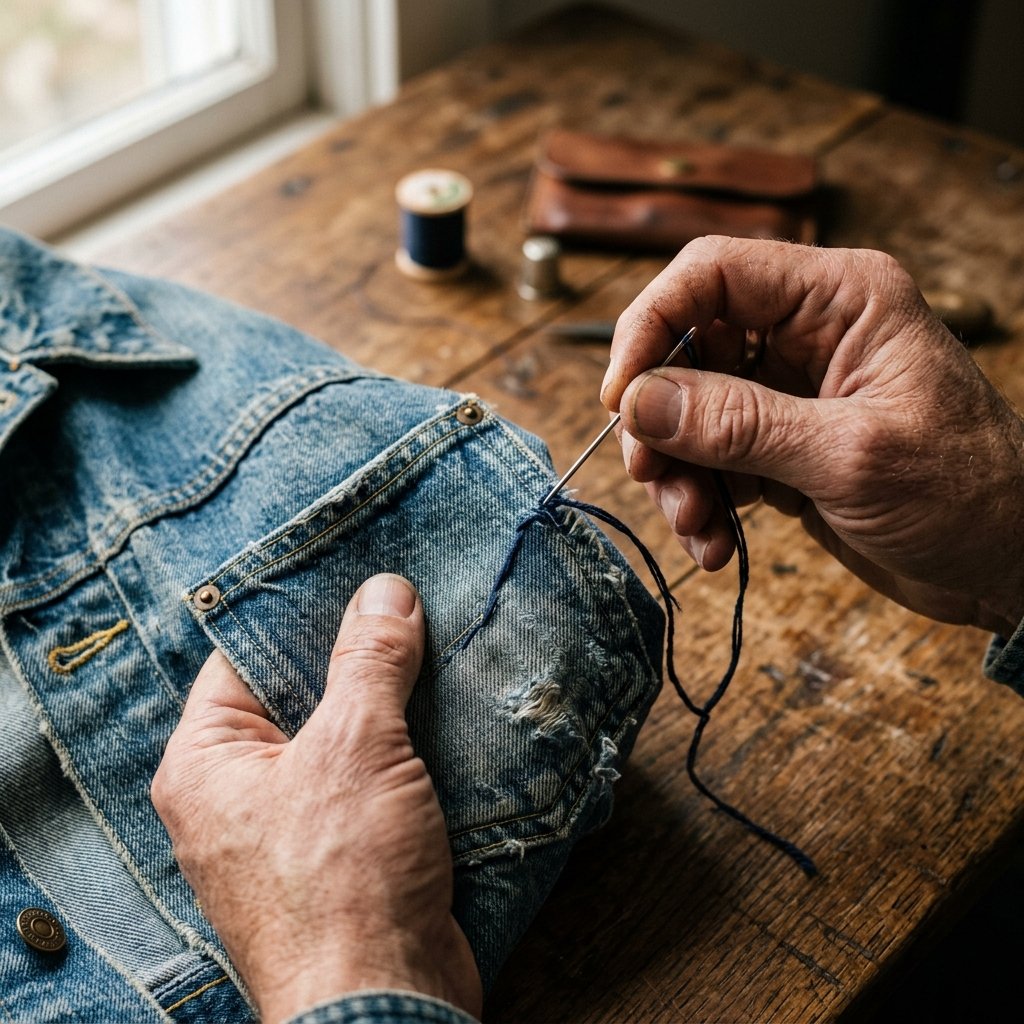
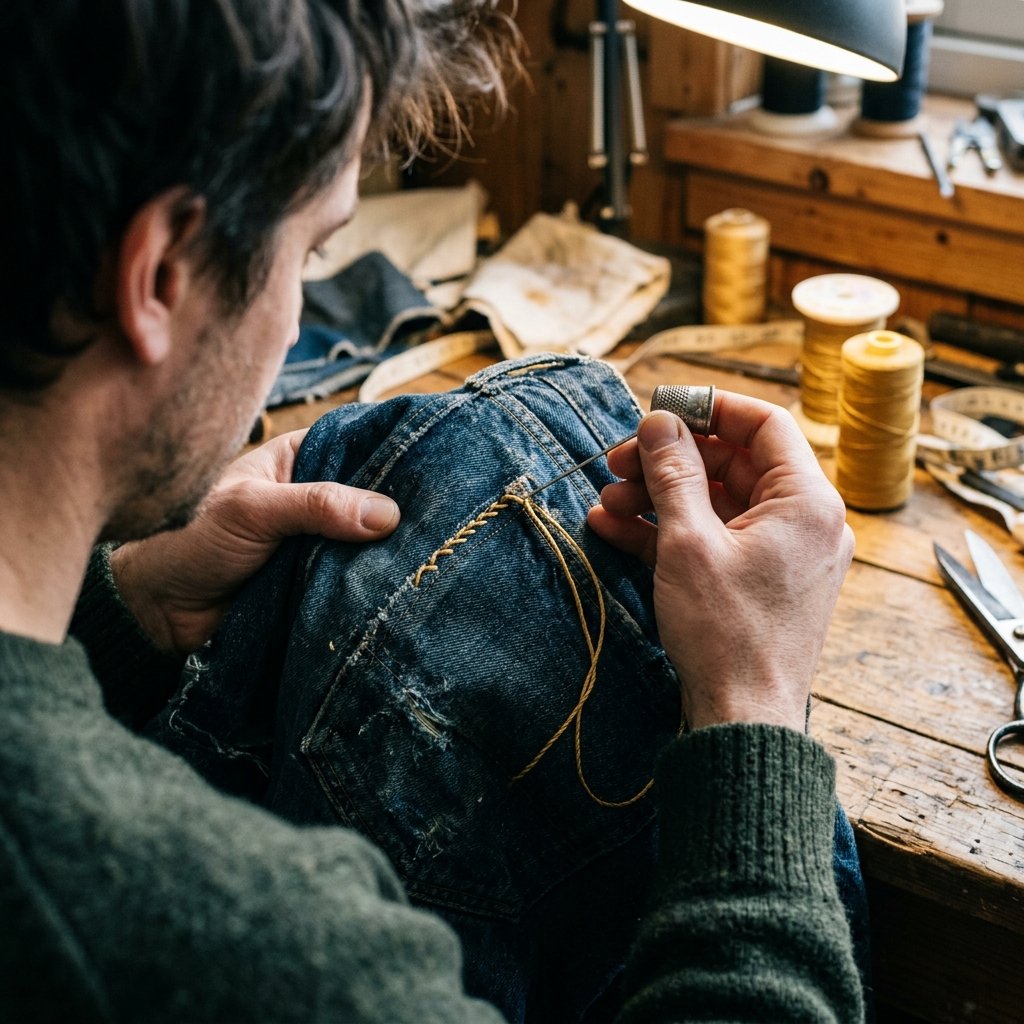
Now comes the rewarding part. We are going to use a modified Backstitch to secure the pocket. The backstitch is the workhorse of the hand-sewing world. It mimics the locking strength of a sewing machine and is incredibly durable. Because we are sewing through thick layers, take your time and use your thimble.
- Thread and Knot: Cut a piece of heavy-duty thread about the length of your forearm (any longer and it will tangle). Thread your heavy needle and tie a sturdy double knot at the end.
- The First Anchor: Start from the inside of the jacket. Push the needle through the backing patch, through the jacket body, and up through the very edge of the pocket corner. Pull the thread taut so the knot catches securely on the inside patch.
- Executing the Backstitch: Push the needle down through all layers about 1/8th of an inch behind where your thread just came up. Then, bring the needle back up through all layers about 1/8th of an inch in front of your original starting point. Pull tight. You have just created your first locked stitch!
- Follow the Original Hem: Continue this pattern—stitching backward into the end of the previous stitch, and coming up forward—following the original line of the pocket’s stitching. This will help your repair blend in seamlessly with the factory design.
- Reinforce the Stress Point: When you reach the very top corner of the pocket (the area that takes the most abuse), switch to a whipstitch. Loop the thread over the edge of the pocket and down into the jacket body 4 or 5 times tightly. This creates a dense, rugged bar-tack that acts like a tiny rope binding the pocket to the jacket.
- Tie Off: Push the needle to the inside of the jacket one last time. Slide the needle under your last internal stitch to create a loop, pass the needle through the loop, and pull tight to create a knot. Repeat this knot twice for ultimate security, then snip the excess thread.
The Backstitch Mantra: “Forward two steps underneath, backward one step on top.” Keep your stitches small and tight, and your denim will outlive you.
The total time for this stitching process should be around 15 to 20 minutes. The result is a pocket that is functionally superior to when it was brand new, anchored deeply into a reinforced backing.
Elevating the Look: Visible Mending and Sashiko for the Crafty Upcycler
Turning a Flaw into a Feature
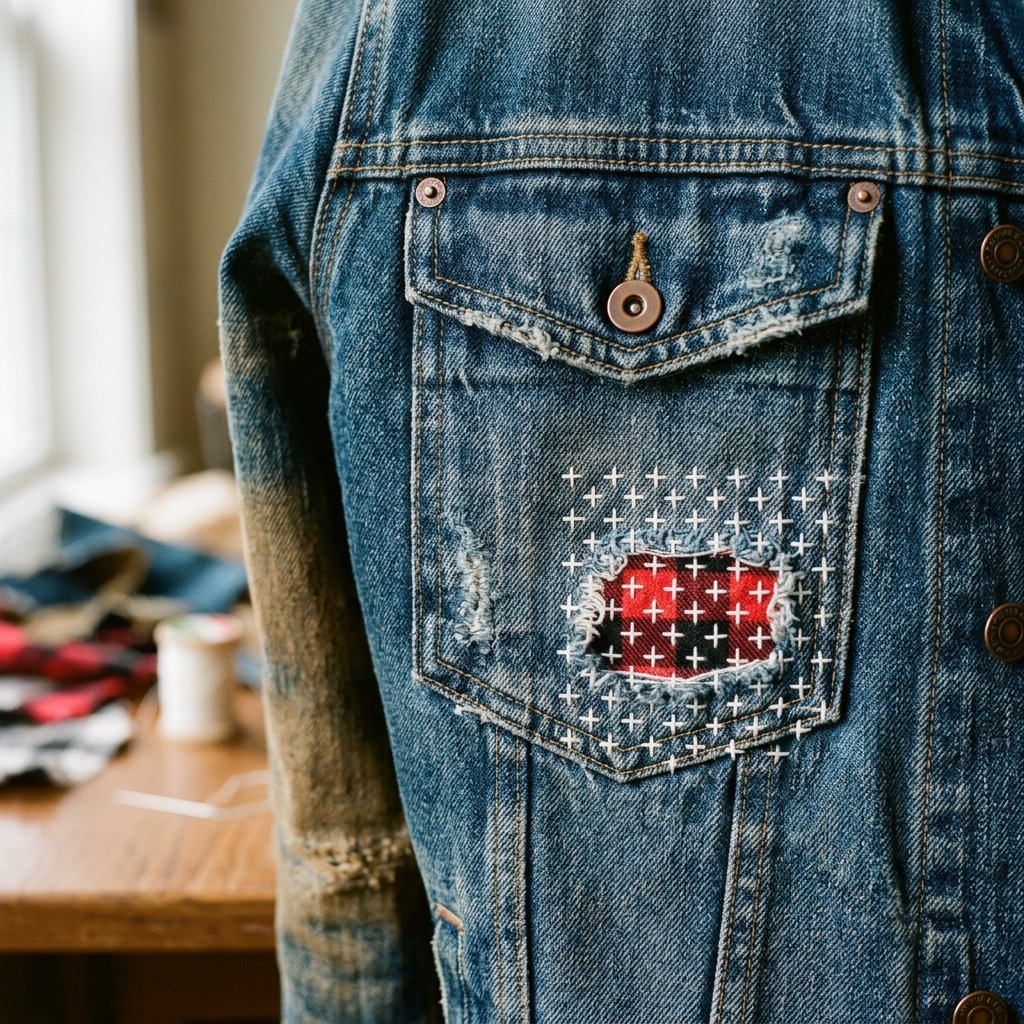
For the creative gift-givers and style-conscious upcyclers, a mend does not have to be invisible. In fact, there is a massive trend in high-end fashion and sustainable menswear that celebrates the repair. This is heavily inspired by the Japanese art of Sashiko (meaning “little stabs”), a form of decorative reinforcement stitching that originated out of pure frugal necessity in rural Japan.
If you want to give your jacket a bespoke, masculine-elegant, custom-tailored vibe, you can use the backing patch method we just discussed, but instead of trying to hide your stitches, you boldly show them off.
How to Execute a Visible Mend
- Choose a Contrasting Thread: Use a bright white, crimson red, or mustard yellow heavy embroidery floss or specialized Sashiko thread.
- Expand the Patch: Use a larger backing patch, perhaps a piece of vintage flannel, patterned cotton, or a contrasting shade of denim. Allow a little bit of the patch color to peek through the frayed hole of the tear.
- Stitch a Pattern: Instead of just sewing the pocket line, stitch a grid of small, running stitches (up and down, up and down) over the entire weakened area. You can create parallel lines, crosses, or geometric diamond patterns.
This crafty-expert approach turns a simple repair into a piece of wearable art. It tells a story of utility, resourcefulness, and care. When someone compliments your jacket, you get the immense satisfaction of saying, “Thanks, I fixed it myself.” It is the ultimate flex for the budget-savvy DIYer.
Cost Breakdown and Long-Term Care

The Frugal Math: Why Hand-Mending is a Superpower
Let’s look at the hard numbers. Taking a torn denim jacket to a professional tailor will cost you anywhere from $20 to $45 depending on your city. Buying a brand new, high-quality denim jacket will easily set you back $80 to $150.
| Repair Method | Estimated Cost | Time Investment | Durability |
|---|---|---|---|
| Professional Tailor | $25 – $45 | 1 – 2 Weeks | High |
| Buy New Jacket | $80 – $150 | Instant | Variable |
| DIY Hand-Mending | $0 – $5 | 20 Minutes | Extremely High |
By investing just a few dollars in basic supplies and twenty minutes of your time, you are retaining 100% of the vintage character of your jacket while keeping your hard-earned money in your wallet. That is the definition of practical, resourceful living.
Caring for Your Mended Denim
Now that your pocket is securely attached and reinforced, how do you keep the rest of the jacket in top shape? Denim is inherently low-maintenance, but a few simple habits will drastically extend its lifespan.
- Wash Less Frequently: Denim does not need to be washed after every wear. In fact, frequent machine washing breaks down the cotton fibers and fades the indigo prematurely. Spot clean small stains with a damp cloth and mild soap.
- Wash Cold, Hang Dry: When it is finally time to wash the jacket, turn it inside out to protect your beautiful new stitches, wash it on a cold, gentle cycle, and never put it in the dryer. The high heat of a tumble dryer shrinks the fabric and warps the seams. Hang it on a sturdy wooden hanger to air dry.
- Inspect Regularly: Every few months, give your jacket a quick inspection. Look for thinning areas at the elbows, cuffs, and pocket corners. If you see an area getting thin, you can preemptively add a small backing patch and a few stitches before it ever becomes a full blowout.
Conclusion
Wear Your Scars with Pride
Mending a torn pocket on your favorite denim jacket is so much more than a frugal chore; it is an act of rebellion against fast fashion and a testament to your own resourcefulness. By utilizing a simple heavy-duty needle, some sturdy thread, and the unyielding strength of the backstitch, you have breathed new life into a garment that will continue to serve you for years to come.
Whether you opted for the invisible structural repair or embraced the crafty, masculine-elegant flair of visible Sashiko mending, you have proven that you don’t need an expensive sewing machine to achieve professional-grade tailoring. You have saved money, reduced waste, and gained a valuable life skill. So go ahead, drop your heavy keys and tools back into that pocket with confidence. Your jacket isn’t just repaired—it is upgraded. Keep your needles sharp, your stitches tight, and never underestimate the power of a budget-savvy DIYer with a little bit of scrap fabric.

Makenzie is the founder and lead writer at MoneyHackTips.com — a personal finance blog dedicated to delivering street-smart financial wisdom for real people on real budgets. With 300+ published articles covering everything from debt management to investing fundamentals, Makenzie’s mission is to make every dollar work harder. When not writing about money hacks, Makenzie is testing frugal living strategies, optimizing side hustles, and helping readers build financial freedom from scratch.