
The Allure of Architectural Earthware
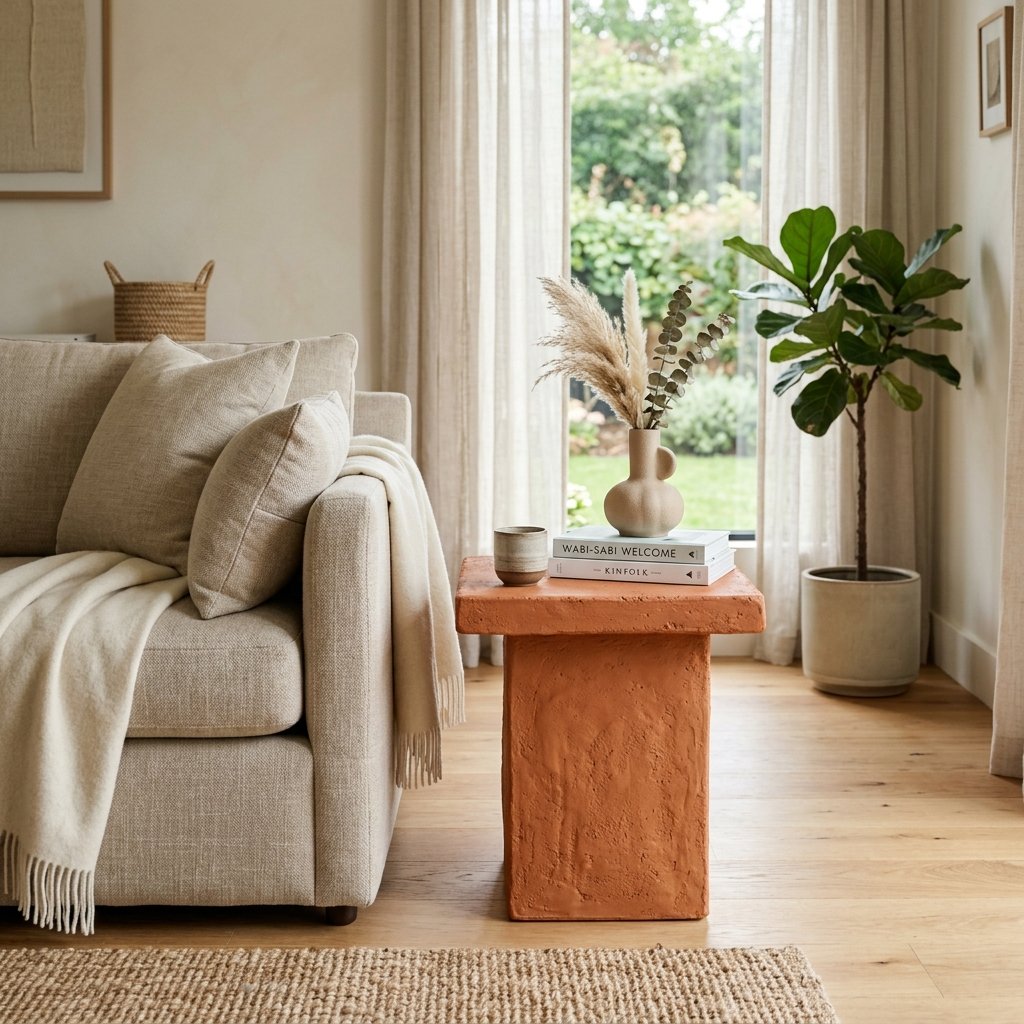
We have all been there: scrolling through the latest Anthropologie or Pottery Barn catalog, stopping dead in our tracks at a stunning, sculptural accent table that costs more than a monthly car payment. There is something undeniably sophisticated about the rugged, organic texture of terracotta and stone. It brings a grounded, earthy elegance to a room that mass-produced laminate furniture simply cannot replicate. But here is the clever secret from a seasoned upcycler: you do not need a $400 budget to own a piece of architectural art. With a few heavy-duty garden pots, some resourceful engineering, and a bit of ‘baking soda paint’ magic, you can create a centerpiece that looks like it was hand-carved in a Mediterranean workshop. This project is for the frugal DIYer who refuses to sacrifice style for savings. We are going to build a piece that is heavy, stable, and visually striking, all while keeping our budget firmly under $40.
The Blueprint: Materials and Cost Comparison

Before we head to the garden center, let’s look at the logistics. The key to a successful ‘high-end dupe’ is selecting the right shapes. We are looking for large, heavy-duty terracotta pots that offer a clean, tapered silhouette. By stacking these pots rim-to-rim or base-to-base, we create an hourglass or pedestal shape that mimics expensive ceramic furniture. Below is a breakdown of what you will need and how the costs stack up against the retail giants.
| Item | Source | Estimated Cost |
|---|---|---|
| Large Terracotta Pot (12-14″) | Hardware Store/Garden Center | $12.00 |
| Medium Terracotta Pot (10″) | Hardware Store/Garden Center | $8.00 |
| Heavy-Duty Construction Adhesive | Home Improvement Store | $6.00 |
| Sample Jar of Matte Paint | Paint Counter | $5.00 |
| Baking Soda or Plaster | Pantry/Craft Store | $1.00 |
| Large Terracotta Saucer (Top) | Garden Center | $7.00 |
| Total DIY Cost | – | $39.00 |
Compare that to the $298 – $450 price tags found at high-end retailers. You are looking at a 85% to 90% savings. This is the epitome of being budget-savvy without looking cheap. We are using the weight and natural material of the clay to our advantage, ensuring the finished table feels substantial and ‘real’ to the touch.
Step-by-Step: Structural Foundation and Assembly
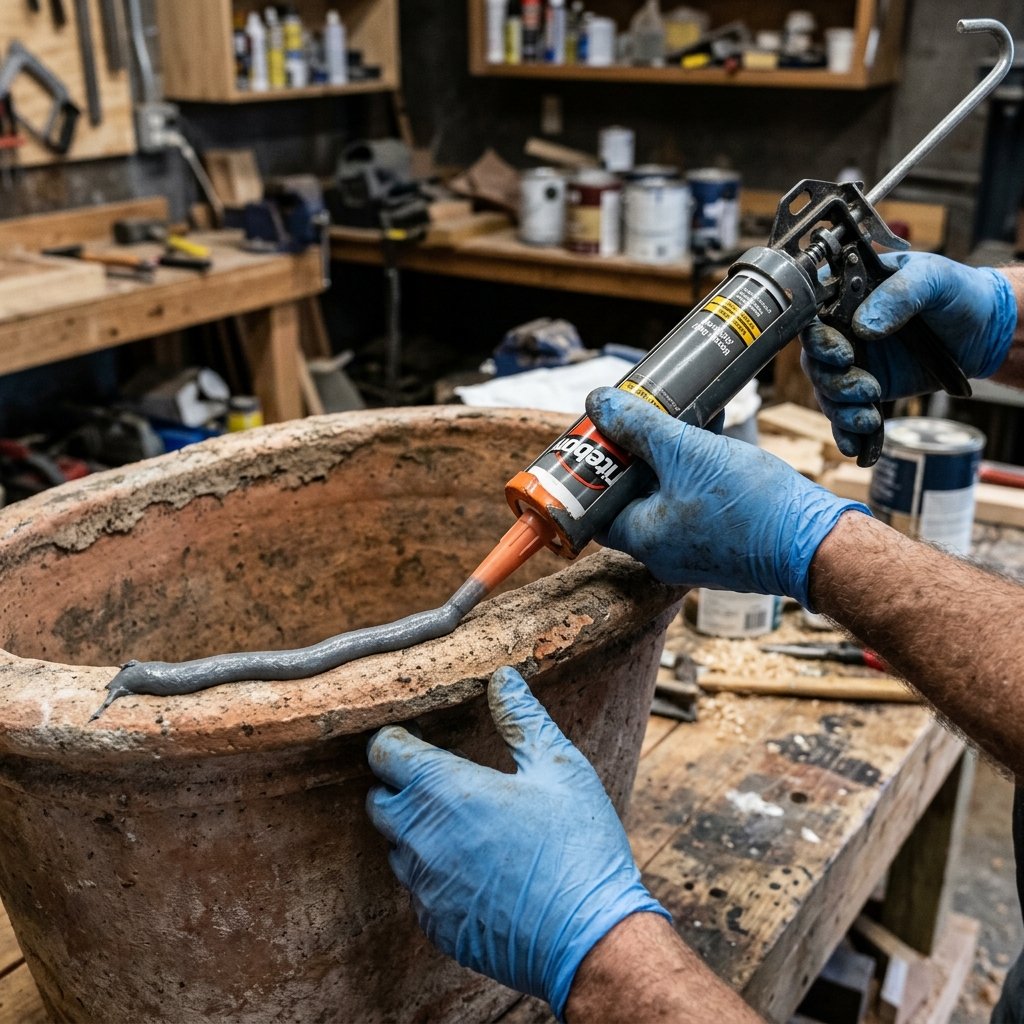
Building for Stability
The biggest mistake DIYers make with pot-stacking projects is failing to account for center-of-gravity. Because terracotta is top-heavy once you add a tabletop, we need a rugged, secure bond. We will be using the ‘Hourglass Method’ for this build.
- Clean the Surfaces: Use a stiff brush to remove any dust or salt deposits from the pots. If the pots are brand new, wipe the rims with a damp cloth and let them dry for 20 minutes.
- The Dry Fit: Stack your pots to test the height. For a standard accent table, you want a finished height of 18 to 22 inches. Usually, two large pots stacked rim-to-rim provides the perfect architectural scale.
- Applying the Adhesive: Use a high-strength construction adhesive (like Liquid Nails or E6000). Apply a generous bead along the entire top rim of the base pot.
- The Bond: Carefully invert the second pot and place it rim-to-rim onto the base pot. Press down firmly.
- Cure Time: This is the most important step. Do not move the pots for at least 24 hours. Terracotta is porous, and the adhesive needs time to bite into the material.
“Patience is the craftsman’s best tool. A 24-hour cure ensures your table won’t just look like a designer piece—it will function like one for years to come.”
The Art of the Finish: Achieving the Faux Stone Look
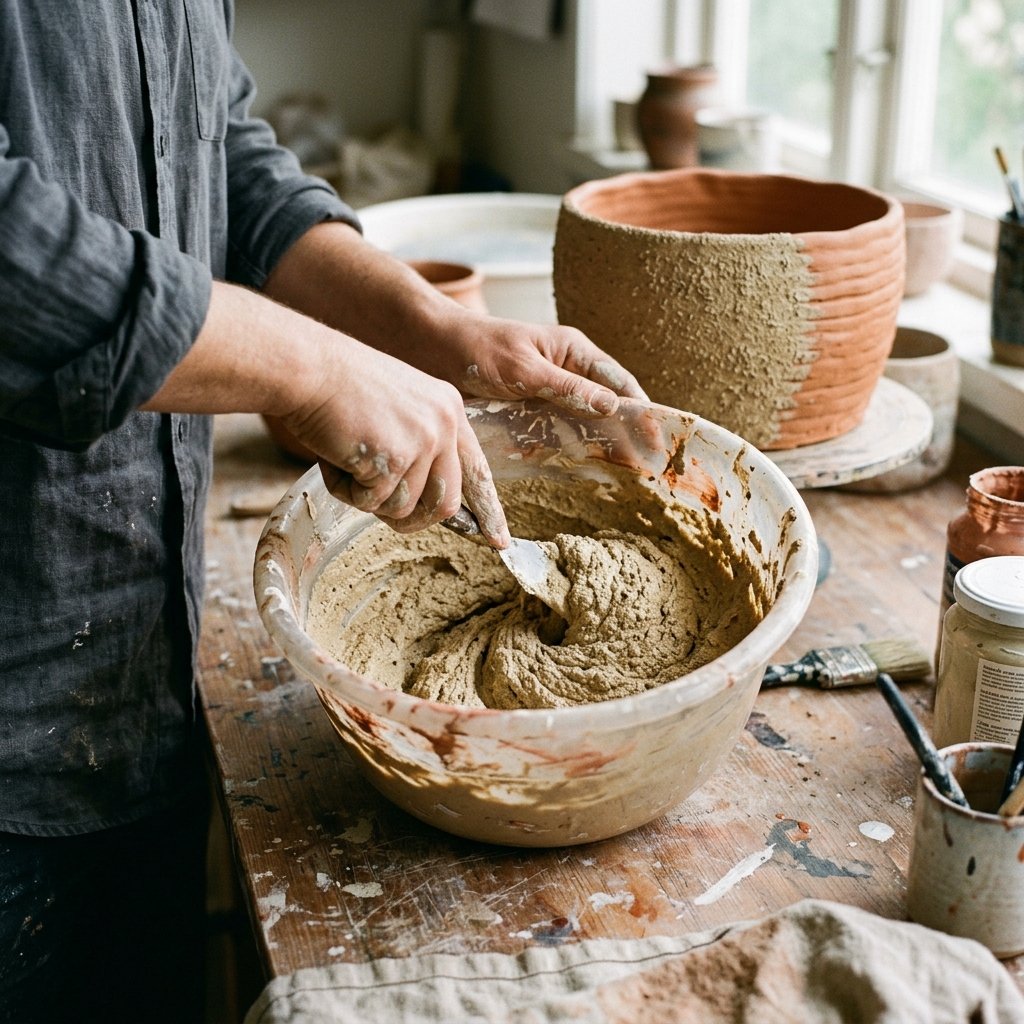
The Secret Baking Soda Technique
Standard terracotta has a distinct orange hue that screams ‘garden center.’ To get that Anthropologie ‘found object’ look, we need to create a faux-stone patina. This is where we get crafty with texture. By mixing baking soda into acrylic or latex paint, we create a gritty, matte paste that mimics aged plaster or volcanic rock.
The Recipe Ratio
| Ingredient | Ratio | Purpose |
|---|---|---|
| Matte Latex Paint (Beige/Greige) | 1 Cup | Base Color & Binder |
| Baking Soda | 1/2 Cup | Texture & Matte Finish |
| Water | 1-2 Tablespoons | Consistency Adjustment |
Mix the ingredients until you have a consistency similar to thick pancake batter. Use a natural bristle brush to apply the mixture in a ‘stippling’ motion (dabbing rather than long strokes). This creates tiny peaks and valleys on the surface that catch the light beautifully. Apply two coats, allowing 2 hours of drying time between each. The result is a rugged, masculine-elegant finish that hides the seams where the pots meet.
Capping the Top: Selecting and Securing the Surface
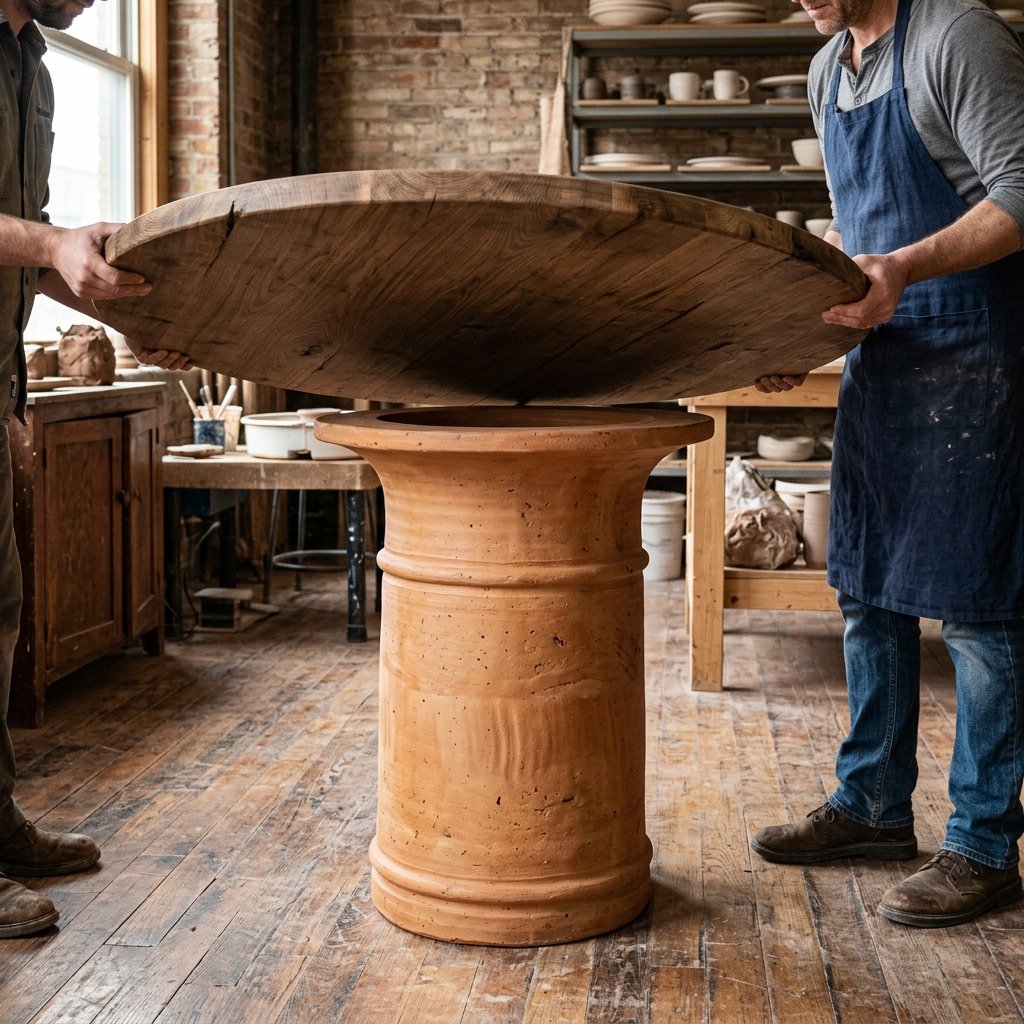
Now that the base is sturdy and textured, we need a functional tabletop. You have two budget-friendly options here: a large terracotta saucer or a round wood plaque from the craft store. For the ultimate ‘monolithic’ look, I recommend the terracotta saucer. It maintains the material consistency and provides a slight lip that prevents items from sliding off.
- The Saucer Method: Flip a 14-inch saucer upside down (or right-side up if you want a tray-top look) and adhere it to the base of the top pot using the same construction adhesive.
- The Wood Method: If you prefer a mixed-material look, stain a 15-inch pine round in a dark walnut finish. This adds a bit of warmth and a ‘modern farmhouse’ vibe.
Safety Note: If you have small children or pets, consider filling the bottom pot with 5-10 lbs of play sand or gravel before sealing the top. This lowers the center of gravity and prevents tipping.
Styling and Longevity: The Final Touches
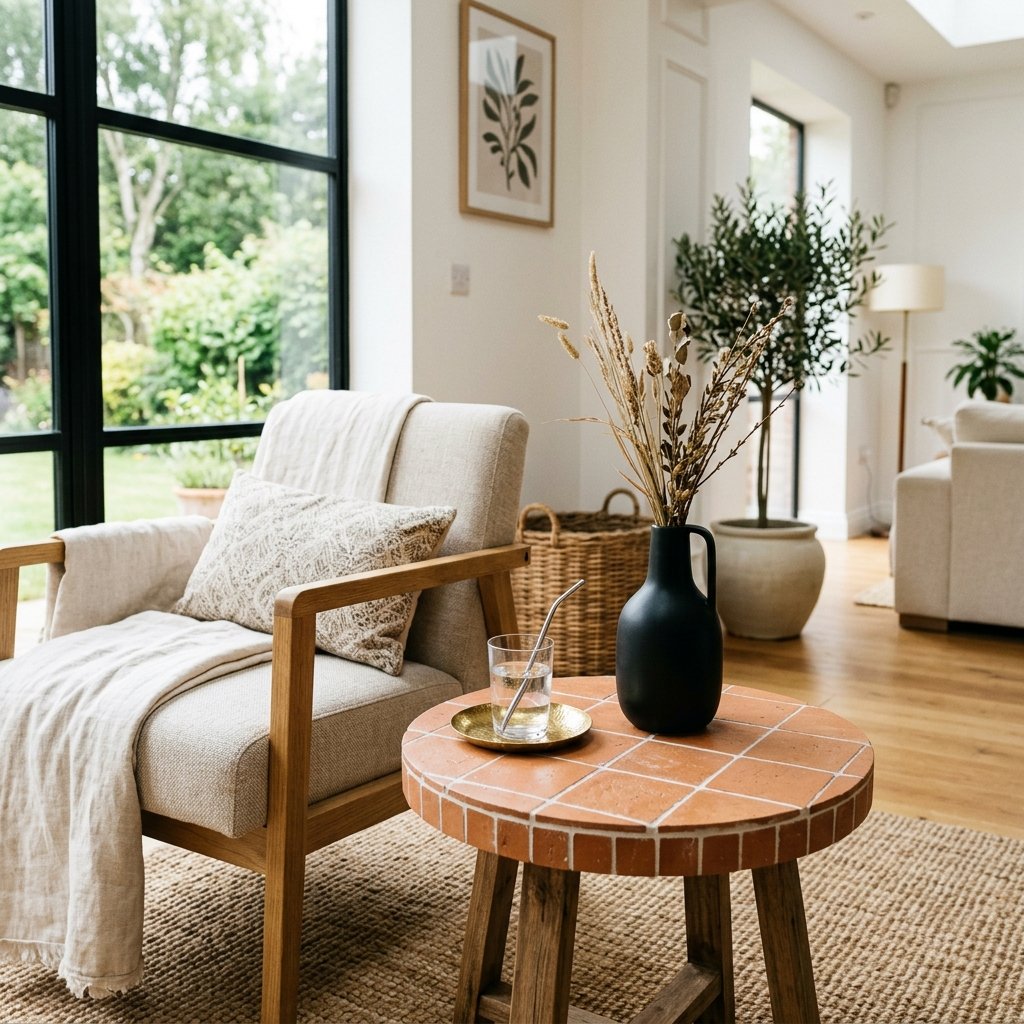
Making it Look Expensive
The difference between a ‘craft project’ and ‘home decor’ is in the styling. To truly channel that high-end boutique energy, keep your styling minimal. A single oversized art book, a brass candle snuffer, or a small organic-shaped vase with a single dried branch will do the trick. The table itself is the statement piece.
Maintenance Tips
- Cleaning: Because of the textured paint, avoid harsh chemical cleaners. A simple dusting with a soft brush or a slightly damp microfiber cloth is all you need.
- Protection: If you plan to use this for drinks, apply a matte spray sealer over your baking soda paint. This will prevent water rings from soaking into the ‘stone’ finish.
- Outdoor Use: If you want this on your porch, ensure you use an exterior-grade adhesive and paint to withstand the elements.
By following this guide, you’ve turned roughly $35 of raw materials into a piece of furniture that commands attention. It’s rugged enough for a man-cave, elegant enough for a formal living room, and clever enough to make your guests ask, ‘Which designer store did you get that from?’
Conclusion
The Triumph of the Frugal Maker
Creating your own high-end furniture is about more than just saving $250; it is about the satisfaction of looking at a beautiful object and knowing you had the vision to see it hidden inside a stack of garden pots. This terracotta accent table proves that with a bit of resourcefulness and a few clever ‘hacks’ like the baking soda paint trick, luxury is accessible to everyone. Whether you are a budget bride looking for venue decor or a handy parent refreshing your living room, this project is a testament to the power of upcycling. Now, go grab some pots and start building—your Anthropologie-inspired home is just one weekend project away!

Makenzie is the founder and lead writer at MoneyHackTips.com — a personal finance blog dedicated to delivering street-smart financial wisdom for real people on real budgets. With 300+ published articles covering everything from debt management to investing fundamentals, Makenzie’s mission is to make every dollar work harder. When not writing about money hacks, Makenzie is testing frugal living strategies, optimizing side hustles, and helping readers build financial freedom from scratch.