
The Art of the High-Value Handshake
Let’s be honest: giving cash can sometimes feel a bit… well, lazy. You slide a $20 bill into a generic card, and five minutes later, the card is in the trash and the money is spent on a boring tank of gas. But as a resourceful DIYer, you know that the best gifts aren’t just about the value—they are about the craftsmanship and the thought behind the presentation. Money origami is the ultimate level-up for the frugal gift-giver. It takes something utilitarian and turns it into a bespoke piece of art. By learning to fold the alphabet, you aren’t just giving money; you are spelling out a name, a milestone, or a message that demands to be noticed. Whether you are celebrating a graduation, a wedding, or a promotion, these techniques allow you to maintain your budget while delivering a ‘wow’ factor that looks like it cost a fortune in custom design fees. In this guide, we are going to walk through the tactical precision required to turn crisp legal tender into a literal statement piece.
The Currency Canvas: Choosing Your Bills & Essential Tools
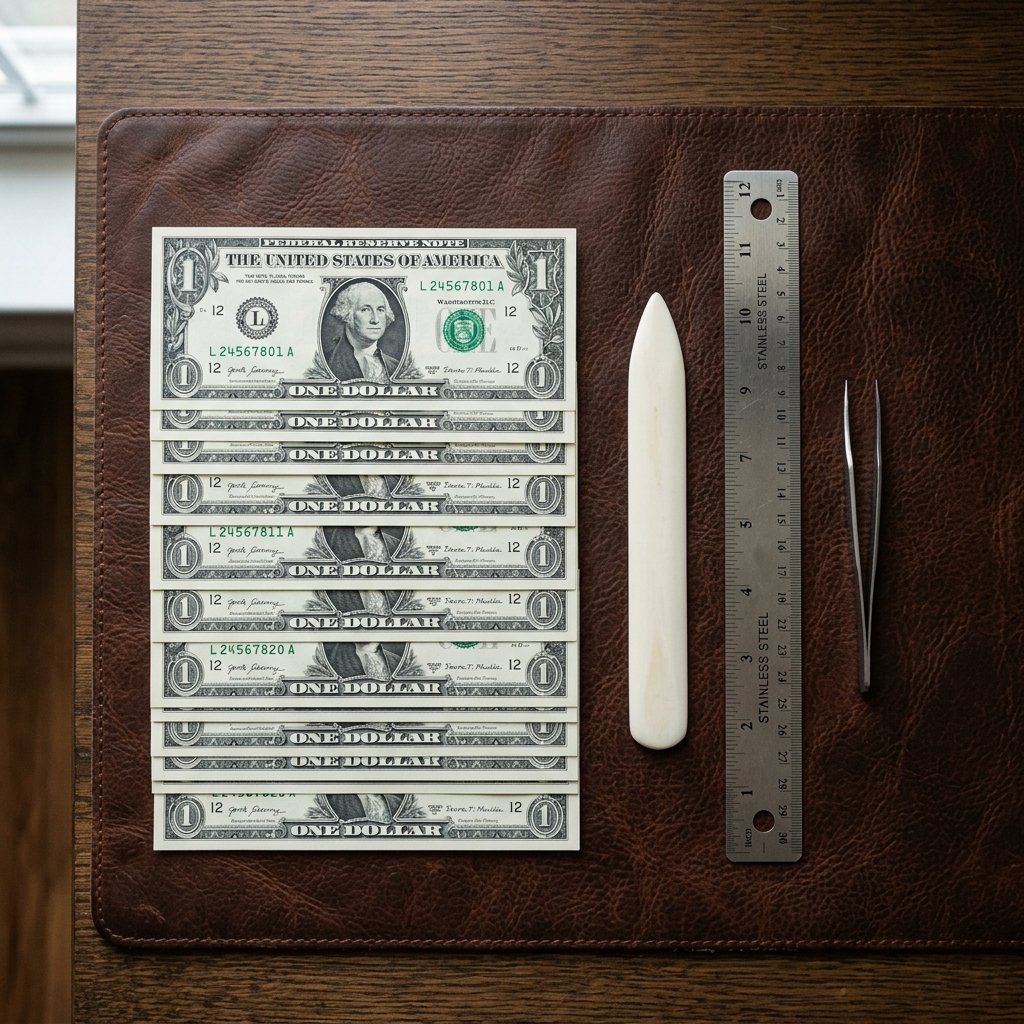
Before you make your first fold, you need to select your medium. Not all bills are created equal when it comes to origami. For a professional, sharp finish, you want bills that are uncirculated or as crisp as possible. If you’ve got a stack of limp, wrinkled ones, you can actually lightly iron them (on low heat, no steam!) to regain some of that structural integrity. The goal is to have paper that holds a crease like a fresh suit. Different denominations offer different color palettes, from the classic green of the $1 to the subtle purples and golds found in higher denominations like the $100.
| Bill Denomination | Visual Impact | Best For… |
|---|---|---|
| $1 Bill | Classic Green/White contrast | Practice letters and long names |
| $2 Bill | Unique, vintage aesthetic | Good luck charms and graduation caps |
| $5 Bill | Strong pink/purple undertones | Birthday initials |
| $10/$20 Bill | Rich, detailed engraving focus | Weddings and major milestones |
| $100 Bill | High-contrast blue/teal strip | Retirement and luxury ‘spelling’ |
The Maker’s Toolkit
While you can fold with just your hands, a few simple tools will elevate your work from ‘amateur’ to ‘master tailor’ level. You’ll want a bone folder (or the edge of a plastic credit card) to sharpen your creases, and perhaps a pair of fine-tipped tweezers for those tiny corner tucks. Remember, precision is what separates a crumpled bill from a sharp letter.
Budget Mantra: The value is in the fold, but the impact is in the effort. A $5 name spelled in origami is worth more than $50 in an envelope.
Foundational Folds: The Blueprint of Money Origami
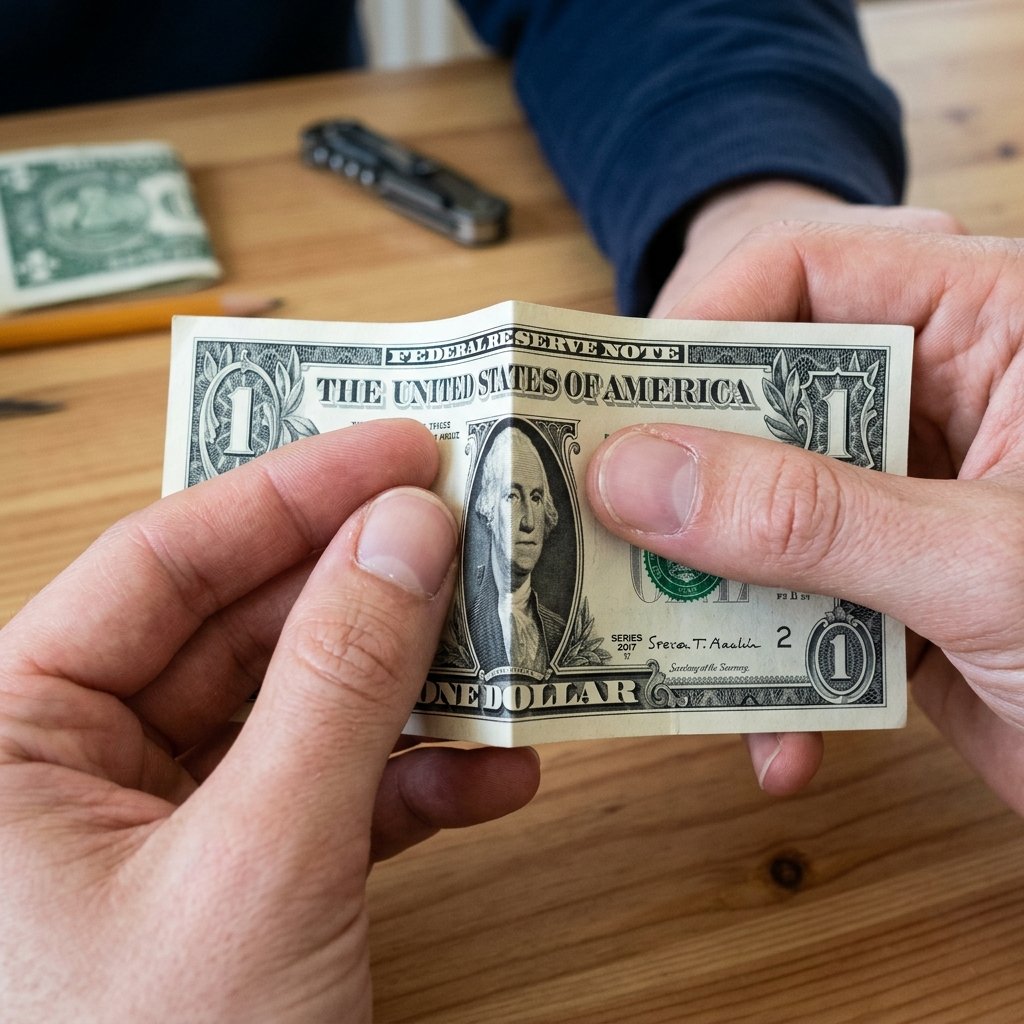
Before we dive into specific letters, you must master the three basic folds that form the DNA of the money origami alphabet. Every letter is essentially a series of tactical maneuvers designed to hide the excess length of the bill while highlighting the central ‘strokes’ of the character.
- The Valley Fold: This is your standard fold where the paper is folded toward you, creating a ‘V’ shape or a valley.
- The Mountain Fold: The opposite of a valley fold; you fold the paper away from you so the crease peaks upward like a mountain ridge.
- The Pleat Fold: A series of alternating valley and mountain folds used to shorten the bill without cutting it. This is essential for letters like ‘E’ or ‘M’.
Measurement is Key
Most U.S. bills are approximately 6.14 inches long and 2.61 inches wide. Because of this specific aspect ratio, many letters require you to fold the bill into a long, thin strip (the ‘rule of thirds’) before shaping the character. Pro Tip: Use the printed borders on the bill as your guide. The ‘United States of America’ text at the top often acts as a perfect alignment marker for your first horizontal fold.
Vowel Victory: Folding A, E, I, O, and U
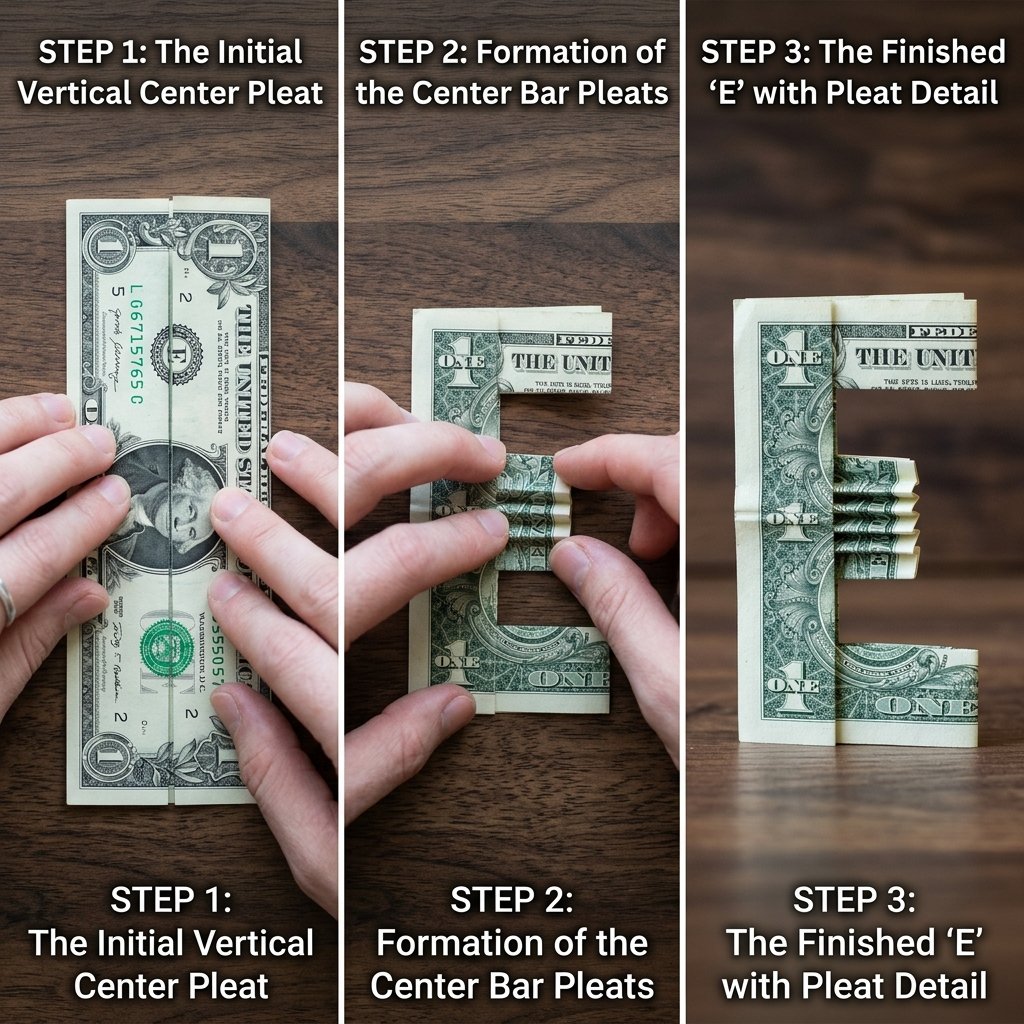
Vowels are the backbone of any name. Because they often involve more angles (like ‘A’) or multiple horizontal bars (like ‘E’), they are the perfect place to start your training. Let’s look at the construction of a classic ‘L’ and ‘E’ as they represent the most common structural techniques.
Step-by-Step: The Letter ‘L’ (The Foundation)
- Place the bill face down. Fold it in half lengthwise to find the center, then unfold.
- Fold the top and bottom edges into that center crease. You now have a long, thin strip.
- Find the 1/3 mark from the left side. Fold the bill upward at a 90-degree angle.
- Tuck the overlapping corner into the existing folds to lock it in place. You now have a sharp, sturdy ‘L’.
Step-by-Step: The Letter ‘E’ (The Pleat Master)
- Start with the same thin strip as the ‘L’.
- Fold the bill into four equal sections using valley folds.
- Use pleat folds to create the middle horizontal bar of the ‘E’. This requires folding a small section back on itself.
- Adjust the top and bottom bars to be equal in length, ensuring the ‘backbone’ of the ‘E’ is perfectly vertical.
Folding Wisdom: If the bill feels too thick to fold, use your bone folder to compress the fibers. This is especially important when working with higher denominations that have thicker ink.
Consonant Construction: Mastering the Complex Curves
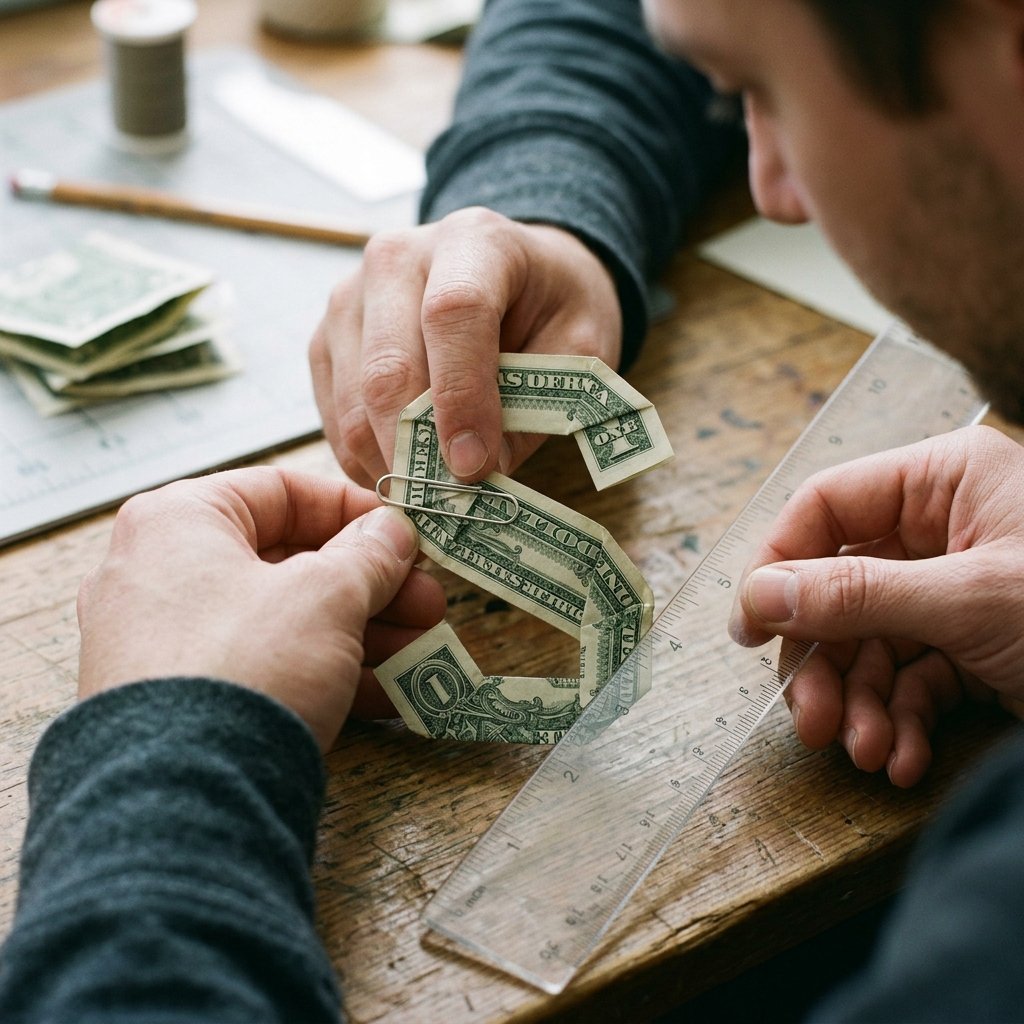
Consonants like ‘S’, ‘B’, or ‘R’ are where the real skill comes in. Since we aren’t cutting the money (which would be illegal and defeat the purpose!), we have to use diagonal miter folds to create the illusion of curves. For a letter like ‘S’, you are essentially creating a ‘Z’ shape and then folding the tips back to soften the angles.
The ‘M’ and ‘W’ Technique
These letters require the most ‘real estate’ on the bill. To get that wide look, you shouldn’t fold the bill into a thin strip first. Instead, fold it in half lengthwise, then use a series of 45-degree diagonal folds to create the peaks and valleys. This is a 10-minute fold for beginners, so take your time. If the ‘M’ looks too wide, you can tuck the outer edges inward by 1/4 inch to tighten the silhouette.
The ‘D’ and ‘O’ Strategy
To create a closed loop, you will need to overlap the ends of the bill. Use a small piece of repositionable adhesive or a tiny paperclip on the back if you are struggling to keep the ends tucked. However, a true master can friction-lock the ends by sliding one end of the strip into the folded ‘pocket’ of the other.
Displaying Your Masterpiece: Presentation Ideas
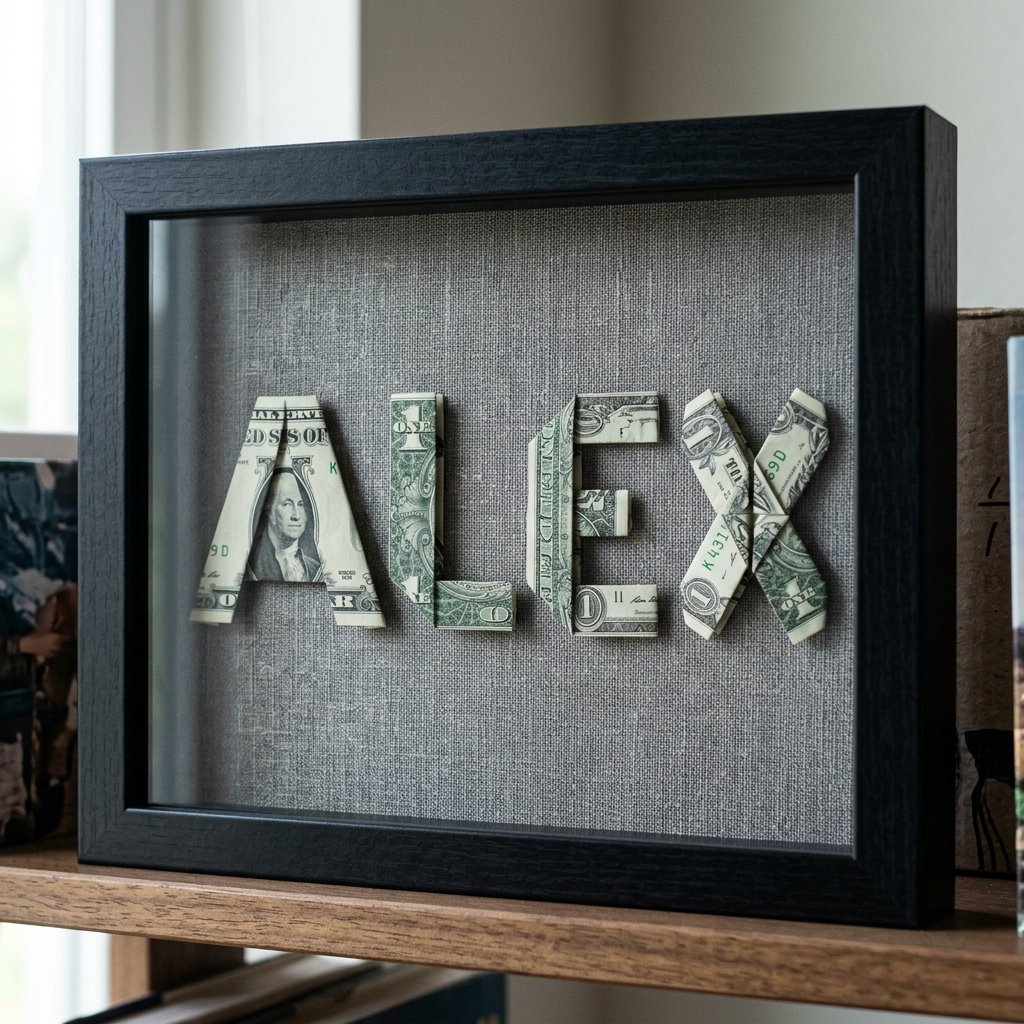
You’ve spent the time folding a name—now don’t just hand it over in a pile. Presentation is the ‘gift wrap’ of the DIY world. For a masculine-elegant look, consider a shadow box. You can float the letters using tiny dots of double-sided tape (the kind that doesn’t damage paper) against a dark navy or charcoal cardstock background.
| Display Method | Cost | Vibe |
|---|---|---|
| Shadow Box | $5 – $15 | Professional, permanent, gallery-style |
| Greeting Card Insert | $0 – $2 | Surprise element, portable |
| Picture Frame | $1.25 (Dollar Tree) | Clean, modern, budget-friendly |
| Floating Glass Frame | $10 | High-end, architectural, sophisticated |
Another clever idea for parents or graduations is to string the letters together using a thin piece of twine and tiny wooden clothespins to create a ‘money banner’ that can be hung across a gift table. It’s a 100% free way to add a festive, custom touch to the celebration.
Conclusion
Your Signature Gift Awaits
Folding money origami is more than just a crafty trick; it’s a way to show that you value the recipient enough to invest your time and precision into their gift. You’ve taken a standard $20 or $100 and transformed it into a personalized keepsake that they will likely hesitate to even spend. That is the power of the ‘Trash-to-Treasure’ mindset—turning the ordinary into the extraordinary through nothing but a few clever folds. So, grab a stack of crisp bills, find a quiet workspace, and start spelling. Whether it’s a simple ‘CONGRATS’ or a loved one’s name, your handmade currency is guaranteed to be the most talked-about gift in the room. Remember: keep your creases sharp, your measurements exact, and your presentation bold. Happy folding!

Makenzie is the founder and lead writer at MoneyHackTips.com — a personal finance blog dedicated to delivering street-smart financial wisdom for real people on real budgets. With 300+ published articles covering everything from debt management to investing fundamentals, Makenzie’s mission is to make every dollar work harder. When not writing about money hacks, Makenzie is testing frugal living strategies, optimizing side hustles, and helping readers build financial freedom from scratch.