
The Tragedy of the ‘Zipper Slump’
We’ve all been there: you’ve finally broken in the perfect pair of jeans. They fit your waist like a second skin, the fade is just right, and they’ve survived everything from backyard oil changes to weekend hiking trips. Then, the betrayal happens. You pull them on, zip them up, and within ten minutes, the zipper has surrendered to gravity, leaving you with an unintentional—and embarrassing—wardrobe malfunction. Most people assume the teeth are stripped or the mechanism is ‘blown out,’ leading them to toss a $60 to $120 investment into the rag bin. Stop right there. As a frugal DIYer, you know that a sliding zipper isn’t a death sentence; it’s just a mechanical adjustment waiting to happen. Today, we are going to dive into the crafty world of invisible mending and rugged hardware repair. We aren’t just saving a pair of pants; we are reclaiming our gear with a bit of grit and some clever resourcefulness. By the time we’re done, you’ll have fixed that zipper for $0.00 in under 5 minutes.
The Anatomy of a Failure: Why Zippers Slide
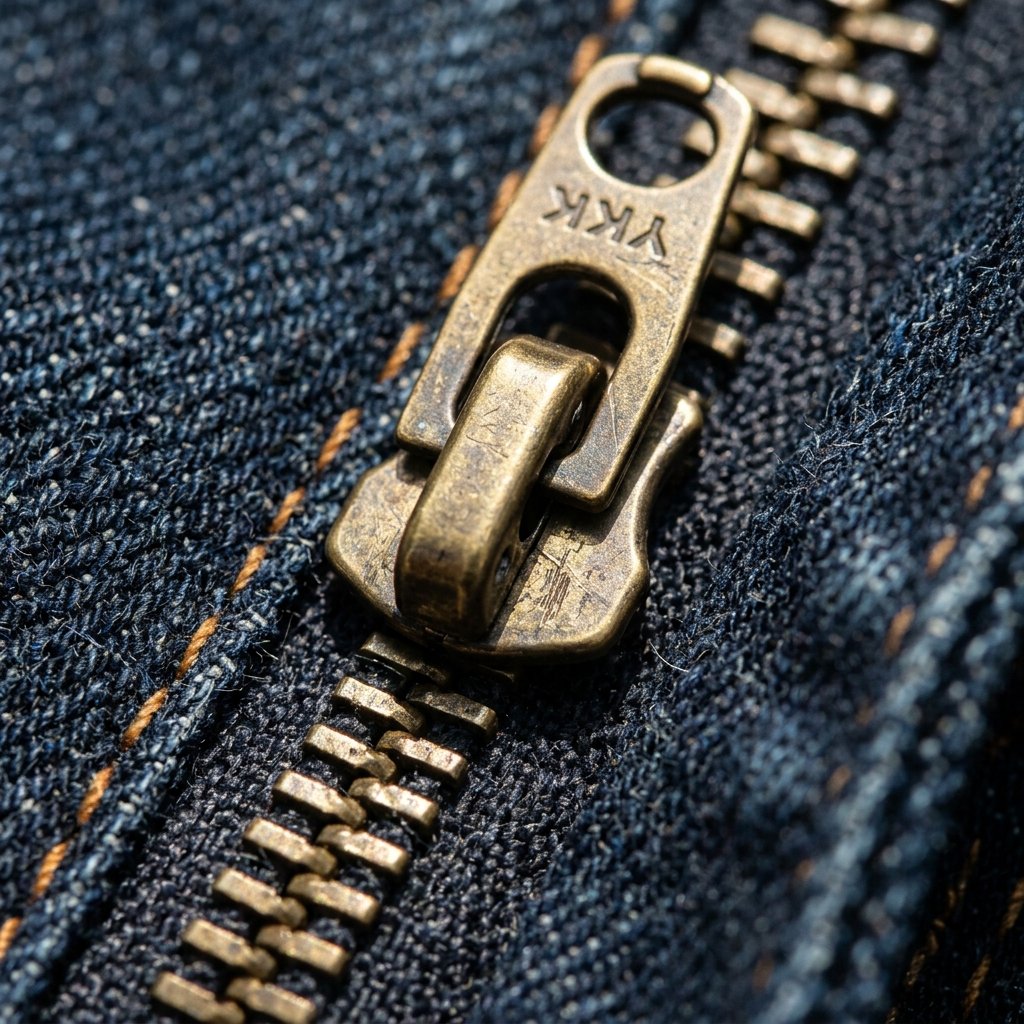
Before we grab our tools, we need to understand the ‘why.’ A zipper works on a simple principle of friction and alignment. The slider (the metal piece you move) is designed to squeeze the teeth together at a specific angle so they lock. Over time, especially with heavy denim, the side walls of the slider begin to stretch outward. This microscopic widening means the slider no longer applies enough pressure to keep the teeth engaged. It’s not broken; it’s just ‘relaxed.’ Below is a quick breakdown of the costs you’re saving by performing this 5-minute fix yourself.
| Option | Estimated Cost | Time Investment |
|---|---|---|
| Professional Tailor (Replacement) | $25 – $45 | 3-7 Days |
| Buying New Quality Jeans | $50 – $130 | 2 Hours Shopping |
| The ‘Pliers Pinch’ DIY Fix | $0.00 | 3 Minutes |
As you can see, the ROI on this skill is astronomical. Whether you are a budget-savvy parent or a rugged minimalist, mastering the zipper pinch is a fundamental life skill that keeps your hard-earned cash in your pocket where it belongs.
The 3-Step Master Fix: The Pliers Pinch

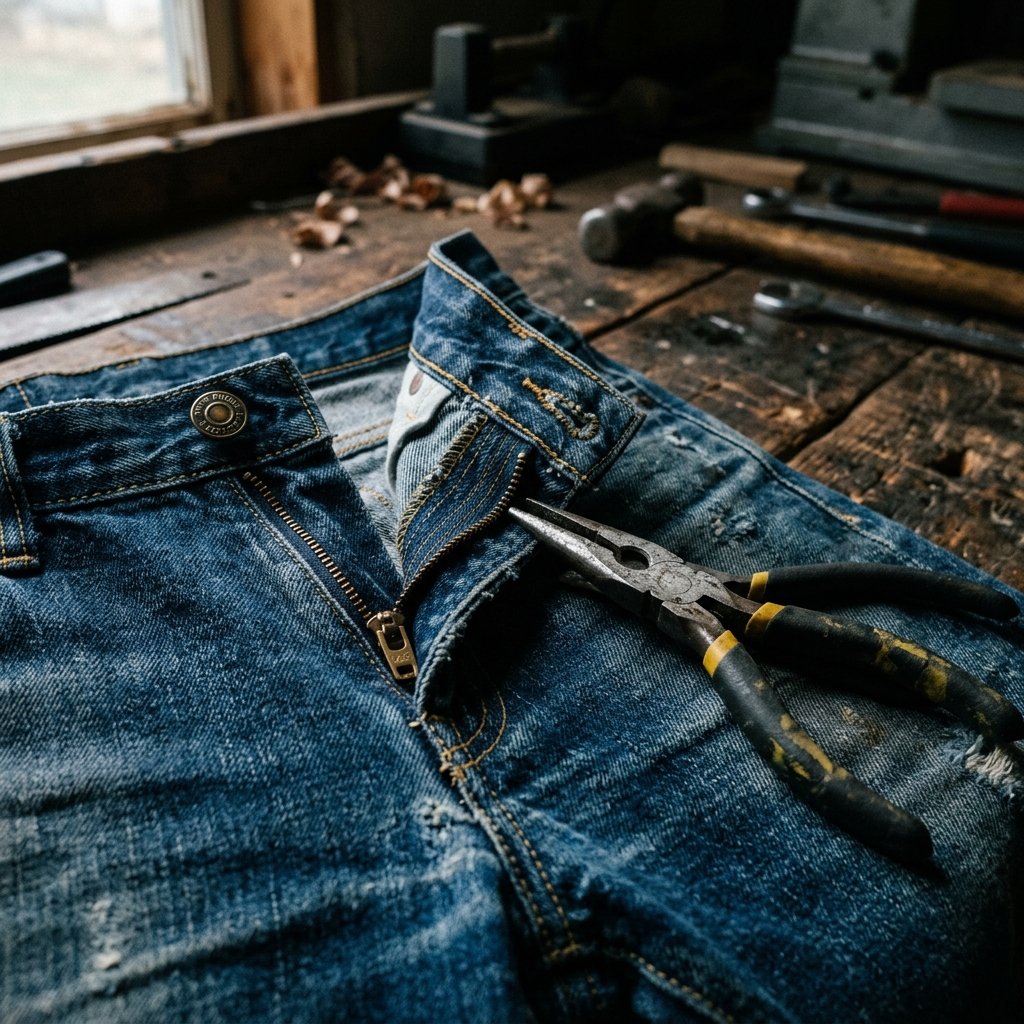
This is the ‘Grandma’s Secret’ of the tailoring world, often used by professional menders to save garments in seconds. You will need one tool: a pair of needle-nose pliers (or even a standard pair of blunt pliers). If you’re worried about scratching the finish on a high-end pair of designer jeans, you can wrap the tips of the pliers in a single layer of electrical tape.
Step 1: Position the Slider
Move the slider to the very bottom of the zipper track. This ensures you aren’t fighting the tension of the teeth while you work. Make sure the ‘tongue’ (the pull tab) is flipped up so you have clear access to the metal body of the slider.
Step 2: The Lateral Compression
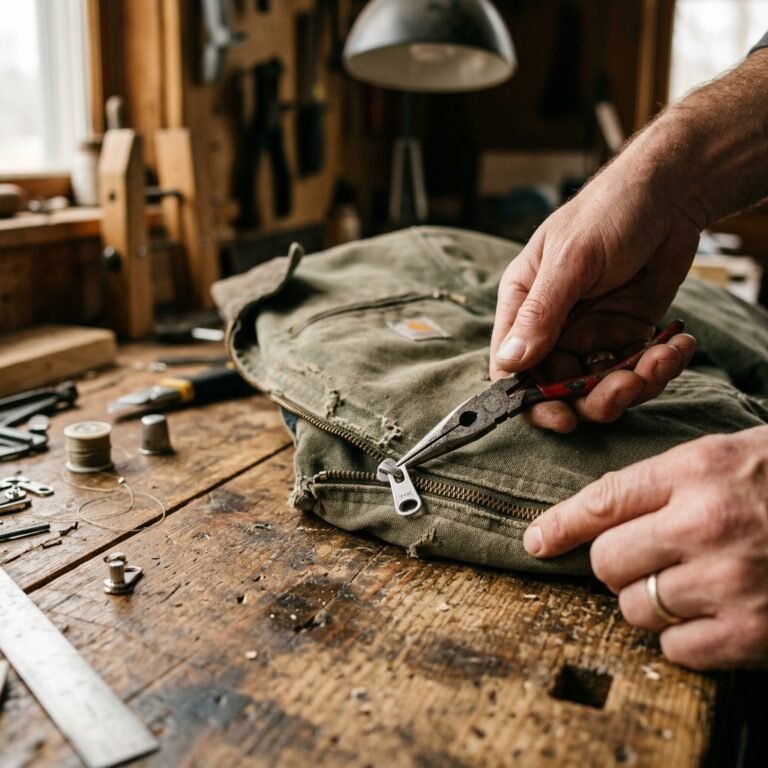
Place the jaws of the pliers over the back of the slider. You want to grip the two side ‘walls’ of the metal slider. Give it a very gentle squeeze. You are looking to move the metal only a fraction of a millimeter.
Mantra: You can always squeeze more, but you can’t unsqueeze. Go slow.
Step 3: The Vertical Check
Now, place the pliers so they are squeezing the top and bottom plates of the slider together at the very back (where the teeth enter). Apply another small burst of pressure. Test the zipper by pulling it up. If it feels tighter and stays put, you’ve succeeded. If it still slides, repeat with 5% more pressure.
The ‘Field-Repair’ Hacks for On-the-Go Emergencies
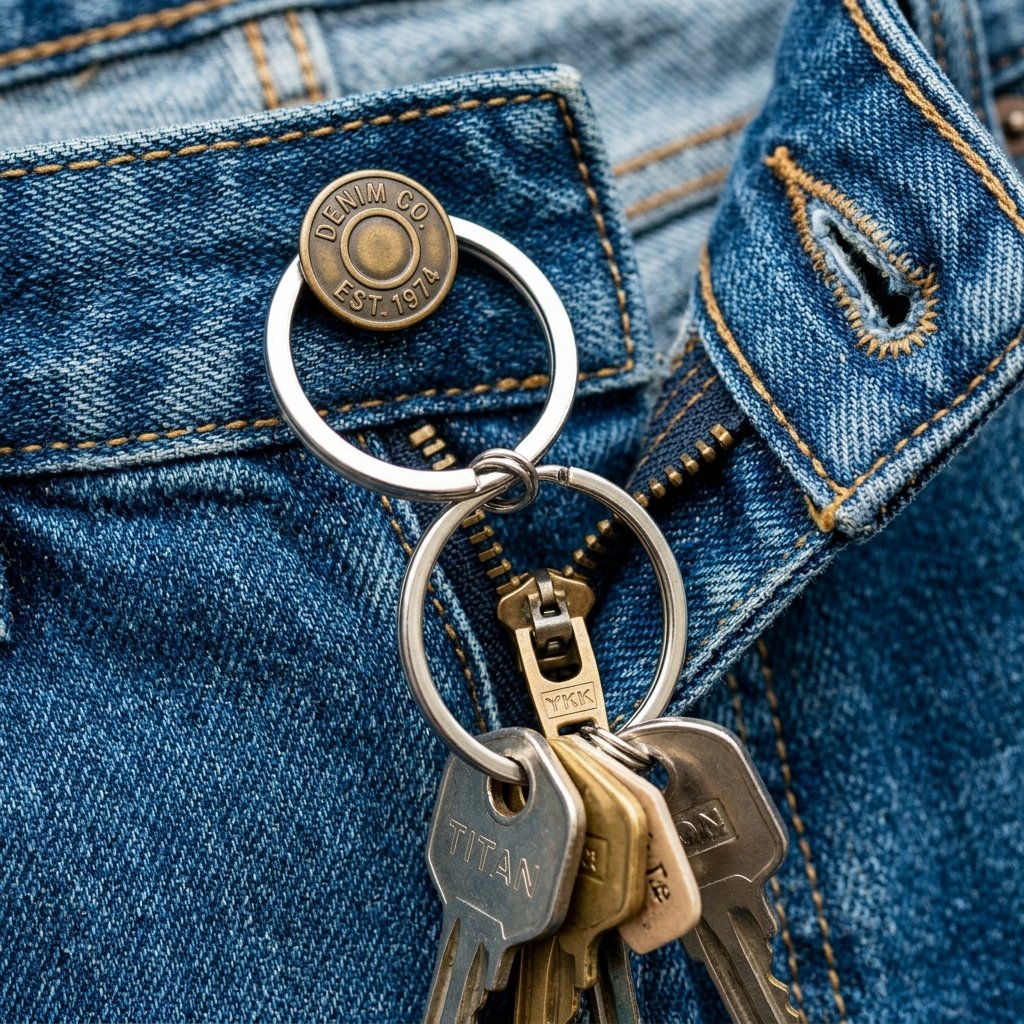
Sometimes a zipper fails when you’re at work, a wedding, or out in the woods. You don’t have pliers, but you need a solution right now. These clever workarounds are the hallmarks of a resourceful crafter.
- The Key Ring Trick: Slide a small, 1/2-inch split key ring through the hole in your zipper pull tab. Zip the pants up, and loop the ring over your waist button before fastening your jeans. The ring is completely hidden by the fly flap, and your zipper is physically incapable of sliding down.
- The Safety Pin Anchor: If you don’t have a key ring, a small safety pin pinned to the inside of the fly tape can act as a ‘stop’ for the slider, preventing it from descending past a certain point.
- The Clear Nail Polish Grip: If the teeth are just a bit too smooth, painting a thin layer of clear nail polish on the top 3 teeth can create just enough ‘tack’ to help the slider grip until you can get home to your tools.
When the Slider is Beyond Saving: Total Replacement
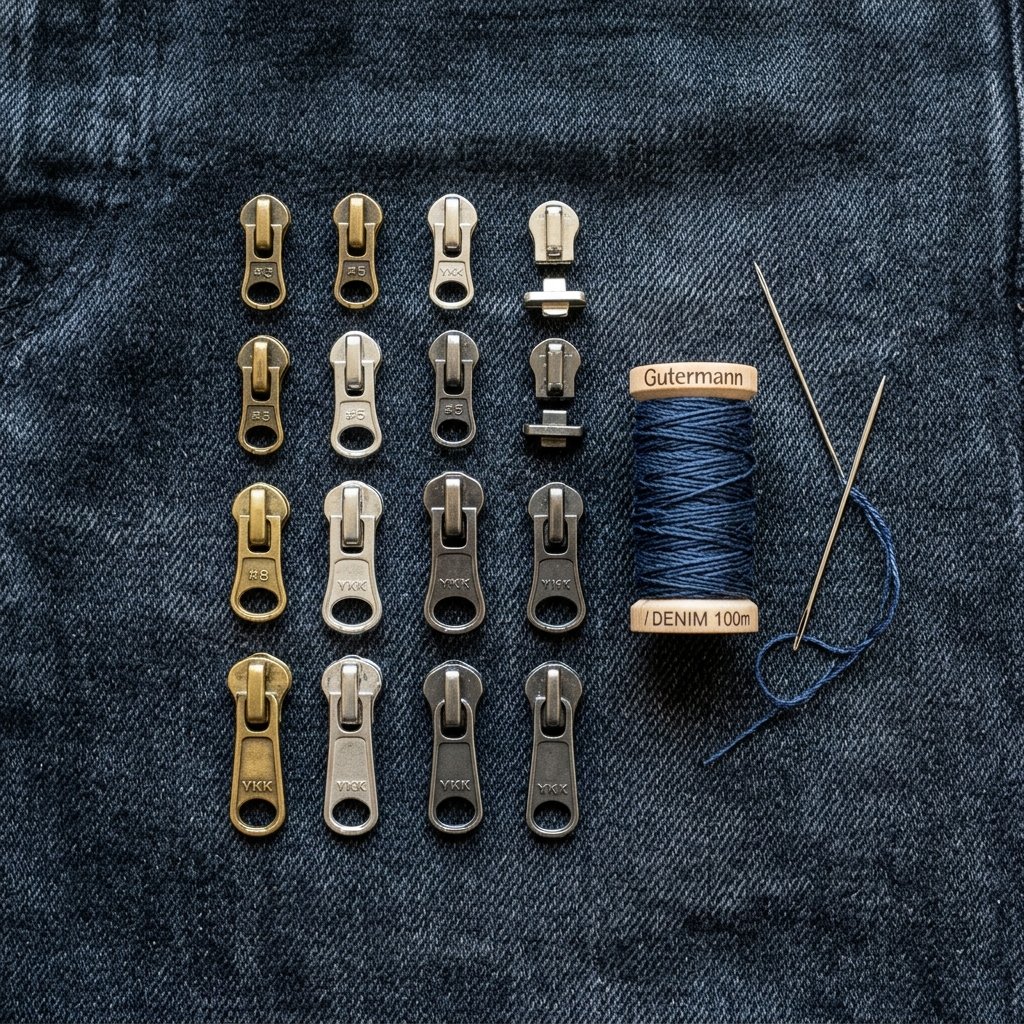
If the metal of the slider has actually cracked or the pull tab has snapped off entirely, the ‘pinch’ won’t save you. But don’t reach for the trash can yet! A replacement slider costs about $1.50 at any craft store or can be scavenged from an old bag or an unwearable pair of ‘donor’ jeans.
| Zipper Problem | DIY Solution | Difficulty Level |
|---|---|---|
| Slider slides down | Pliers Pinch | Easy |
| Missing teeth at bottom | Thread ‘Stop’ Stitch | Medium |
| Pull tab broken off | Paperclip or Leather Cord | Minimalist-Chic |
| Slider cracked/split | Full Slider Replacement | Advanced DIY |
To replace the slider, you simply use your pliers to remove the ‘top stops’ (the little metal crimps at the very top of the zipper track), slide the old slider off, slide the new one on, and crimp the stops back into place. It’s a 10-minute job that saves a $100 garment.
Pro-Active Maintenance: Making Your Denim Last a Decade
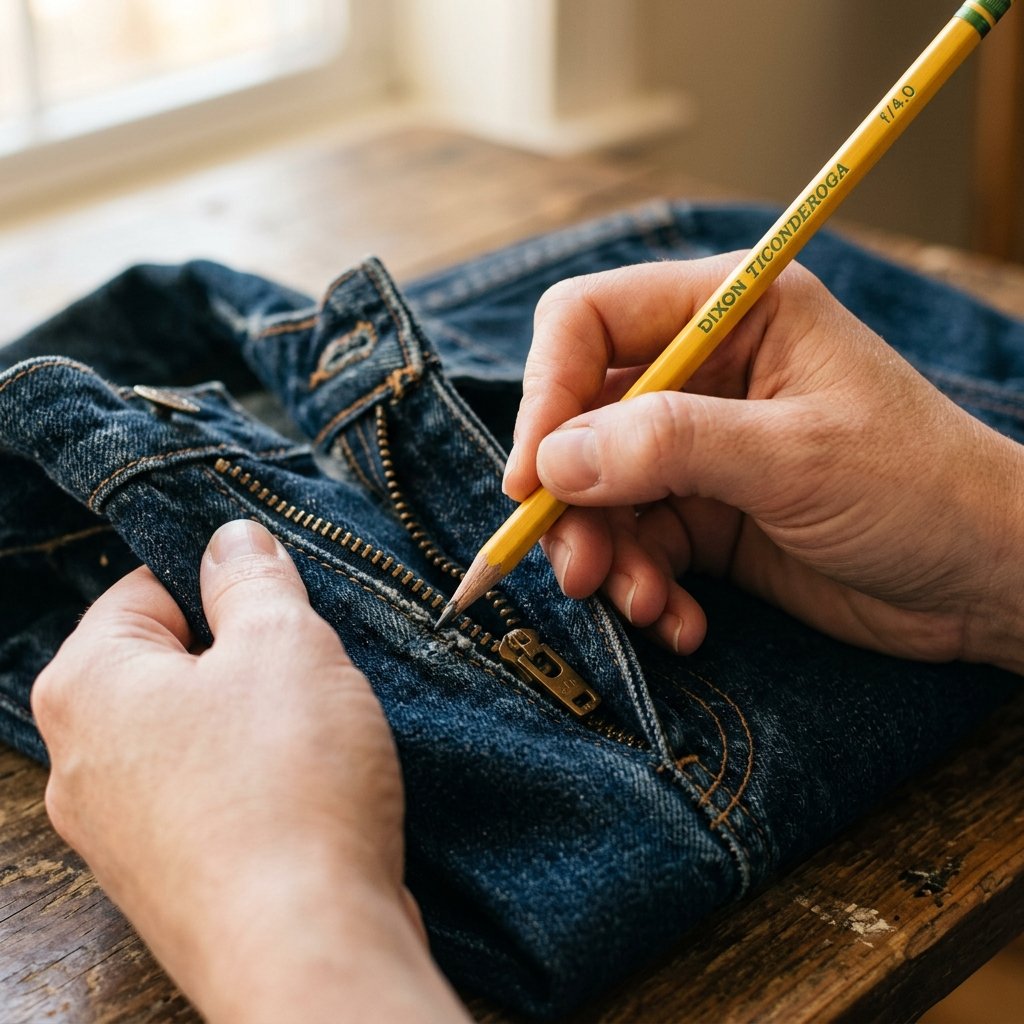
A truly savvy upcycler knows that the best repair is the one you never have to make. Zippers fail because of friction, debris, and ‘dry’ metal. To keep your hardware gliding like a hot knife through butter, follow these rugged maintenance tips:
- The Graphite Lubricant: Every few months, rub a No. 2 pencil lead up and down the teeth of your zipper. The graphite acts as a dry lubricant that won’t attract dirt like oil would.
- The Beeswax Shield: For heavy-duty work jeans, rub a bit of natural beeswax on the teeth. This prevents rust and ensures the slider moves smoothly even in damp conditions.
- The ‘Zip-Up’ Wash Rule: Always zip your jeans all the way up and turn them inside out before throwing them in the wash. This prevents the slider from banging against the washer drum, which is the #1 cause of ‘stretched’ sliders.
Conclusion
The Power of the Pocket-Change Fix
Repairing your own gear is a quiet act of rebellion against a ‘throw-away’ culture. By spending 5 minutes with a pair of pliers, you’ve not only saved $50 or more, but you’ve also kept durable textiles out of the landfill and proven that you have the skills to maintain your own life. Whether you’re mending your kid’s school pants or your own favorite pair of rugged work dungarees, the ‘Pliers Pinch’ is a tool every frugal DIYer should have in their mental utility belt. Now, go raid your closet, find those ‘broken’ jeans, and bring them back to life. Your wallet—and your wardrobe—will thank you.

Makenzie is the founder and lead writer at MoneyHackTips.com — a personal finance blog dedicated to delivering street-smart financial wisdom for real people on real budgets. With 300+ published articles covering everything from debt management to investing fundamentals, Makenzie’s mission is to make every dollar work harder. When not writing about money hacks, Makenzie is testing frugal living strategies, optimizing side hustles, and helping readers build financial freedom from scratch.