There is a certain quiet confidence that comes from knowing how to maintain your own wardrobe. You’ve found the perfect pair of charcoal wool trousers at a thrift store or on a clearance rack, but they are three inches too long. In the past, this meant a $20 to $30 trip to the tailor and a week-long wait. No more. As a resourceful DIYer, you can achieve a professional-grade invisible hem right at your kitchen table in less time than it takes to brew a pot of coffee. This isn’t just about saving money—though your wallet will certainly thank you—it’s about the rugged practicality of being self-sufficient. Whether you are a budget-savvy professional or a handy parent prepping for a school recital, mastering the hand-hem is a ‘trash-to-treasure’ skill that elevates your style without touching a sewing machine. In this guide, we will break down the ‘Blind Stitch’ method, a secret weapon of master tailors that ensures no thread is visible on the outside of your pants, giving you that crisp, masculine-elegant finish every time.
The Essential Toolkit: Minimalist Gear for Maximum Results
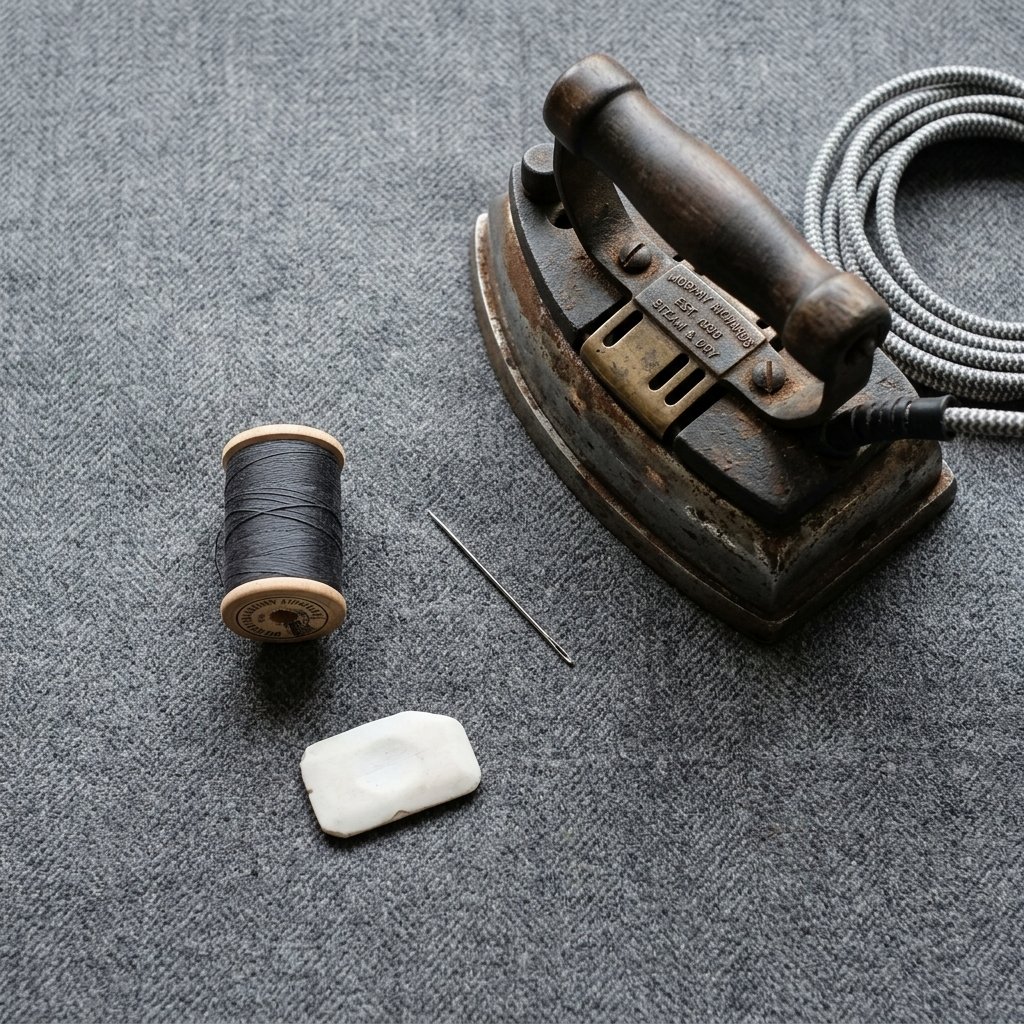
Before we dive into the stitching, we need to gather our tools. The beauty of hand-hemming is that it requires almost zero overhead. You likely already have these items in a junk drawer or a basic mending kit. If not, a quick trip to a local shop will cost you less than $5 for a lifetime supply of supplies.
The DIY Tailoring Arsenal
- Sharp Sewing Needle: Opt for a ‘between’ or a ‘sharp’ needle (size 7-9). A smaller needle allows for more precision when catching tiny fabric fibers.
- Matching Thread: This is critical. Choose a high-quality polyester or silk-finish thread that matches the darkest shade in your pants’ weave.
- Fabric Scissors: They must be sharp enough to cut a clean line without fraying the edge.
- Tailor’s Chalk or a Sliver of Soap: Used for marking your new length. A dry sliver of soap is a 100% free alternative that washes right out.
- Measuring Tape or Ruler: Precision is the difference between a ‘DIY look’ and a ‘Designer look.’
- Steam Iron: Your most important tool for ‘setting’ the hem and creating that factory-fresh crease.
| Item | Store-Bought / Tailor Cost | DIY Home Cost |
|---|---|---|
| Hemming Service | $20.00 – $35.00 | $0.00 |
| Thread & Needle | N/A | $0.15 (pro-rated) |
| Time Investment | 3-7 Days Wait | 10 Minutes |
The Budget Guru’s Mantra: A needle and thread in the hand is worth twenty dollars in the pocket. Never pay for what you can do with a steady hand and a sharp eye.
Measuring the Perfect ‘Break’
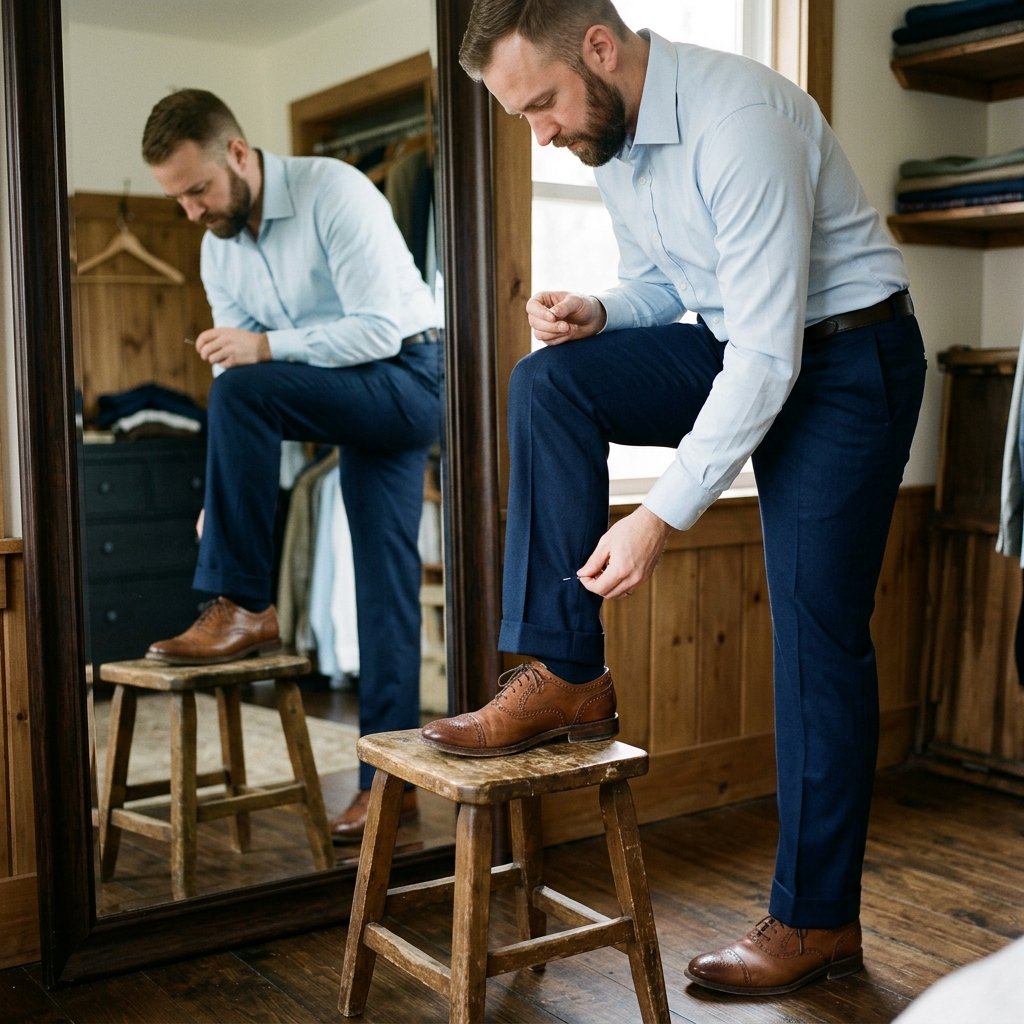
The ‘break’ is where your pants hit your shoes. Getting this right is the difference between looking like you’re wearing your older brother’s hand-me-downs and looking like a bespoke gentleman. Put on the shoes you plan to wear with the pants before you start measuring.
Three Styles of Hem Length
- The No-Break: The hem just grazes the top of the shoe. It’s a modern, clean, and slightly aggressive look.
- The Slight Break: The gold standard. The fabric indentations slightly where it hits the shoe. It is timeless and versatile.
- The Full Break: A more traditional, rugged look where the fabric pools slightly. Best for wider-leg trousers.
Once you’ve decided on the style, fold the excess fabric inward and pin it. Walk around the room. Sit down. Ensure the length feels right in motion. Once satisfied, use your sliver of soap to mark the fold line on the inside of the fabric. Measure 2 inches below that mark and cut away any excess fabric. This extra 2 inches provides the ‘allowance’ for your internal fold.
The 10-Minute Invisible Blind Stitch Tutorial

This is where the magic happens. The blind stitch (or pick stitch) is designed to be invisible from the outside of the garment. By only catching one or two fibers of the exterior fabric, the thread stays hidden within the fold.
Step-by-Step Folding and Stitching
- The Double Fold: Fold the raw edge of the fabric up by 1/2 inch and press it with your iron. Then, fold it again at your marked hemline (the remaining 1.5 inches). Pin this in place.
- The Setup: Thread your needle with about 18 inches of thread. Do not use a double strand; a single strand is stealthier. Knot the end.
- The Anchor: Start your first stitch on the inside fold (the part that won’t be seen). This hides your knot.
- The ‘Pick’ Stitch: Reach your needle across to the main pant fabric. Catch only 1 or 2 tiny threads of the fabric. Move the needle forward about 1/2 inch and bring it back through the edge of the folded hem.
- The Tension: Pull the thread through, but do not pull too tight. If you pull hard, the fabric will pucker on the outside, revealing your ‘invisible’ work. It should be snug but flat.
- The Repeat: Continue this ‘pick and slide’ motion all the way around the leg.
Pro Tip: Work from right to left if you are right-handed. Keep your ‘pick’ stitches consistent in size to ensure the hem holds up during a busy workday or a night on the town.
Fabric Compatibility: From Wool to Polyester
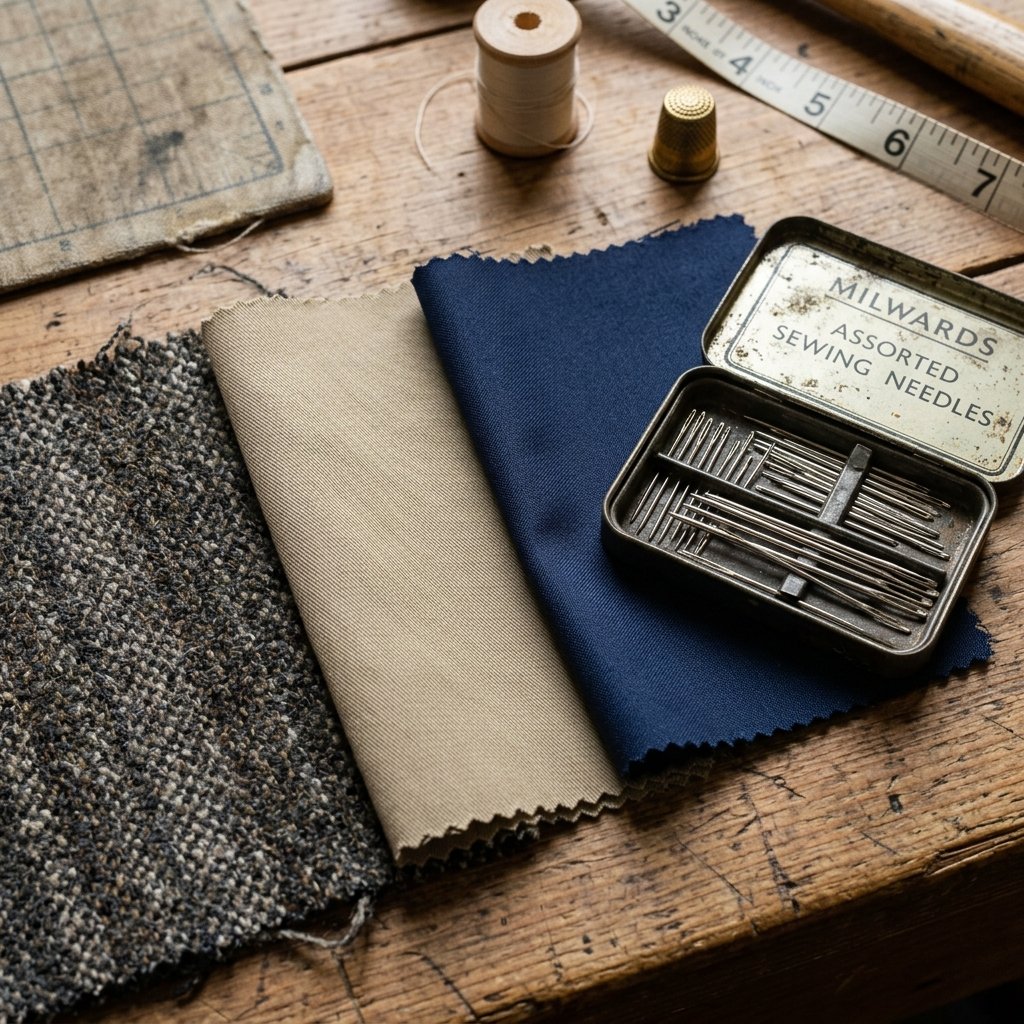
Not all fabrics behave the same under a needle. A rugged corduroy requires a different touch than a sleek silk-blend tuxedo pant. Understanding your material ensures your 10-minute hem lasts for years.
| Fabric Type | Needle Size | Stitch Density | Iron Heat Setting |
|---|---|---|---|
| Wool / Flannel | Size 8 (Sharp) | Medium (1/2″ apart) | High + Steam |
| Polyester / Blend | Size 9 (Fine) | Tight (1/4″ apart) | Medium (Low) |
| Cotton Chino | Size 7 (Standard) | Medium (1/2″ apart) | High + Steam |
| Linen | Size 8 (Sharp) | Tight (1/4″ apart) | Medium + Steam |
A Note on Synthetic Fabrics: Be careful with the iron! High-polyester blends can melt or develop a ‘shiny’ spot if the iron is too hot. Always use a pressing cloth (a clean cotton pillowcase or scrap fabric) between the iron and your dress pants to protect the finish.
The Final Press: Setting the Hem for Life

The secret to a professional finish isn’t just the stitching—it’s the steam. Once you have finished your circle of stitches and tied off your knot, it’s time to ‘set’ the hem. This process fuses the fibers together and flattens your stitches so they disappear entirely.
The Professional Pressing Technique
- Turn the pants right-side out.
- Place your pressing cloth over the new hem.
- Press the iron down firmly for 5-10 seconds. Do not slide the iron back and forth, as this can stretch the fabric. Lift and move.
- Use the ‘Steam Burst’ function if your iron has it. The moisture helps the wool or cotton fibers ‘remember’ the new fold.
- Let the pants cool completely before wearing them. This ‘locks’ the hem in place.
If you see any small dimples where your stitches are, don’t panic. A bit more steam and a gentle tug on the fabric usually settles the thread into the weave, making it truly 100% invisible.
Conclusion
Congratulations! You’ve just saved yourself a trip to the tailor and $20 in cold, hard cash. More importantly, you’ve mastered a foundational skill in the world of frugal DIY tailoring. Hemming your own dress pants by hand is a mark of a person who values quality, respects their tools, and knows how to solve problems with their own two hands. Whether you’re refreshing a thrift-store find or tailoring a new pair of slacks for a wedding, you now have the ‘invisible’ edge. Wear your perfectly-fitted pants with pride, knowing that the sharp, masculine-elegant silhouette you’re sporting was crafted in just 10 minutes at home. Keep that needle and thread handy—once you start mending and tailoring, you’ll never look at ‘off-the-rack’ the same way again.

Makenzie is the founder and lead writer at MoneyHackTips.com — a personal finance blog dedicated to delivering street-smart financial wisdom for real people on real budgets. With 300+ published articles covering everything from debt management to investing fundamentals, Makenzie’s mission is to make every dollar work harder. When not writing about money hacks, Makenzie is testing frugal living strategies, optimizing side hustles, and helping readers build financial freedom from scratch.