
The Thrifty Alchemist’s Guide to Table Styling
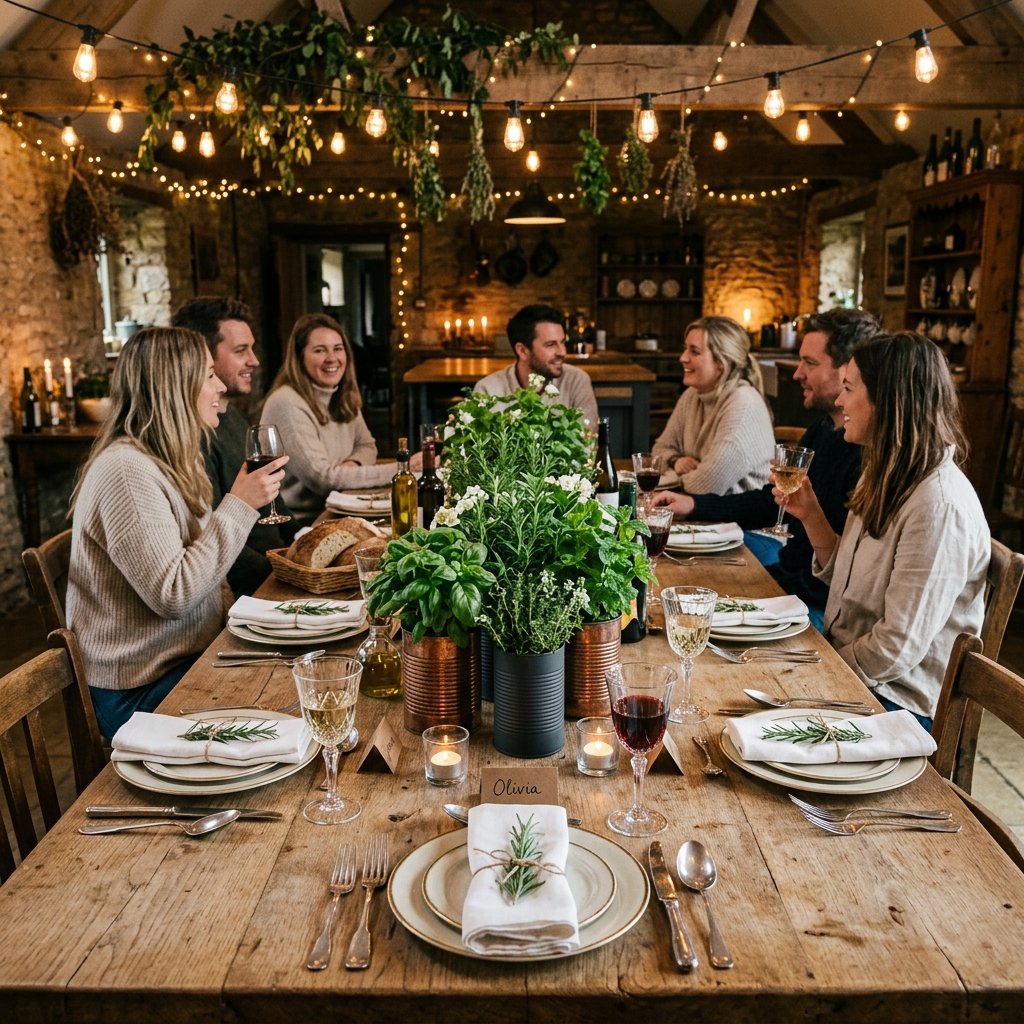
There is a unique thrill in taking something destined for the bin and turning it into the focal point of a high-end event. We’ve all seen those gorgeous, aromatic herb centerpieces in boutique hotels or expensive wedding magazines—the ones that breathe life and scent into a room. Usually, those come with a florist’s premium price tag. But for the resourceful DIYer, the budget-savvy bride, or the creative host, those centerpieces are sitting right in your pantry. We’re talking about the humble tin can. With a little grit, some clever texturing, and a few sprigs of greenery, you can create centerpieces so charming that your guests will literally be asking to take them home. This isn’t just about saving money; it’s about masculine-elegant upcycling that proves style doesn’t have to be expensive. Let’s roll up our sleeves and turn trash into a botanical treasure.
Sourcing and Preparing Your Industrial Canvas

The first step in this upcycling masterclass is the hunt. You aren’t just looking for any cans; you want a variety of scales to create visual interest. Think large tomato cans for height, standard soup cans for the mid-range, and even those short tuna or water chestnut cans for low-profile accents. The key to making these look like ‘decor’ rather than ‘trash’ lies in the preparation.
The Cleaning and Safety Protocol
- Smooth Edges: Use a safety-style can opener that cuts the seal rather than the metal, leaving a smooth, non-sharp edge. This is crucial if guests will be handling them.
- Label Removal: Soak cans in hot, soapy water. For stubborn adhesive, a mixture of equal parts baking soda and vegetable oil will rub that residue right off.
- Drainage: Since we are planting live herbs, use a hammer and a large nail to punch 3-4 drainage holes into the bottom of each can.
Budget Mantra: A truly savvy crafter never sees waste; they see a blank canvas waiting for a coat of character.
Texturing Techniques: From Tin to Terracotta and Copper

Raw tin can look a bit ‘camping trip’ if not treated. To achieve that Anthropologie-inspired look, we need to manipulate the surface. We have two primary routes: the Faux Stone/Baking Soda Trick or the Industrial Metallic Patina.
The High-End Finish Guide
Use the following table to decide which finish fits your event’s vibe and your specific budget.
| Finish Style | Materials Needed | Estimated Cost per Can |
|---|---|---|
| Aged Terracotta | Acrylic paint + Baking soda | $0.15 |
| Industrial Copper | Metallic spray paint + Black glaze | $0.40 |
| Rustic Twine | Jute rope + Hot glue | $0.25 |
| Matte Charcoal | Chalk paint + Sandpaper | $0.20 |
The Baking Soda Paint Formula
- Mix 1 cup of acrylic craft paint with 1/4 cup of baking soda.
- The mixture will puff up and become textured like ceramic or stone.
- Apply with a stiff brush in a ‘stippling’ motion to create a rugged, organic feel.
The Greenery: Selecting Scent-Driven Herbs
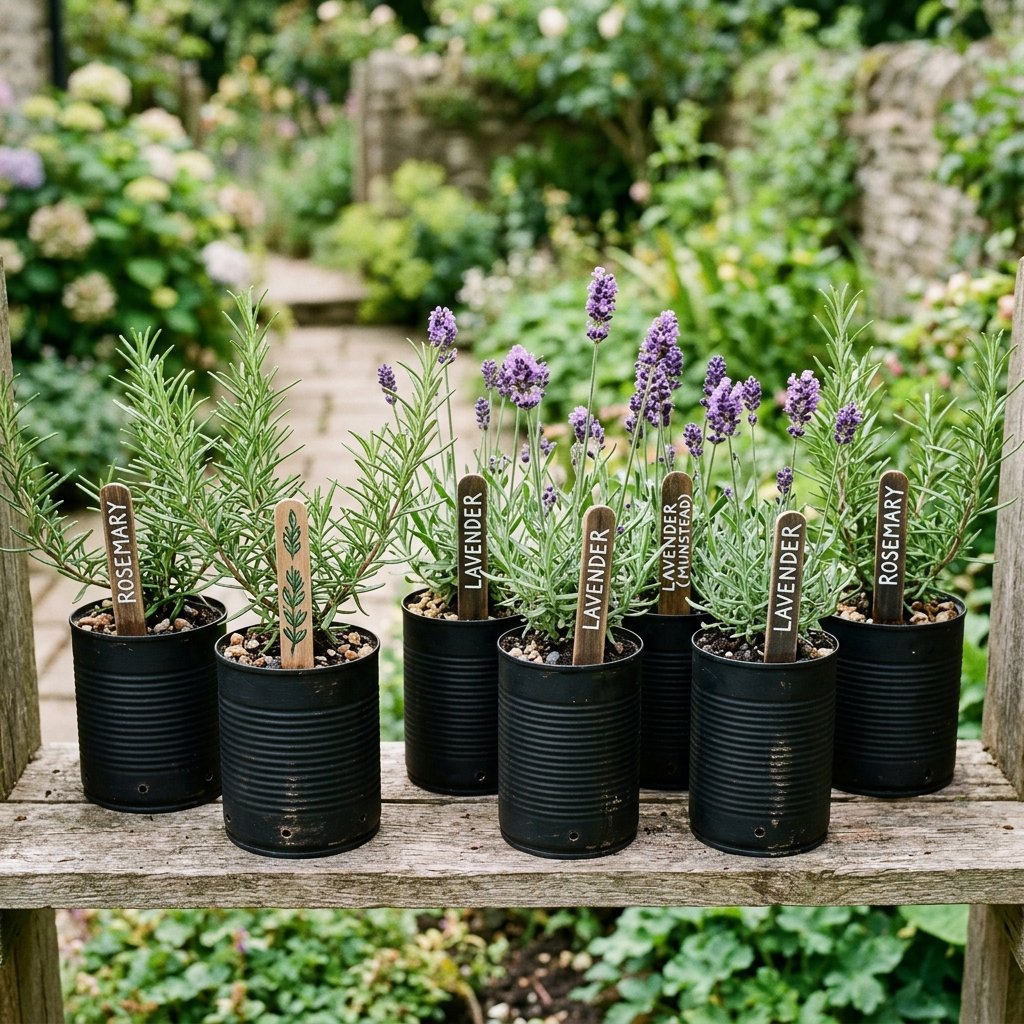
The ‘Dreamy’ part of these centerpieces comes from the life inside them. Unlike cut flowers that wither in days, these are living gifts. Choosing the right herbs is about more than just looks; it’s about the olfactory experience of your guests.
- Rosemary: Provides height and a rugged, pine-like structure. Perfect for the ‘masculine-elegant’ vibe.
- Mint: Offers a lush, overflowing look and a refreshing scent that clears the palate.
- Lavender: Adds a touch of soft color and a calming aroma that encourages relaxation.
- Basil: Large, vibrant leaves that look incredibly healthy and full on a dinner table.
When planting, use a high-quality potting mix. Since tin cans are small, they dry out faster than large pots. Pro Tip: Place a few small pebbles at the bottom before the soil to improve aeration and prevent root rot.
The ‘Guest Steal’ Factor: Gift Tags and Presentation
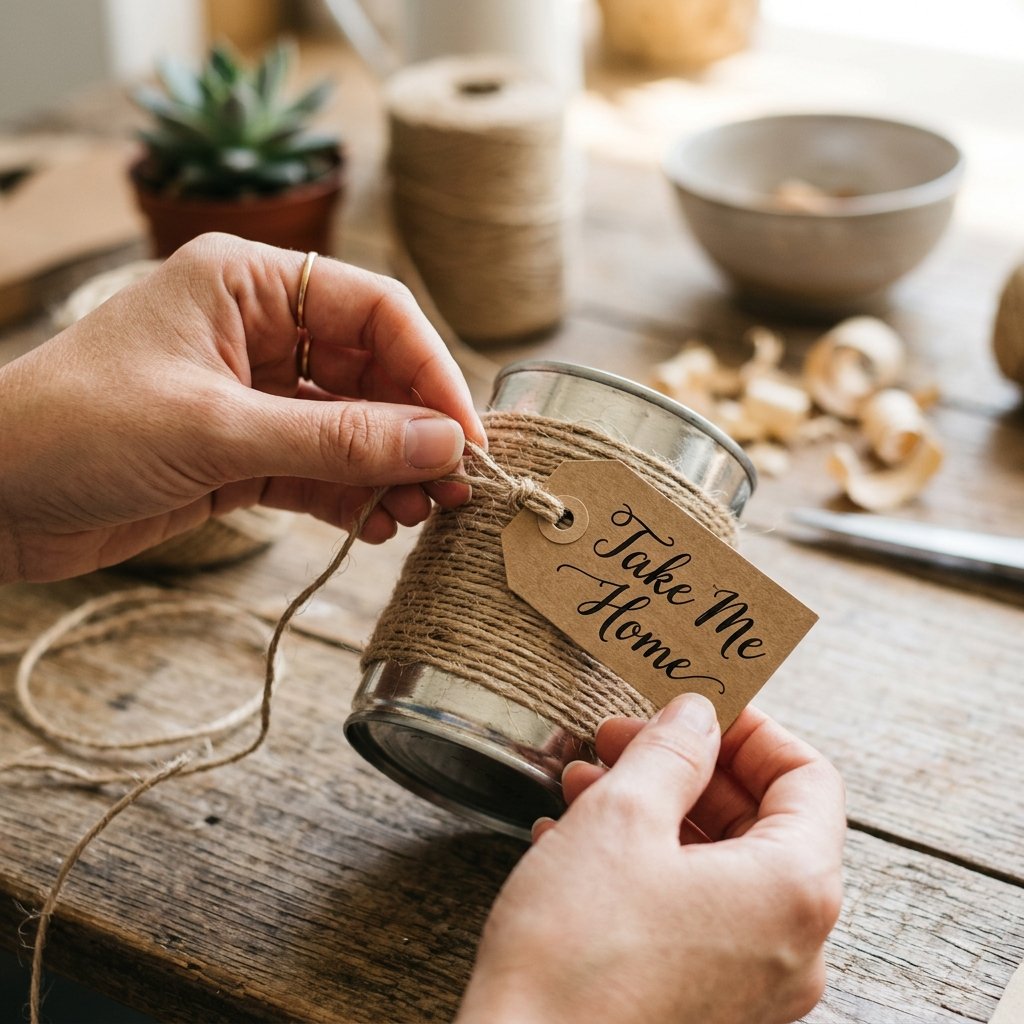
Why will your guests steal these? Because you’ve presented them as a thoughtful, personalized gift. The final touch is the presentation and signaling. If you want guests to take them, you must make it obvious and irresistible.
Customizing for the Event
- Kraft Paper Tags: Use a stamp or calligraphy to write ‘Grow with Love’ or the guest’s name. Attach with a bit of leather cord or jute twine for a rugged touch.
- Care Instructions: On the back of the tag, include a 30-second care guide (e.g., ‘Sunny windowsill, water when dry’).
- Grouping: Cluster three cans of varying heights in the center of the table on a wood slice or a piece of slate to create a high-impact ‘installation’ feel.
Safety Note: If using metallic paints or glazes, ensure the interior of the can (where the soil touches) is either unpainted or lined with a small plastic bag to keep the herbs food-safe if guests intend to cook with them.
The Bottom Line: DIY vs. Store-Bought

If you were to buy pre-potted, decorative herb arrangements from a high-end garden center or hire a florist to provide living centerpieces, the costs would be staggering. By being resourceful and crafty, you are saving hundreds, if not thousands, of dollars on event decor.
| Expense Item | Professional Florist (per table) | DIY Upcycled (per table) |
|---|---|---|
| Containers | $15.00 (Rental/Purchase) | $0.00 (Upcycled) |
| Plants/Herbs | $25.00 | $4.00 (Multi-pack or seeds) |
| Labor/Styling | $50.00 | $0.00 (Your sweat equity) |
| Total per Table | $90.00 | $4.00 |
By doing it yourself, you are achieving a 95% cost reduction while creating something significantly more personal and environmentally friendly.
Conclusion
The Lasting Impression of Resourceful Beauty
Creating ‘Dreamy DIY Upcycled Tin Can Herb Centerpieces’ is more than just a weekend project; it’s a statement of creativity over consumption. You’ve taken a discarded object, applied a bit of clever engineering and artistic flair, and produced something that adds fragrance, life, and beauty to your gathering. Whether it’s for a wedding, a backyard BBQ, or a Father’s Day brunch, these centerpieces prove that a budget-savvy approach can result in the most memorable decor. When your guests walk out the door with a can of fresh basil in hand, they aren’t just taking a plant—they’re taking a piece of your handiwork. Now, go raid that recycling bin and start your transformation!

Makenzie is the founder and lead writer at MoneyHackTips.com — a personal finance blog dedicated to delivering street-smart financial wisdom for real people on real budgets. With 300+ published articles covering everything from debt management to investing fundamentals, Makenzie’s mission is to make every dollar work harder. When not writing about money hacks, Makenzie is testing frugal living strategies, optimizing side hustles, and helping readers build financial freedom from scratch.