
The Rugged Appeal of Handmade Utility
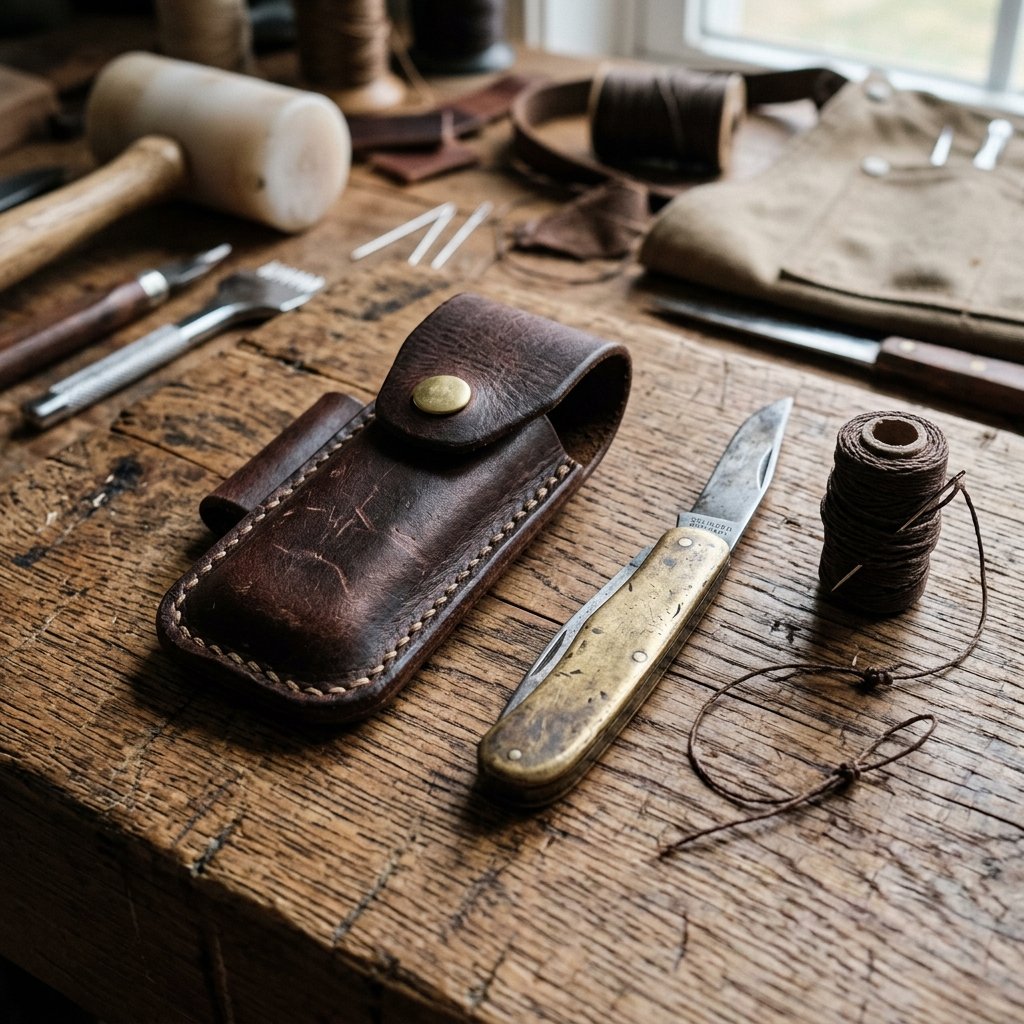
There is something undeniably satisfying about the weight of a well-made pocket knife, but carrying it loose in your pocket is a recipe for scratched scales and lint-filled pivots. Every man—whether a seasoned woodsman or a weekend tinkerer—needs a reliable sheath. But why drop $40 or $50 on a mass-produced leather sleeve when you can craft a custom, heirloom-quality version for virtually nothing? In this guide, we are diving into the world of frugal leatherworking. We will take the mystery out of the craft, showing you how to turn leather scraps or thrifted belts into a functional piece of art that looks like it came from a high-end boutique. This is about more than just protection; it is about the pride of carrying gear you built with your own two hands.
The Budget-Savvy Workshop: Materials and Cost Breakdown
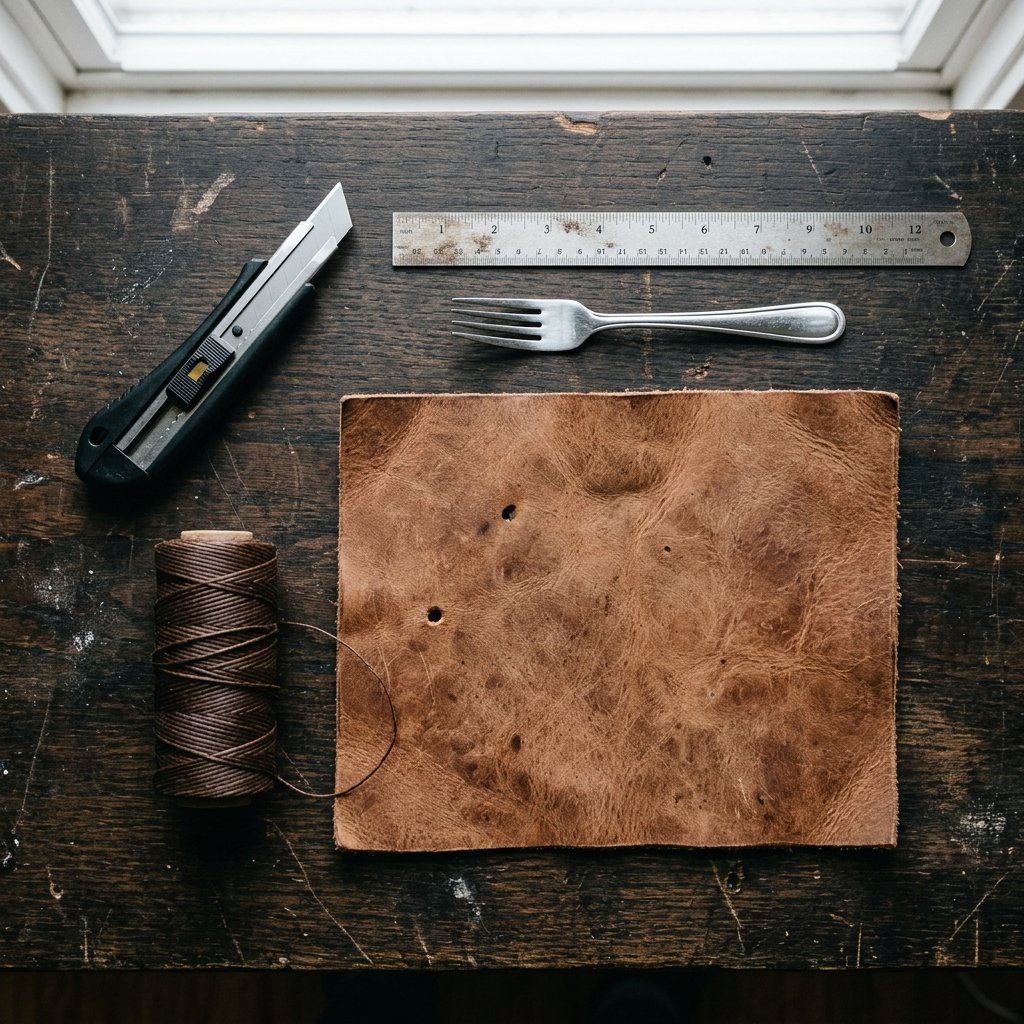
Starting a new hobby often feels like a financial trap, but leatherworking doesn’t have to be. You don’t need a $200 starter kit to make a professional sheath. In fact, many of the best materials can be upcycled from items you already own or can find at a local thrift store for pennies on the dollar. Look for old leather belts (ensure they are genuine leather, not bonded), discarded handbags, or even heavy-duty leather coats.
| Material Item | Store-Bought Price | Frugal DIY Source | Estimated Cost |
|---|---|---|---|
| Vegetable Tanned Leather | $15 – $25 (Small piece) | Thrifted Belt / Scraps | $1.00 – $3.00 |
| Waxed Poly Thread | $8.00 (Spool) | Dental Floss (Emergency) / Small Spool | $0.50 |
| Edge Burnisher | $12.00 | Smooth Wooden Dowel or Bone Folder | $0.00 |
| Leather Glue | $10.00 | Standard Contact Cement | $0.50 |
| Total Cost | $45.00+ | DIY Expert Mode | <$5.00 |
Budget Mantra: The best tools are the ones you already have. A sharp utility knife beats a dull ‘specialty’ leather knife every single time.
The Blueprint: Creating a Custom Template
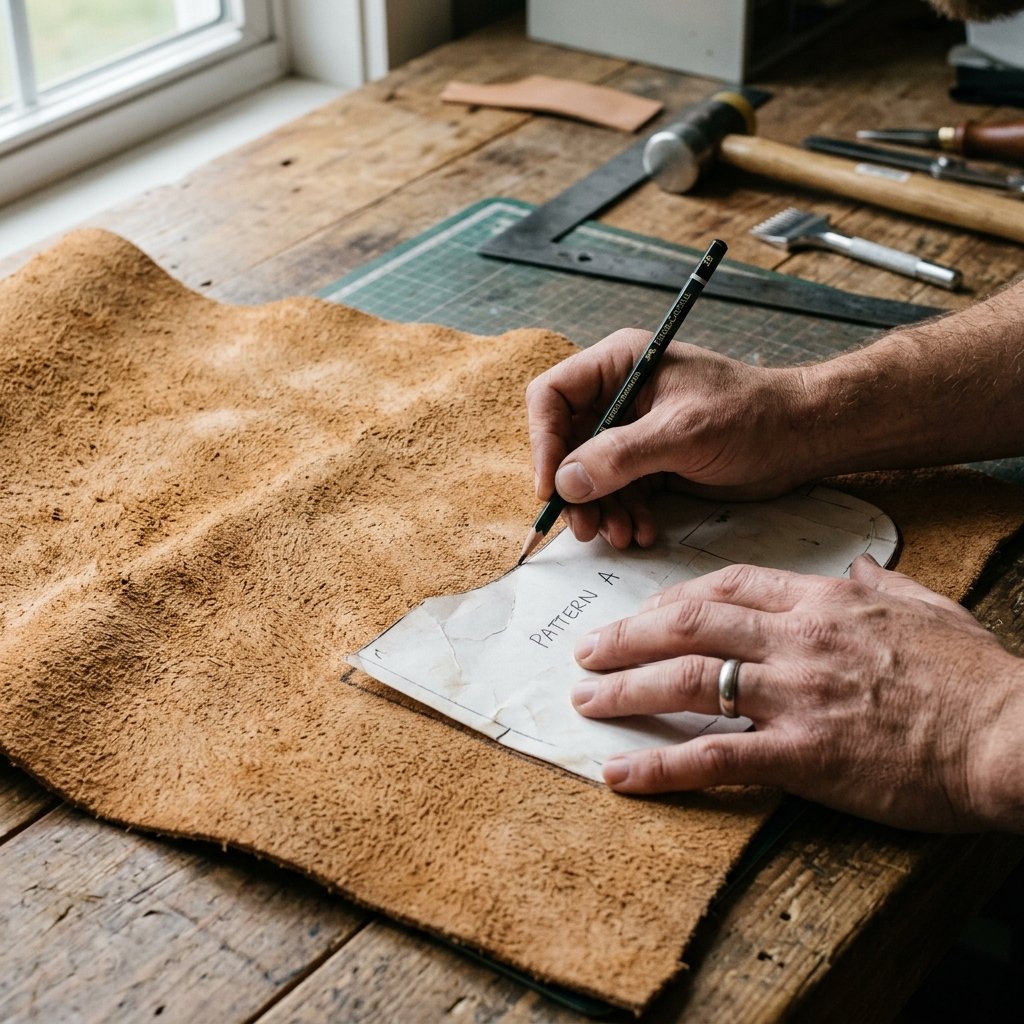
A sheath is only as good as its fit. If it’s too loose, your knife falls out; too tight, and you’ll struggle to deploy it when needed. We start by creating a ‘paper pattern.’ This is the secret to avoiding wasted leather. You will need a piece of cardstock or an old cereal box.
- Step 1: Place your knife on the cardstock and trace its perimeter.
- Step 2: Add a 1/2 inch margin around the sides and bottom. This accounts for the thickness of the leather and the stitching ‘welt.’
- Step 3: Determine your carry style. Do you want a ‘pouch’ style (knife sits deep) or a ‘pancake’ style (two pieces of leather sandwiched)? For beginners, the Fold-Over Pouch is the most efficient and rugged.
- Step 4: Fold the paper over your knife to test the ‘wrap.’ If it feels snug but not suffocating, you have your pattern.
Remember, leather stretches slightly over time, so a firm fit at the start is exactly what we want. Once you are happy with the paper version, cut it out and trace it onto the back (flesh side) of your leather with a pencil or silver pen.
The Crafty Expert’s Stitching Secret: The Fork Method
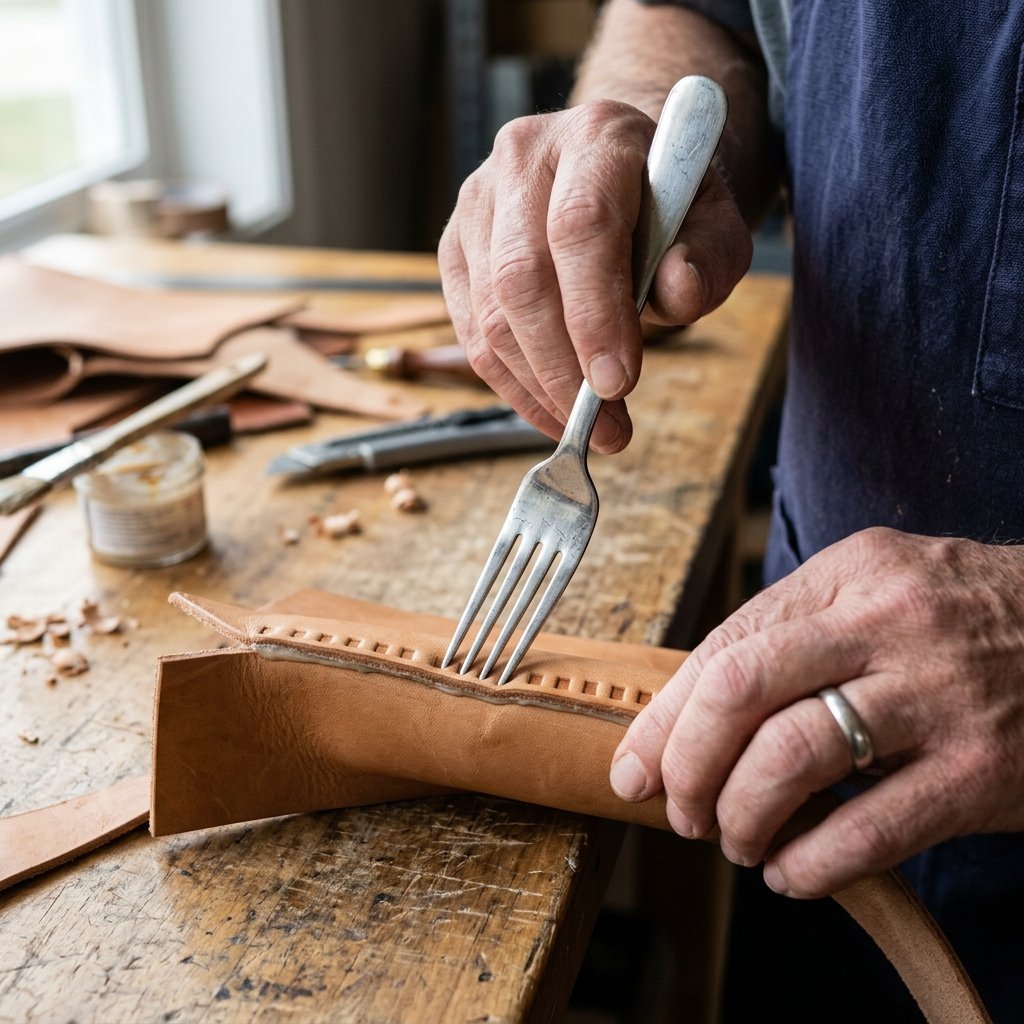
One of the hardest parts of leatherworking for beginners is getting perfectly spaced stitches. Professional leatherworkers use ‘stitching chisels’ or ‘pricking irons’ that can cost $30 a set. Here is the crafty-expert hack: Use a kitchen fork.
- Glue the Edges: Apply a thin layer of contact cement to the edges you intend to sew. Let it get tacky (about 5 minutes), then press them together.
- Mark the Holes: Take a standard metal fork and press the tines into the leather along your stitch line. This creates perfectly spaced indentations.
- Punch the Holes: Since leather is thick, you cannot simply push a needle through. Use a small finishing nail and a hammer, or a 1/16th inch drill bit, to clear the holes marked by the fork.
- The Saddle Stitch: This is the gold standard of rugged sewing. Use two needles on a single length of thread. Pass one needle through the hole, then pass the other needle through the same hole from the opposite side. It creates a locking stitch that will never unravel, even if one thread breaks.
Pro Tip: To calculate thread length, measure your stitch line and multiply by 4. It’s better to have too much than to run out 2 inches from the finish line!
The Wet-Molding Masterclass: Achieving a Custom Fit
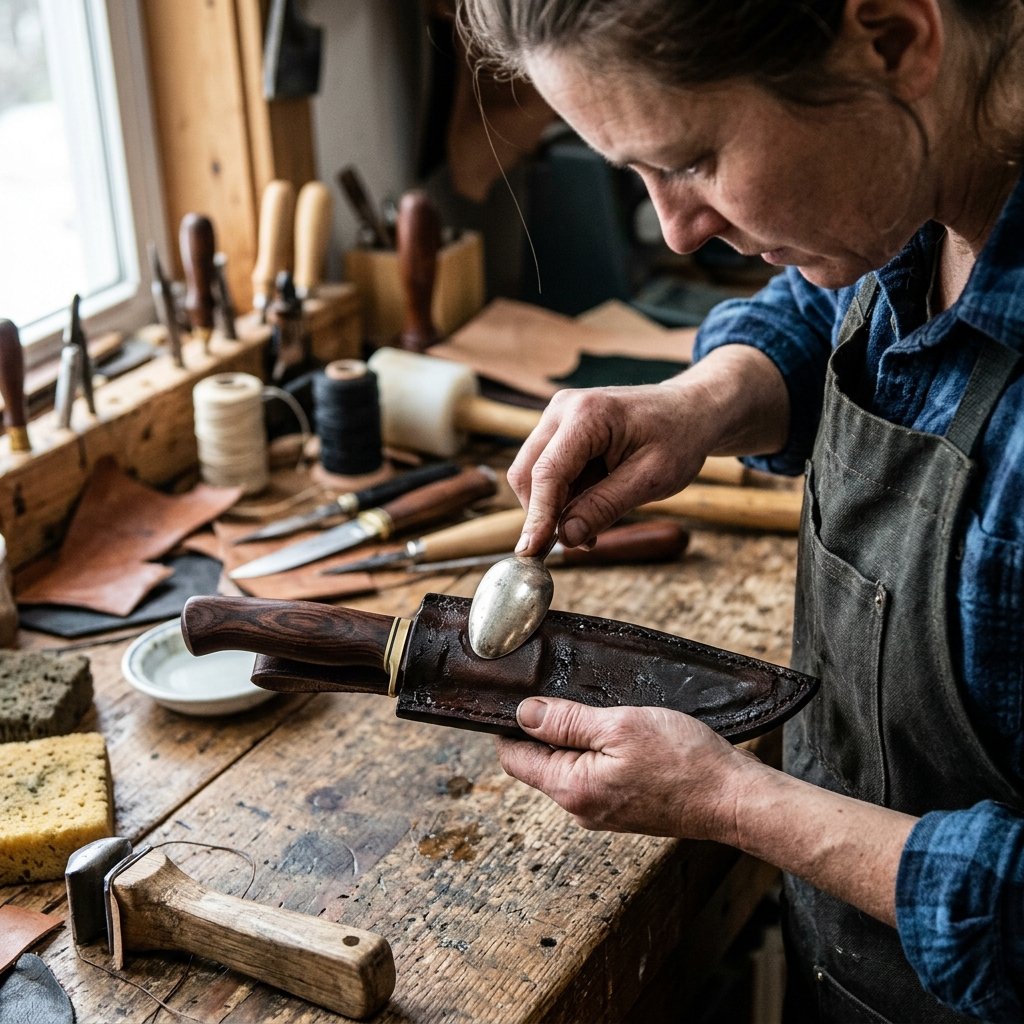
If you want that ‘masculine-elegant’ look seen in high-end custom gear, you must master wet-molding. This process turns a flat, stiff piece of leather into a form-fitted holster that grips your knife perfectly. It is a simple technique that yields professional results.
The Wet-Molding Process
- Soak: Submerge your finished (but un-oiled) sheath in lukewarm water for about 10 to 15 minutes until it is fully saturated.
- Protect: Wrap your pocket knife tightly in plastic wrap to prevent any moisture from causing rust on the blade or scales.
- Insert: Slide the wrapped knife into the wet sheath. It will be a tight squeeze, but the wet leather is pliable.
- Bone: Use the back of a spoon or a smooth wooden handle to rub the leather around the contours of the knife. You will see the shape of the knife begin to ‘pop’ through the leather.
- Dry: Leave the knife inside and let the leather air dry for 24 hours. Do not use a hairdryer, as high heat can make the leather brittle.
Once dry, the leather will be hard and perfectly molded to every curve of your specific knife. This is the difference between a ‘DIY project’ and a ‘bespoke tool.’
Finishing Touches: Burnishing and Conditioning
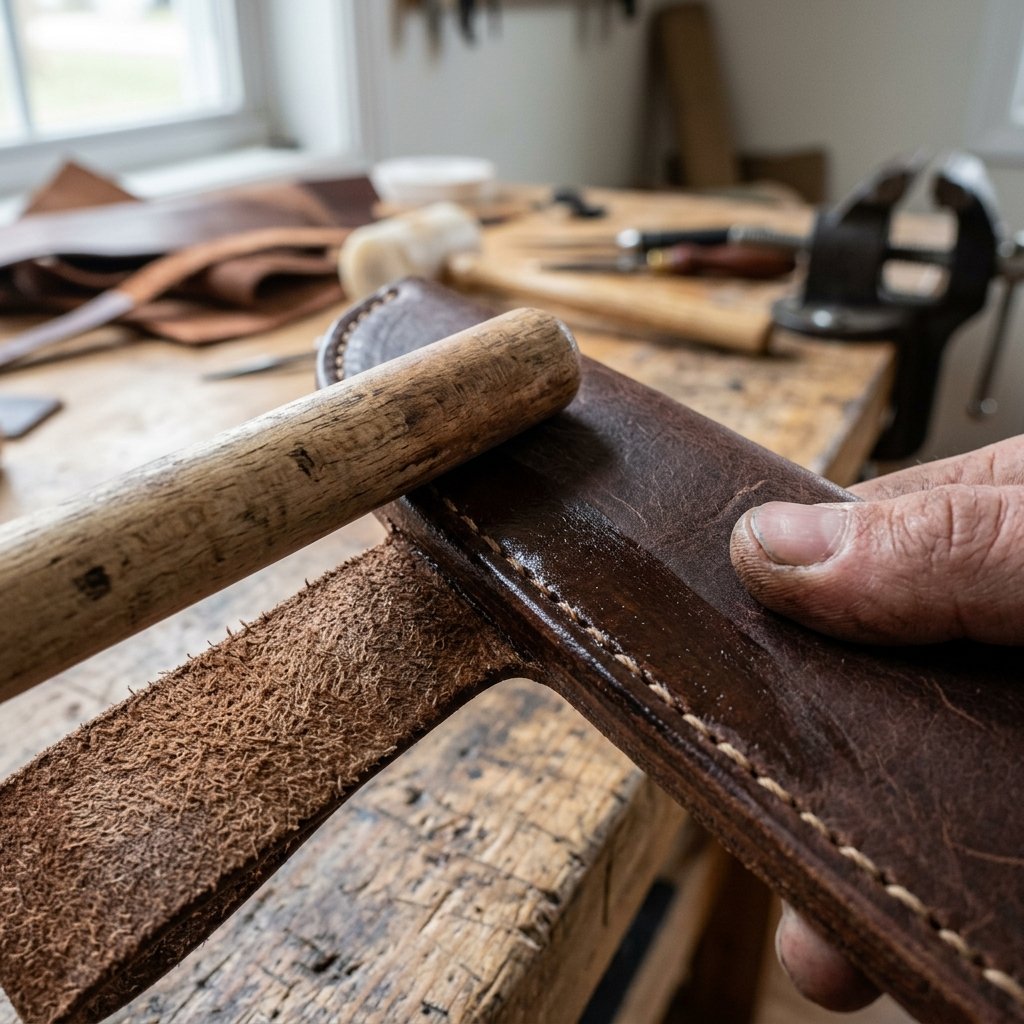
The final step to a professional finish is the edges. Raw, fuzzy edges scream ‘amateur.’ We want them smooth, shiny, and sealed. This process is called burnishing. You don’t need fancy waxes; a little bit of water or even saliva (the old-school way) and a piece of denim or a smooth wood scrap will do the trick.
Rub the edge of the leather vigorously with your wooden tool or denim until the friction creates heat. The fibers will compress and take on a dark, glossy sheen. Finally, apply a coat of leather conditioner or even a bit of olive oil in a pinch to protect the hide. This ensures your sheath stays supple and resists moisture for years to come.
| Finish Type | Materials Needed | Visual Result |
|---|---|---|
| Natural Burnish | Water + Wood Scrap | Matte, smooth, professional |
| Rustic Waxed | Beeswax + Friction | Dark, weather-resistant, rugged |
| Polished Edge | Edge Paint or Marker | Modern, clean, high-contrast |
Safety Note: Always cut away from your body when trimming leather. A sharp utility knife can slip easily on the slick surface of the hide.
Conclusion
A Legacy in Your Pocket
By following this tutorial, you haven’t just made a tool accessory; you have mastered a skill that has been passed down for generations. This leather sheath will age beautifully, developing a ‘patina’ that tells the story of your daily adventures. For less than the price of a cup of coffee, you have created a piece of gear that is more durable and more personal than anything you could find on a store shelf. Whether you keep it for yourself or gift it to a friend, this DIY project proves that with a little resourcefulness and a few clever hacks, every man can carry something truly exceptional. Now, go find some scrap leather and get to work—your pocket knife deserves it.

Makenzie is the founder and lead writer at MoneyHackTips.com — a personal finance blog dedicated to delivering street-smart financial wisdom for real people on real budgets. With 300+ published articles covering everything from debt management to investing fundamentals, Makenzie’s mission is to make every dollar work harder. When not writing about money hacks, Makenzie is testing frugal living strategies, optimizing side hustles, and helping readers build financial freedom from scratch.