
The Secret to Curb Appeal on a Shoestring Budget
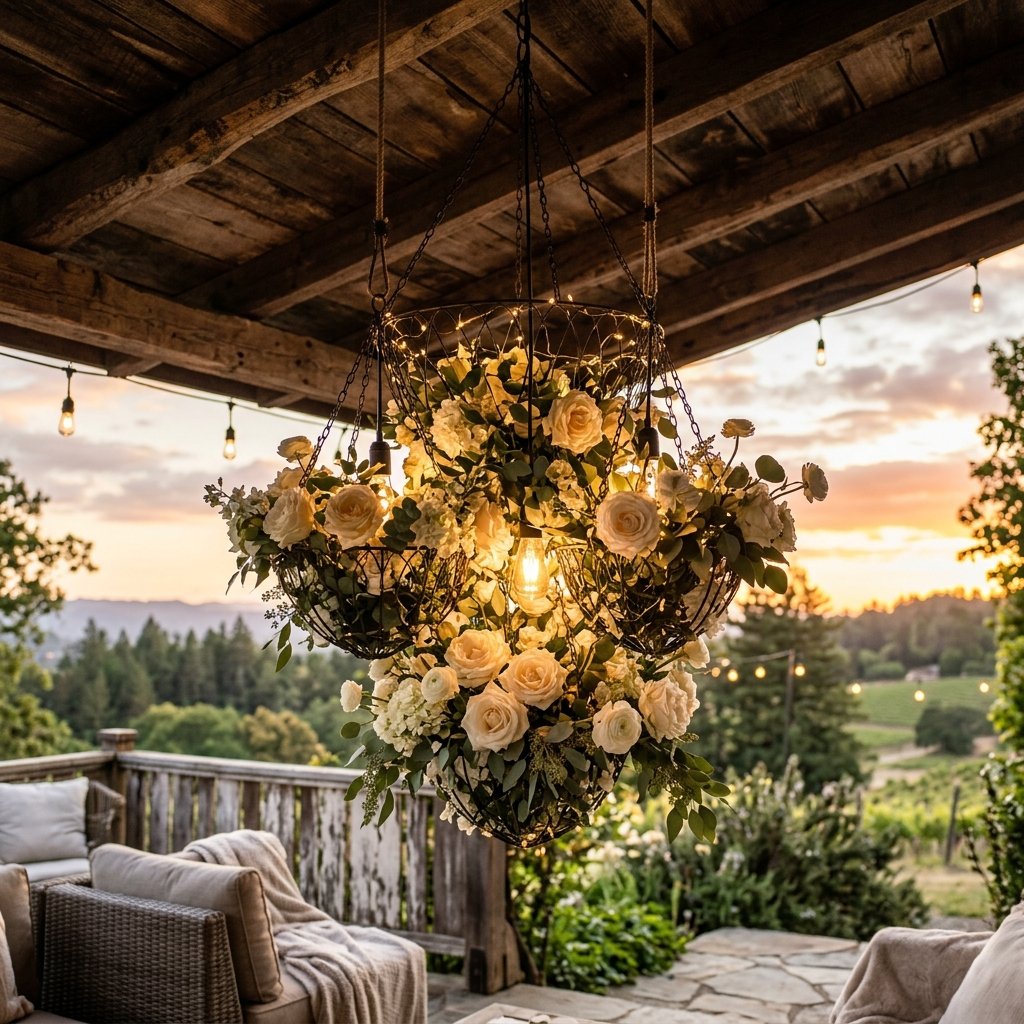
Welcome to the masterclass of trash-to-treasure transformation. If you have ever walked through a high-end home goods store and felt your heart sink at the $200 price tag on a seasonal porch fixture, this guide is for you. We are not just making a craft; we are engineering a masculine-elegant statement piece that screams sophistication without whispering a word about its $1.25 origins. By combining rugged wire frames with delicate faux botanicals and a touch of clever illumination, we will build a hanging floral chandelier that stands up to the elements and the scrutiny of the most discerning neighbors. This project is about being resourceful, clever, and unapologetically budget-savvy.
“Frugality isn’t about spending less; it’s about making what you spend look like a million bucks through sheer creativity and grit.”
The Blueprint: Scouting Your Dollar Tree Treasure
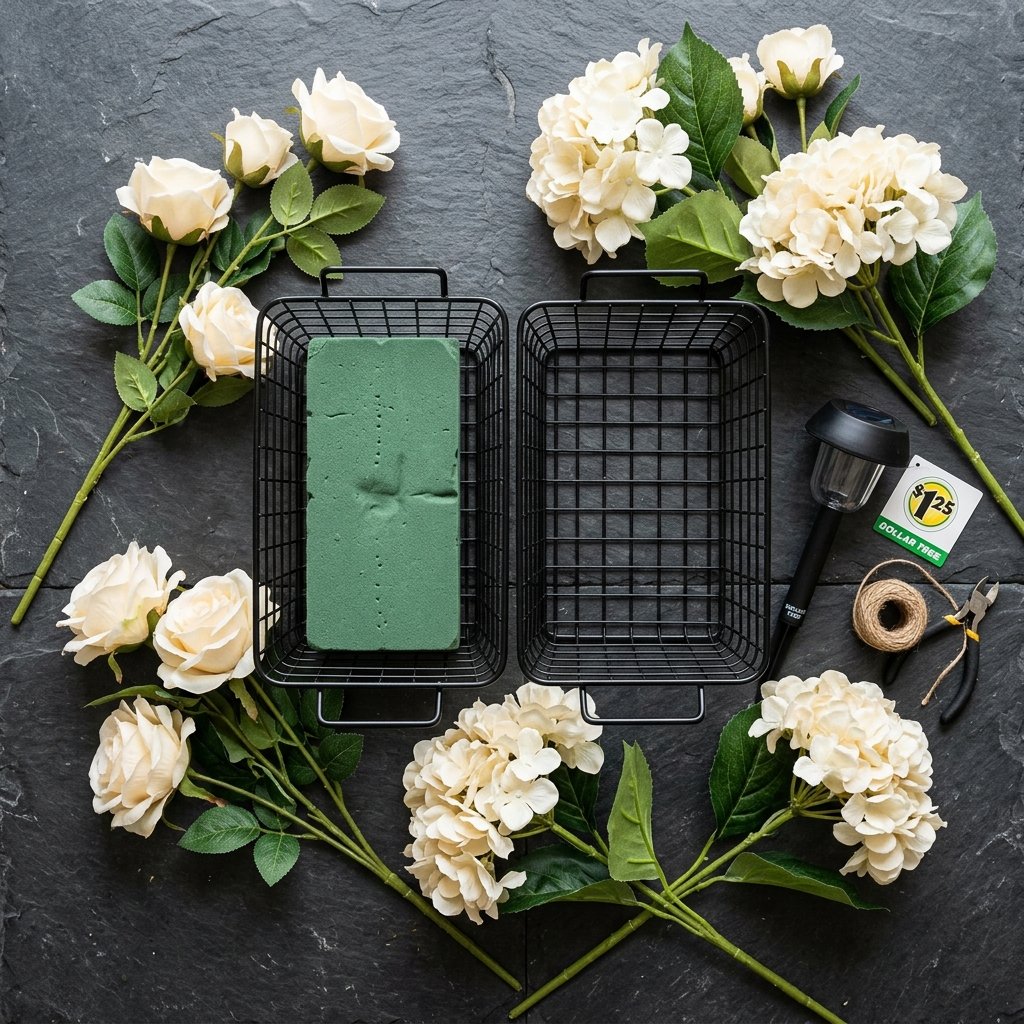
Success in the aisles of the Dollar Tree requires a vision. You aren’t looking for finished products; you are looking for geometric skeletons and textural foundations. For this build, we are targeting the kitchen and garden sections. We need a structure that is lightweight yet sturdy enough to catch the breeze without collapsing. Below is the exact manifest for our under $15 masterpiece.
| Item Description | Quantity | Strategic Purpose | Cost |
|---|---|---|---|
| Wire Fruit Basket or Garden Cloche | 2 | The structural frame (top and bottom) | $2.50 |
| Floral Foam Blocks | 1 | The anchor for our stems | $1.25 |
| Assorted Silk Peonies & Eucalyptus | 6 | Visual bulk and ‘spiller’ effect | $7.50 |
| Solar-Powered Puck Light | 1 | The ‘Chandelier’ glow | $1.25 |
| Heavy-Duty Zip Ties (Black) | 1 Pack | Invisible structural binding | $1.25 |
| Total Estimated Investment | – | High-End Look | $13.75 |
Pro-Tip for the Savvy Hunter
When selecting your florals, look for stems with variegated leaves. Solid green plastic looks cheap; leaves with slight color transitions mimic nature and provide that high-end aesthetic we are aiming for. Don’t be afraid to pull the flower heads off and rearrange them for better density.
Structural Integrity: Forging the Chandelier Frame
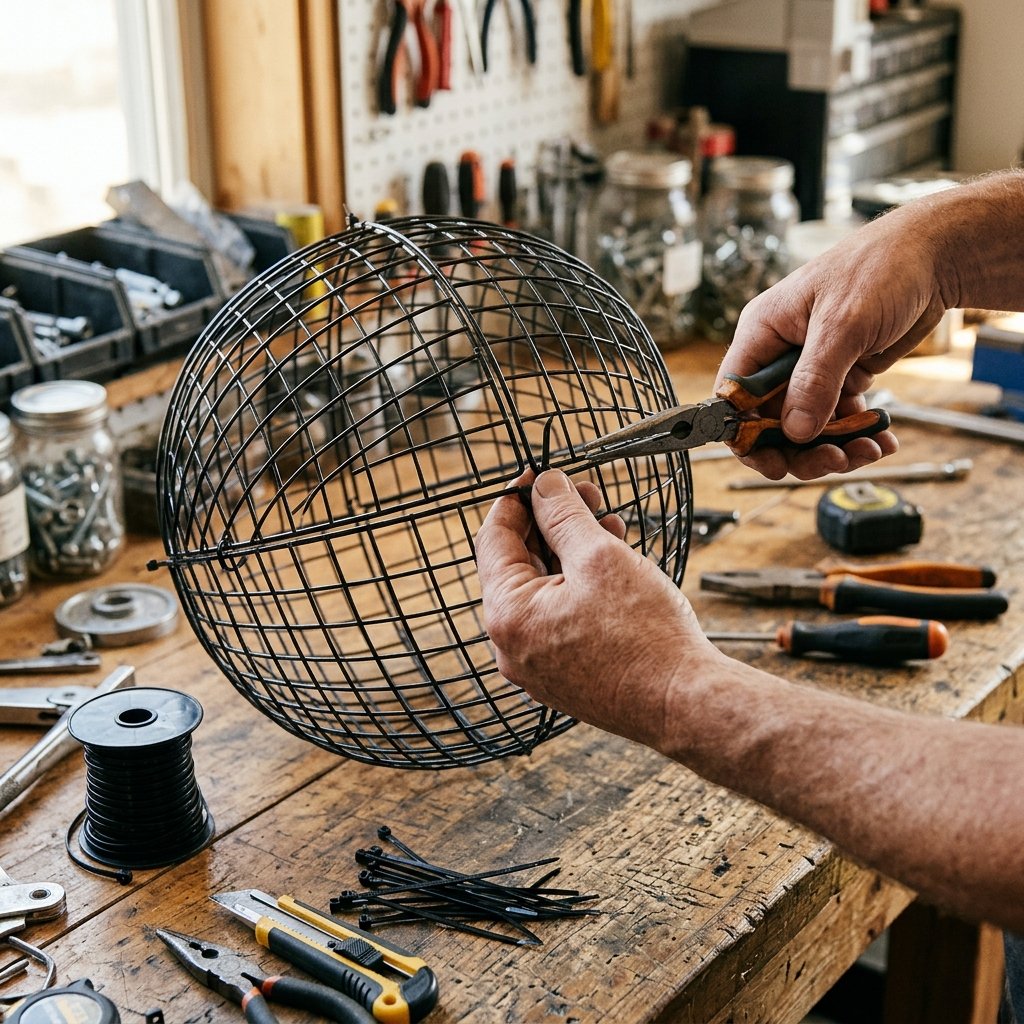
A rugged DIYer knows that the foundation is everything. We are going to create a spherical cage by joining our two wire baskets. This creates a 360-degree canvas for our florals. If your baskets are a bright chrome, we are going to fix that with a quick coat of matte black spray paint to give it a wrought-iron finish.
- Alignment: Place the two wire baskets rim-to-rim. Ensure the wire patterns align as closely as possible to maintain symmetry.
- Binding: Use your heavy-duty zip ties to secure the rims together at four equidistant points. Pull them tight until the baskets are inseparable.
- Trimming: Snip the excess tail of the zip ties. Safety Note: Use flush-cutters if possible to avoid sharp plastic edges that could snag your silk flowers.
- The Anchor: Wedge your floral foam into the center of the bottom basket. If it feels loose, use a dab of hot glue or another zip tie to keep it centered.
“A sturdy frame is the difference between a porch decoration and a porch ‘installation’. Build it to last the season.”
The Floral Artistry: Layering for Dimension and Depth
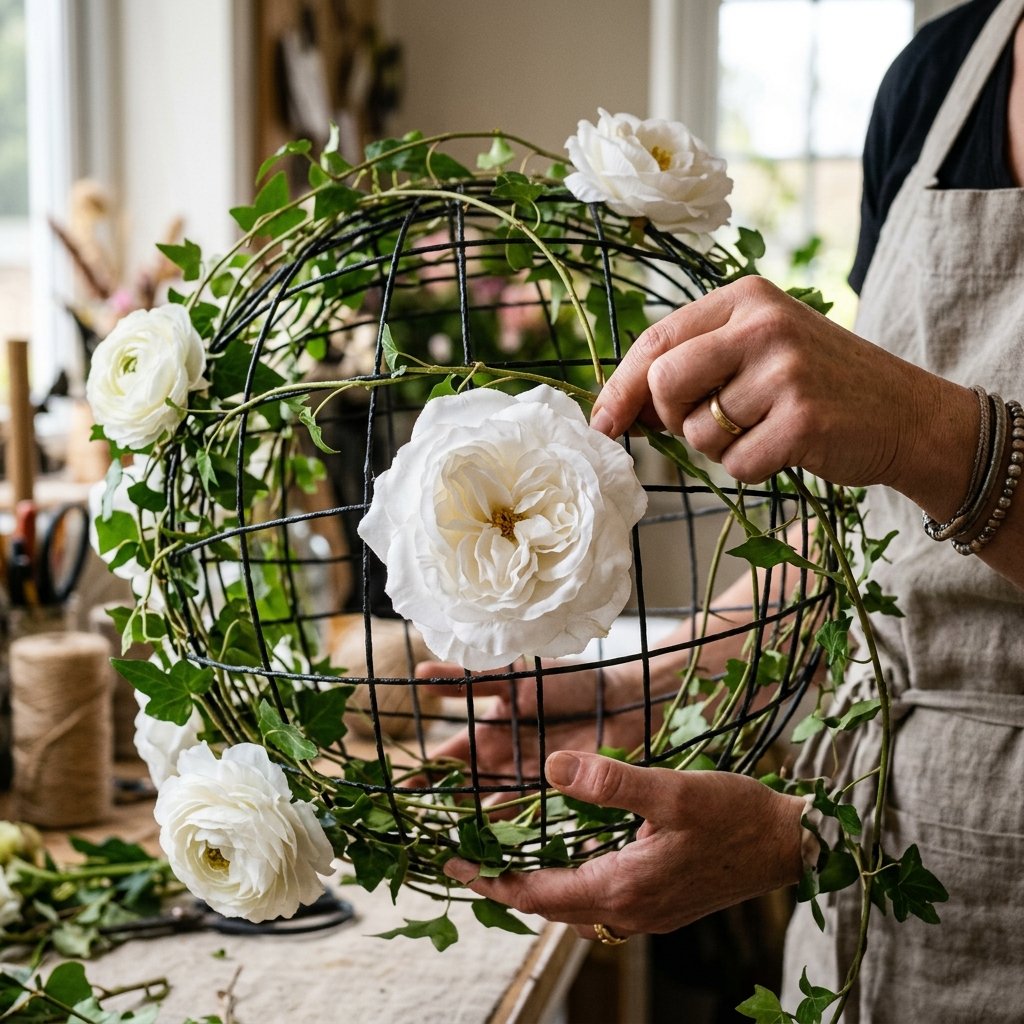
This is where the crafty expert shines. We aren’t just sticking flowers into foam; we are creating a botanical composition. We follow the ‘Thriller, Filler, Spiller’ methodology used by professional landscapers to ensure the chandelier looks lush from every angle.
Step-by-Step Floral Application
- The Spillers: Start by weaving your eucalyptus or ivy vines through the bottom wires of the cage. Let them hang down 8-12 inches to create movement.
- The Thrillers: Take your largest blooms (the peonies or roses) and insert them into the floral foam at the center, angling them so they poke through the wire gaps. These are your focal points.
- The Fillers: Use smaller buds and leaf clusters to hide the wire frame and the foam block. The goal is to make the chandelier look like a floating garden.
Expert Hack: Use a $1.25 bag of Spanish Moss to cover any visible green foam. It adds a touch of ‘Old South’ elegance and provides a professional finish that hides your structural secrets.
Illumination: The Secret to the Twilight Glow
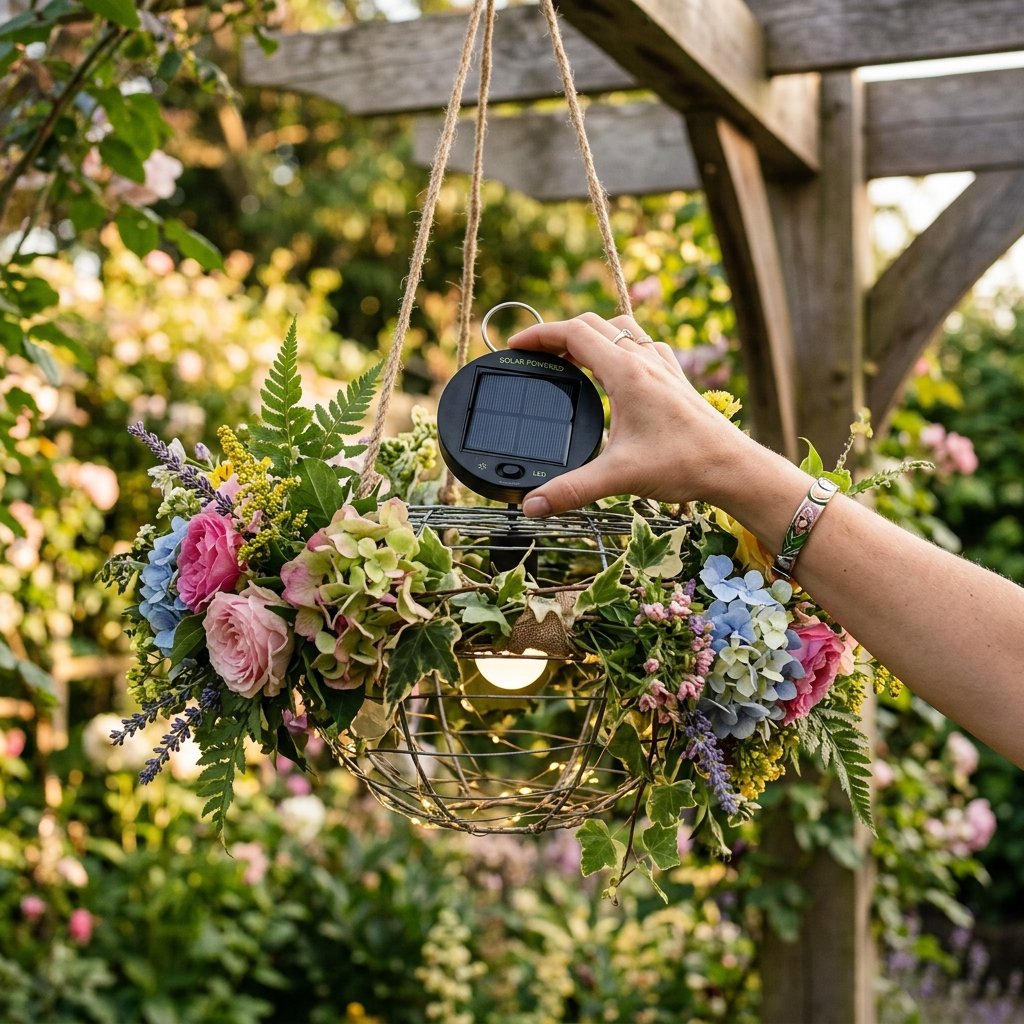
A chandelier isn’t a chandelier without light. To keep this 100% wireless and maintenance-free, we are using a Dollar Tree solar puck light. This ensures your porch glows every evening without you having to flip a switch or drain your wallet on electricity.
Installing the Solar Core
Position the solar light at the very top of the chandelier, with the solar panel facing upward. If your porch is covered, ensure the chandelier hangs in a spot that receives at least 4 hours of indirect sunlight. Secure the light using a small amount of clear adhesive or a thin wire. Because the light is LED, it won’t generate heat, making it perfectly safe to nestle directly against your silk florals.
“Light is the brush that paints the mood. A soft solar glow transforms a simple craft into an evening experience.”
Rugged Installation: Hanging Your Masterpiece
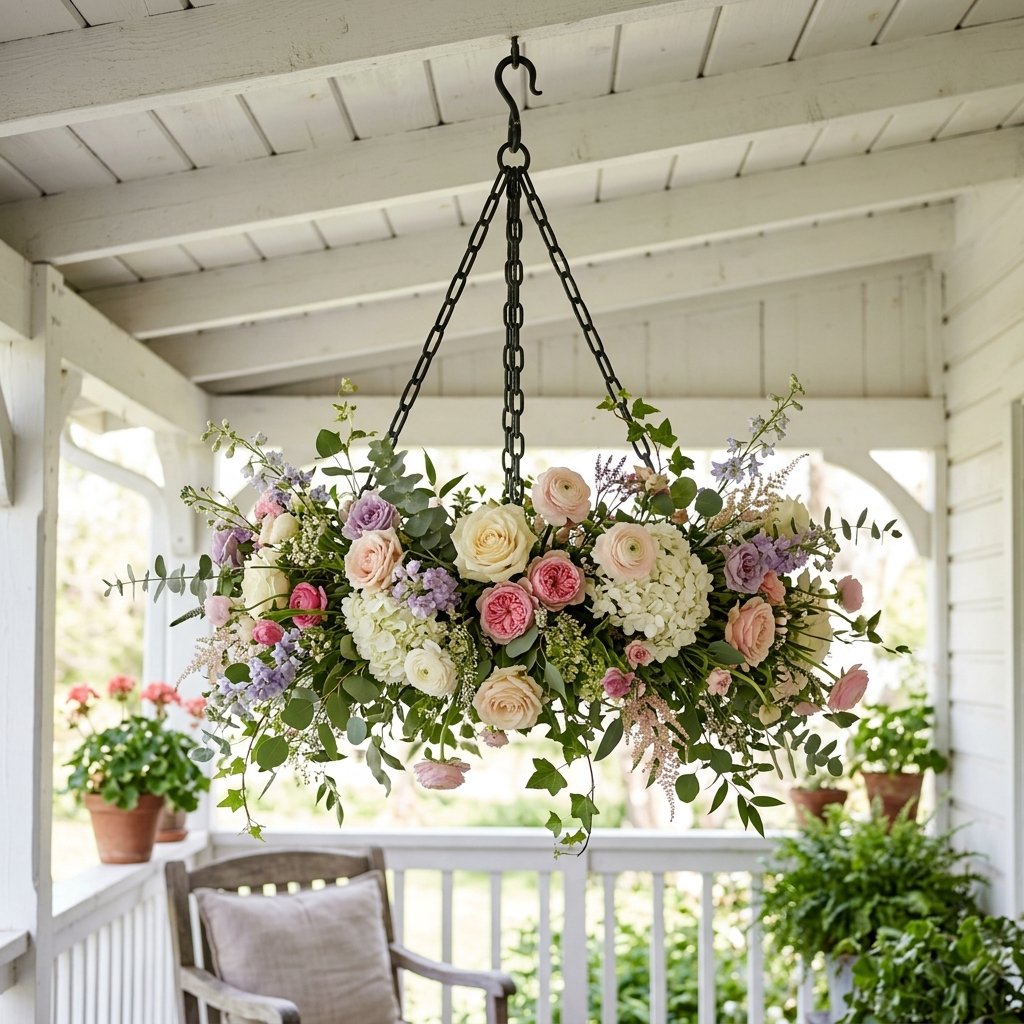
Now that your chandelier is assembled, it’s time to mount it. We want a look that is secure and professional. Avoid using flimsy string; instead, opt for a black decorative chain or a thick jute rope for a more rugged, farmhouse feel.
| Mounting Method | Best For… | Durability Rating |
|---|---|---|
| Jute Rope (Double Knot) | Farmhouse/Rustic Porches | Moderate |
| Black Metal Chain | Modern/Elegant Entryways | High |
| Heavy-Duty Fishing Line | The ‘Floating’ Illusion | Low (Wind Risk) |
Ensure you use a swivel hook if your porch is prone to high winds. This allows the chandelier to spin freely without putting torque on your mounting point. Check the weight before hanging; though it looks heavy, our Dollar Tree build should weigh less than 3 pounds, making it safe for almost any porch ceiling.
Seasonal Rotations: One Frame, Endless Possibilities
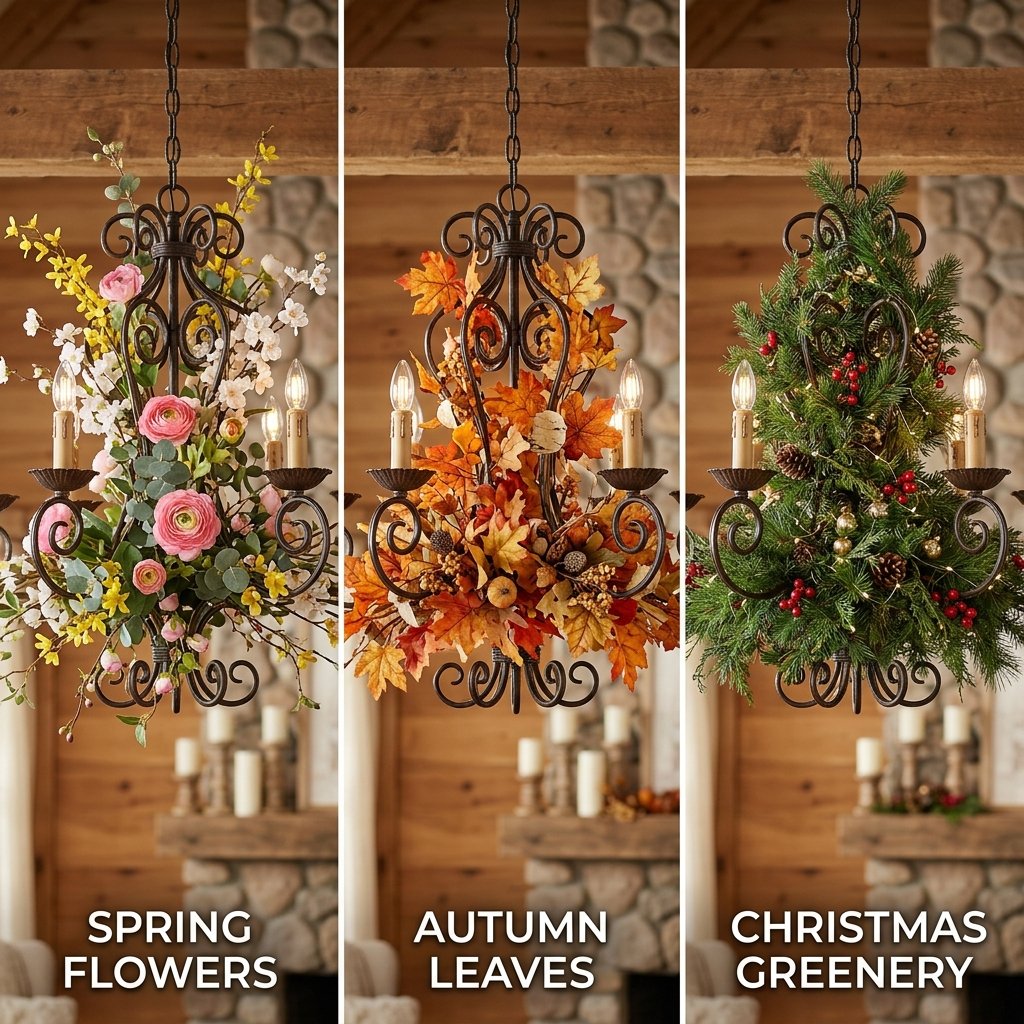
The beauty of this under $15 hack is its versatility. Once you have the wire frame and lighting core built, you can swap the ‘skin’ of the chandelier for every season for just a few dollars. This is the ultimate frugal homeowner’s secret weapon.
Seasonal Theme Ideas
- Fall Harvest: Swap the peonies for faux maple leaves, mini pumpkins, and orange berries.
- Holiday Magic: Use pine boughs, red ornaments, and a dusting of faux snow. Replace the solar light with battery-operated ‘fairy lights’ for a winter twinkle.
- Spring Awakening: Go heavy on the lavender, tulips, and bright green ferns to celebrate the end of winter.
By using reusable zip ties or simply tucking the stems into the wire mesh without glue, you can keep your base frame for years, updating your curb appeal for the cost of a cup of coffee.
Conclusion
Elegant Living Doesn’t Have to Be Expensive
You have just completed a high-end porch transformation that would retail for ten times what you spent. By being resourceful and creative, you’ve proven that style is about vision, not just a credit card balance. Your new hanging floral chandelier is more than just decor; it’s a testament to your DIY prowess and your ability to find beauty in the most humble of places. Now, grab a cold drink, head out to your porch, and enjoy the glow of a job well done—and a budget well kept. Happy crafting!

Makenzie is the founder and lead writer at MoneyHackTips.com — a personal finance blog dedicated to delivering street-smart financial wisdom for real people on real budgets. With 300+ published articles covering everything from debt management to investing fundamentals, Makenzie’s mission is to make every dollar work harder. When not writing about money hacks, Makenzie is testing frugal living strategies, optimizing side hustles, and helping readers build financial freedom from scratch.