
The Death of the Greeting Card Envelope
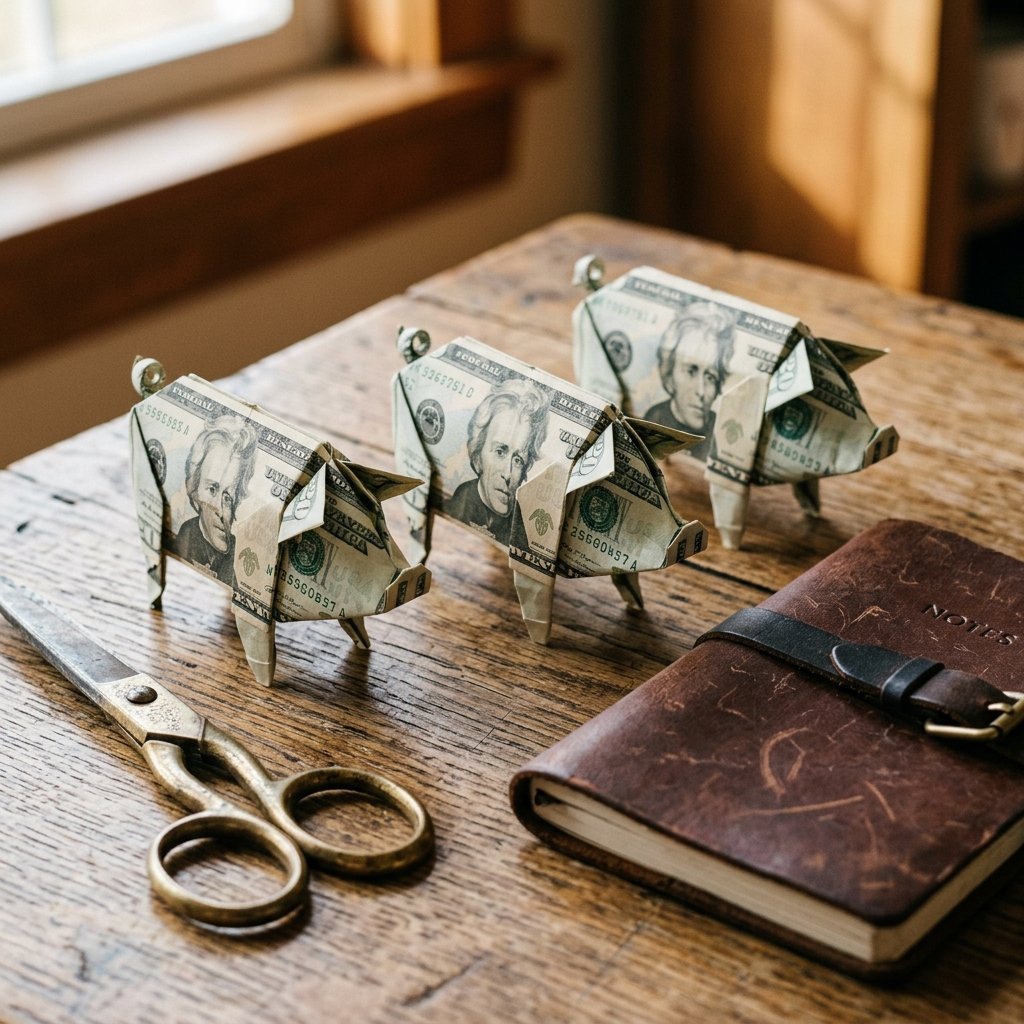
Let’s be honest: handing someone a flat, white envelope with a $20 bill tucked inside feels about as creative as giving someone a pair of white tube socks. While cash is the king of gifts, the presentation is often its pauper. If you want to be the person whose gift is remembered long after the wedding or graduation party is over, you need to master the art of the ‘Financial Swine.’ Folding a money origami pig isn’t just a clever trick; it’s a rugged, resourceful way to show the recipient that you put 10 minutes of genuine effort into their ‘boring’ cash gift. Whether you are telling a graduate to ‘bring home the bacon’ or helping a couple start their literal piggy bank, this tutorial will turn you into a master of the fold. We aren’t just making paper animals; we are engineering memories out of legal tender.
The Strategic Advantage: Why the Pig Wins Every Time
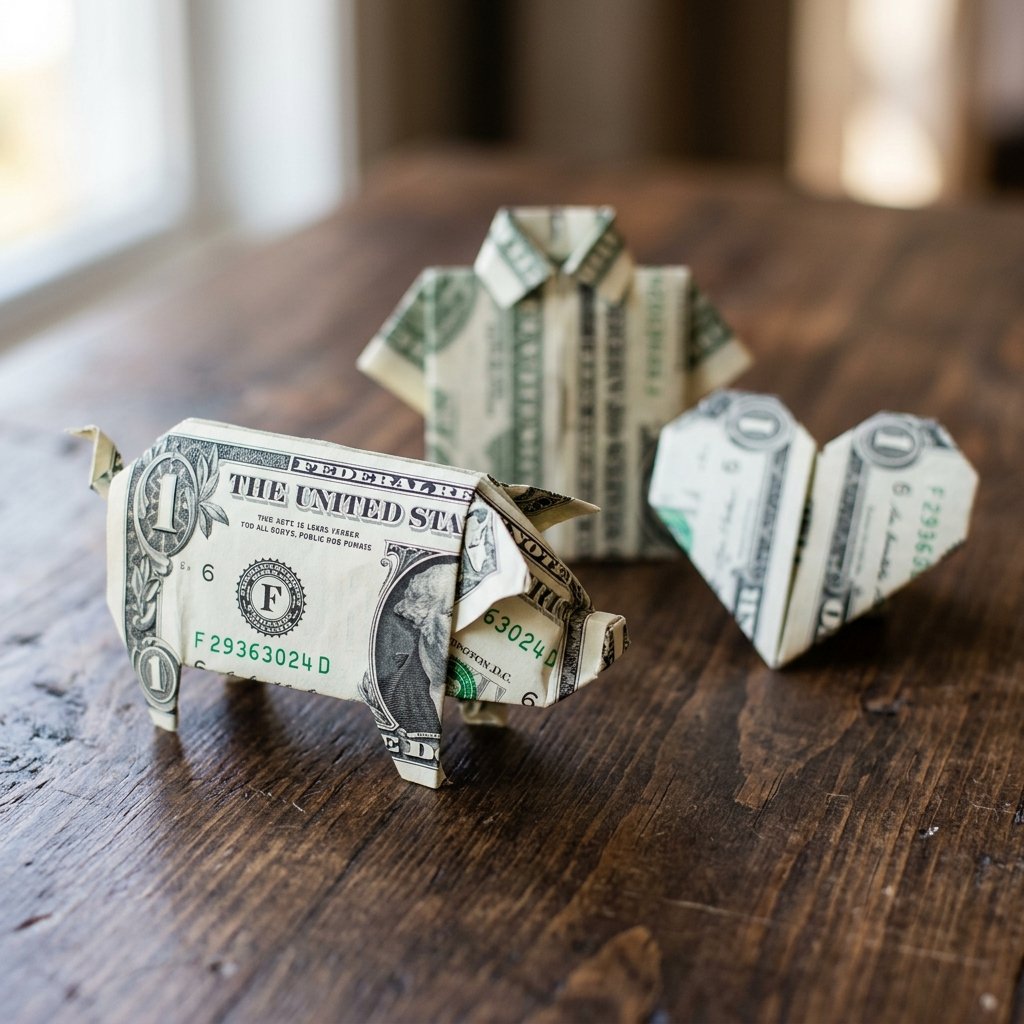
In the world of money origami, the pig occupies a unique space. Unlike the complex crane or the delicate butterfly, the pig is sturdy, structural, and inherently funny. It stands on its own four legs—literally. This makes it the perfect centerpiece for a gift display. From a budget-savvy perspective, it is a 100% free upgrade to your gift’s value. You aren’t spending extra money on ribbons or expensive cards; you are using the gift itself as the decoration.
| Bill Denomination | Occasion Suitability | Visual Impact (1-10) | ‘Bacon’ Pun Potential |
|---|---|---|---|
| $1 Bill | Tooth Fairy / Small Rewards | 6/10 | Low-fat Bacon |
| $5 Bill | Kids’ Birthdays | 7/10 | Standard Rasher |
| $20 Bill | Graduations / Weddings | 9/10 | Premium Cut |
| $100 Bill | Milestone Anniversaries | 10/10 | The Whole Hog |
“The goal of money origami is to make the recipient hesitate to spend it. That hesitation is the highest compliment a crafter can receive.”
Preparation: The Secret to a Crisp, Structural Swine
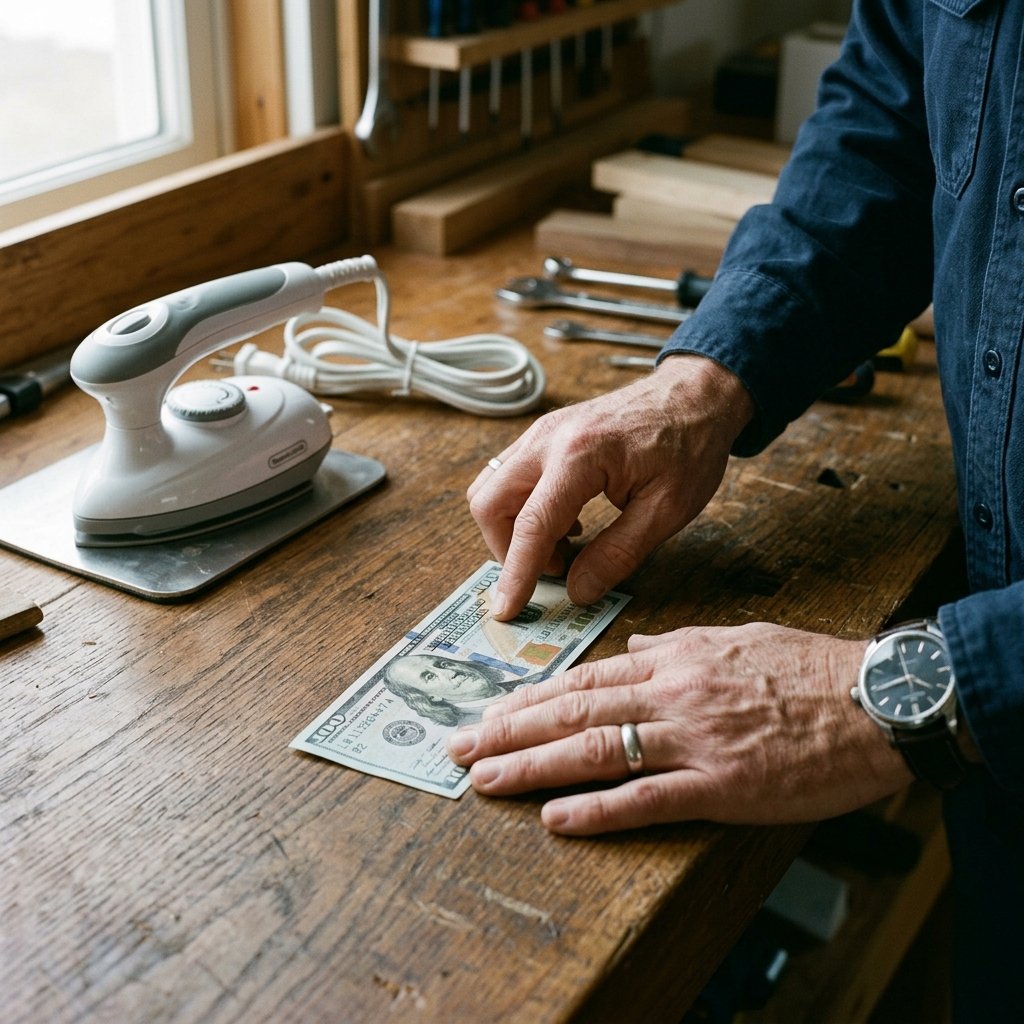
Before we touch the bill, we need to talk about the quality of your ‘lumber.’ You cannot build a sturdy house with rotten wood, and you cannot fold a professional-grade pig with limp, dirty currency. To achieve those razor-sharp edges that make the pig look like a high-end sculpture, follow these prep steps:
- The Ironing Trick: If your bill is wrinkled, set a clothes iron to low heat (no steam) and quickly press the bill under a thin cloth. This makes the fibers stiff and ready for precision work.
- Orientation Matters: For the best visual result, ensure the ‘face’ of the bill (Washington, Lincoln, or Jackson) is positioned so it doesn’t get awkwardly bisected by a leg fold.
- Clean Hands: Oils from your skin can soften the paper over time. Wash and dry your hands thoroughly before starting to keep the bill ‘mint’ condition.
By spending 2 minutes on preparation, you ensure the final product doesn’t look like a crumpled mess but rather a piece of gallery-worthy art.
Phase 1: The Foundation and the Snout
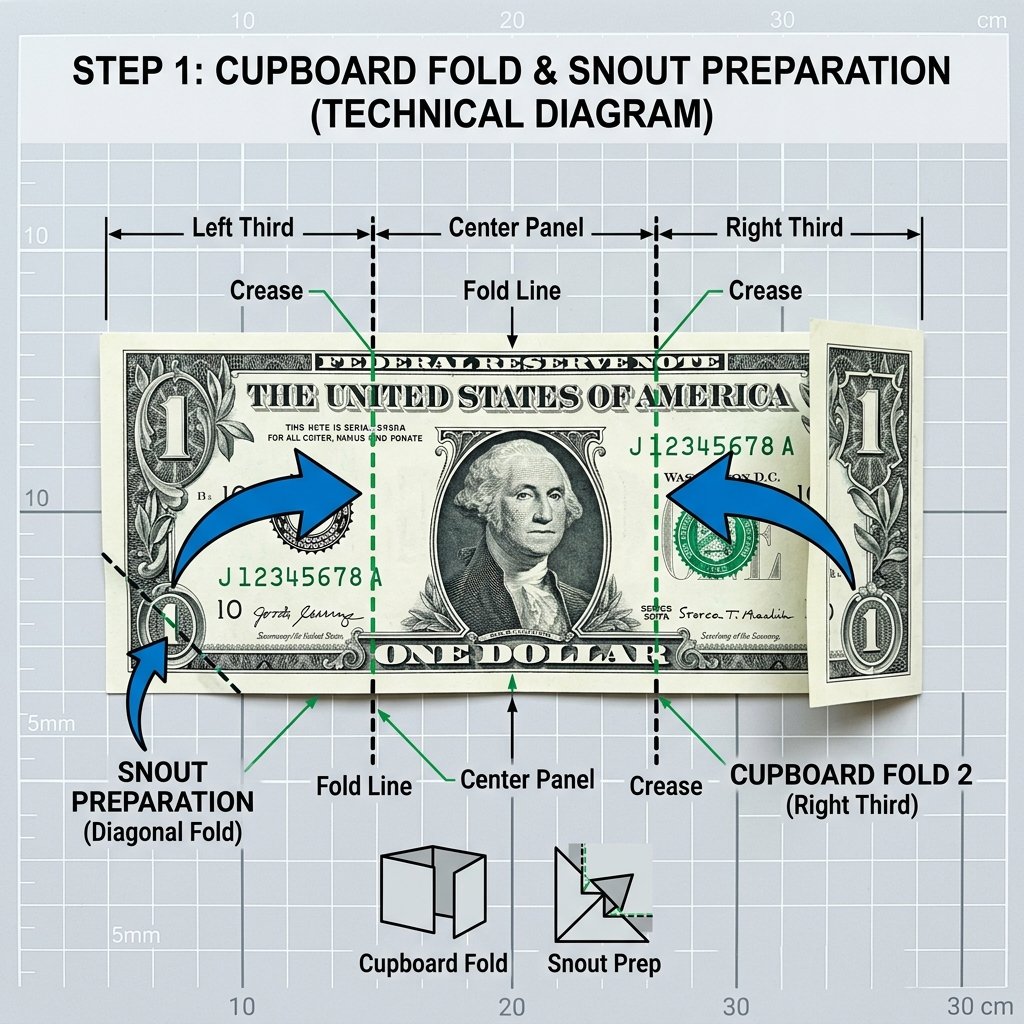
This is where the engineering begins. We will start by establishing the horizontal and vertical axes of our pig. Precision here is non-negotiable. If you are off by 1 millimeter now, your pig will have a limp by the final step.
- The Center Crease: Lay the bill flat (landscape). Fold it in half lengthwise, crease it hard with your fingernail, and then unfold it.
- The Cupboard Fold: Fold the top and bottom edges in to meet perfectly at that center crease. You now have a long, skinny rectangle.
- The Snout Prep: Fold the left side of the bill inward about 1/2 inch. This will eventually become the pig’s snout.
- The Triangle Tuck: Open the corners of that 1/2 inch fold and squash them down into small triangles. This creates the structural ‘nose’ of our financial friend.
“A crisp fold is a confident fold. Treat each crease like a structural beam in a skyscraper.”
Phase 2: Constructing the Legs and Body
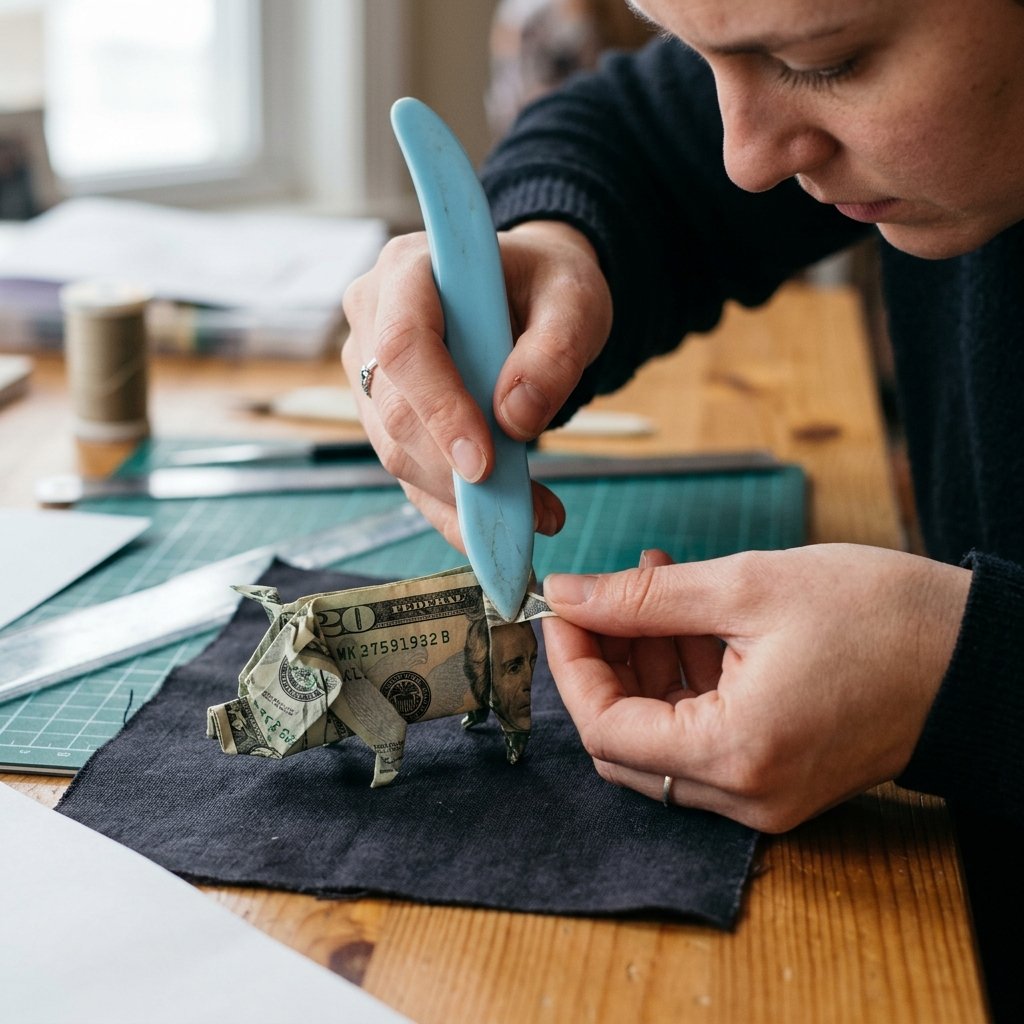
Now we move from a flat plane to a 3D object. This part requires a bit of ‘rugged’ finger strength to ensure the folds stay seated. We are creating the four points of contact that will allow your pig to stand proud on a tabletop.
- The Inside Reverse Fold: At the four corners of your rectangle (excluding the snout area), you will perform inside reverse folds. This involves tucking the corners inward to create the ‘points’ of the legs.
- Leg Thinning: Fold the edges of these new triangles inward once more to make the legs look slender and athletic rather than bulky.
- The Body Arch: Gently fold the entire bill in half lengthwise again (along your original center crease), but this time keep the legs pointing downward.
At this stage, your bill should start resembling a four-legged animal. If it looks more like a collapsed tent, go back and reinforce those 90-degree angles on the legs.
Phase 3: The Curly Tail and Final Shaping
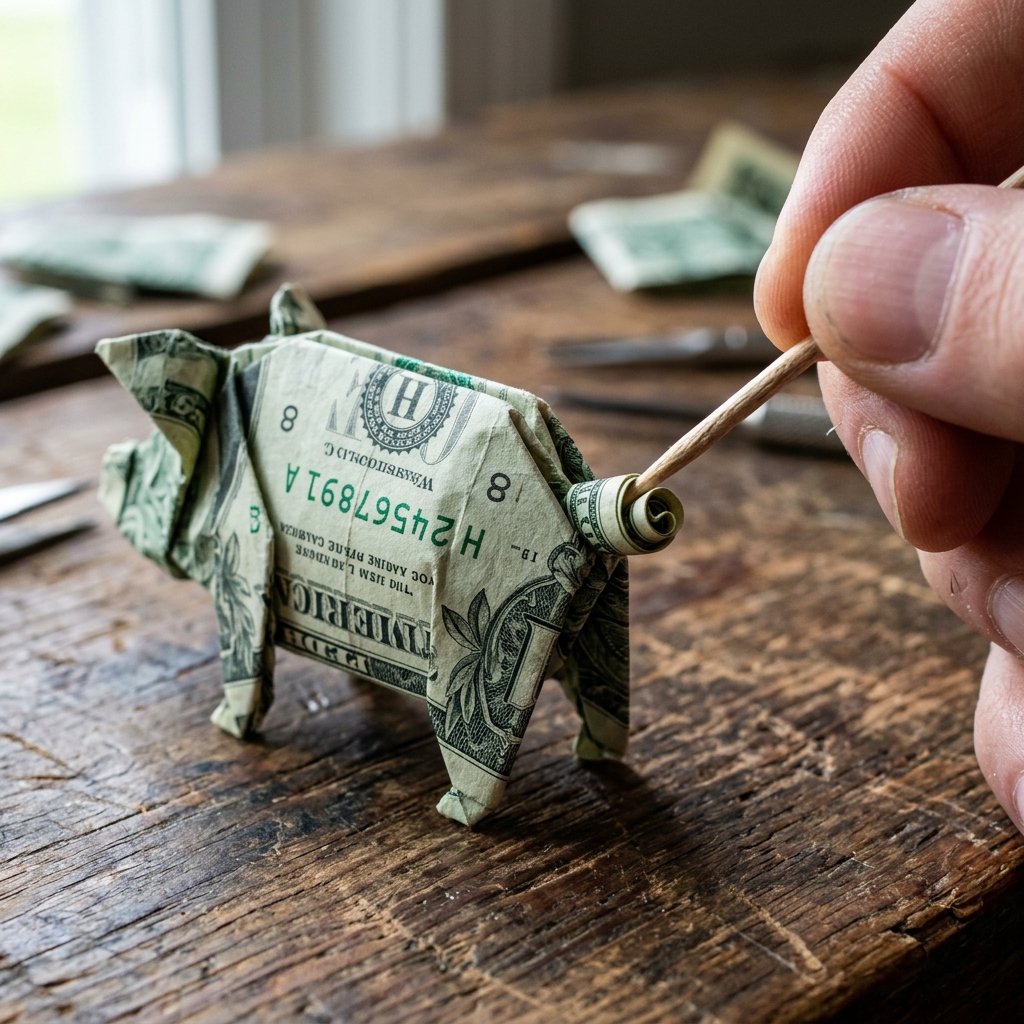
Every pig needs a personality, and that personality lives in the tail. This is the most delicate part of the process but also the most rewarding. It’s what turns a ‘folded bill’ into a ‘pig.’
The Tail Technique
- Go to the end opposite the snout.
- Make a small diagonal fold upward, then a small fold back down. This is a ‘pleat fold.’
- Carefully roll the tip of the tail around a toothpick or the end of a paperclip to give it that signature corkscrew look.
The Snout Refinement
Go back to the front. Gently push the center of the ‘nose’ inward to create a slightly blunt, flat snout. This adds a level of realism that sets your work apart from amateur attempts.
Presentation: Bringing Home the Bacon
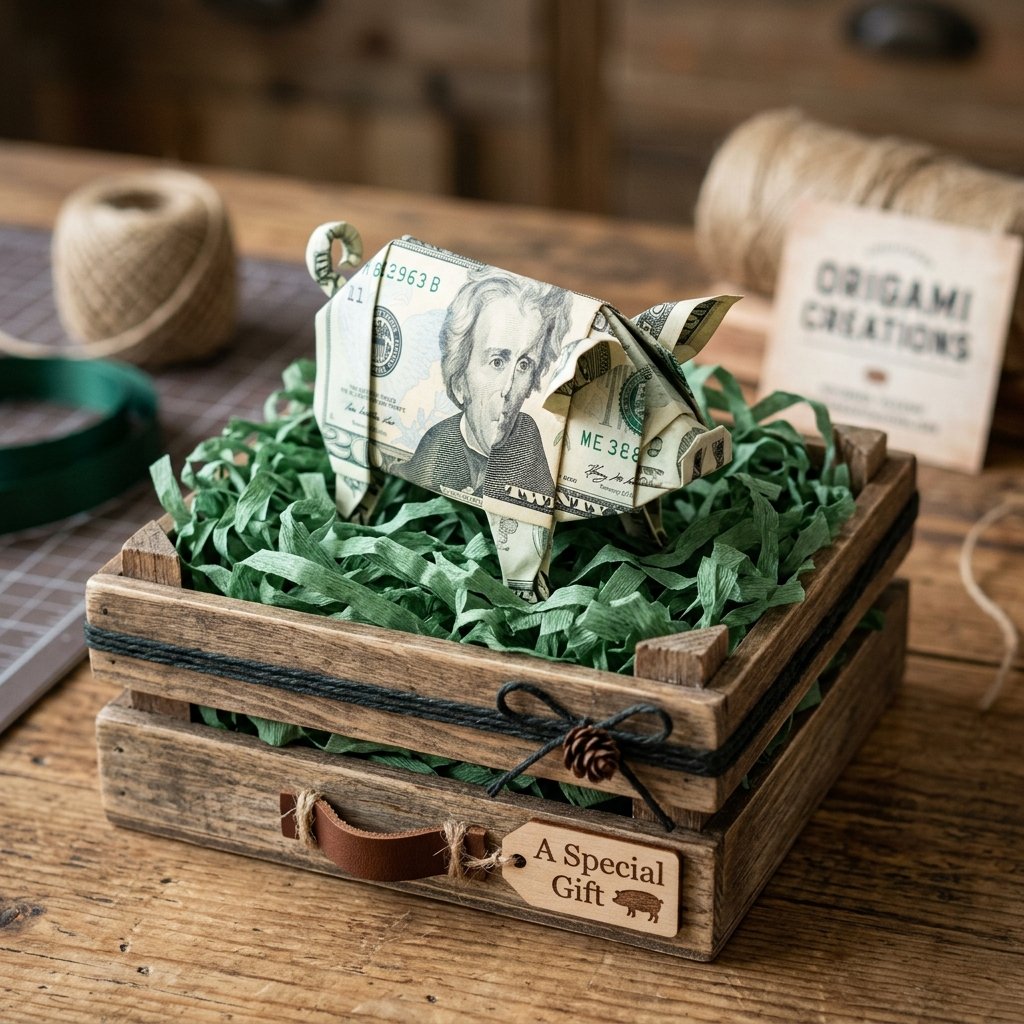
You’ve built the pig; now you need to set the stage. A pig in a vacuum is just paper; a pig in a ‘mud bath’ is a story. Here are three budget-savvy ways to present your creation:
- The Mud Bath: Place the money pig inside a small clear box filled with chocolate-covered sunflower seeds or cocoa powder. It looks like the pig is playing in the dirt.
- The Farmhouse Box: Use a small wooden berry crate (often found for $1 at craft stores) and some shredded green paper ‘grass.’
- The Piggy Bank Inception: Place the folded money pig *inside* a clear glass jar. It’s a literal piggy bank made of its own contents.
| Presentation Style | Difficulty | Cost | Vibe |
|---|---|---|---|
| The Mud Bath | Easy | $3.00 | Humorous/Whimsical |
| The Clear Jar | Very Easy | $1.25 | Modern/Clean |
| The Mini Crate | Moderate | $2.50 | Rugged/Rustic |
Conclusion
Mastering the Financial Farm
Folding a money origami pig is more than just a crafty way to give a gift; it is a testament to the idea that resourcefulness and creativity are more valuable than the denomination on the bill itself. By following these steps, you’ve taken a standard transaction and turned it into an experience. You’ve saved money on expensive packaging while increasing the ‘wow factor’ of your contribution. Remember, the first one might be a bit ‘ham-fisted,’ but with a little practice, you’ll be cranking out a whole litter of financial swine in no time. Now go forth, grab a crisp bill, and start bringing home the bacon—literally.

Makenzie is the founder and lead writer at MoneyHackTips.com — a personal finance blog dedicated to delivering street-smart financial wisdom for real people on real budgets. With 300+ published articles covering everything from debt management to investing fundamentals, Makenzie’s mission is to make every dollar work harder. When not writing about money hacks, Makenzie is testing frugal living strategies, optimizing side hustles, and helping readers build financial freedom from scratch.