
The High-Cost Curb Appeal Dilemma
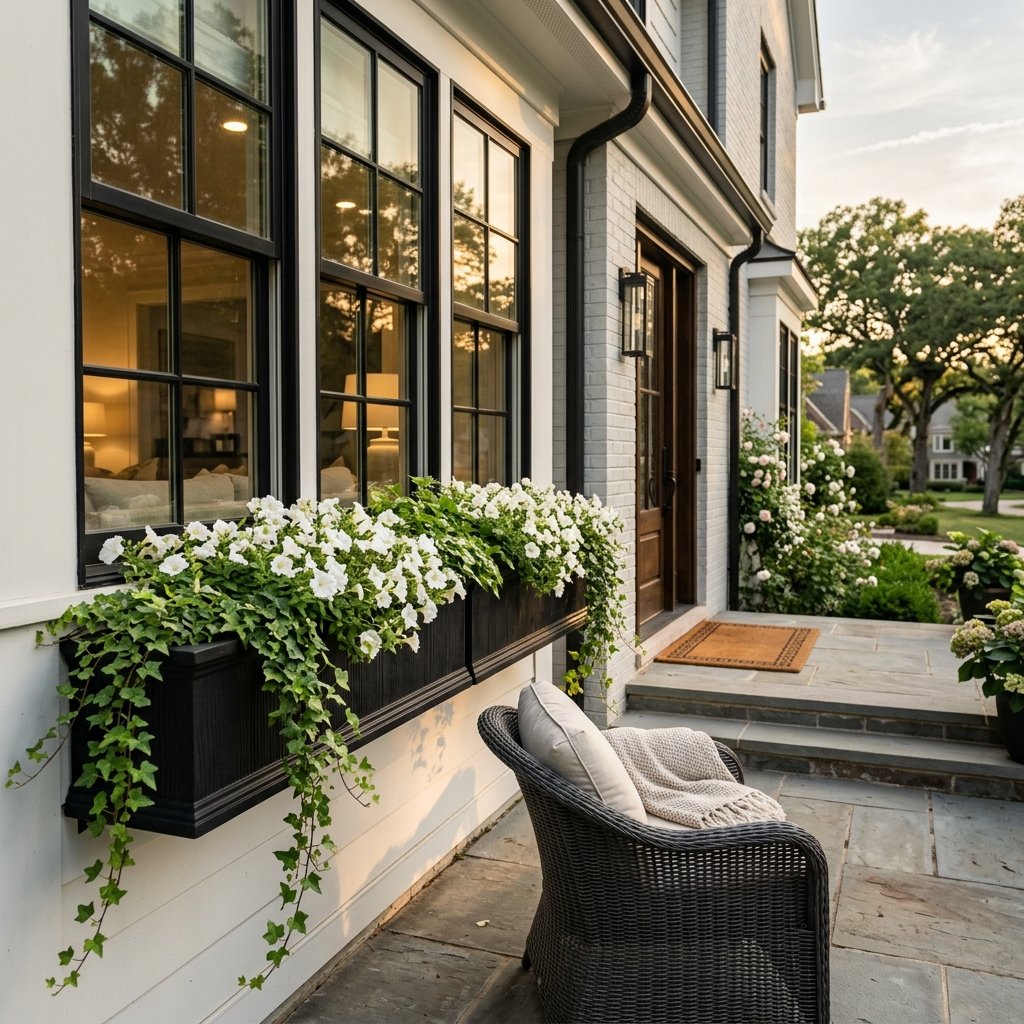
We have all been there: you are scrolling through high-end home decor magazines or Pinterest boards, dreaming of that classic, sophisticated ‘English Cottage’ or ‘Modern Farmhouse’ exterior. You see those lush, overflowing window boxes that add instant character and charm to a home. Then, you head to the local garden center or a luxury home goods store, and reality hits your wallet like a ton of bricks. A single high-quality window box made of cedar, wrought iron, or composite stone can easily run you $60 to $150. If you have four windows to outfit, you are looking at a $600 investment before you even buy a single bag of soil or a flat of flowers. For the frugal DIYer, the budget-savvy homeowner, or the handy parent trying to beautify a rental on a dime, those prices are simply not an option. But what if I told you that you could achieve that exact same ‘Pottery Barn’ aesthetic using nothing more than plastic bins from the Dollar Tree and a few clever, rugged techniques? This is not just a cheap craft; this is a strategic home improvement hack that combines resourcefulness with masculine-elegant design. By the end of this guide, you will know how to construct, finish, and mount professional-grade window boxes for roughly $5 per window. We are talking about a 95% savings compared to retail prices. Let’s roll up our sleeves and turn some ‘trash’ into the neighborhood’s most talked-about treasure.
The Blueprint: Why Plastic Bins are a Shrewd Choice
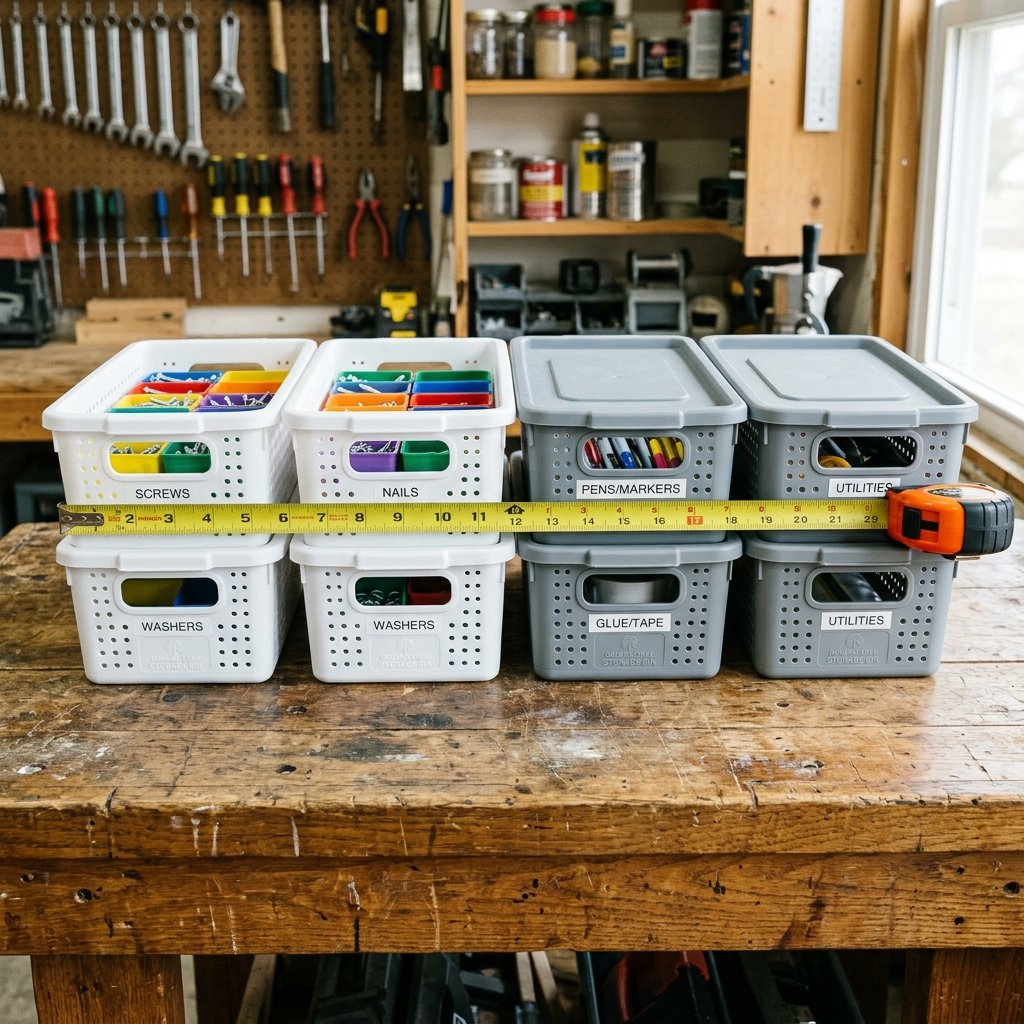
Engineering the Perfect Foundation
When you walk into a Dollar Tree, you might see those bright, neon-colored plastic storage bins and think ‘tacky.’ But a crafty expert sees a weather-resistant, lightweight, and perfectly sized structural core. Plastic is actually an ideal material for window boxes because it does not rot like cheap wood, it does not rust like untreated metal, and it is incredibly easy to modify with basic tools. The key to this hack is selecting the right shape. Look for the rectangular ‘locker bins’ or the ‘bushel baskets’ that have flat sides. These provide the clean lines necessary for a high-end look. By nesting or joining these bins together, we can create custom lengths that fit any window perfectly. This is where the ‘genius’ part of the hack comes in: we are not using them as bins; we are using them as the ‘chassis’ for a much more sophisticated exterior shell.
| Feature | Retail Window Box | Dollar Tree Hack |
|---|---|---|
| Cost | $75.00 | $3.75 – $7.50 |
| Weight | Heavy (15-20 lbs) | Lightweight (2-3 lbs) |
| Durability | Varies (Wood Rots) | High (Weatherproof Plastic) |
| Customization | Limited to Stock | Infinite (Paint & Trim) |
Budget Mantra: Do not see an object for what it is; see it for what it can become with a coat of paint and a bit of grit.
The $1.25 Arsenal: Materials and Preparation
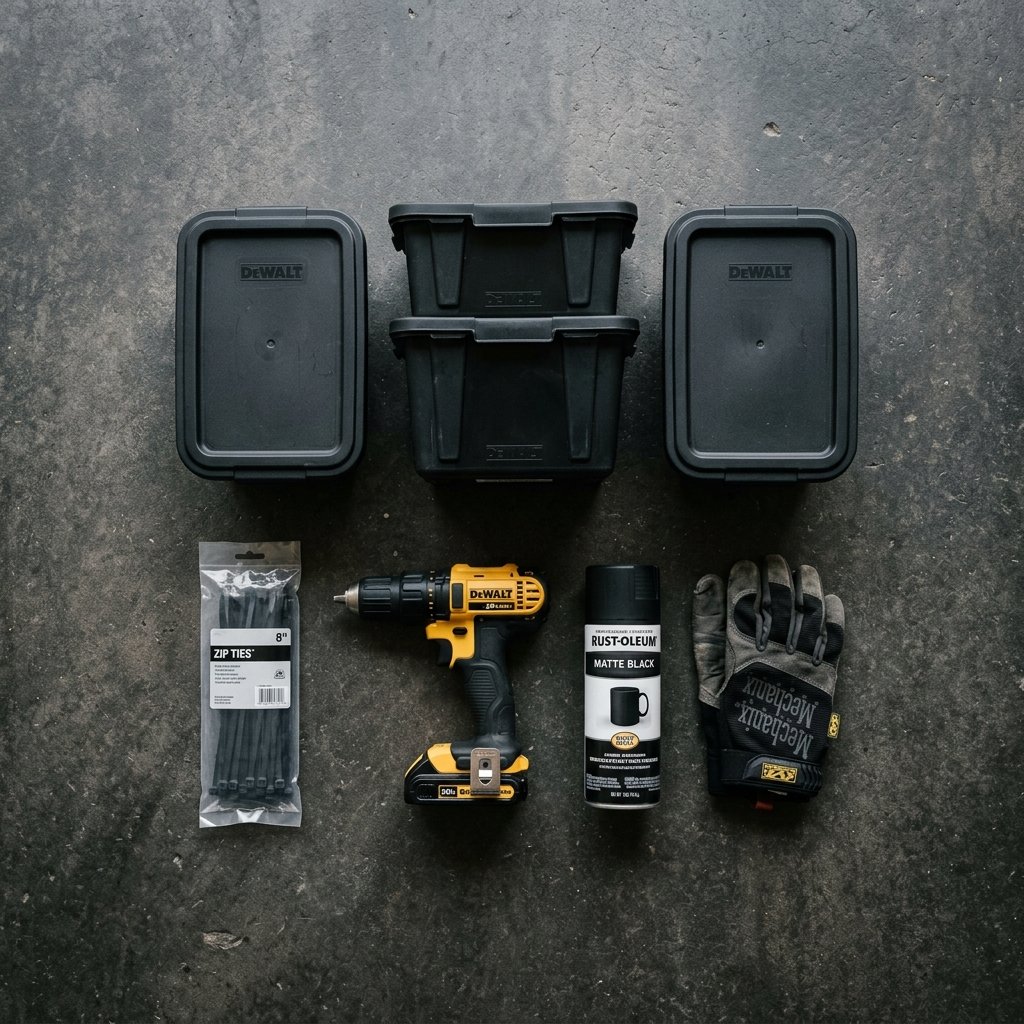
Gathering Your Supplies Like a Pro
To pull off this high-end dupe, you need to gather a specific set of materials. The beauty of this project is that most of these items are either $1.25 at the dollar store or already sitting in your garage. You will need 2 to 3 bins per window depending on the width of your frame. For a standard 36-inch window, three bins joined together usually do the trick. You will also need heavy-duty zip ties (cable ties), a power drill, and the secret weapon: textured spray paint. If you want a ‘wrought iron’ look, go for a matte black hammered finish. If you want a ‘concrete’ or ‘stone’ look, look for stone-textured spray paint in a light grey or sand color. For those who want a wood-look, we will use the ‘baking soda paint trick’ to create a thick, matte finish that mimics terracotta or aged timber.
Comprehensive Material List
- Dollar Tree Rectangular Bins: 2-4 per window ($1.25 each)
- Heavy Duty Cable Ties: To join the bins ($1.25 per pack)
- Premium Spray Paint: Matte Black, Hammered Bronze, or Stone Texture (~$6.00 per can)
- Power Drill: For drainage and joining holes.
- Sandpaper (120 grit): To scuff the plastic for better paint adhesion.
- Optional: Wooden paint stirrers (often free at hardware stores) for decorative ‘slats’.
Before you begin assembly, it is vital to prep the plastic. Plastic is notoriously difficult for paint to ‘bite’ into. Take your sandpaper and lightly scuff the entire exterior surface of each bin. This creates ‘tooth’ for the paint, ensuring your curb appeal lasts through rain, sleet, and sun without peeling.
Structural Integrity: Joining and Drainage
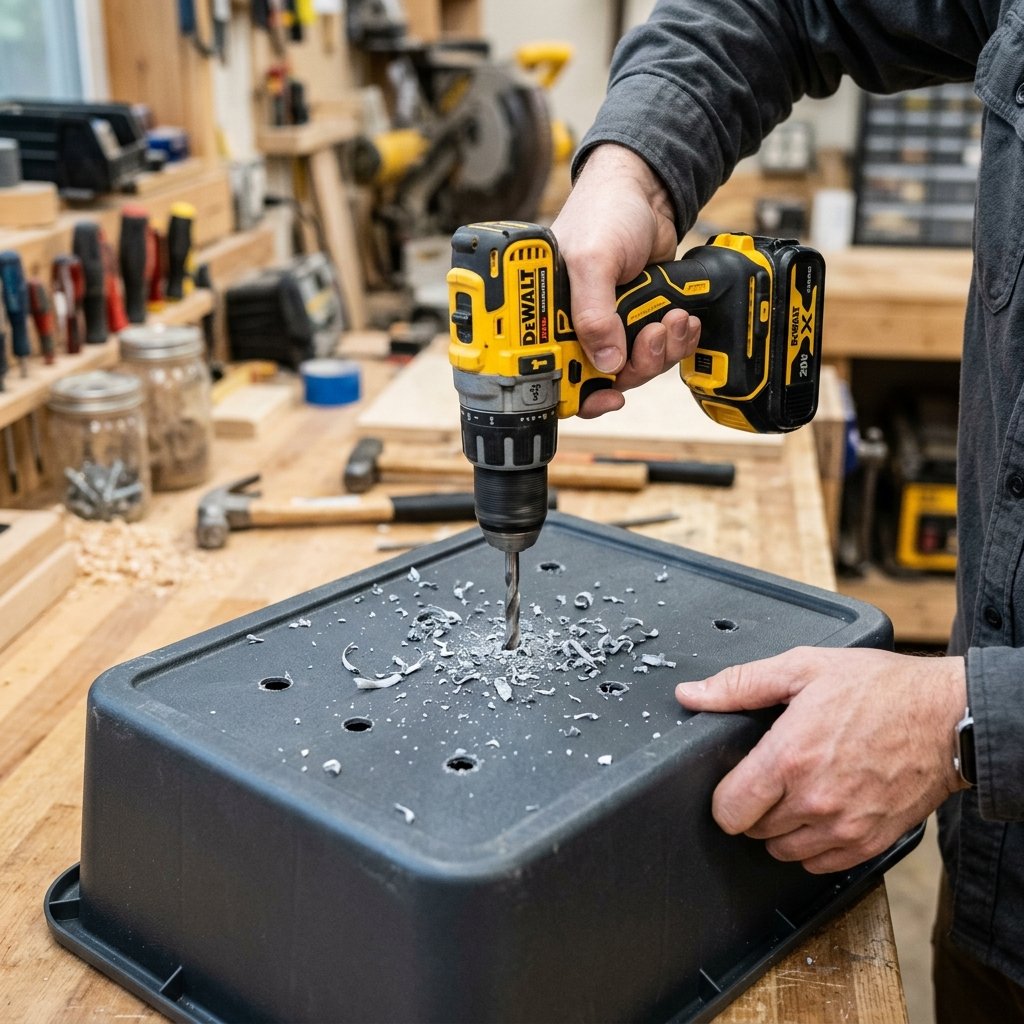
Building a Solid Framework
Now we move into the ‘handy’ phase. Most window boxes fail because they lack proper drainage, leading to root rot and heavy, waterlogged soil that pulls the box off the wall. We are going to solve both problems. First, align your bins side-by-side to match the width of your window. Using your drill, create two holes on the touching sides of the bins—one near the top rim and one near the bottom. Thread your heavy-duty cable ties through these holes and cinch them as tight as possible. This creates a single, rigid unit. Use a utility knife to snip the excess tail of the zip tie for a clean finish.
The Drainage Masterclass
Flip the joined bins over. You need to drill at least 5 to 6 large holes (1/2 inch diameter) in the bottom of each bin. Do not be shy here; more drainage is always better than less. To prevent soil from washing out of these holes, you can line the bottom with a bit of leftover window screening or even a few coffee filters. This keeps the mess off your porch while letting the water flow freely.
Crafty Expert Tip: If you are worried about the ‘seams’ where the bins meet being visible, don’t be. Once we apply the textured paint and the plants begin to ‘spill’ over the edges, those lines will completely disappear into the shadows.
| Step | Action | Tools Needed |
|---|---|---|
| 1. Align | Measure window and match bin count. | Tape Measure |
| 2. Join | Drill side holes and secure with zip ties. | Drill & Zip Ties |
| 3. Drain | Drill 6 holes in the bottom of each bin. | 1/2″ Drill Bit |
| 4. Scuff | Sand the exterior for paint prep. | 120 Grit Sandpaper |
The High-End Transformation: Faux Finishes
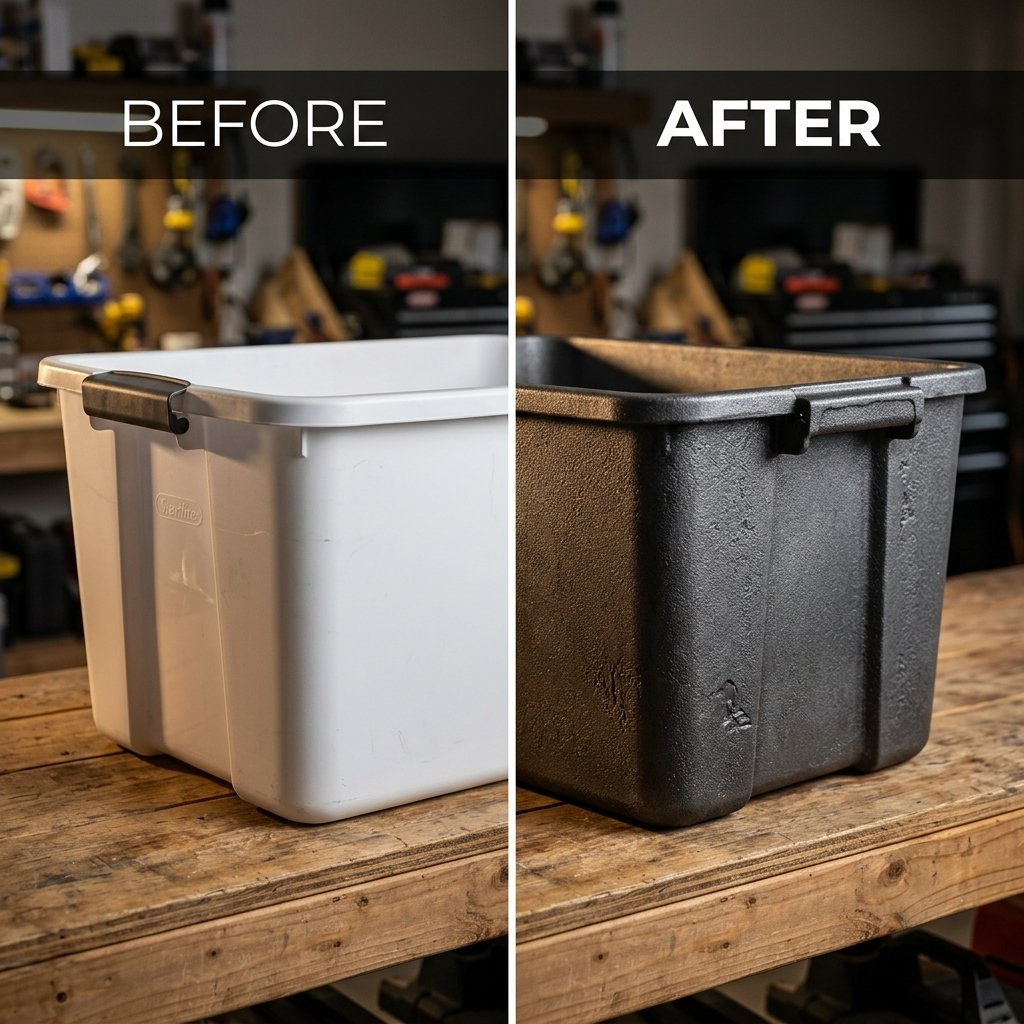
Turning Plastic into Premium Materials
This is where the magic happens. To get that ‘Pottery Barn’ or ‘Anthropologie’ look, we need to hide the fact that these are plastic bins. The ‘Baking Soda Paint Trick’ is a favorite among budget designers. Mix 1 cup of acrylic paint with 1/4 cup of baking soda. The mixture will puff up and become thick and gritty. When brushed onto the bins, it creates a ceramic or terracotta texture that looks incredibly expensive. However, for a more ‘rugged and masculine’ look, I recommend the Matte Black Industrial Finish. Use a high-quality spray paint designed for plastic. Apply three light coats rather than one heavy coat. This prevents drips and ensures a factory-finish look. For an even more sophisticated touch, you can glue wooden paint stirrers vertically around the bins before painting to create a ‘slat’ or ‘crate’ effect. This adds architectural depth and shadows that scream ‘custom-made’.
Style Guide: Choosing Your Aesthetic
- Modern Industrial: Matte Black paint with silver bolt heads (or even just dabs of silver paint) at the corners.
- Rustic Farmhouse: White ‘baking soda’ paint with a light brown wax buffed into the crevices for an aged look.
- English Estate: Dark Forest Green or Hammered Bronze finish.
- Coastal Chic: Stone-textured spray paint in a ‘Sand’ or ‘Light Grey’ hue.
Allow the paint to cure for at least 24 hours. Do not rush this. If the paint is tacky when you start planting, you will ruin the finish with soil stains.
Mounting and Styling for Maximum Curb Appeal
The Final Reveal: Installation and Planting
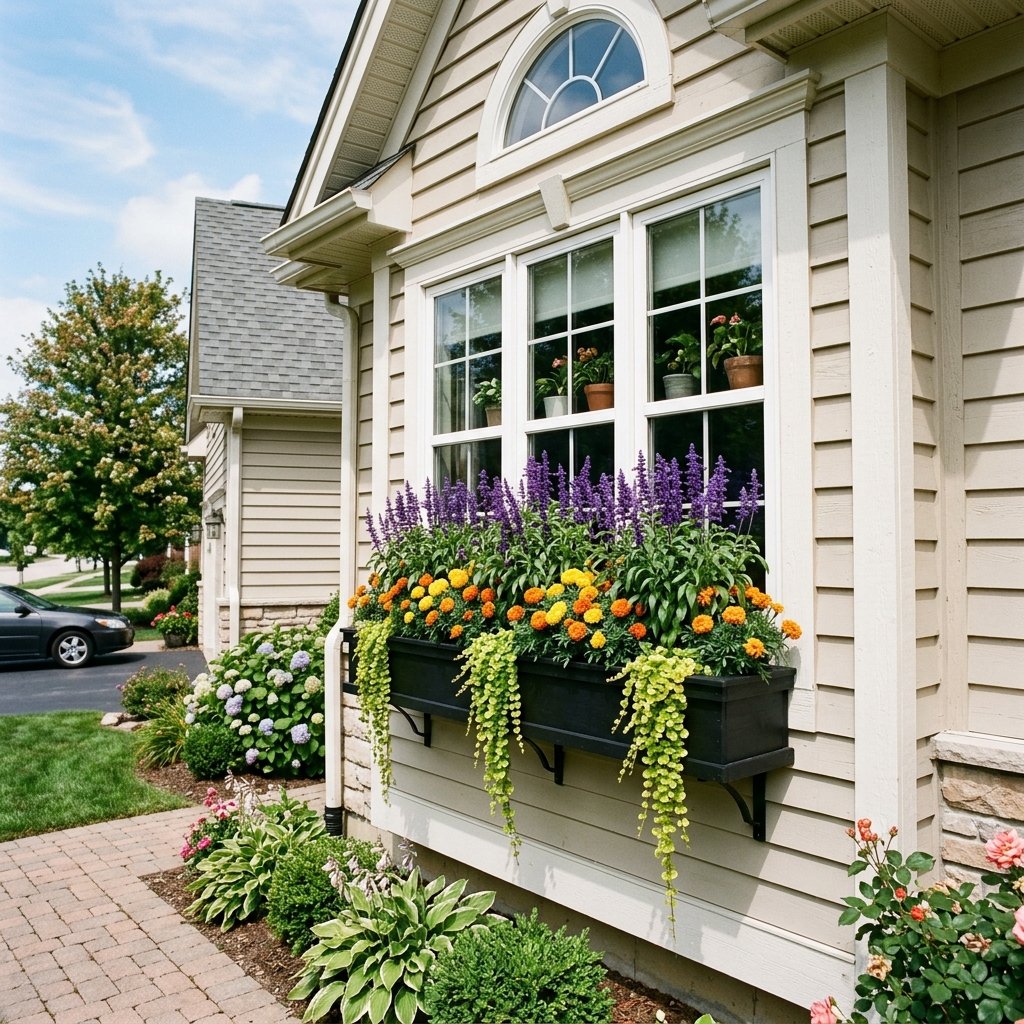
How you mount your boxes is just as important as how they look. Since these are lightweight plastic, you don’t need massive, wall-destroying brackets. For a porch railing, extra-long heavy-duty black zip ties are actually the most ‘clever’ solution. They are nearly invisible against a black box and can support the weight of the soil easily. If you are mounting to a wooden window sill, a simple pair of L-brackets from the hardware store ($2.00) will do the trick. Once mounted, it is time for the ‘Thrillers, Fillers, and Spillers’ planting strategy. This is the professional florist’s secret to a high-end look.
The Professional Planting Strategy
- The Thriller: Place a tall, structural plant in the center (like a Dracaena spike or a tall Geranium). This gives the box height and ‘drama’.
- The Filler: Surround the thriller with mounding flowers (like Petunias, Marigolds, or Begonias). These fill the space and provide a bulk of the color.
- The Spiller: At the very front edge, plant trailing vines (like Sweet Potato Vine, Creeping Jenny, or Ivy). These will grow down over the front of your Dollar Tree bins, further hiding the seams and creating a lush, established look.
Safety Note: When mounting window boxes above a walkway, always ensure the brackets are rated for at least 20 lbs. Wet soil is significantly heavier than dry soil. Double-check your attachments once a month to ensure they haven’t loosened due to wind or weight.
| Plant Type | Examples | Purpose |
|---|---|---|
| Thriller | Snapdragons, Salvia, Ferns | Vertical Interest |
| Filler | Pansies, Lantana, Verbena | Color & Volume |
| Spiller | Lobelia, Calibrachoa, Vinca | Softens Edges |
Seasonal Swaps and Long-Term Maintenance
Keeping the Magic Alive Year-Round
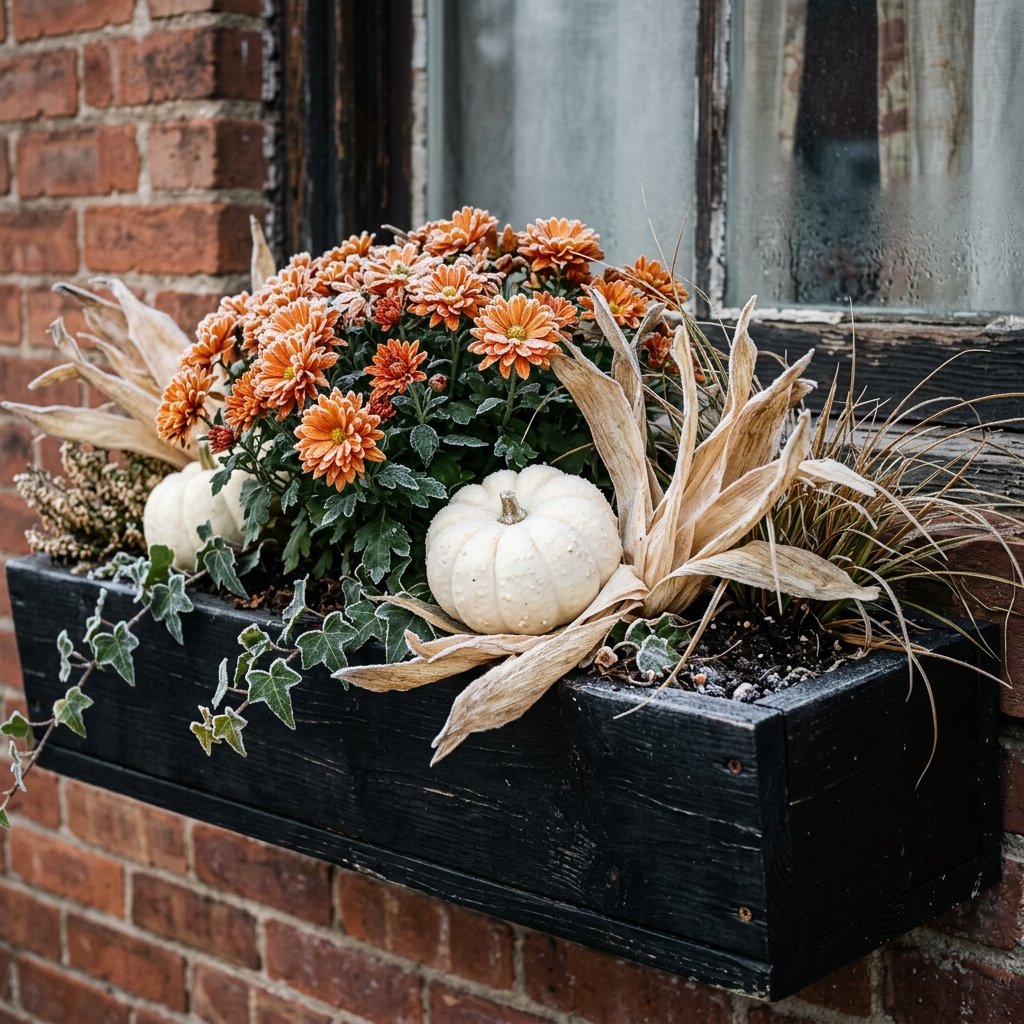
One of the best things about this Dollar Tree hack is its versatility. Because the bins are so inexpensive, you can actually create ‘inserts’. Buy an extra set of bins, plant them with seasonal flowers, and simply swap the entire inner bin out when the seasons change. In the autumn, replace your petunias with mums and ornamental peppers. In the winter, tuck in evergreen boughs, pinecones, and red dogwood sticks for a sophisticated holiday display. To maintain the ‘high-end’ look, simply wipe down the exterior of the boxes with a damp cloth once a season. If the paint ever chips (which is rare if you sanded properly), a 30-second touch-up with your leftover spray paint will make them look brand new again. This is the ultimate ‘low-effort, high-impact’ home improvement project.
Maintenance Timeline
- Spring: Fresh soil boost and ‘Spiller’ planting.
- Summer: Daily watering (plastic retains moisture well, but small boxes dry out fast!).
- Fall: Swap for cool-weather annuals.
- Winter: Clear out dead debris and add hardy greenery or faux berries.
Conclusion
Your $10 Porch Revolution
You don’t need a massive renovation budget to have the best-looking house on the block. By combining a bit of ‘trash-to-treasure’ ingenuity with a few dollars from the local discount store, you have created a custom, high-end architectural feature that adds real value and curb appeal to your home. This project is a testament to the fact that resourcefulness beats a big budget every single time. Whether you are a handy dad looking to spruce up the front yard on a Saturday morning or a frugal crafter styling your first apartment, this window box hack is a guaranteed win. Now, go grab those bins, fire up the drill, and show your neighborhood what a little bit of grit and a lot of creativity can do. Happy DIYing!

Makenzie is the founder and lead writer at MoneyHackTips.com — a personal finance blog dedicated to delivering street-smart financial wisdom for real people on real budgets. With 300+ published articles covering everything from debt management to investing fundamentals, Makenzie’s mission is to make every dollar work harder. When not writing about money hacks, Makenzie is testing frugal living strategies, optimizing side hustles, and helping readers build financial freedom from scratch.